Application Records
Overview
The Application Records page allows administrators to view a user's existing applications, make changes to the basic information associated with those application, and create new applications from scratch. Once an applicant has submitted an application through the Jenzabar SONIS Online Application, administrators can import that data to Jenzabar SONIS, using Import Functions after which that application will appear on the user's Applicant Records page. Some users may have more than one application and/or more than one program per application depending on institutional settings.
Imported Applications
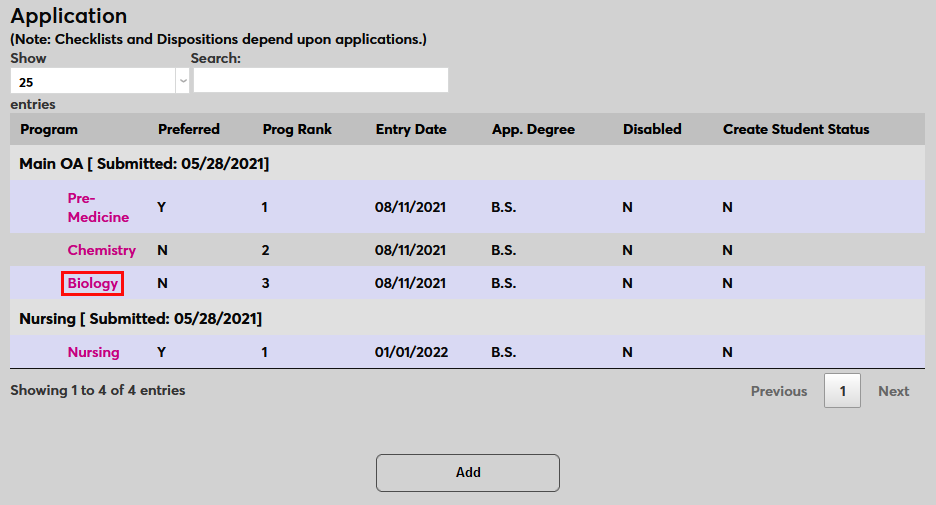
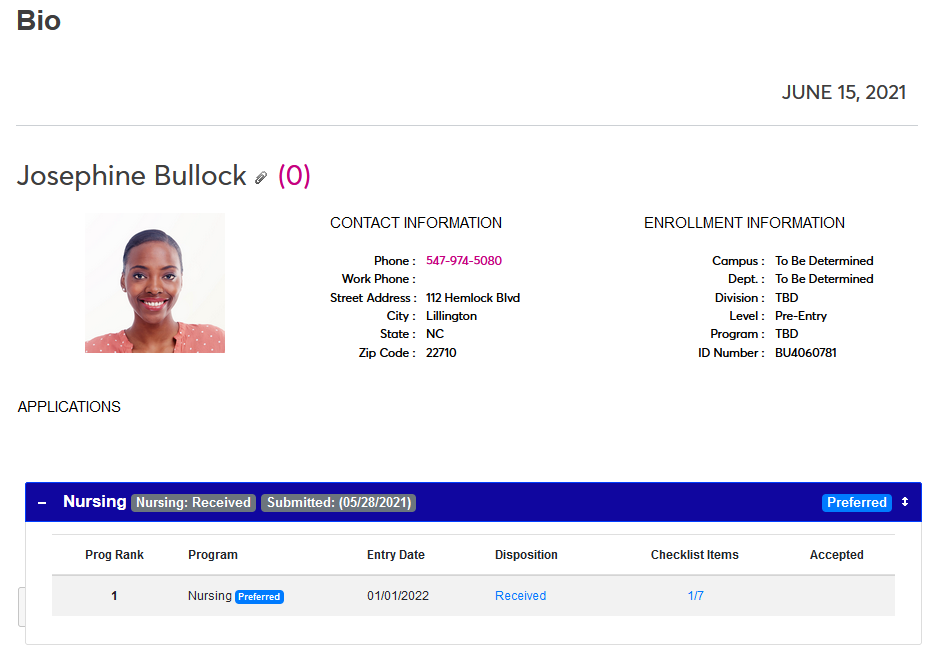
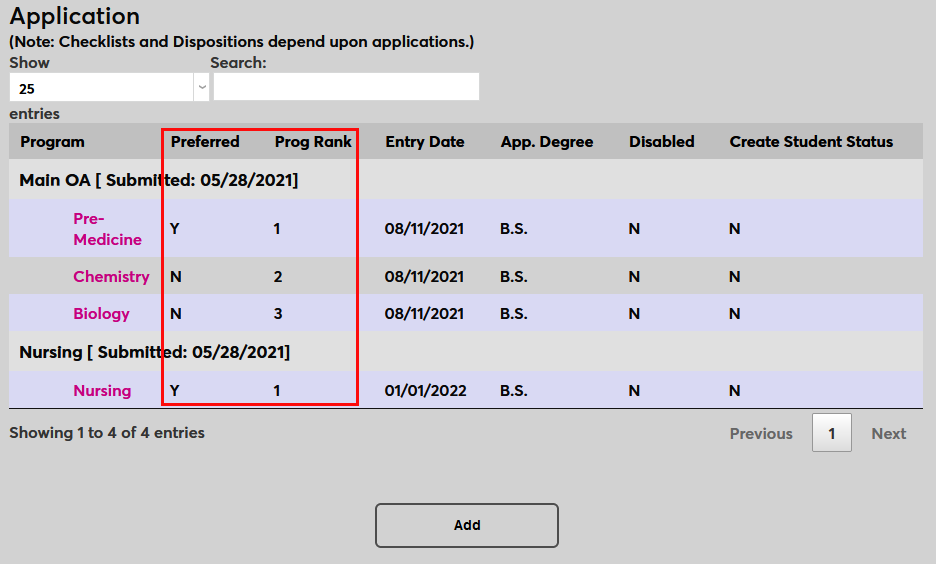
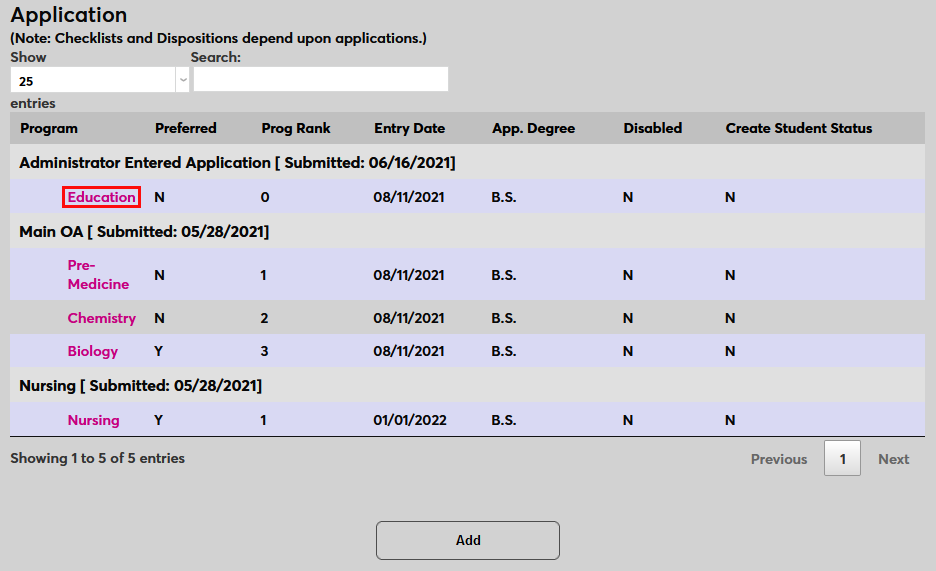
To view applications that have been imported from the SONIS Online Application or through a third party program, select a user using the Jenzabar SONIS Name Search function and navigate to that user's Application page. The summary page displays the Program(s) on the application(s), the Preferred status of the programs, the Program Ranking, the Entry Date the Application Degree, the Disabled status of the application, and the Create Student Status status, designating whether the user is a student in SONIS based on that application or still just an applicant.
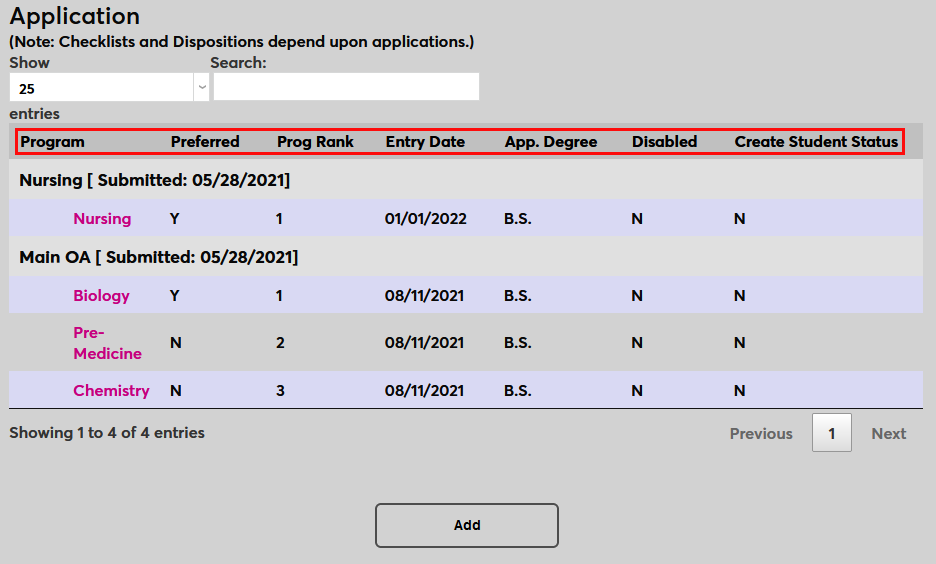
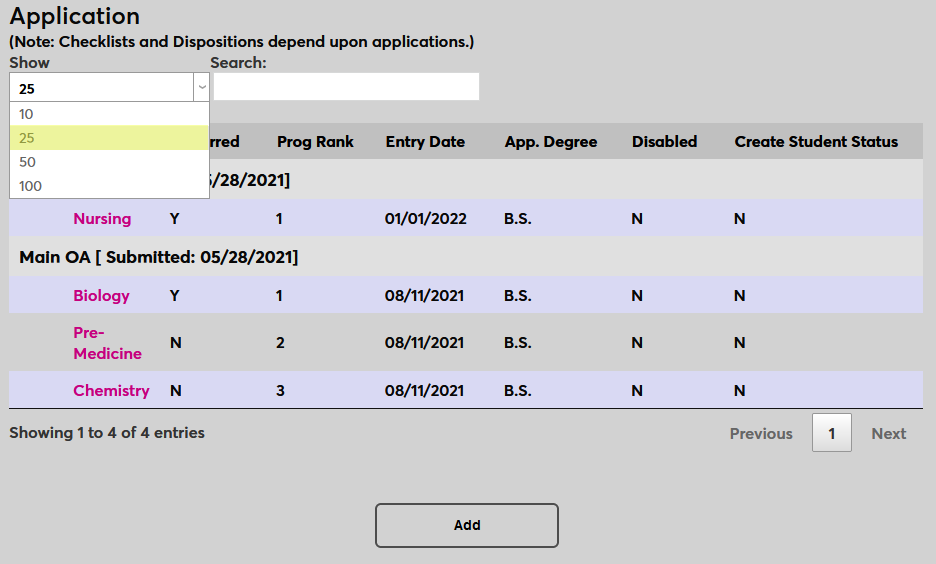
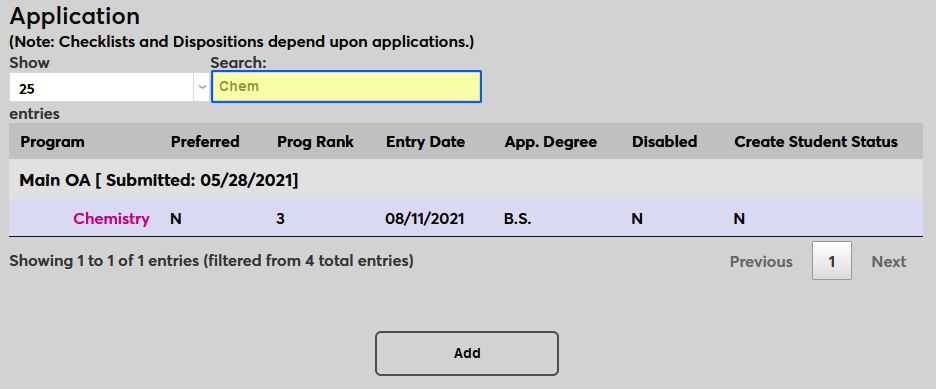
The controls at the top of the page can be used to change how many applications are displaying on the page or to search for an individual application if the user has more than will display on one page by default.
To edit an existing application, click on the Program link.
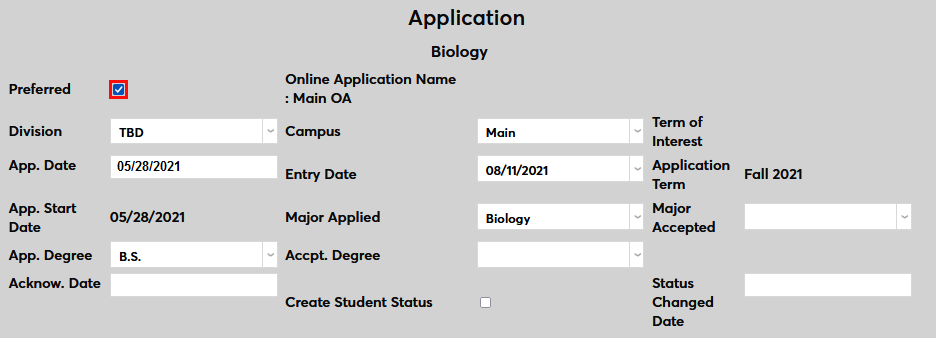
From this page, administrators can change many of the fields associated with this application/program. To change the preferred status of the program, check the Preferred box and click submit.
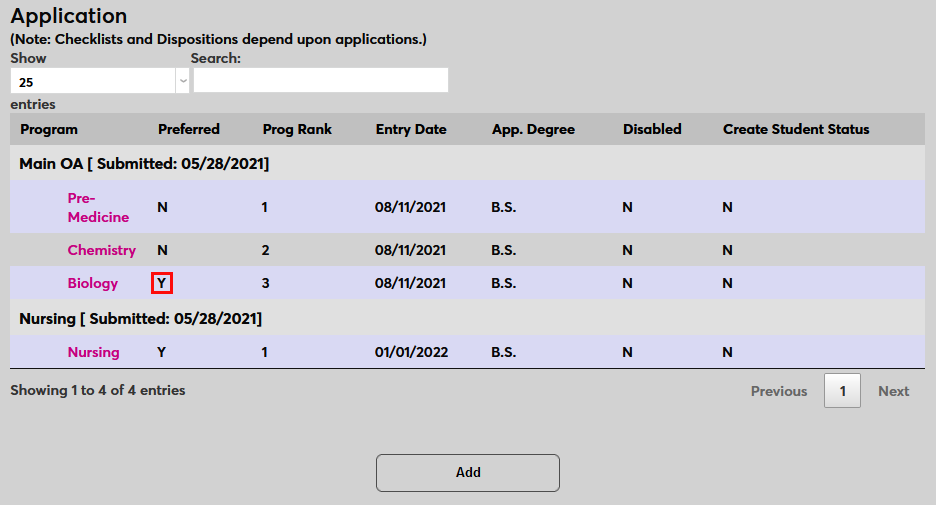
A warning occurs when replacing another preferred program. Click Submit again to continue.

While the program will now be marked as preferred in the Admin portal, the applicant will still see the same preferred program and ranking that they set from within the applicant portal. Marking a program preferred that's not the applicant's preferred program can be useful to show that the school prefers to accept the applicant under this program even if it's not the applicant's top choice.
Rankings
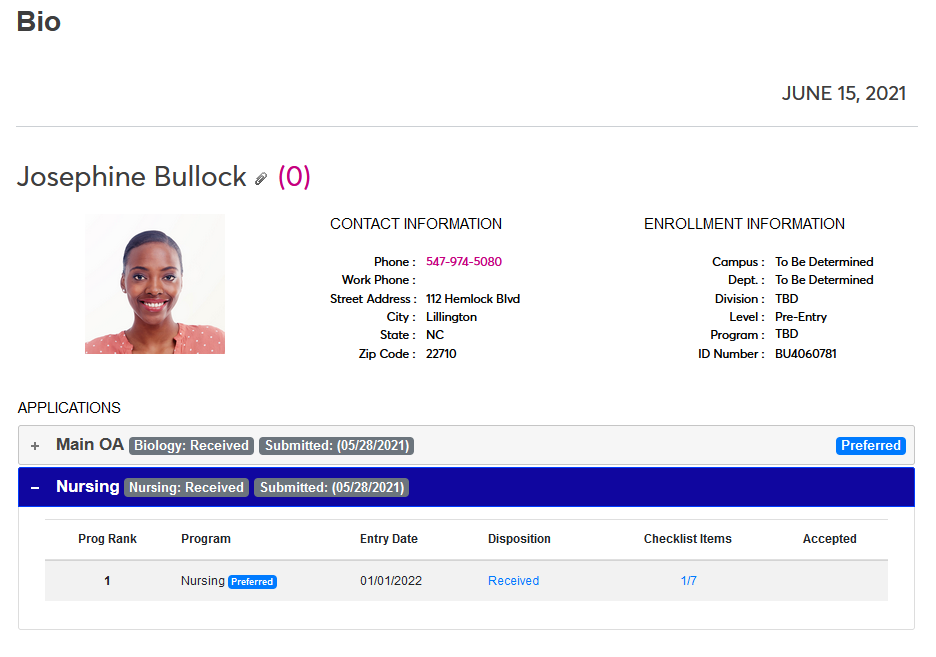
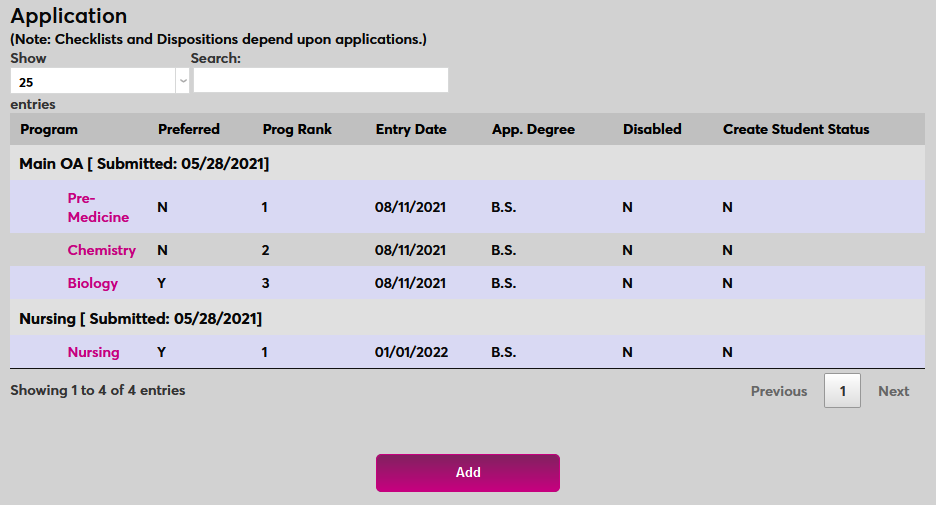
By default, the applicant's programs are ranked in the order they were selected on the application and the applications are ordered based on the order they were submitted. These rankings can both be changed by the applicant within their Bio page in the Applicant portal.
To change the ranking of their applications, the applicant can click on the corner of an application and drag it above or below another application. These changes will be reflected on the Application Records page.
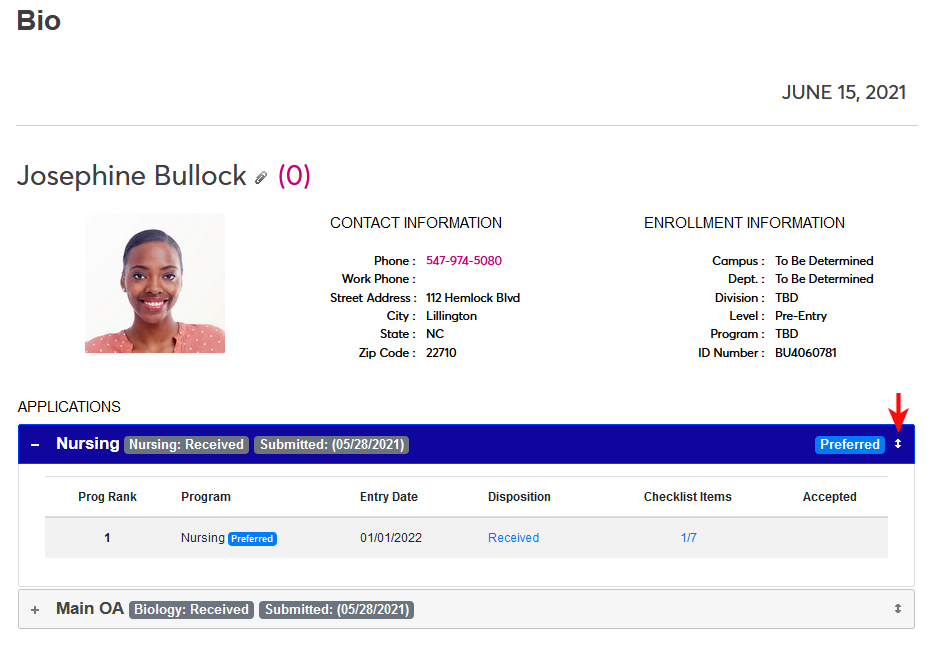
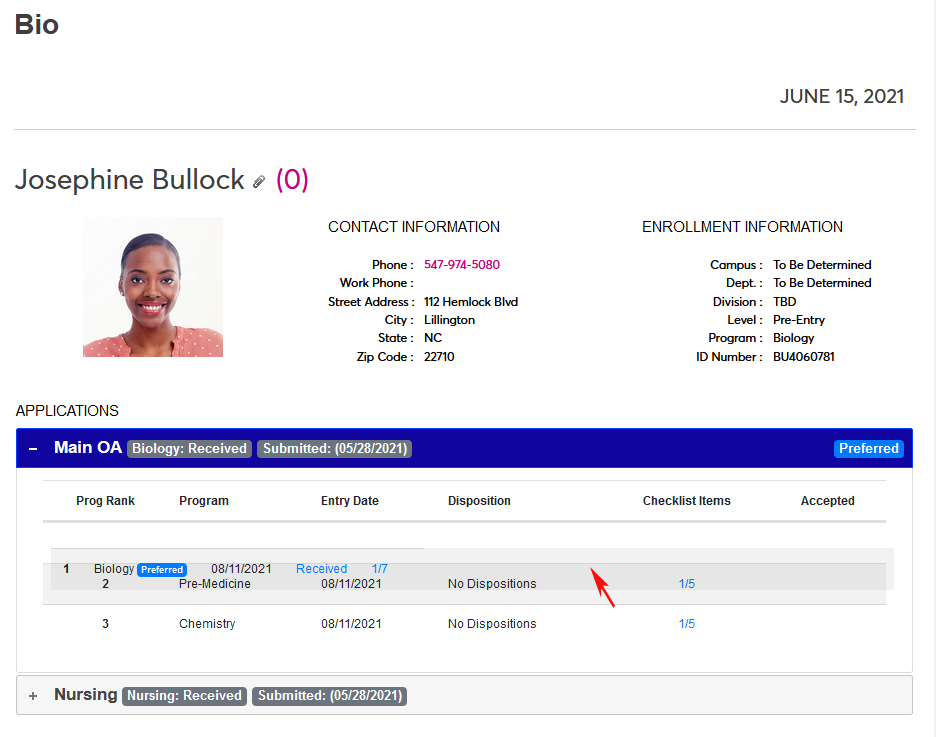
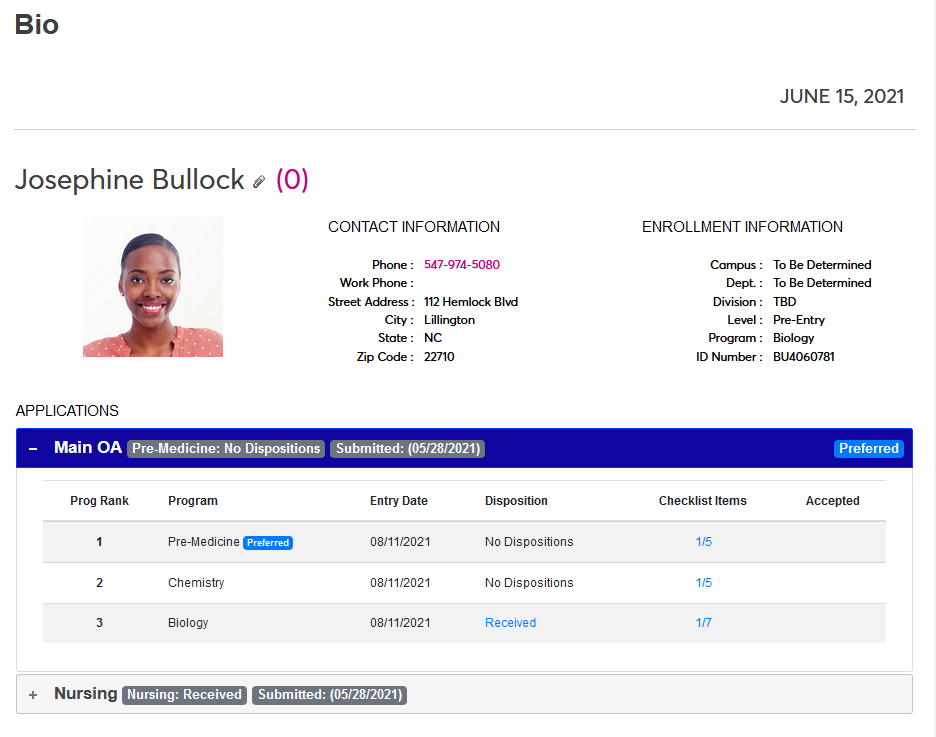
To reorder programs within an application, the applicant can click on a program and drag it to a new location. These changes will be reflected on the Application Records page.
Confirmed Acceptance
If the institution is using the Confirm Acceptance feature, an Accept Confirmation column will be added to the Application page.
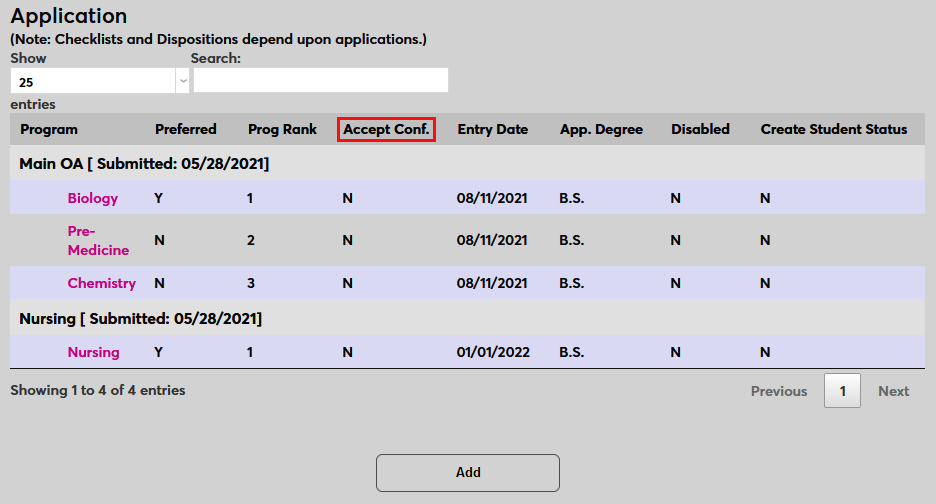
For more information on this feature, visit the Dispositions for Applicants wiki page.
New Application
To create a new application, click the Add button.
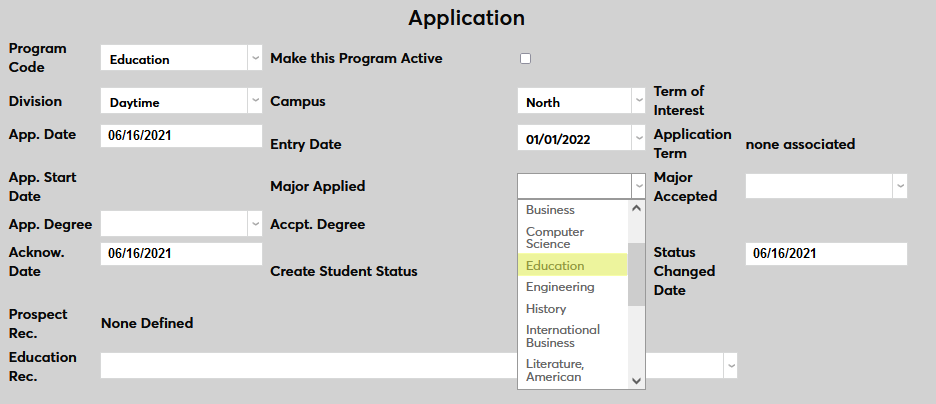
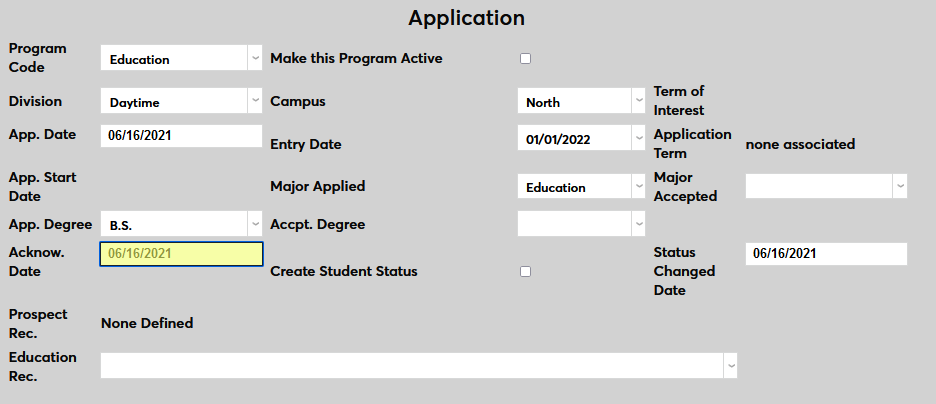
On the following page, select a Program Code to associate with the application.
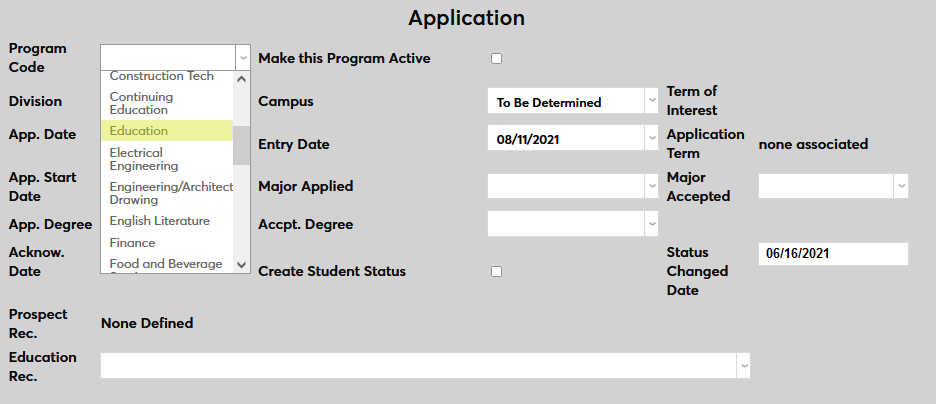
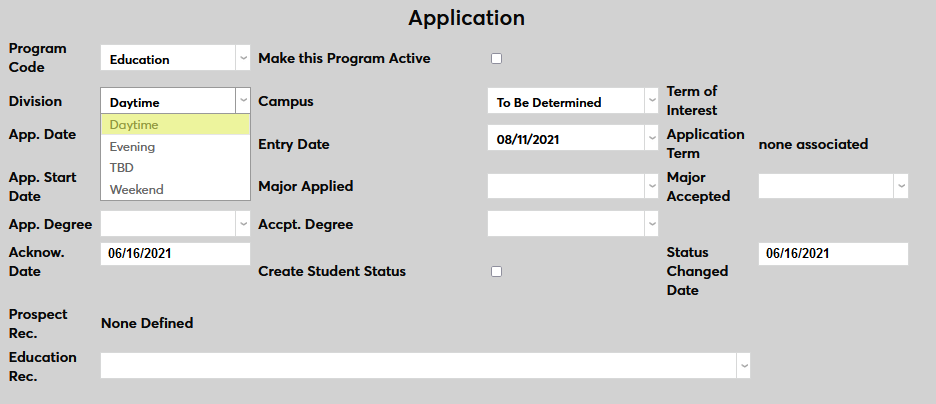
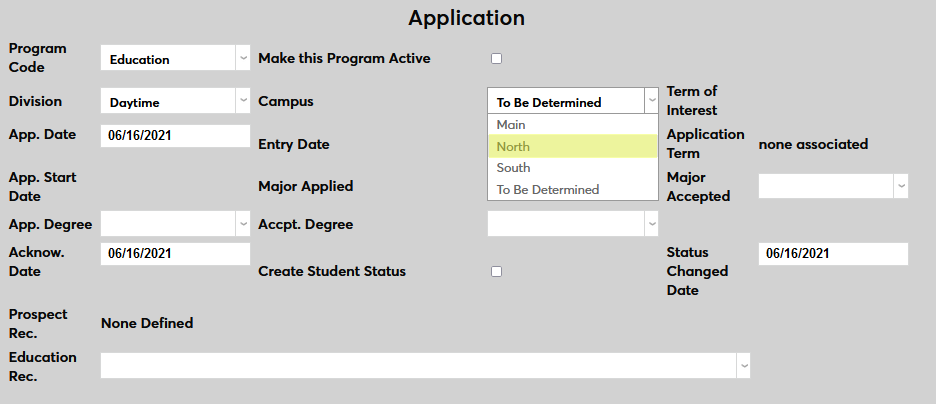
Select the Division and the Campus where the applicant will be slotted if accepted based on this application.
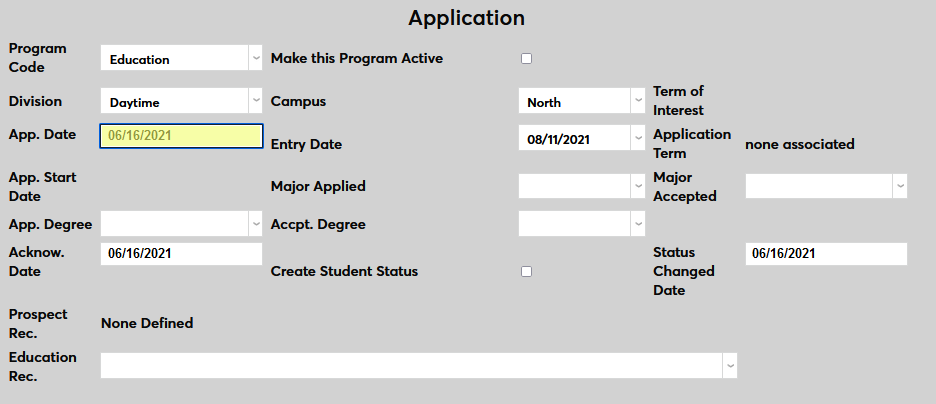
Select an Application Date when the application was submitted. This field defaults to the current date, but can be backdated of forward-dated if copying from a paper application.
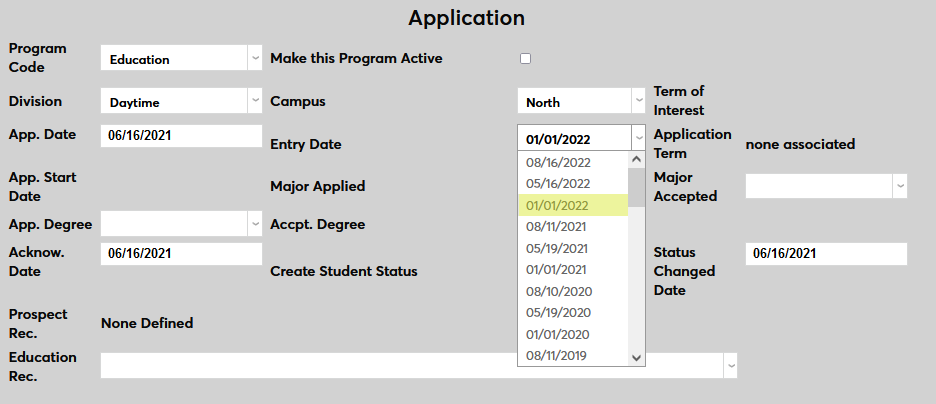
Select an Entry Date for the application, the day that the applicant would begin their courses if accepted. Entry dates should correspond with semester start dates. They can be created and edited through Table Maintenance in the Systems hub.
Select the Major Applied for by the applicant.
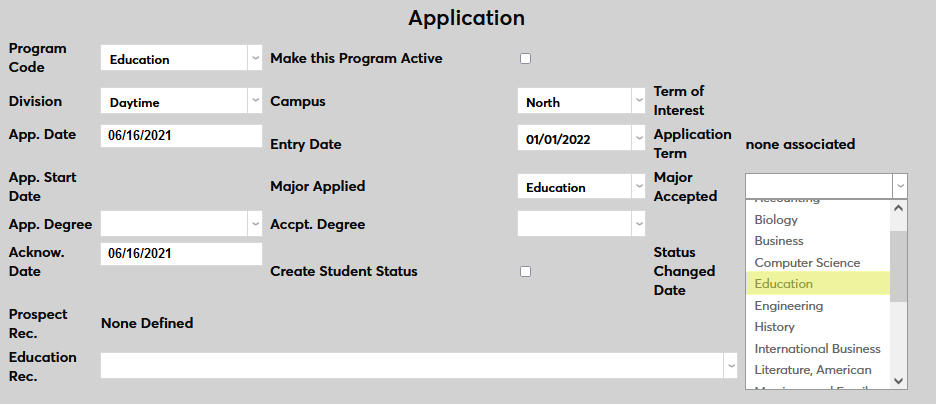
Select the appropriate major in Major Accepted if the applicant has been accepted into the institution. Leave it blank if the application is still pending. Note that this value can be different than the Major Applied.
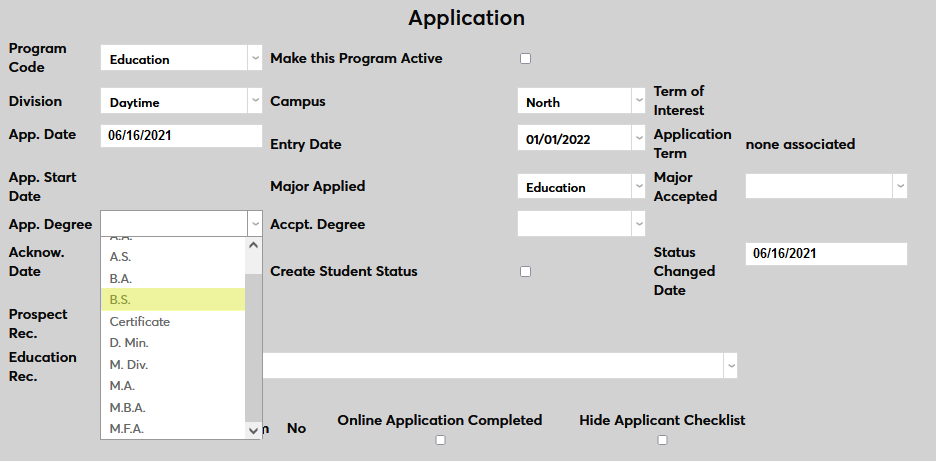
Select the Application Degree that the applicant has applied for.
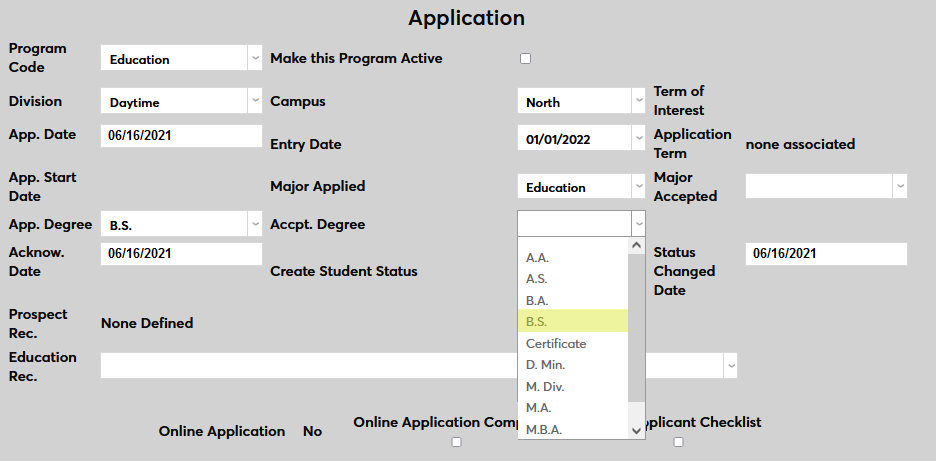
Select the appropriate Accepted Degree if the applicant has been accepted into the institution. Leave it blank if the application is still pending. Note that this value can be different than the Application Degree.
The Acknowledgement Date is the date on which the institution acknowledged that they received the application.
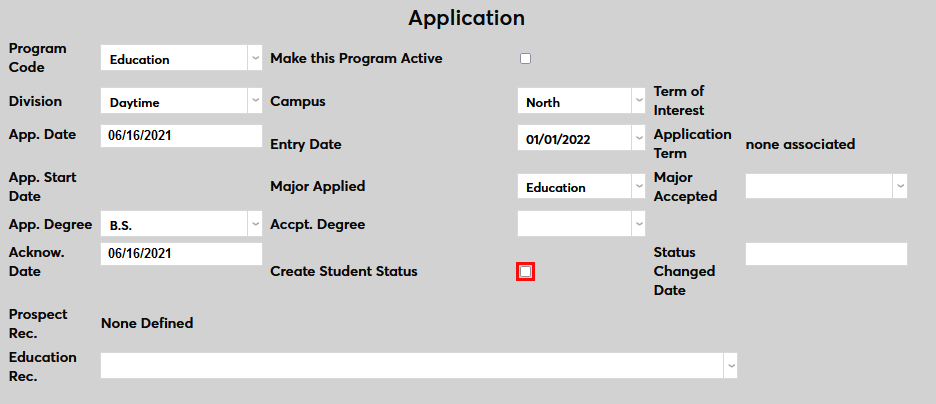
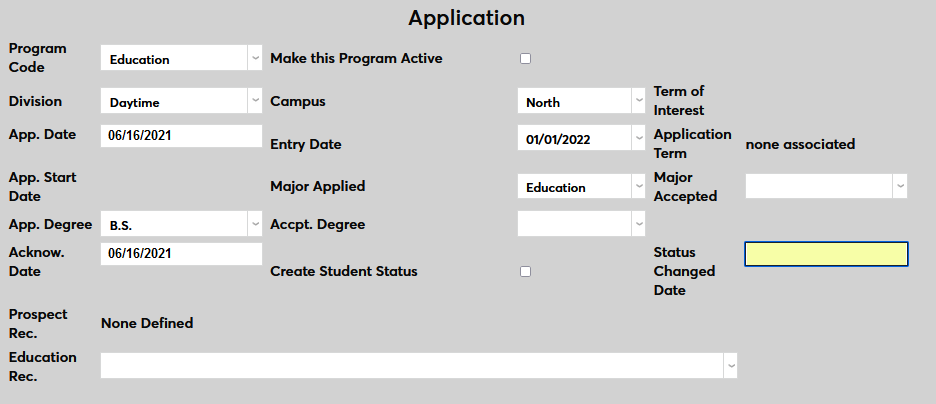
Check the Create Student Status box to give the applicant a Student module status. This should only be done once the applicant has been accepted. The Status Changed Date is the date that this change was made and should be left blank until student status has been conveyed.
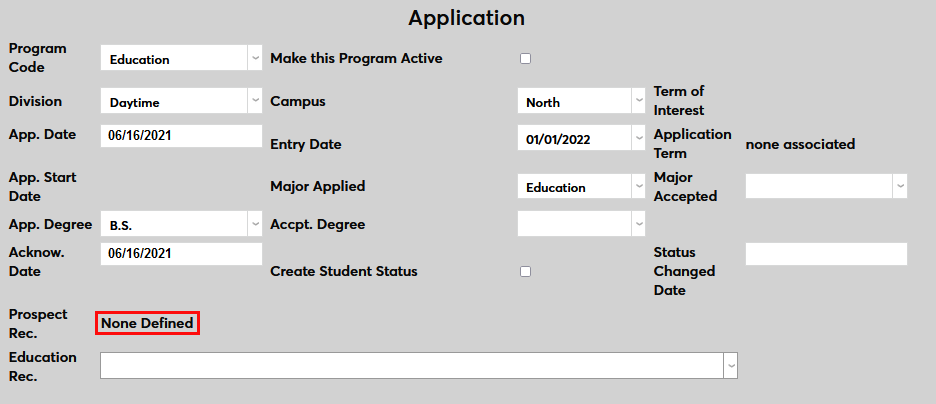
If the application is associated with a prospect record, it will be listed in the Prospect Record field.
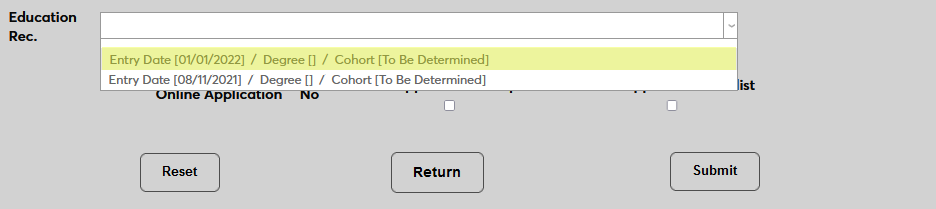
Select a local Education Record to associate the application with. If the applicant is new to the SONIS system, the Degree and the Cohort on the Education record may not yet be set.
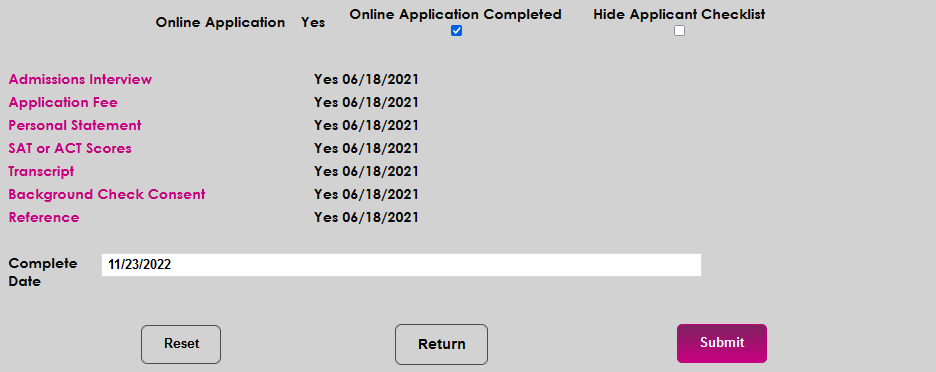
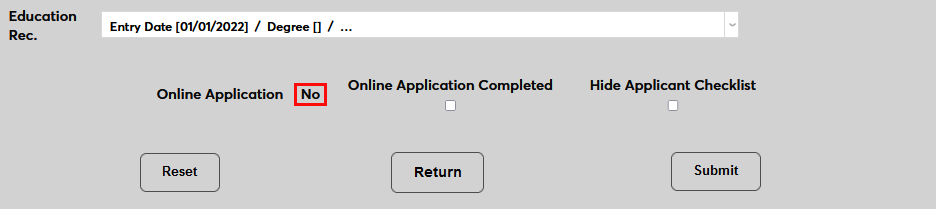
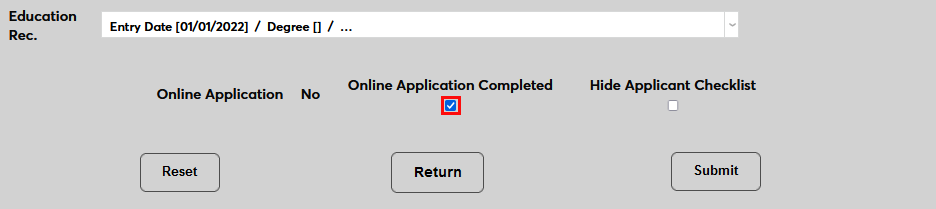
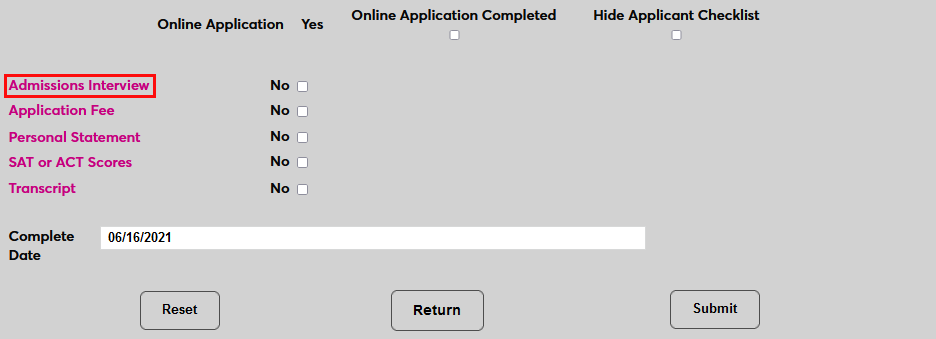
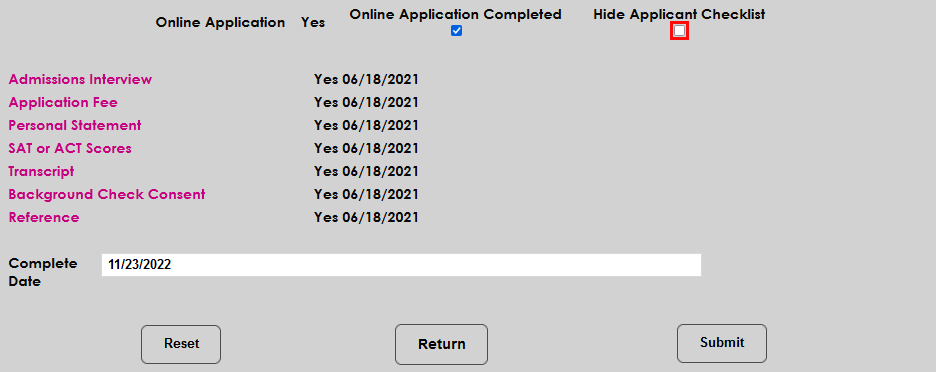
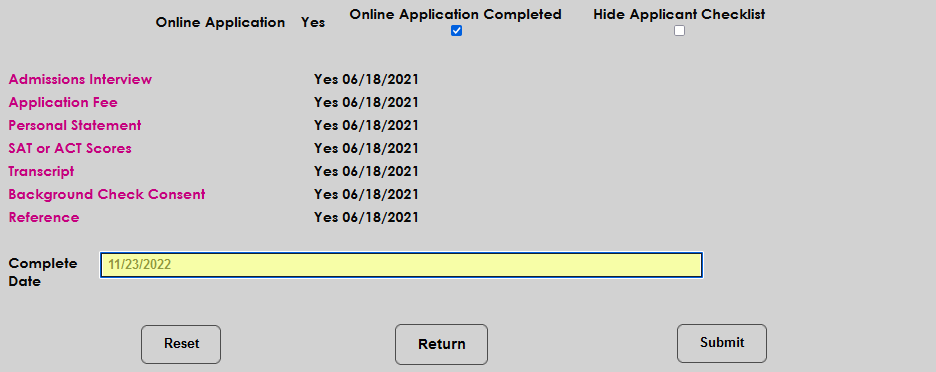
If the application has been imported from the SONIS Online Application, this field will be marked Yes. Otherwise, it will be marked No. Check the Online Application Completed button to mark an online application as completed. Leave it unchecked if the application is not from the OA or has not been completed.
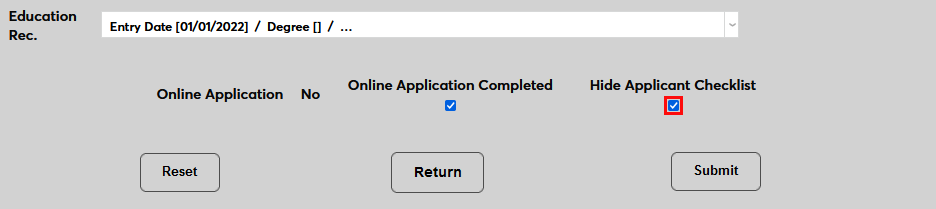
The Hide Applicant Checklist box is used to prevent applicants from seeing completed applications. When this box is checked, the application will no longer display on the Applicant Portal Checklist page. The application will still show on the Applicant Bio page, however.
Click Submit to create the application.

To make changes to an administrator entered application, click on the Program name.
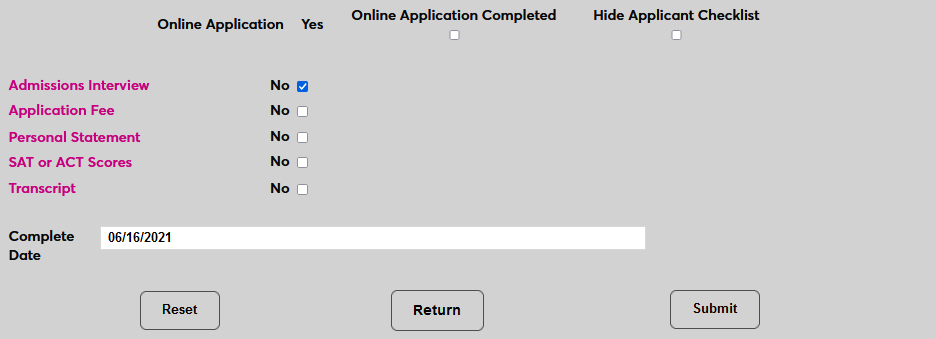
Once the application has been created, all Core checklist items and any checklist items associated with the selected program as specified in the Administration Checklist utility will automatically be appended. Click on the name of a checklist item to make changes to it or check the No box to mark a checklist item as completed and change this value to Yes.
Note that each administrator entered application can only have one program and each new application is listed separately with its own set of checklist items. For more on checklist records, visit the Checklist page.
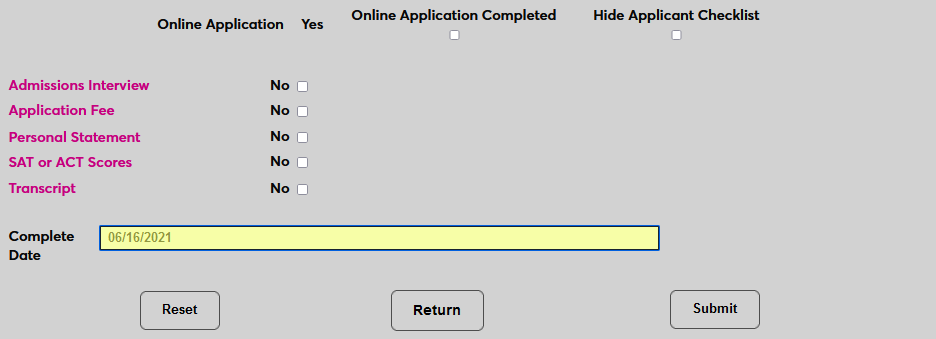
A Complete Date is automatically added to the application based on the current date, but can be altered.
Application Copy
Many checklist items attached to applications may apply to other applications as well and can be fulfilled simultaneously. For this reason, a copy feature was added that allows for existing application data, including checklist item status, to be copied over to a new application.
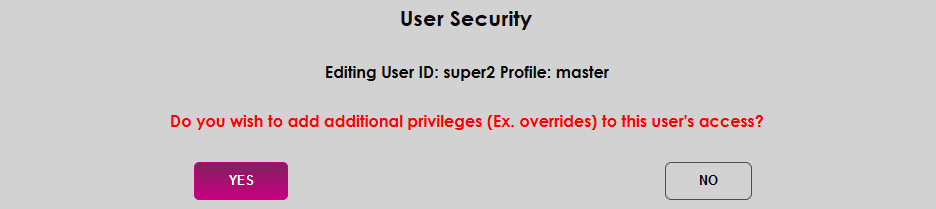
To activate this feature for an administrator, navigate to User Security and edit the user's profile. Enter the Additional Privileges menu and ensure that Copy Application is selected.
Once this privilege is active, a Copy link will be available next to each application on each Application Records page. Click this link to begin the process of copying an application.

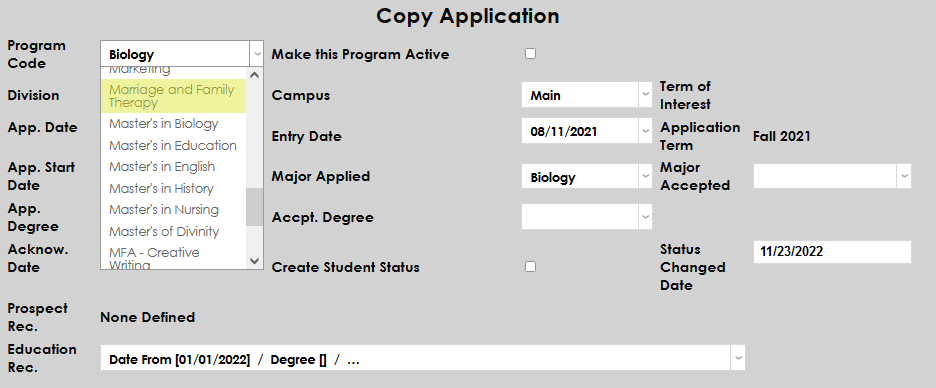
The top half of the following page includes all of the basic information from the application being copied. Any of these items can be changed before continuing to copy.
The bottom half of the page lists the checklist items. Check or uncheck the Hide Checklist Items box to control whether the applicant will be able to see these items in the Applicant portal when they're copied over or not.
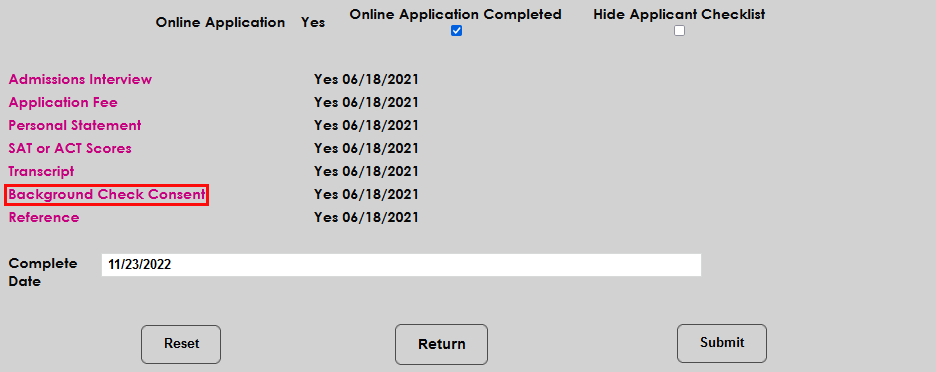
Any errors in the status of the checklist items can be corrected by clicking on the link to that item. These edits will apply to the original application as well as the copy being made.
The Complete Date for the new application defaults to the date it's being created, but it can be edited before making the copy.
Click Submit to complete the process. The new application will be listed as an Administrator Entered Application with a submission date that matches the App. Date that was copied over or set during that copying process.