Post Transactions
Overview
The Jenzabar SONIS Post Transactions utility allows administrators to create a record of financial transactions. These transactions can be charges or payments and can be posted to an individual user account or in bulk. Transactions that are automatically created through other processes should not be posted in duplicate. All new transactions should be posted before utilizing the Post to Billing utility.
Before posting Pell transactions for the 2024-2025 Pell processing year or beyond, review the updates that were made in Jenzabar SONIS 2024.
Posting
To begin the process of posting transactions, navigate to the Post Transactions utility under the Financials menu.
Individual User
If a user account has been selected using the Name Search function, that user's information will be displayed at the top of the page. Click Ledger to view that user's prior transactions in a new window.
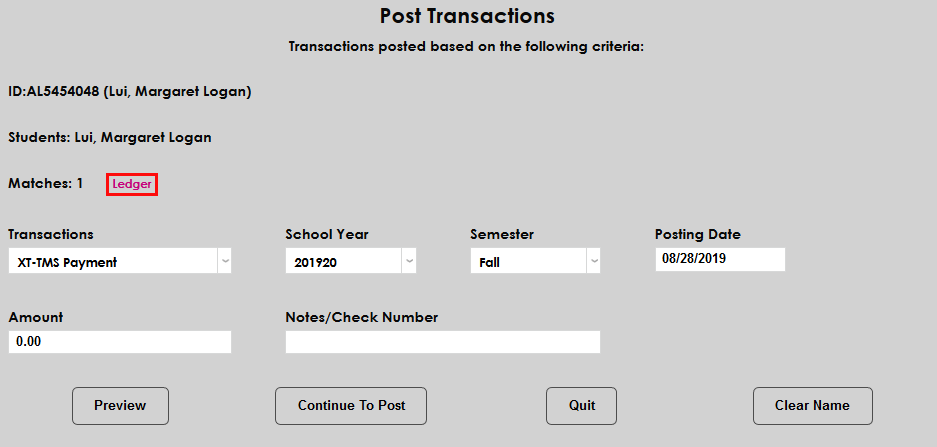
Click Continue to Post to post a transaction for this user or Clear Name to remove this selection and select another user or users.
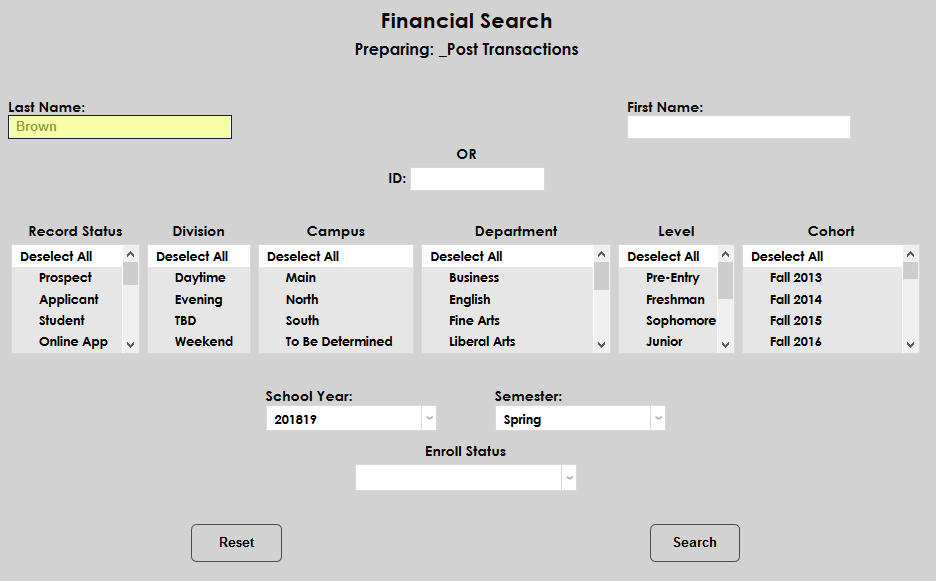
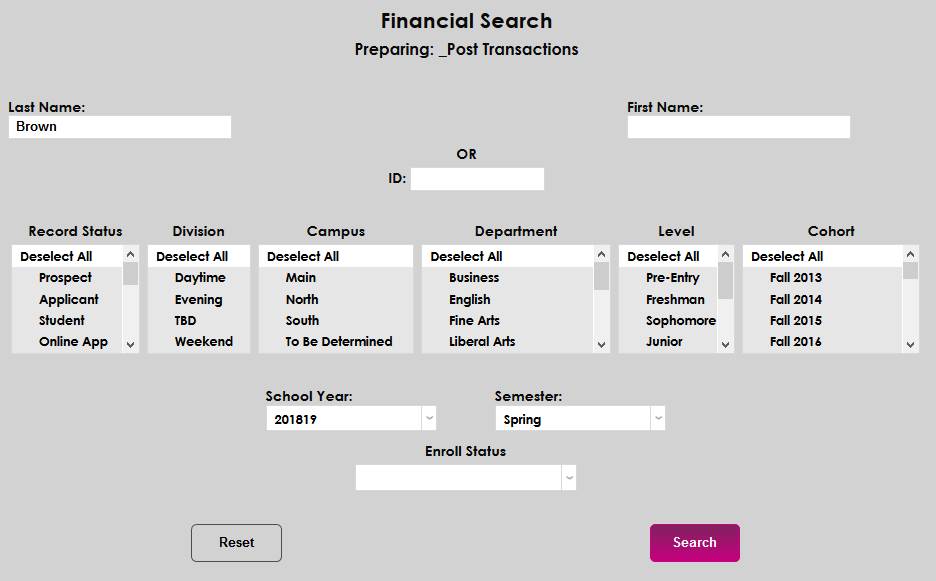
With no user previously selected, administrators can search for a single user by filling out the Last Name, First Name, and/or SONIS ID fields at the top of the page and clicking the Search button.
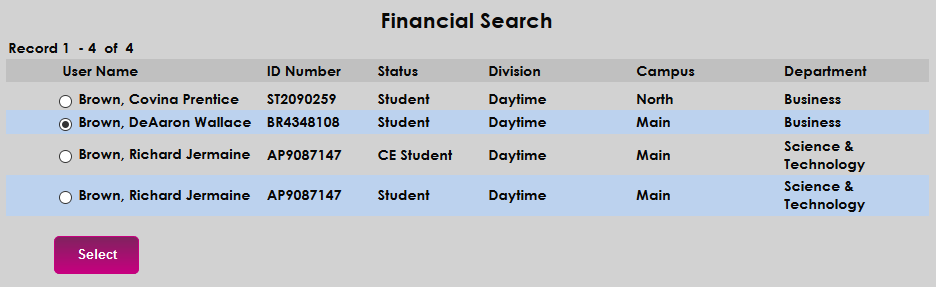
The results of the search will be displayed and the administrator will be asked to Select one of the users.
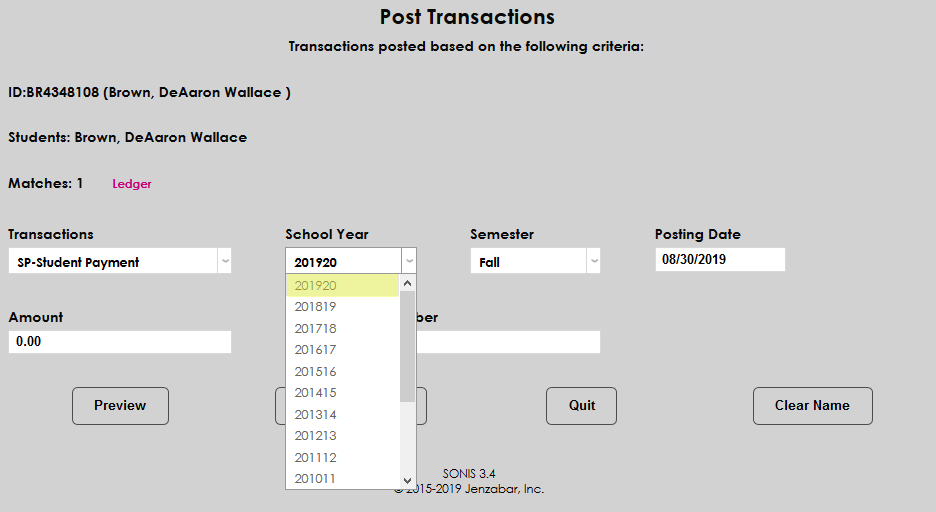
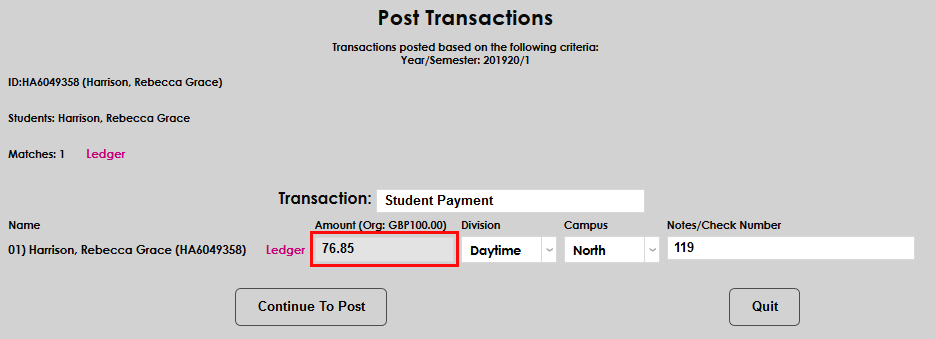
Once a user has been selected, the same selected user page as shown previously will appear with the user's Ledger available. To post a new transaction, first select a transaction code from the Transactions menu.
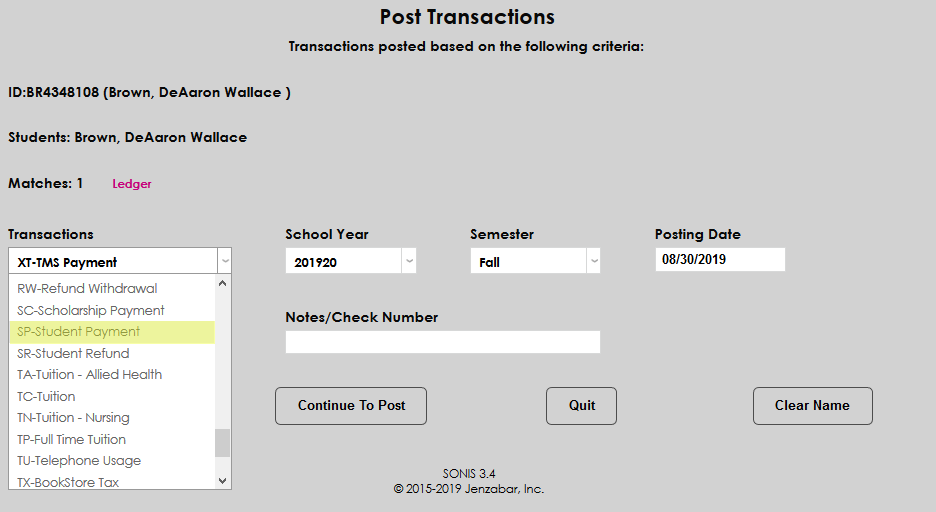
Next, select the School Year and Semester that the transaction should be associated with. This may not always be the current school year and semester.
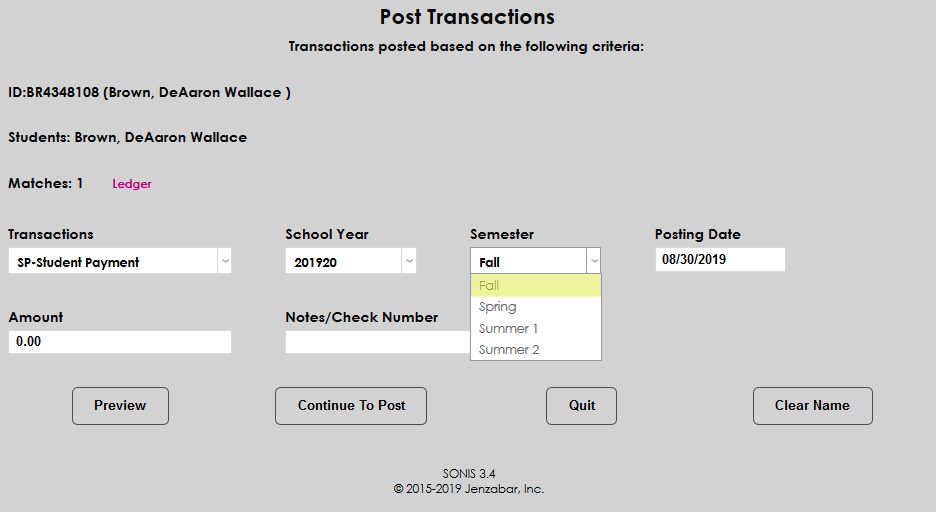
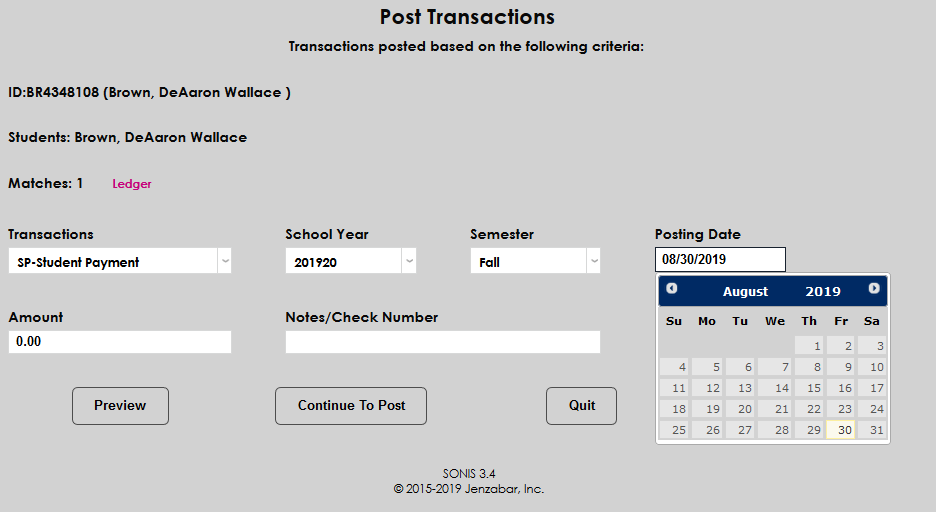
Enter a posting date for the transaction. This date can be the current date or the transaction can be dated forwards or backwards depending on individual needs. The date is only for record keeping and will not affect the date when the transaction actually posts.
Enter an amount for the transaction with decimals.
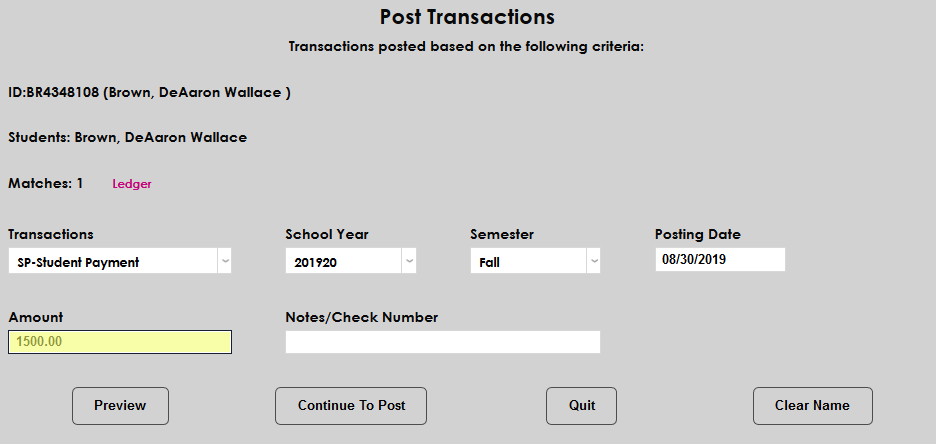
The Notes/Check Number field is optional.
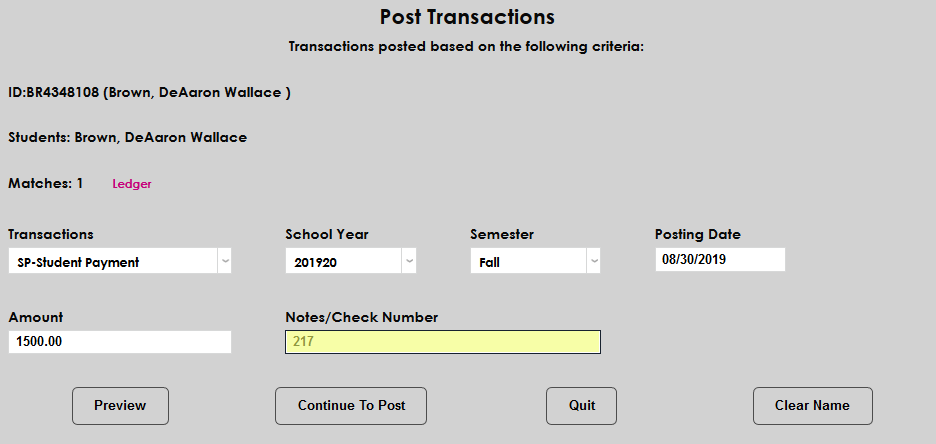
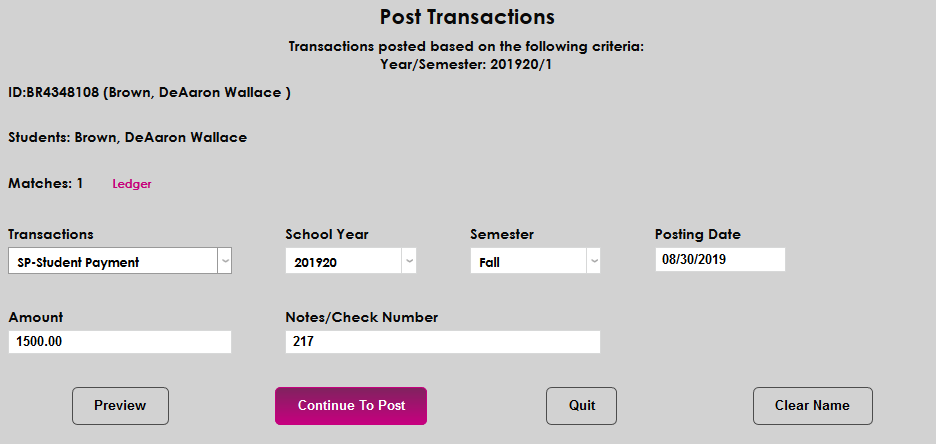
Administrators can choose to post the transaction with the Continue to Post button or they can choose to Preview the transaction.
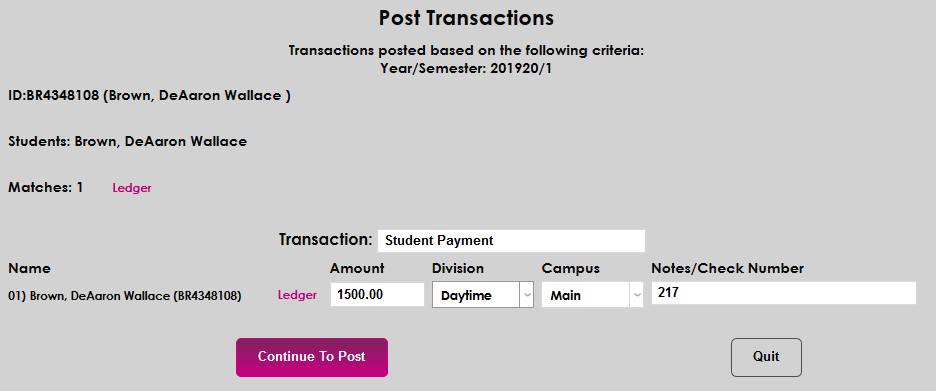
On the preview page, administrators can change the Amount and the Notes/Check Number just entered or change the Division and Campus associated with the transaction. Once any necessary changes have been made, click Continue to Post.
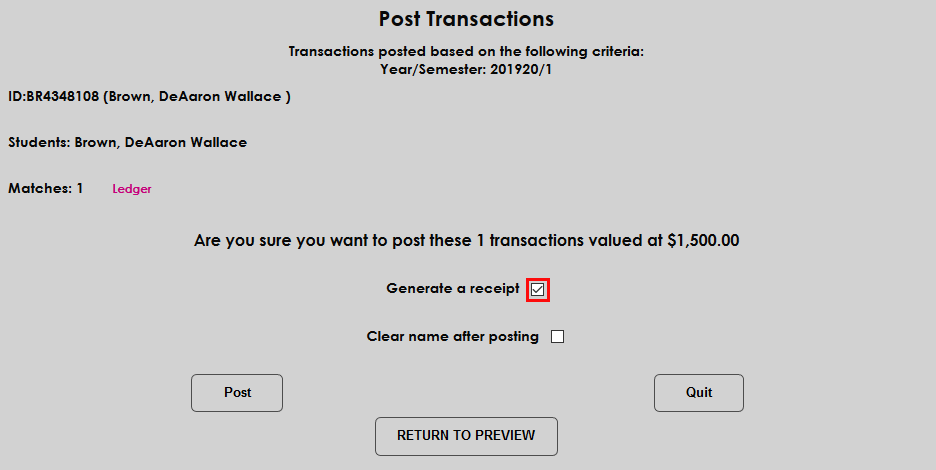
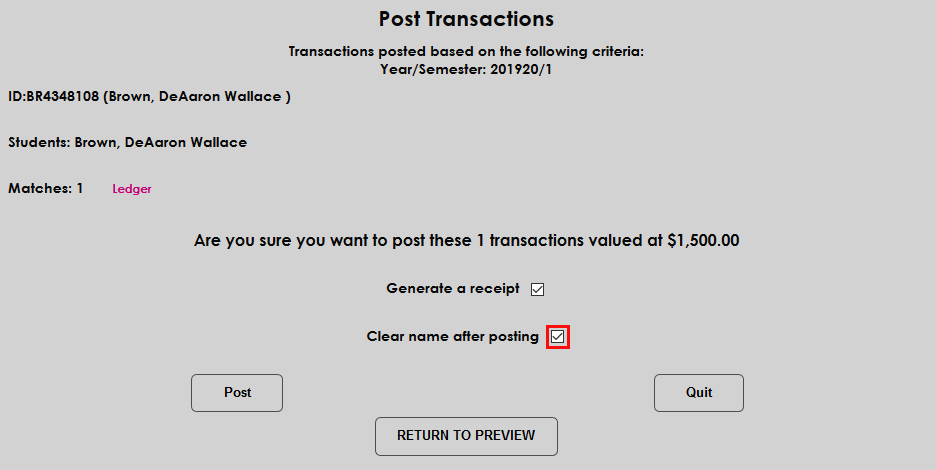
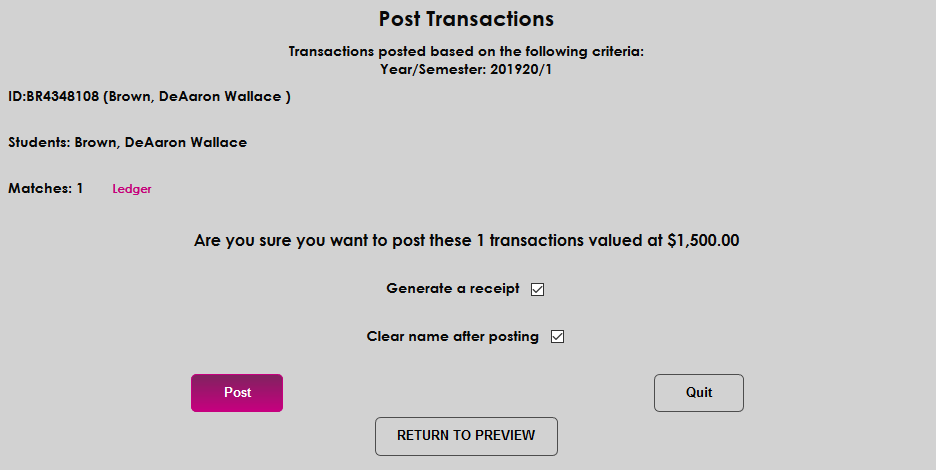
Administrators have one last chance to Quit and not post the payment. Additionally, they have the option to Generate a receipt and/or Clear name after posting by selecting the corresponding check boxes before clicking Post to complete the process.
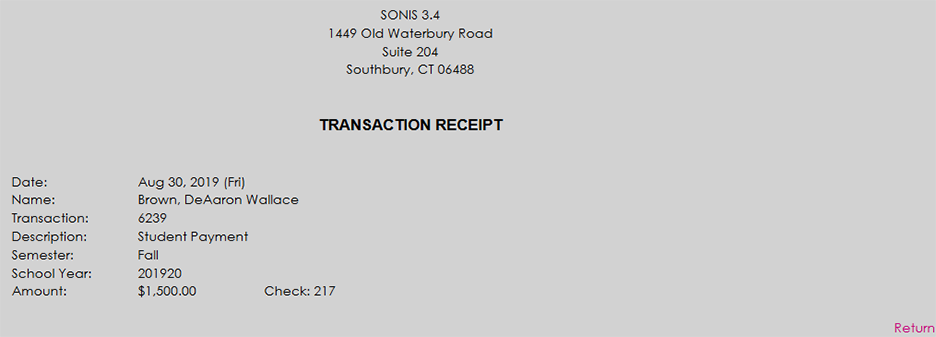
If the Generate a receipt box was checked, a printable receipt will be displayed.
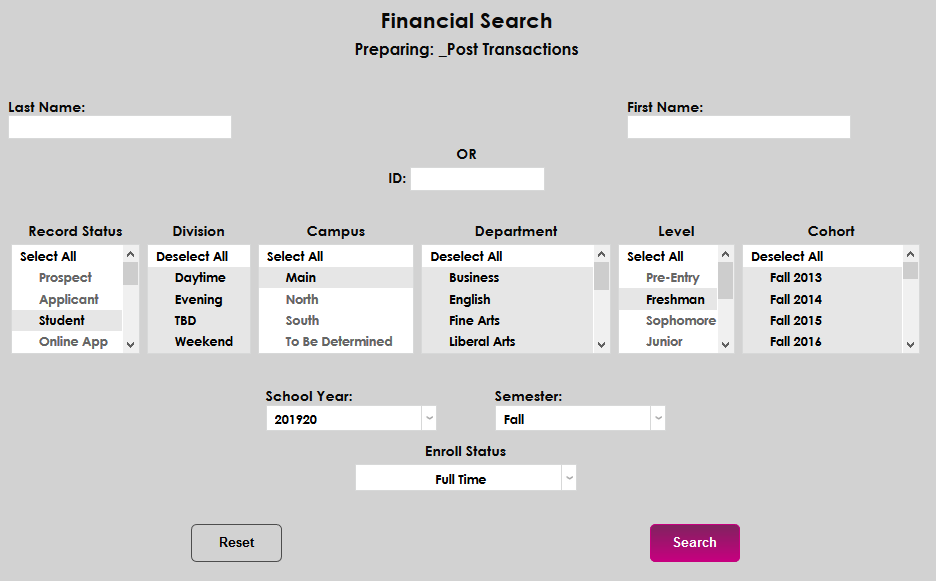
Multiple Users
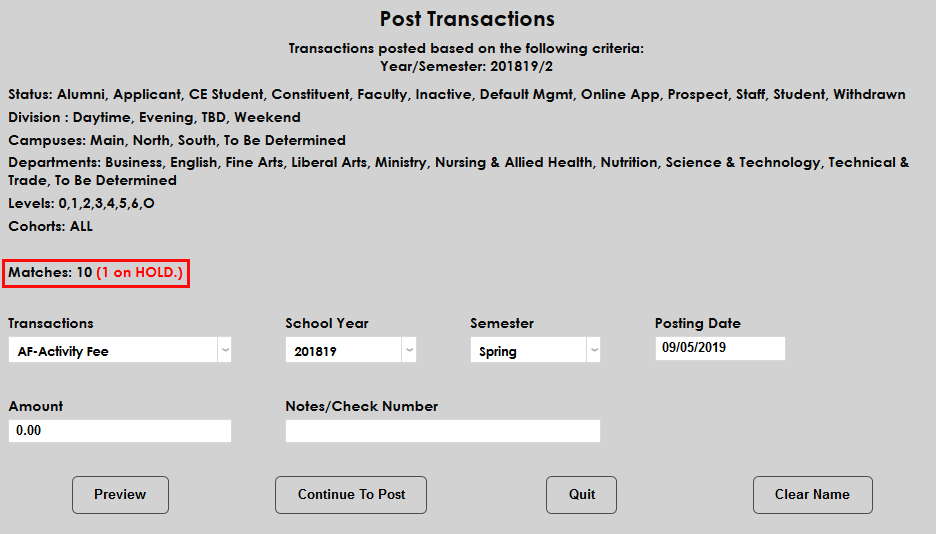
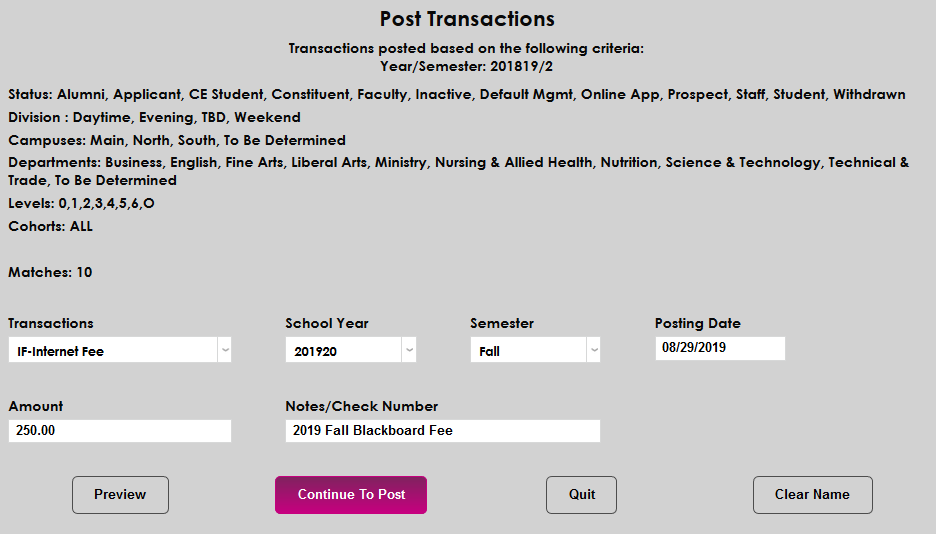
In addition to posting to a single user account, administrators can post transactions to multiple user accounts in bulk. Use some or all of the Record Status, Division, Campus, Department, Level, Cohort and Enroll Status fields in conjunction with the School Year and Semester drop-downs to narrow down the results. Once the proper demographics selections or user information has been entered, click Search to continue.
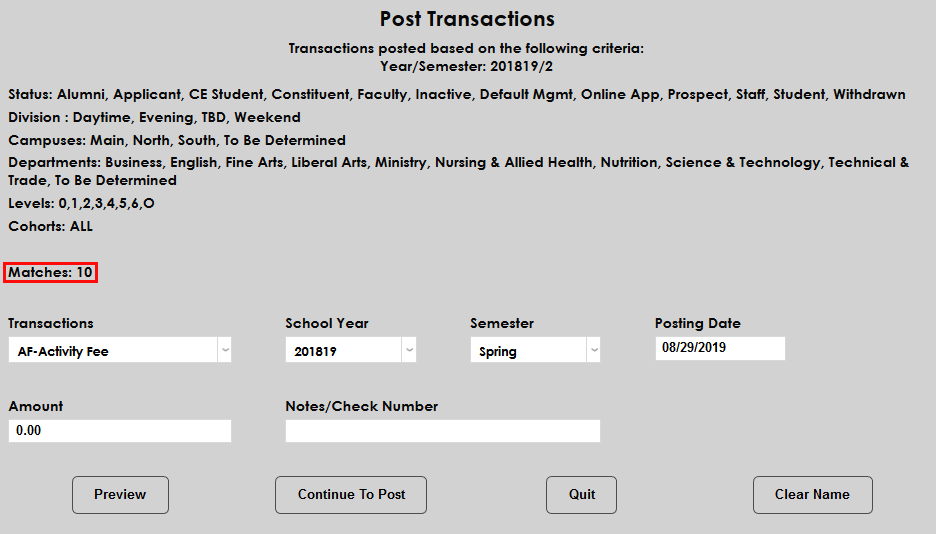
The demographic categories selected will be listed at the top of the next page. Just below that is the number of matches, letting the administrator now how many users will have the transaction apply to their account.
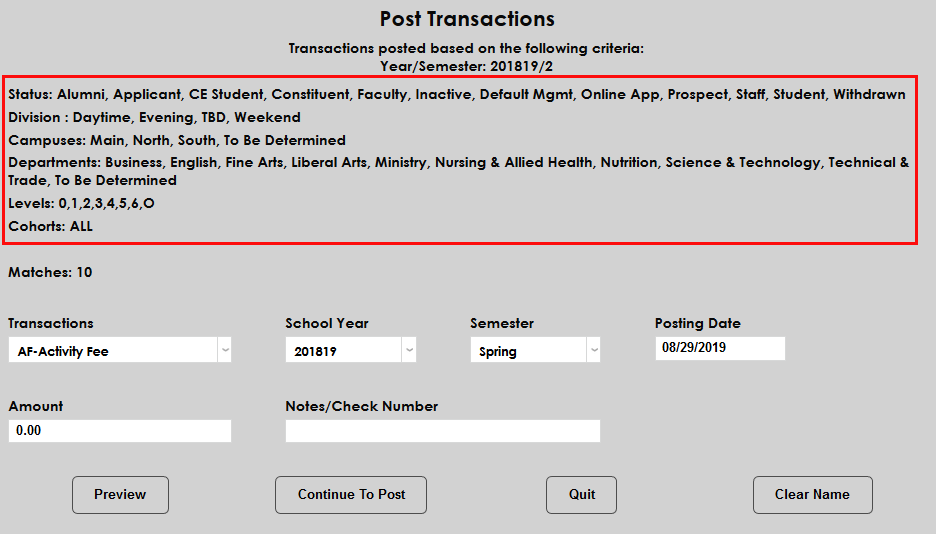
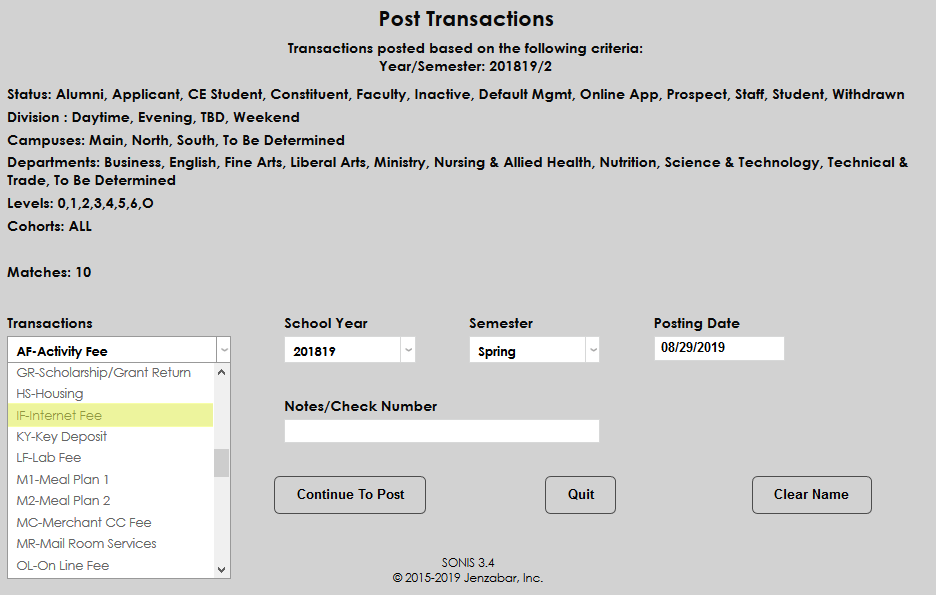
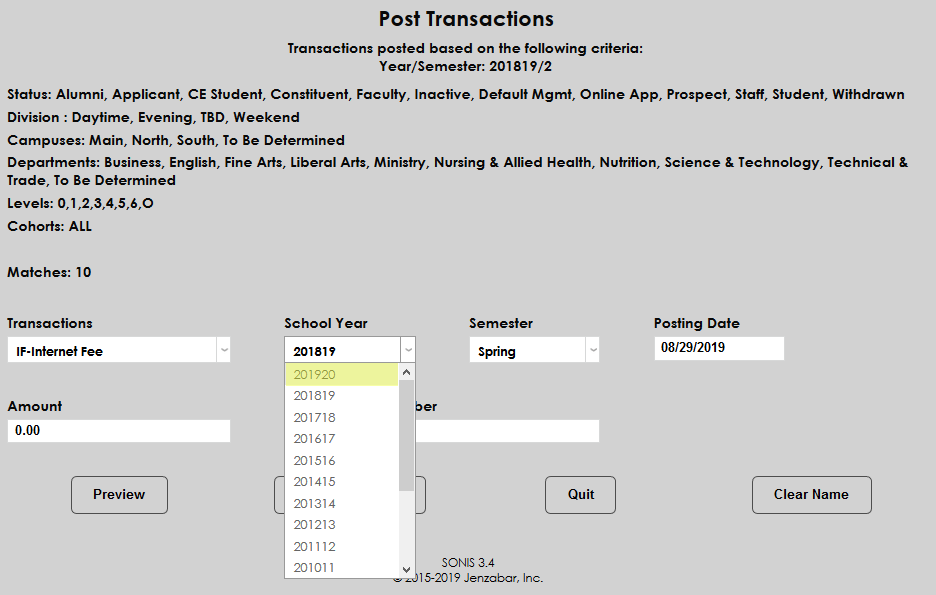
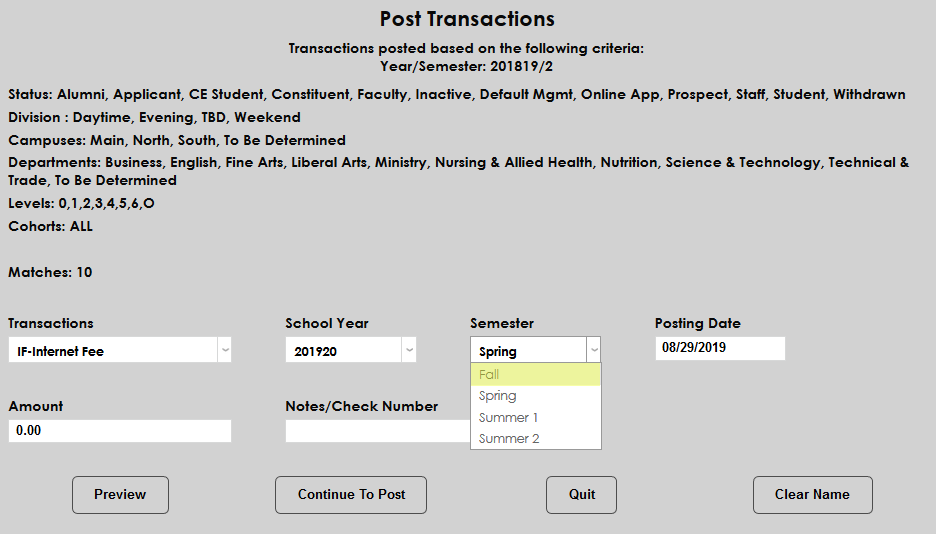
To post a new transaction, begin by selecting a transaction code from the Transactions menu.
Next, select the School Year and Semester that the transaction should be associated with. This may not always be the current school year and semester.
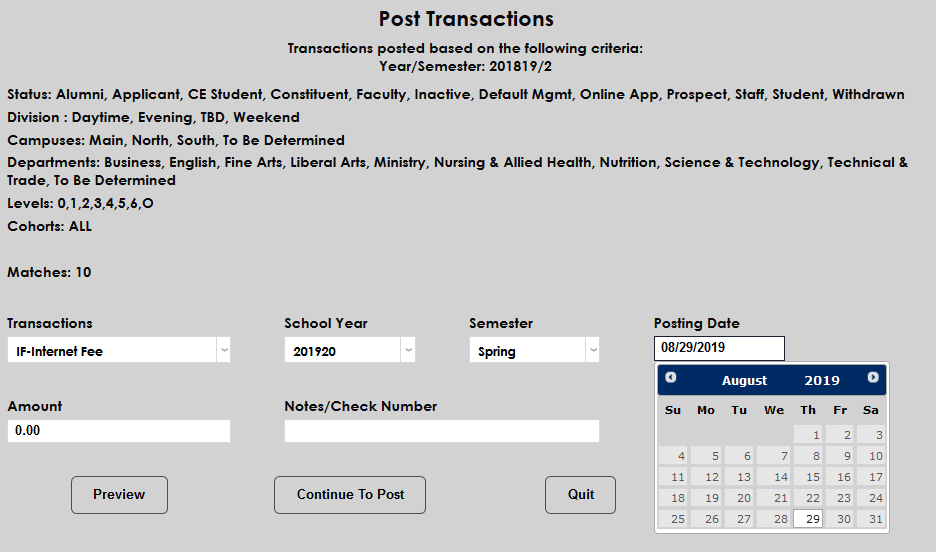
Enter a posting date for the transaction. This date can be the current date or the transaction can be dated forwards or backwards depending on individual needs. The date is only for record keeping and will not affect the date when the transaction actually posts.
Enter an amount for the transaction with decimals.

The Notes/Check Number field is optional.
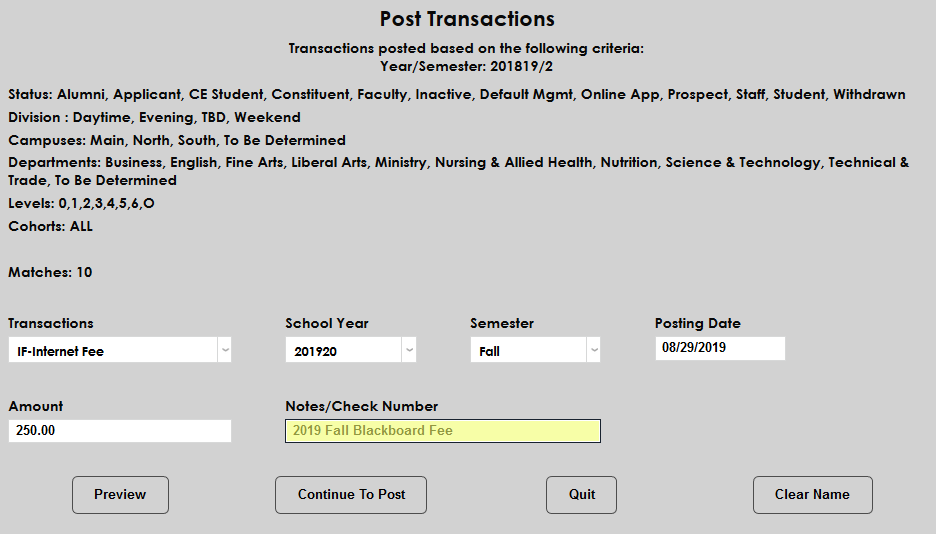
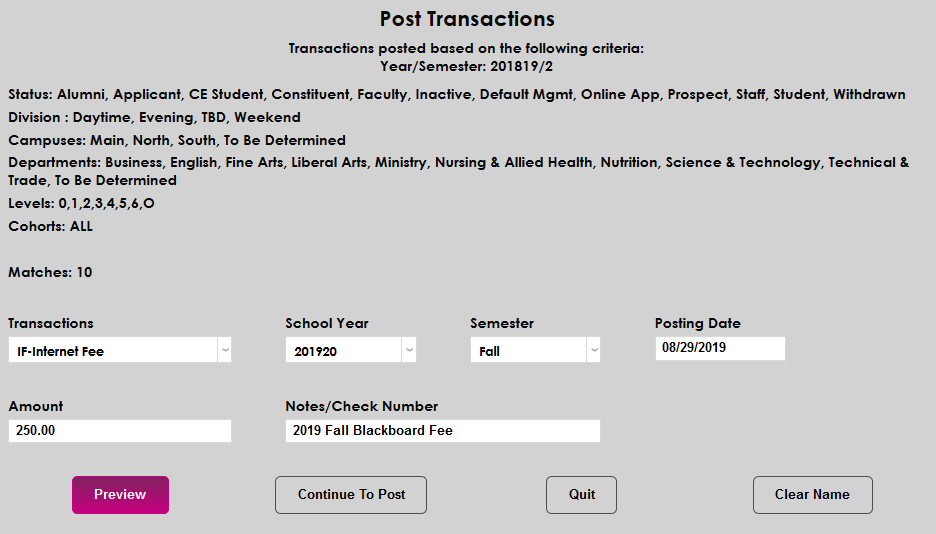
Click the Continue to Post button to continue or the Preview button to display a preview page that allows individual totals to be changed.
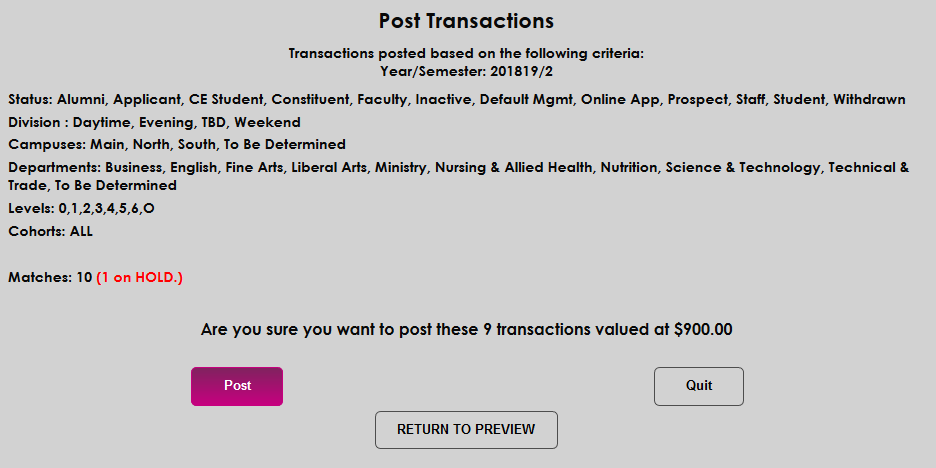
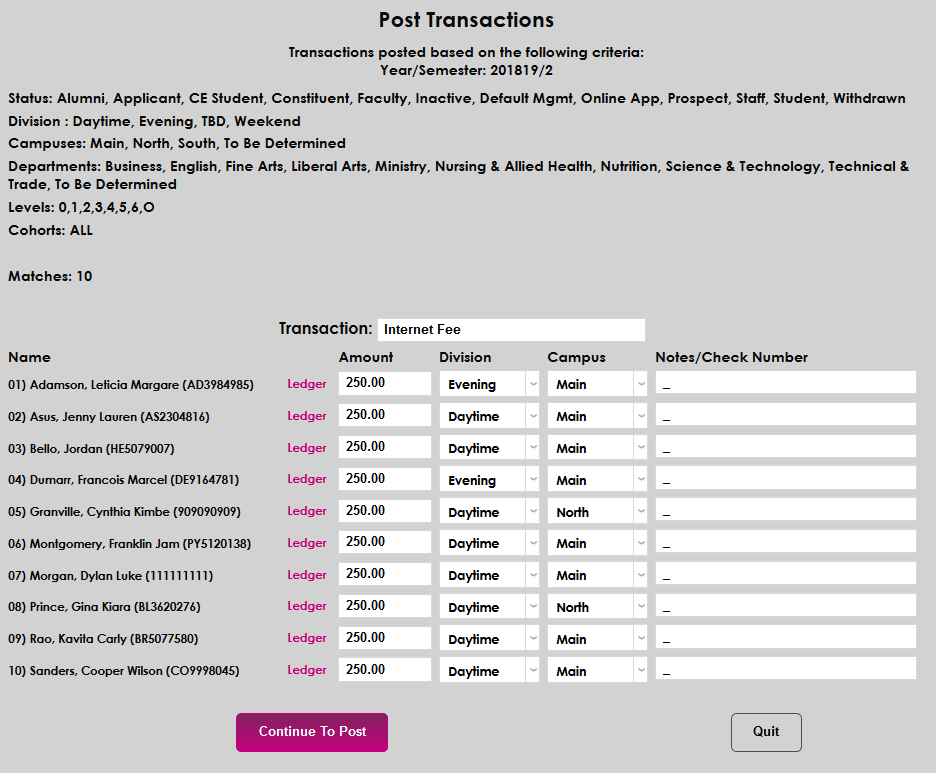
The preview page allows administrators to view each user's ledger or change the amount of the transaction or the division and campus it posts under. It also allows administrators to add a check number or note for each individual user. Once any necessary changes have been made click Post to continue.
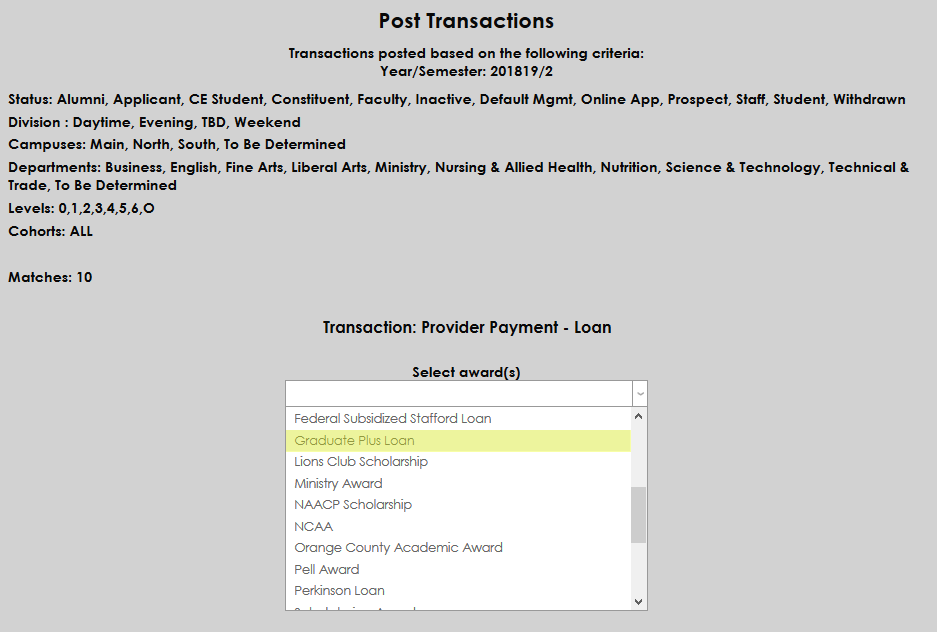
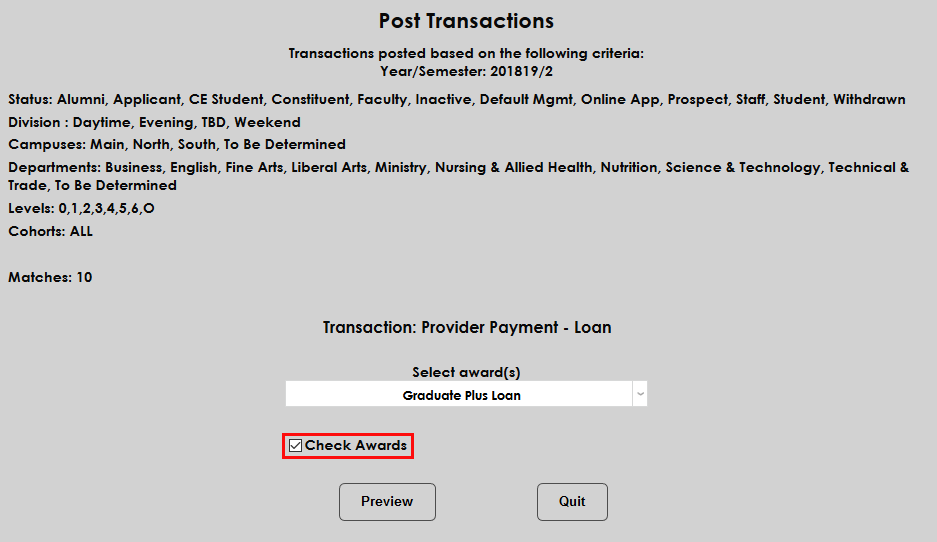
If an award transaction code is selected rather than an unaffiliated charge or payment, administrators will be asked to select an award before continuing.
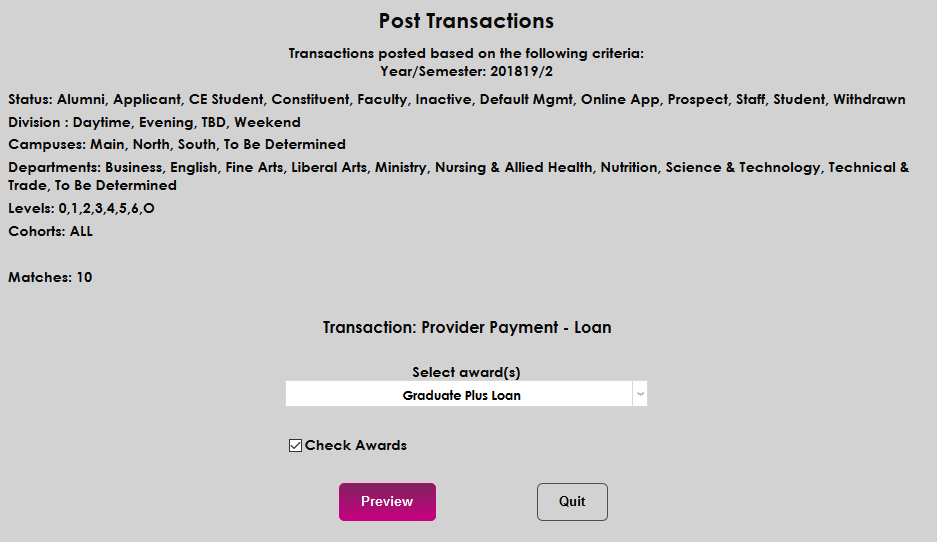
If the Check Awards box is checked, SONIS will check the selected student(s) records for a matching award. Click Preview to continue.
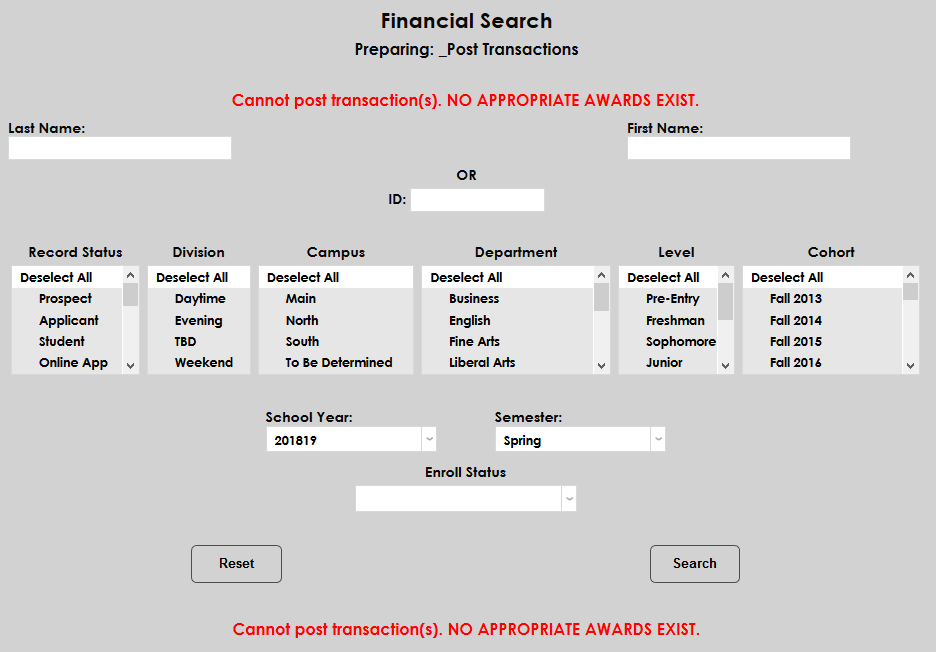
If the Check Awards box is checked and no matching awards are found, the administrator will be returned to the search page with a message reading: Cannot post transaction(s). NO APPROPRIATE AWARDS EXIST.
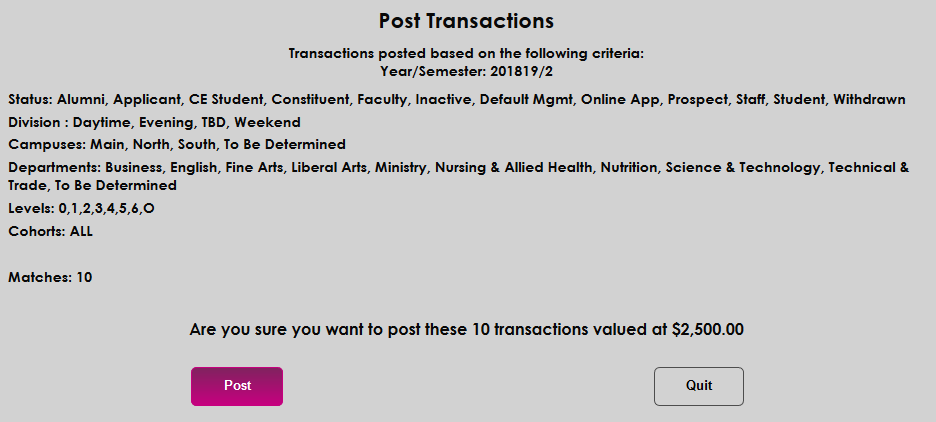
Once an administrator has continued past the preview page, a message appears giving the total number of transactions and their monetary value. Click Post to complete the process and post the transactions.
Multiple Currency Option
Schools that have the Multiple Currency option enabled can select a currency when posting payment transactions. The option appears once a payment Transaction Code has been selected. Select a currency and continue posting the transaction as normal.
If the Preview button is used, the total will be locked in to ensure that the conversion occurs correctly.

Holds
Some institutions may run into issues in which a student tries to pay a bill but has insufficient funds in their account. To prevent further failed payments and further penalties, these institutions may wish to put a hold on the user's account to prevent transactions from posting. To begin this process, select a student using the Name Search function and navigate to the user's Holds page. Click Add to create a new hold.

On the following page, select Post Transactions from the Hold menu.

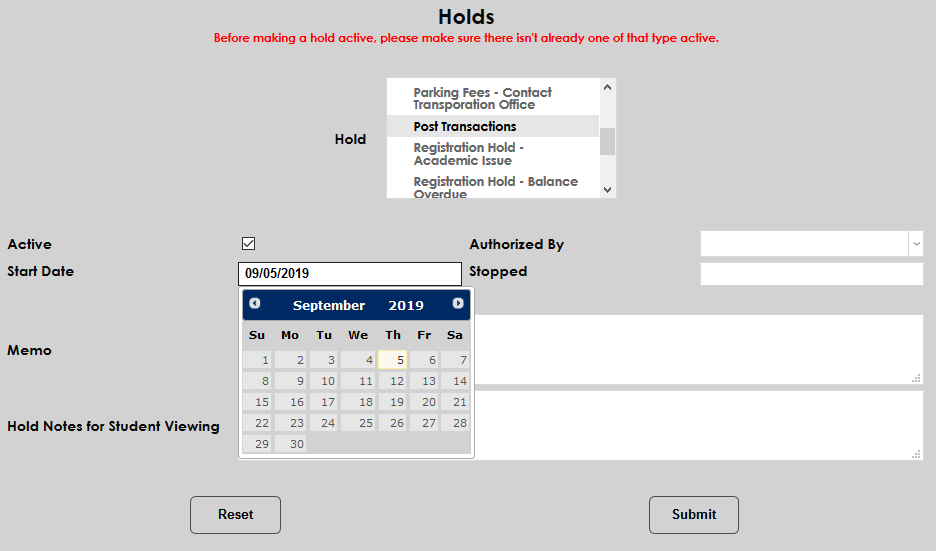
Check the Active box. The current date will automatically populate the Start Date field, but this date can be set to a past date for record-keeping or a future date if the hold should not be in effect until a later date.
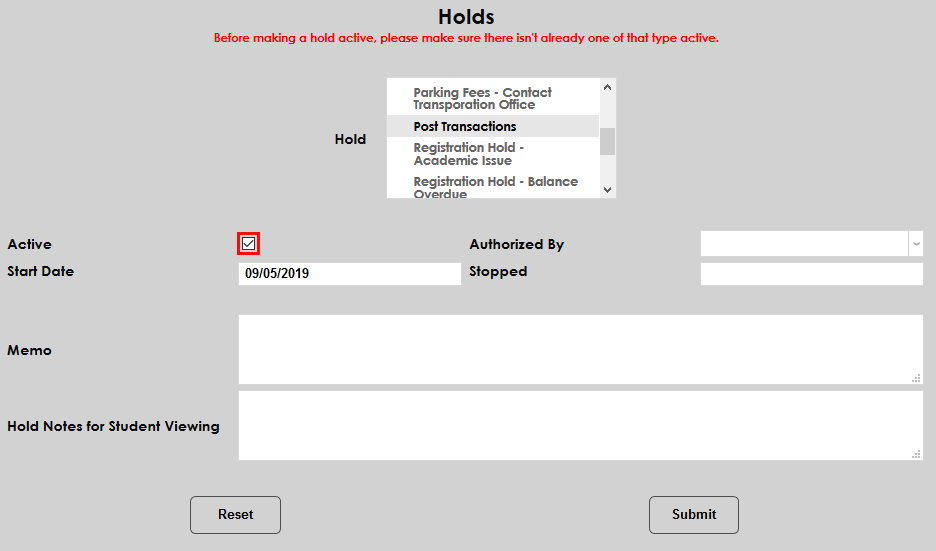
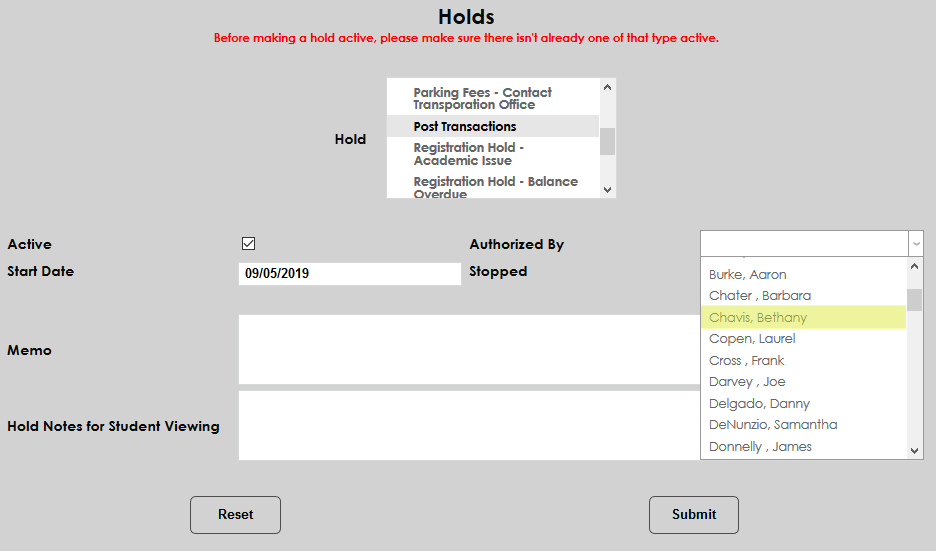
Select a staff member to authorize the hold from the Authorized By dropdown.
Administrators can also add a Memo for admin record keeping and Hold Notes for Student Viewing.

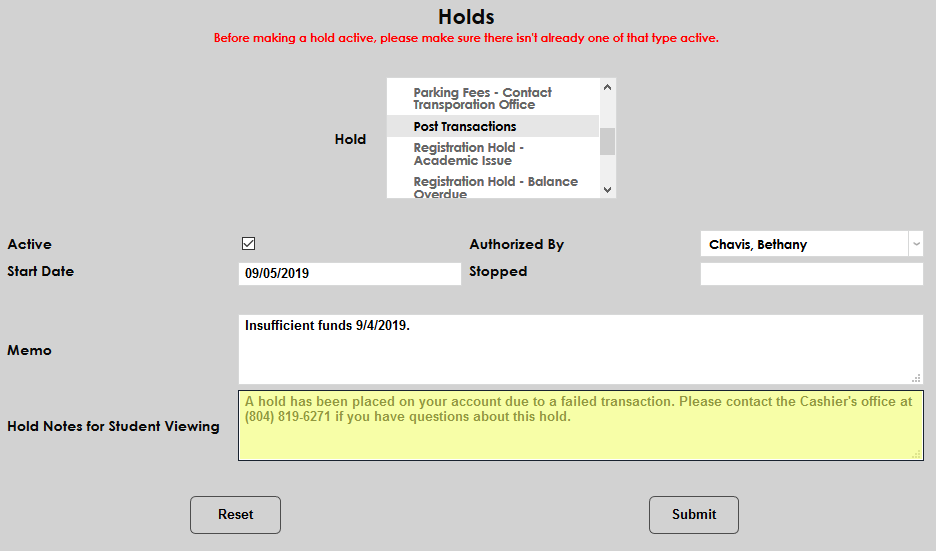
Click the Submit button to add the hold.
When posting transactions to a group of users, a note is included showing the number of students in the group who have a Post Transactions hold on their account. The preview page shows the student's hold status in place of the amount, indicating that the transaction can not be posted. Continuing will post the transaction for the other listed students.