Section Add
Overview
After a course has been created, administrators can use the Courses menu utility Section: Add, or the Create New Section Wizard, to create sections, also known as meetings or classes, associated with the course. Students will enroll in sections of courses, as the section level is where options like the dates, days of the week, times, and instructor are setup. If the section has unique charges associated with it, these are associated on the Course Fees Add/Edit page.
Adding a Section
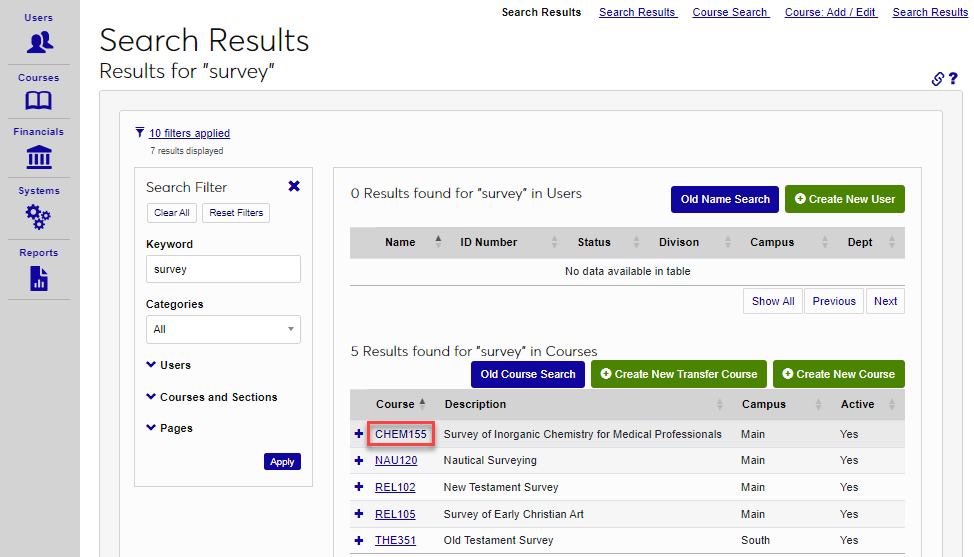
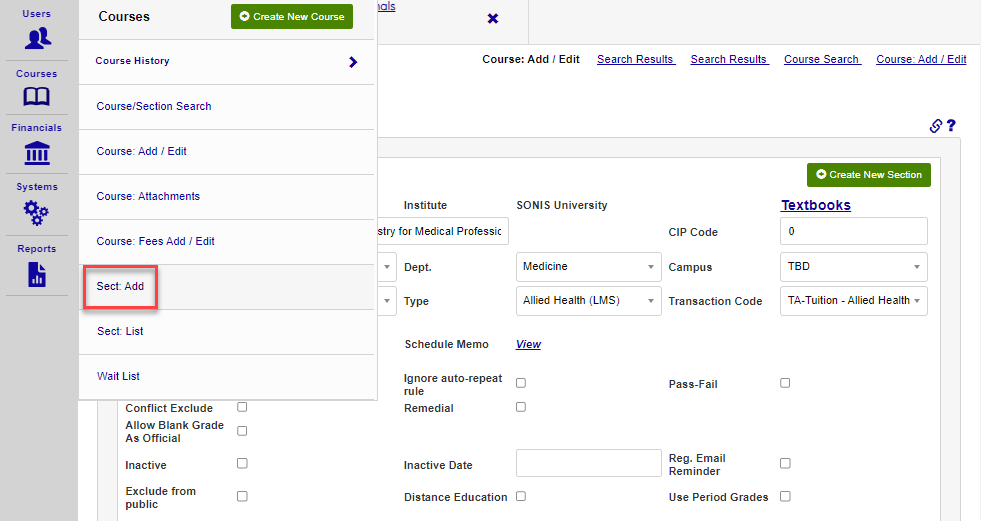
After searching for a course, select the course from the search, and select Section Add from the Courses hub.
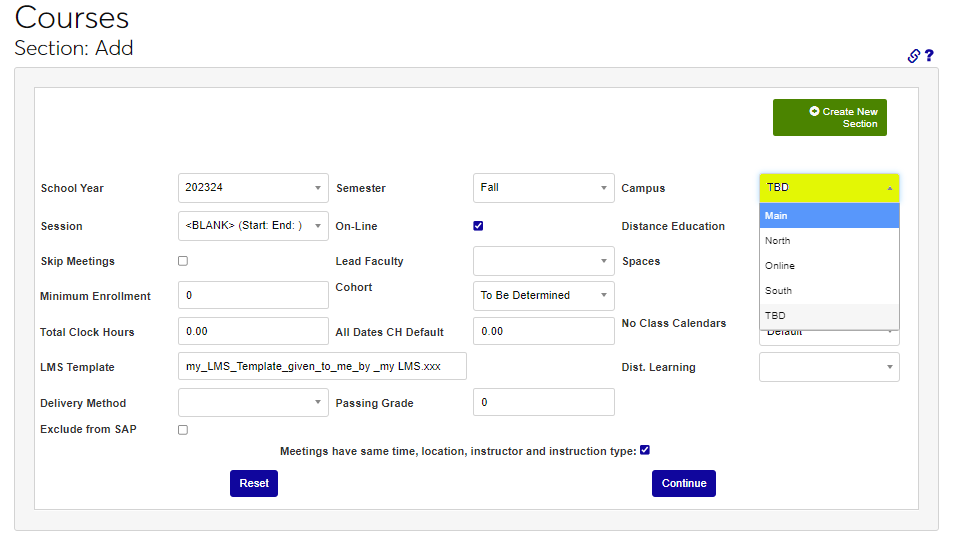
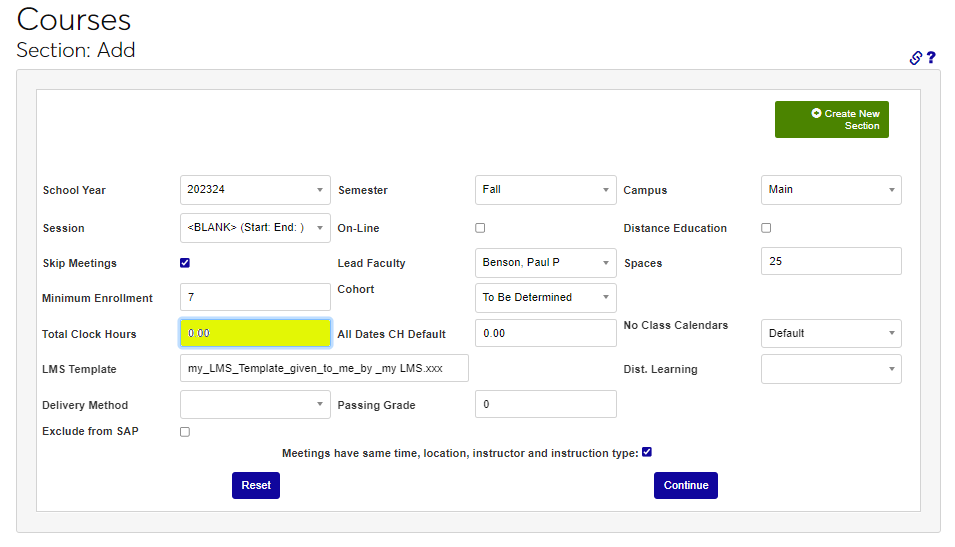
Select the School Year during which the section will be delivered from the dropdown. Pick the Semester the section will be offered during from the dropdown menu.
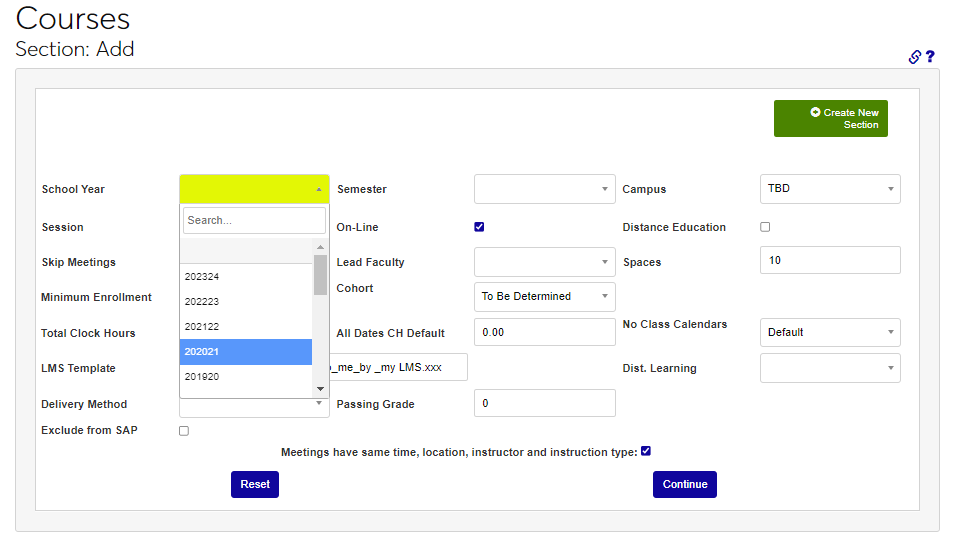
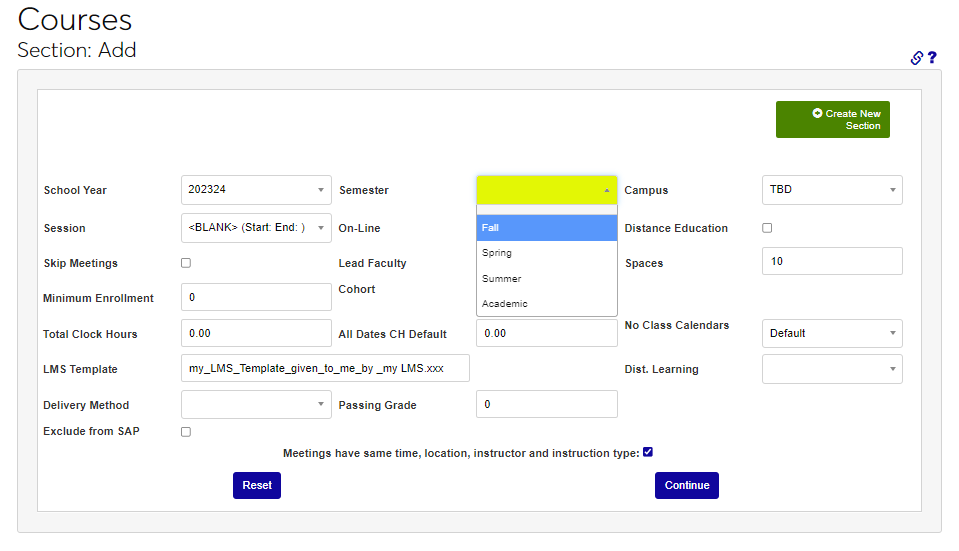
Select the name of the Campus the course will be delivered at or through from the dropdown menu. If the section will be offered in a Session select the name of the session from the dropdown menu. If no session will be associated, leave the blank option selected.

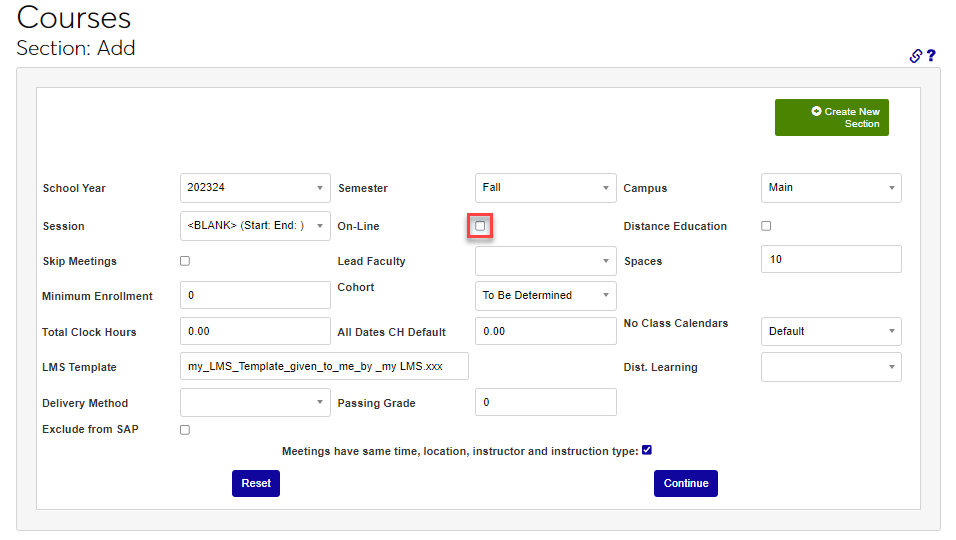
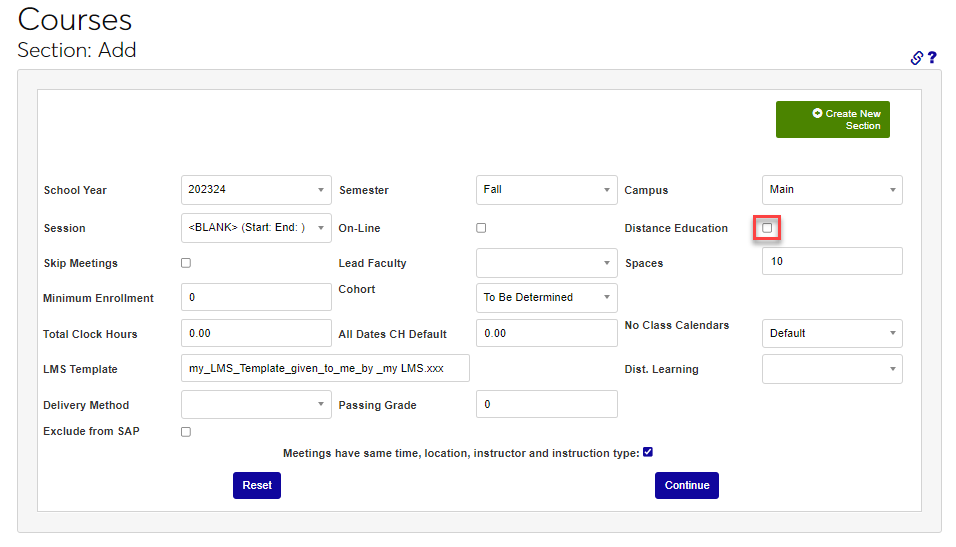
If the section will be delivered online, click the Online box. If it is categorized as Distance Education, click the box.
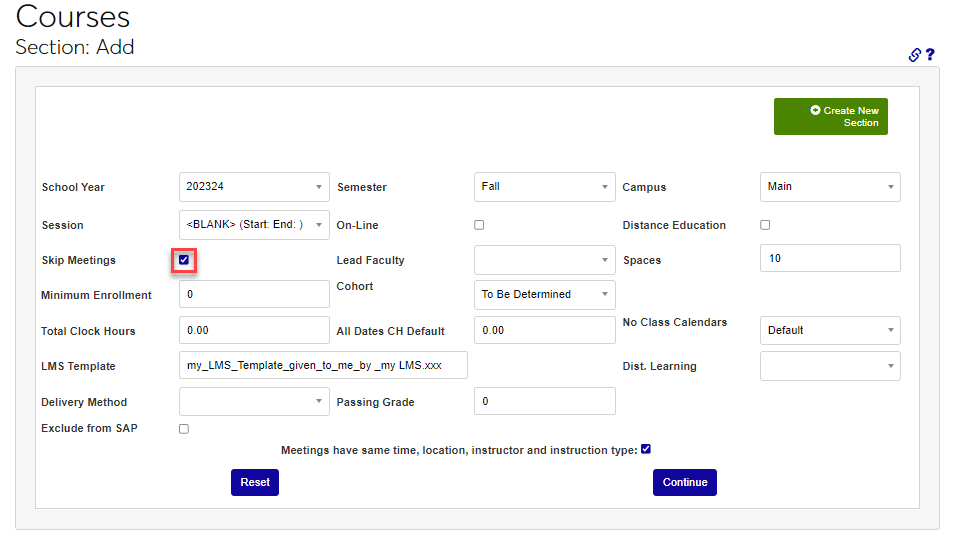
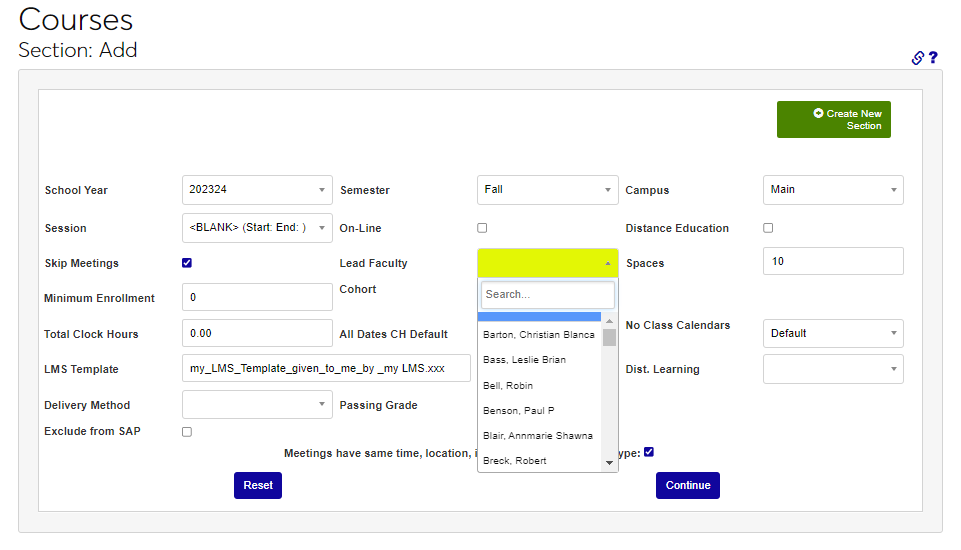
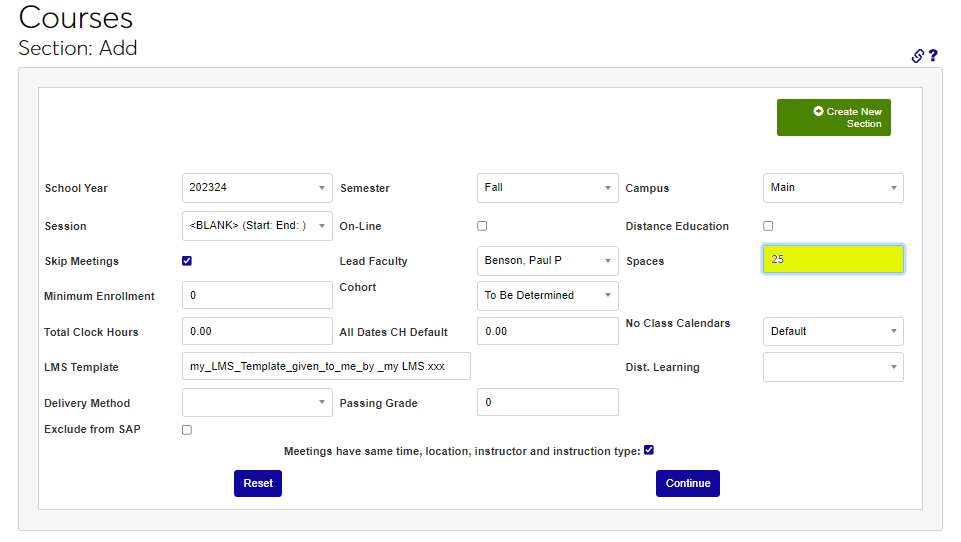
If meetings times are not yet decided and will be added later, click Skip Meetings. TBD will be displayed in all display areas until meetings are added. Select the faculty member or instructor that will be teaching the course from the Lead Faculty menu.
Enter the number of maximum number of students that may enroll in the course section in the Spaces field. If a minimum number of students must enroll for the section to run, enter that number in the Minimum Enrollment field.
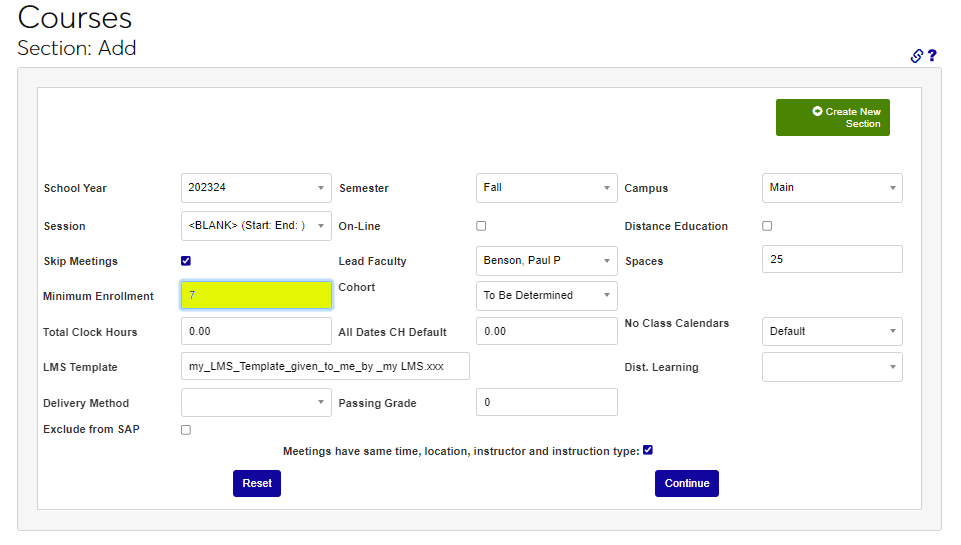
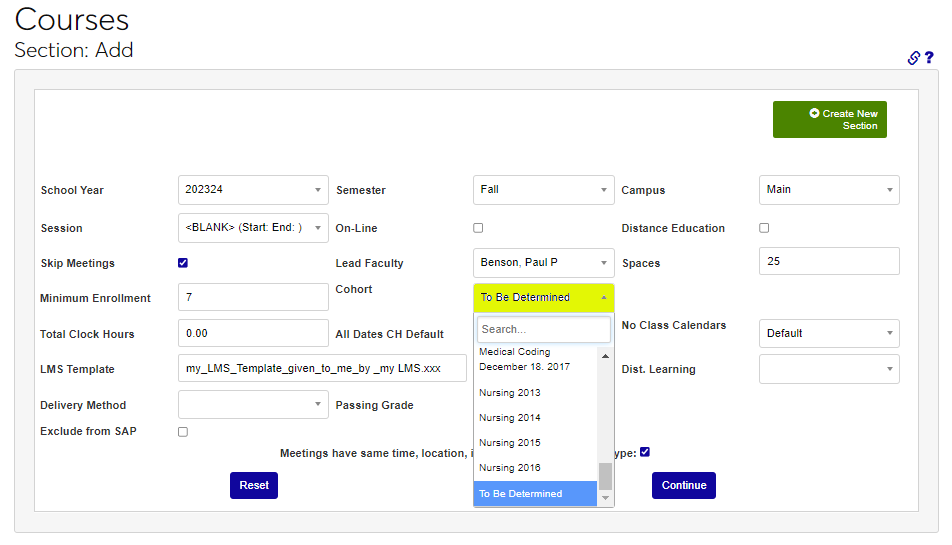
If the section is restricted to a specific cohort, select the name from the Cohort menu. If the section will be delivered in clock hours, enter the number in the Total Clock Hours field.
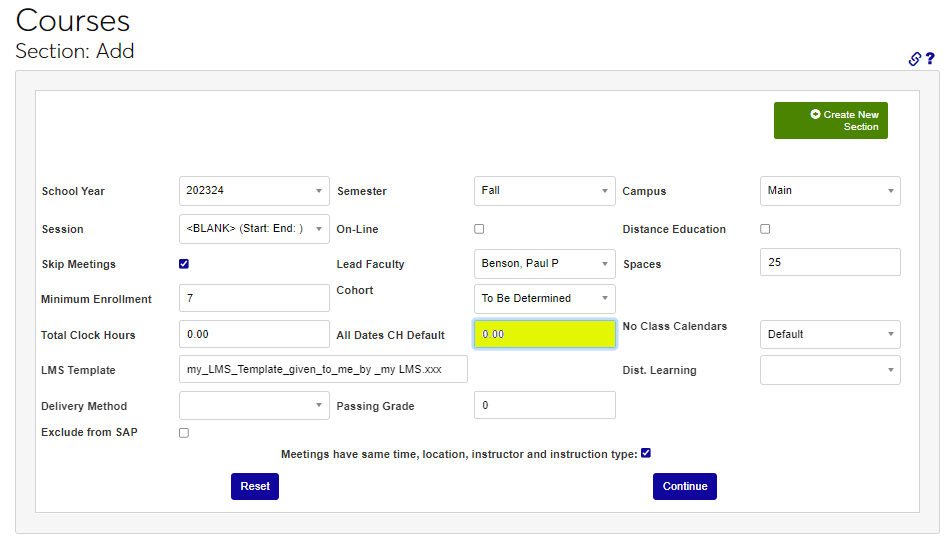
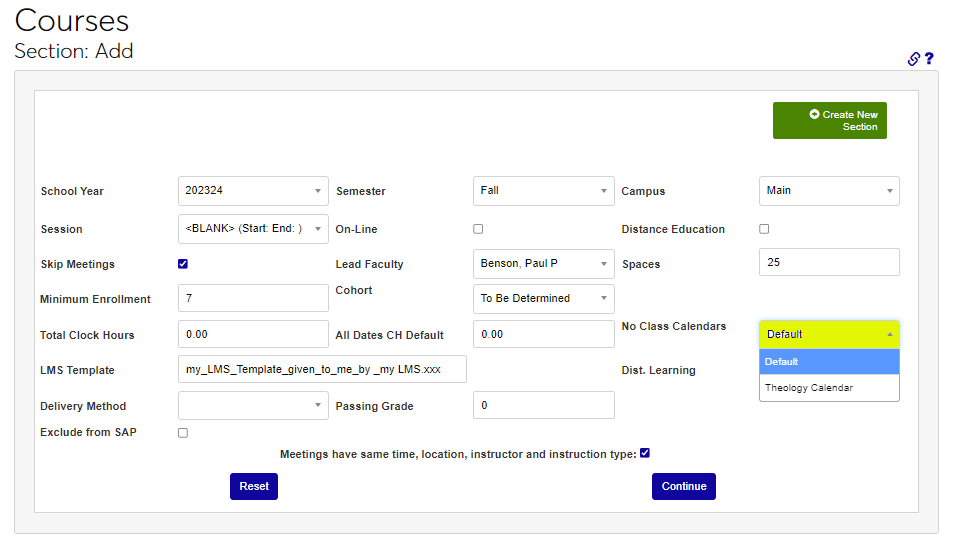
If a clock hour section should have all dates defaulted to a single date, enter the date in the All Dates CH Default field. Select the calendar that should be used for determining when the section will not be meeting from the No Class Calendar dropdown menu.
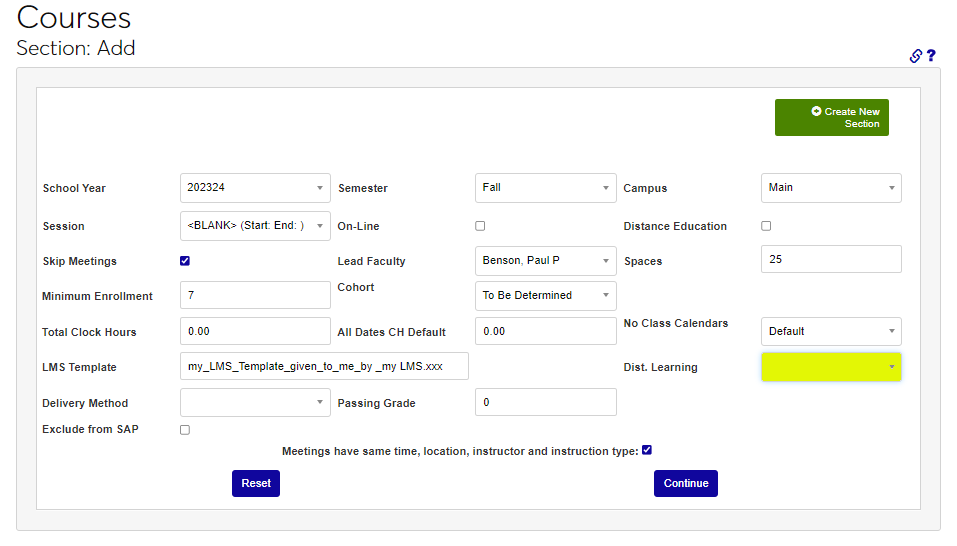
If integrated with a learning management system, enter the associated template in the LMS Template field. Select a Dist. Learning Code from the dropdown, if appropriate to the section.

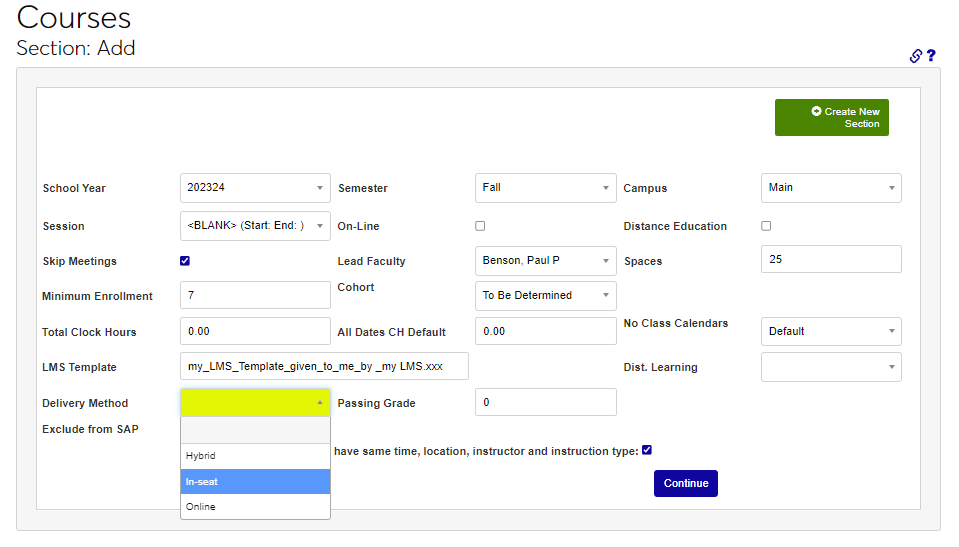
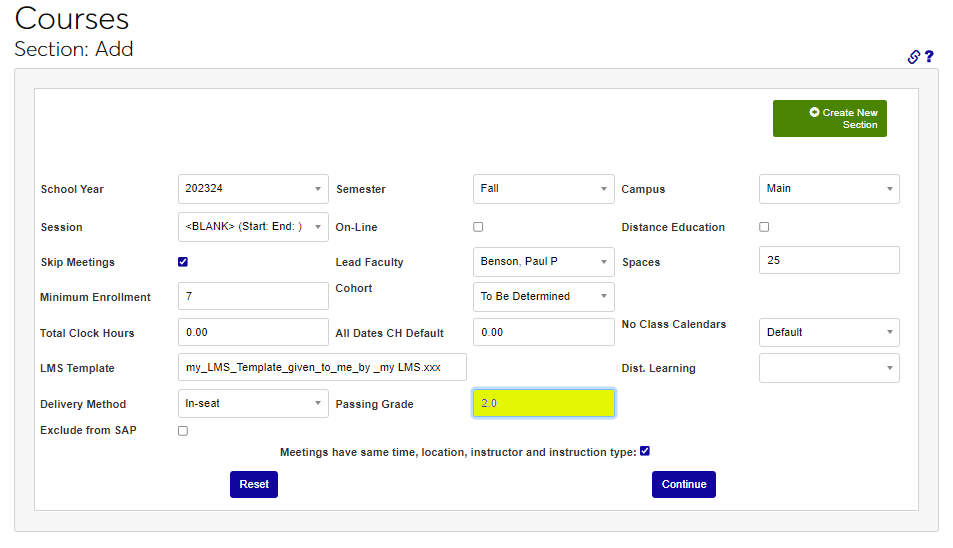
Select the way the course will be provided to students from the Delivery Method menu. Enter the minimum grade required to pass the course in the Passing Grade field, in numeric value.
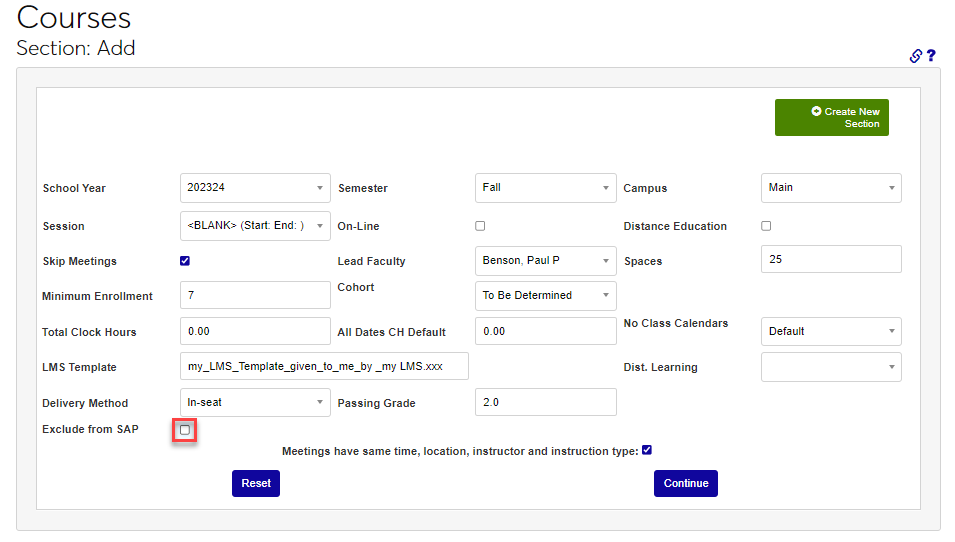
Check the Exclude from SAP box to exclude the course from Satisfactory Academic Progress calculation. Courses marked Exclude from SAP will be excluded when calculating both attempted credits and completion percentage. This option does not affect GPA calculation or transcripts. If all meetings will have the same time, location, instructor, and instruction type, check the box.

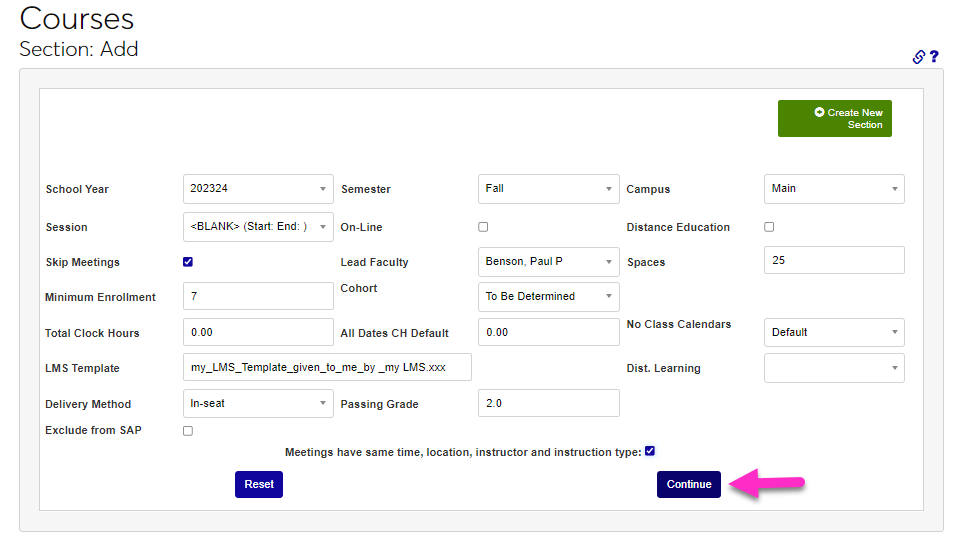
Click Continue to create the section.
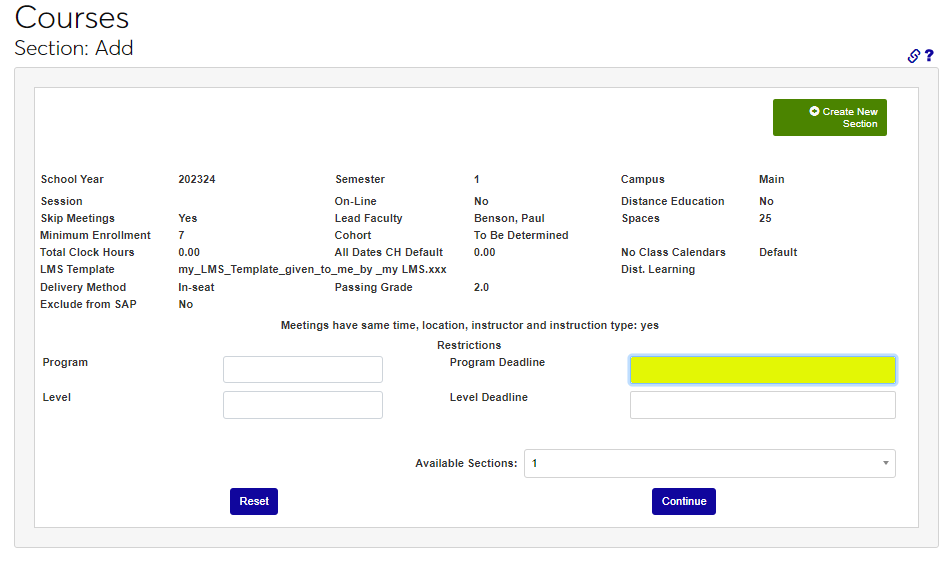
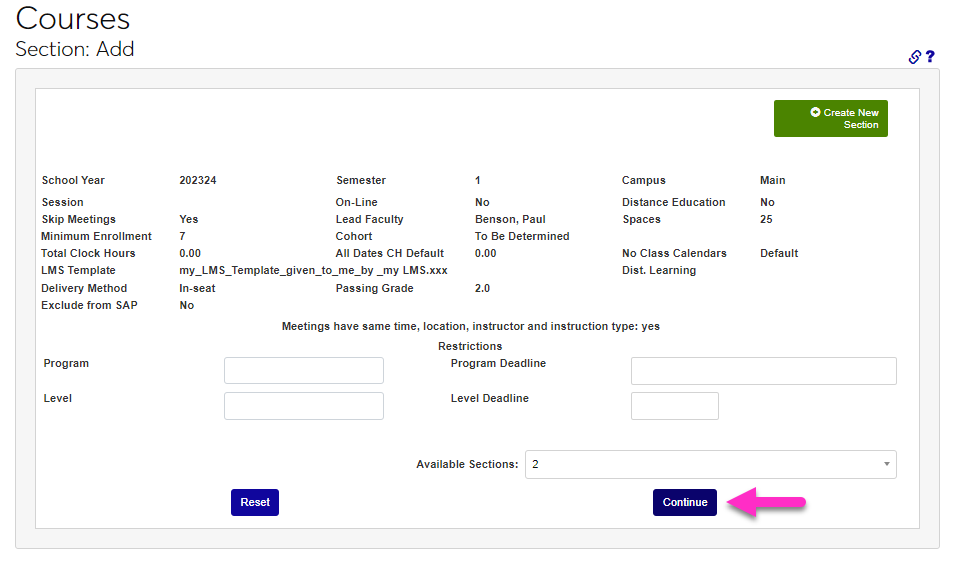
On the next page, review the details entered and enter any restrictions associated with the section, beginning with the Program menu and Program Deadline field.

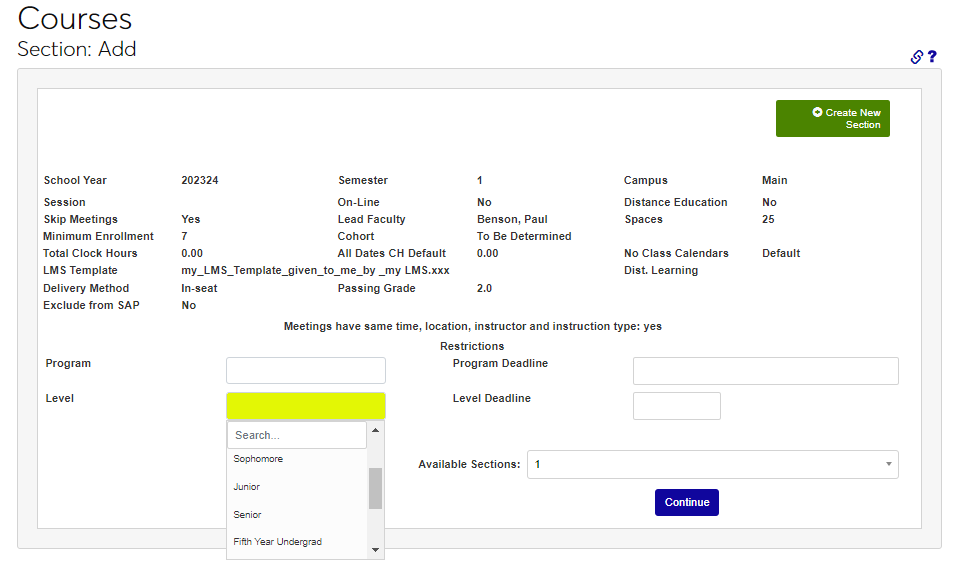
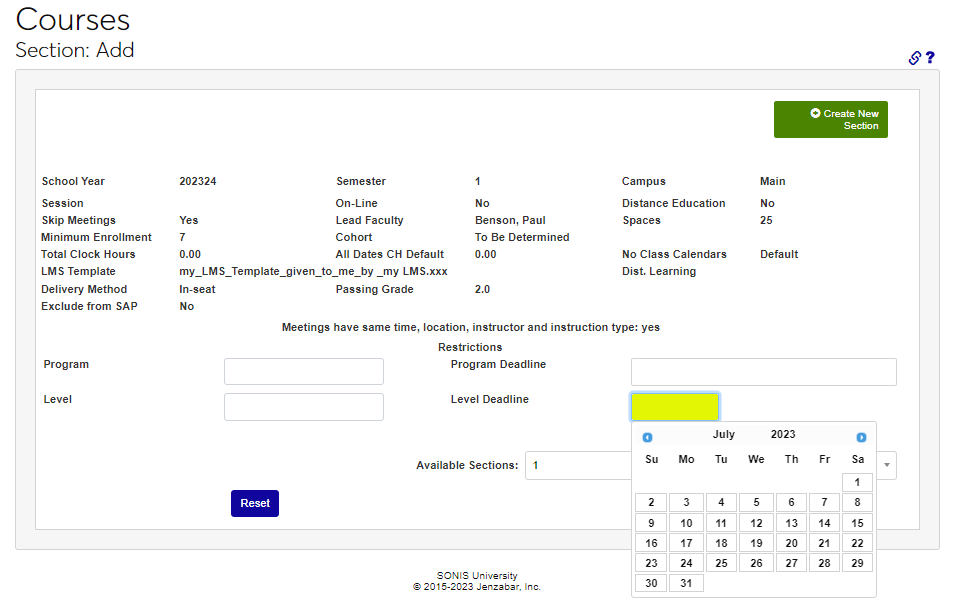
Select the Level and enter the Level Deadline, if appropriate.
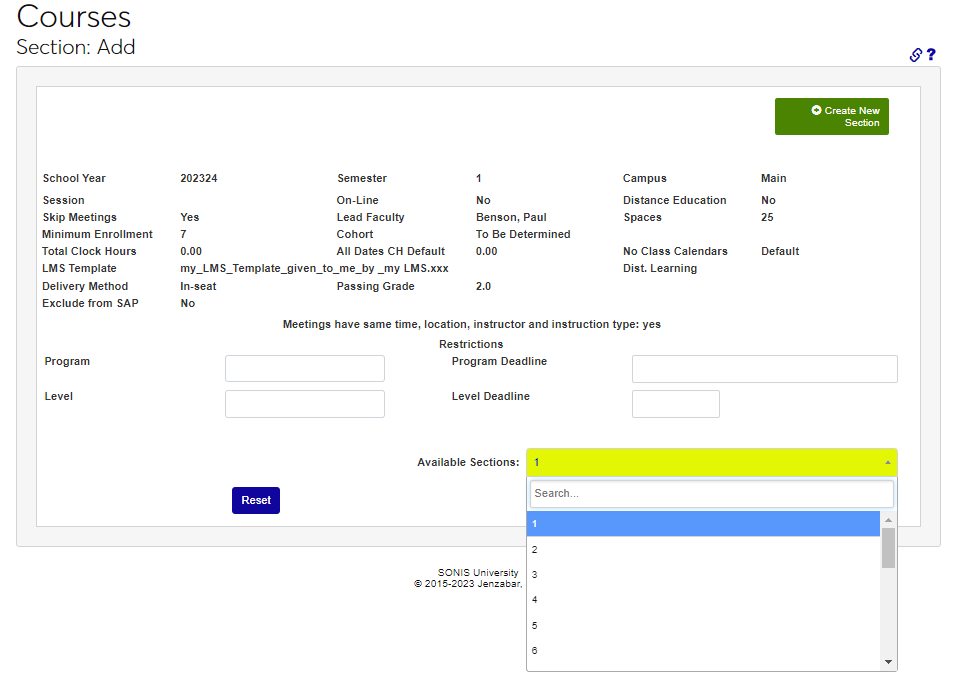
Identify the number of sections to be created by selecting the number from the Available Sections menu. Click Continue to create the section(s).
Adding Meetings and Other Details
After a section is created, the meeting times can be entered, as well as additional information such as cross listing, textbooks, syllabus, and memos using the Courses hub Section List page.