Jotform Utility
Overview
Jotform is a web application that can be used to create custom forms and surveys. Jenzabar SONIS clients can create an API connection to Jotform and map the fields from their forms. Then form data can be imported to SONIS, creating new user accounts for the people who have filled out the form. At this time, SONIS can only import names, birthdates, and email addresses.
You can create your own Jotform account at Jotform.com. Creating an account is free, but functionality is limited without an upgraded account.
Warning
When importing from Jotform to Jenzabar SONIS, the middle name field is not required, but the first name, last name, email address, and birthdate are all required. For this reason, these fields should be marked as required in all Jotform forms that will be imported.
Configuration
Jotform Credentials
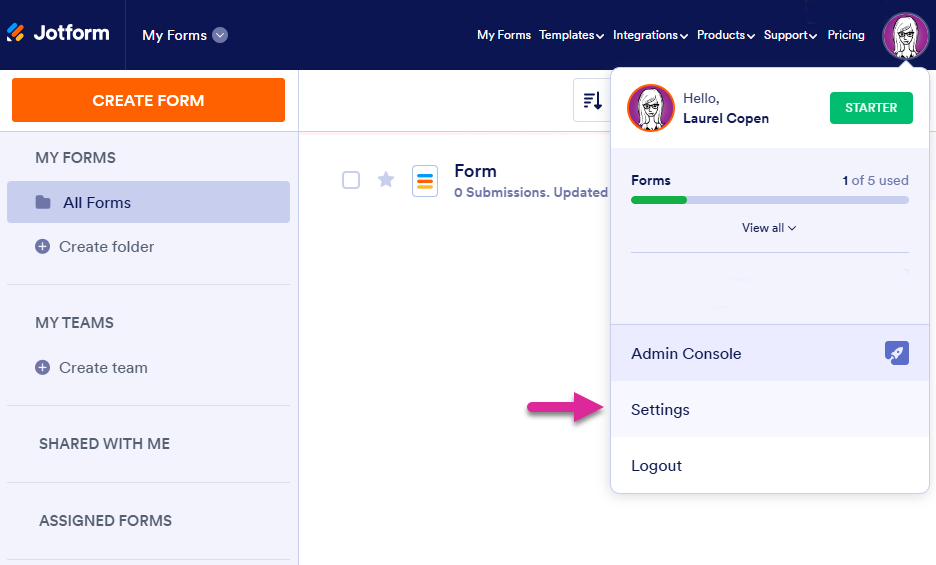
Once you've created a Jotform account, click on the profile link in the top right corner and select Settings.
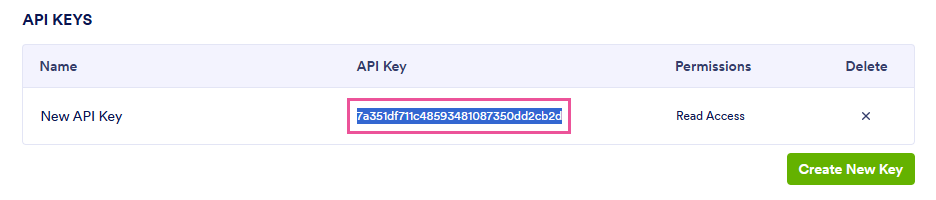
Select the API settings tab from the left-nav menu and click Create New Key.

Once the API has been created, copy the API Key.
Then navigate to the Jotform Utility in Jenzabar SONIS. Click the Jotform Configuration link and copy the API key you copied from Jotform into the API Key field in SONIS.


Once you've created a form with data that you'd like to import to Jenzabar SONIS, copy the ID of the form. The ID is the number at the end of the URL for the form. It can be found on the Publish tab for the form or by opening the form and copying it from your browser's URL field.
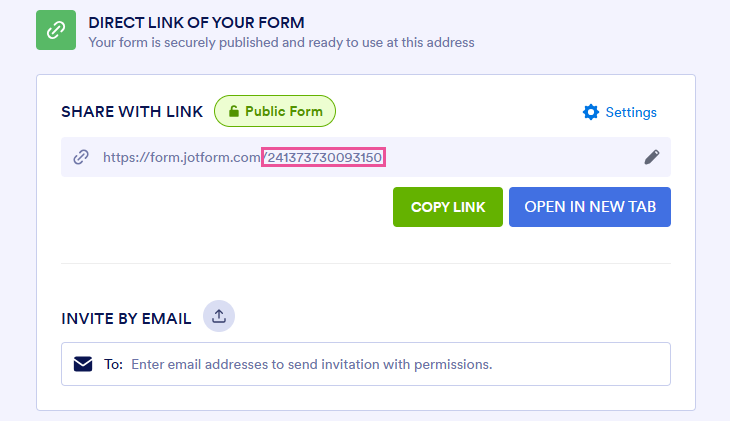

Paste the value you copied into the Form ID field in SONIS.

Finally, enter your Jotform domain into the Domain field. By default, this value is api.jotform.com, though it may change with some upgraded accounts. Contact Jotform support if you're unsure of your domain.

Jotform to SONIS Mappings
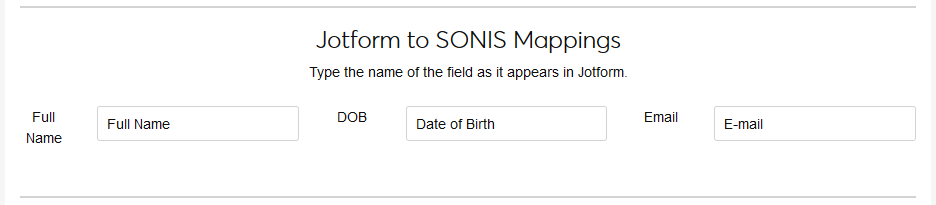
The next step is to map the fields in the form to the Jenzabar SONIS fields to which they'll be imported. Open the form and copy the exact name of the form area where the student gives their name. By default, Jotform calls this Full Name. A middle initial field within this section is optional.
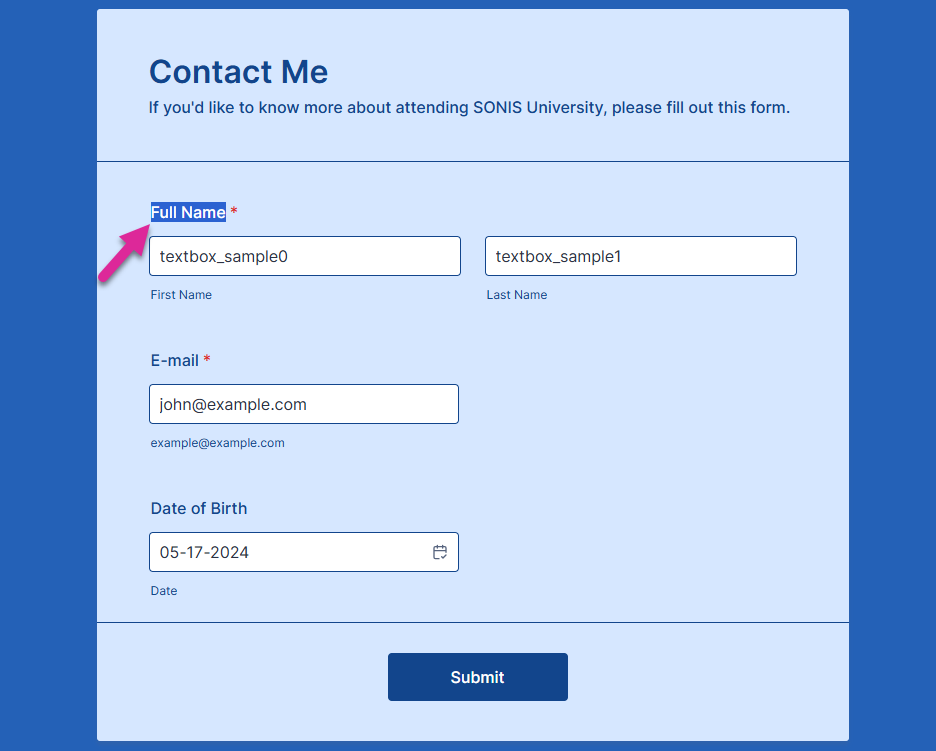
Paste this section name into the Full Name field in SONIS and repeat the process with the Email and DOB fields. Again, be careful to spell these values exactly as they are in your form and be sure to update them if the form label changes.
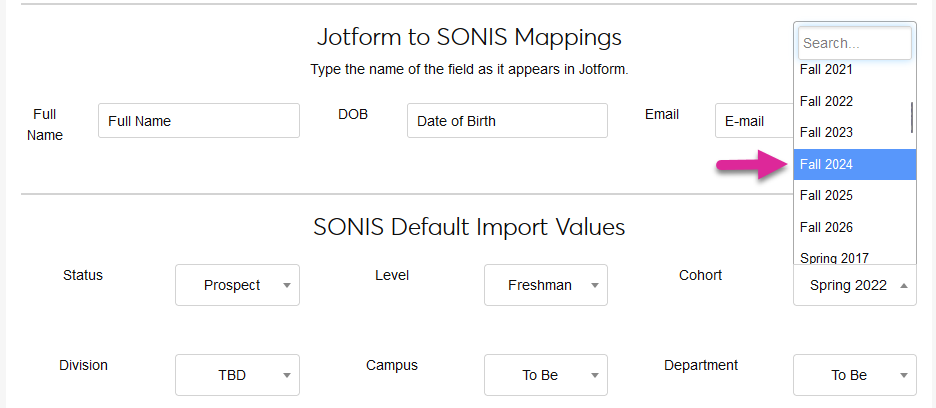
Default Import Values
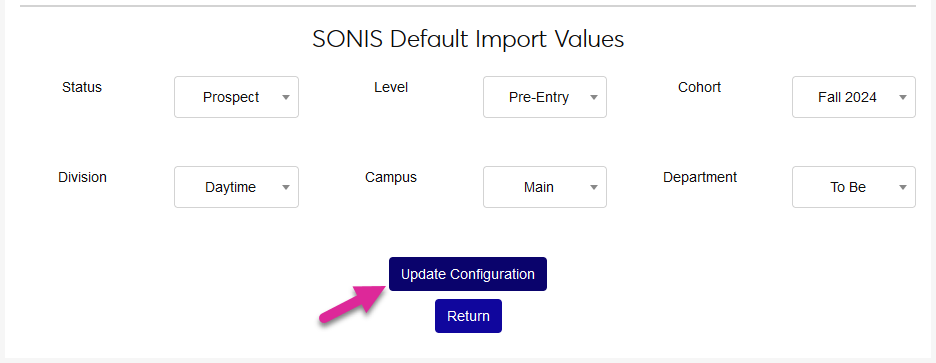
The final configuration step is to set the default import values. Select a value in each field to determine the module status, level, cohort, division, campus, and department that will be assigned to each user as they're added to SONIS.
Click Update Configuration to complete the setup process.
Importing Users
To import form submissions as SONIS users, return to the Jotform Utility splash page. Select a From Date and a To Date to narrow down the range of the submissions or leave the default values.

Click Get Submissions to display a list of every submitted form within the specified date range.

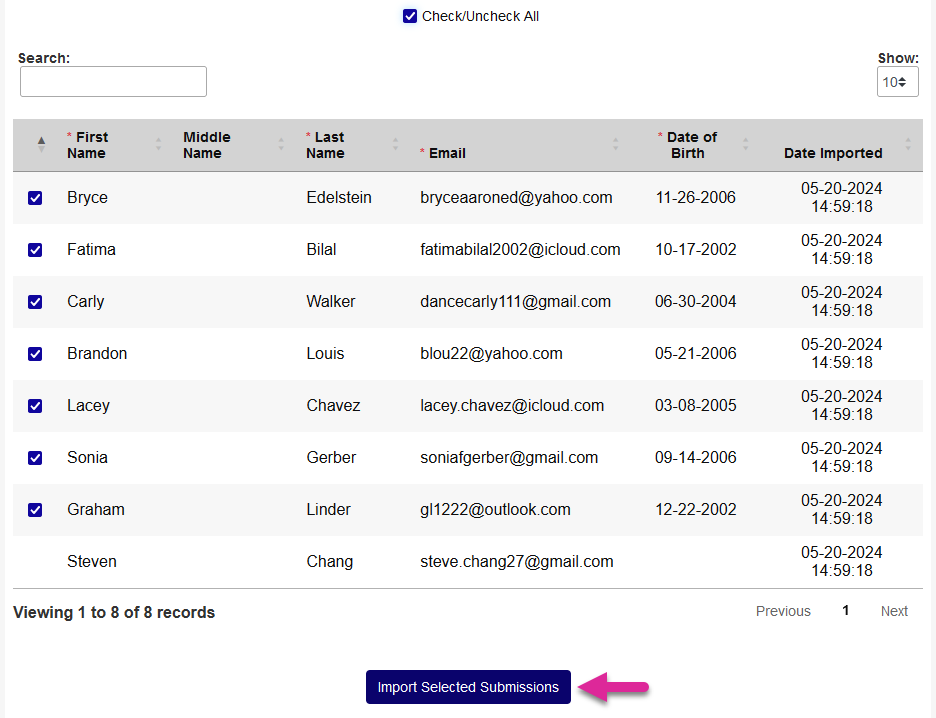
Once the list has been loaded, you can use the Search field to find a specific submission and the Show field to control how many submissions appear on each page. Submissions can be sorted by any of the columns using the up arrow for ascending and the down arrow for descending. Use the navigation buttons at the bottom right to view additional pages, if applicable.
Select or deselect the boxes in the left-hand column to choose which submissions will be imported. Note that the last entry in this image does not have a checkbox because the user did not provide a date of birth, which is a required field.
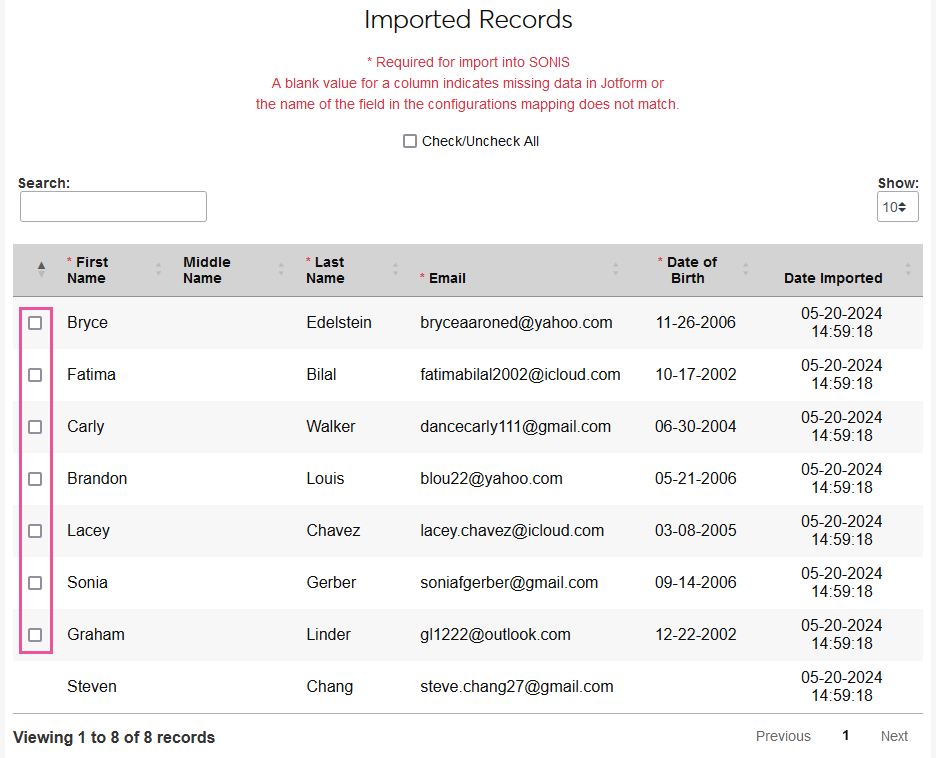
A Check/Uncheck all box is available to make mass changes easier.

Once the correct submissions have been selected and deselected, click the Import Select Submissions button to complete the import process.
If the SONIS system finds an existing user with a matching first name, last name, email address, and date of birth, the data will not be imported.
Notification Assignment/Timed Task
You can set automatically import files from Jotform to Jenzabar SONIS by creating a Notification Assignment and an accompanying Timed Task.
The SONIS system uses the following rules when importing Jotform files:
The date range used the past 30 days from the current date.
Imported records with no missing required data will be used to create new SONIS users unless a match is found.
If an existing user is found with a matching last name, first name, email address, and date of birth, the submission will not be brought over from Jotform.
Only 1,000 files can be imported at a time.
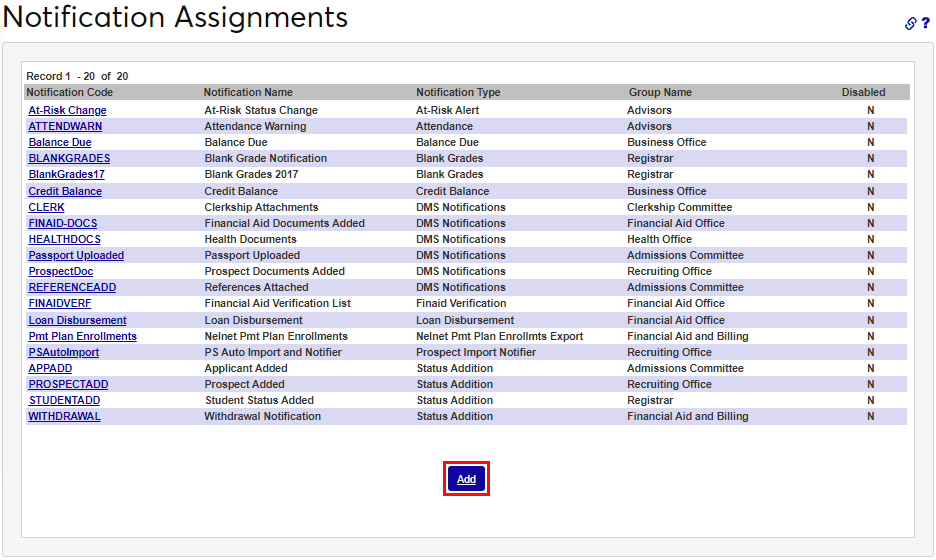
To begin, navigate to the Notification Assignments page under the Systems hub and click Add to create a new notifier.
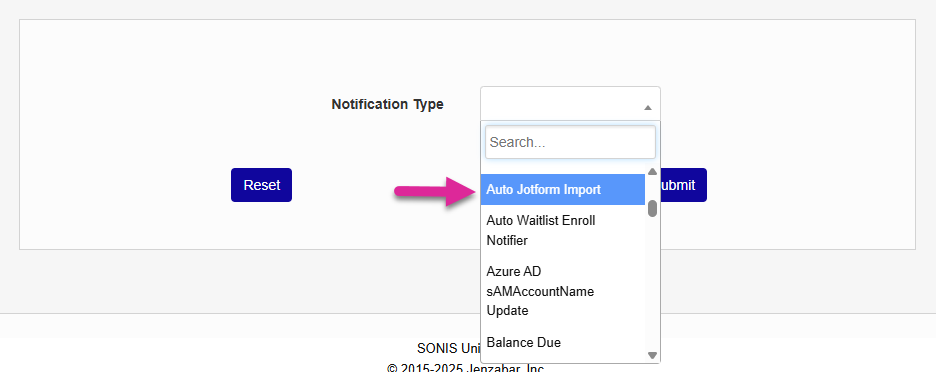
Select Auto Jotform Import and click Submit.
Next, create a Notification Name, a descriptor of the notifier's purpose with a 50 character limit, and a Notification Code, a shorter version of this name with a 20 character limit that the SONIS system will use internally to identify the notifier.
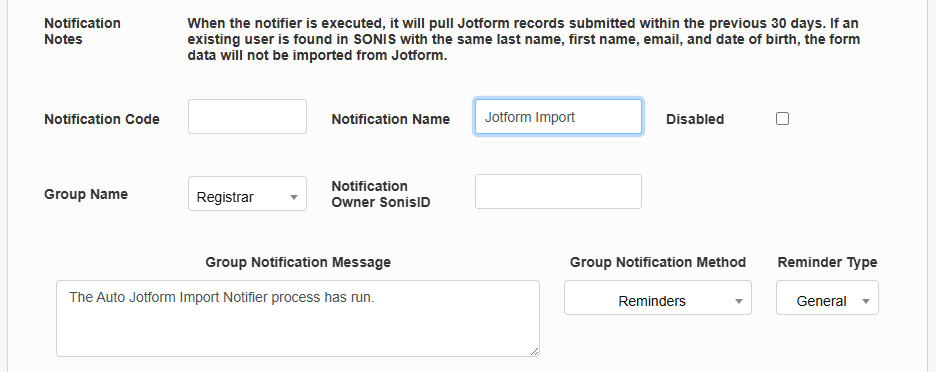
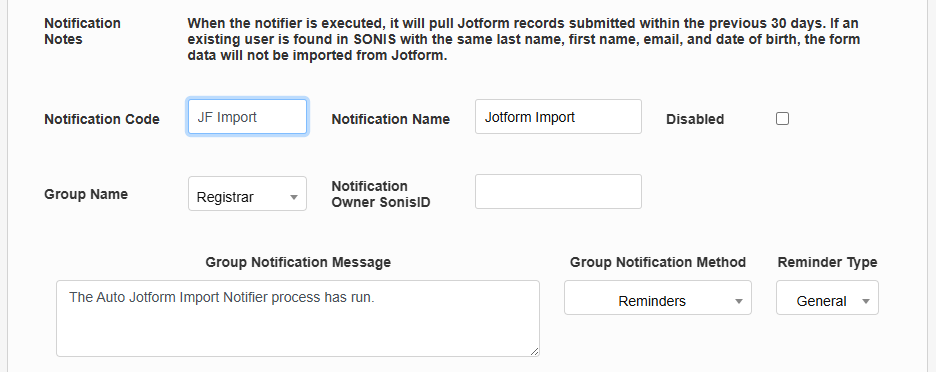
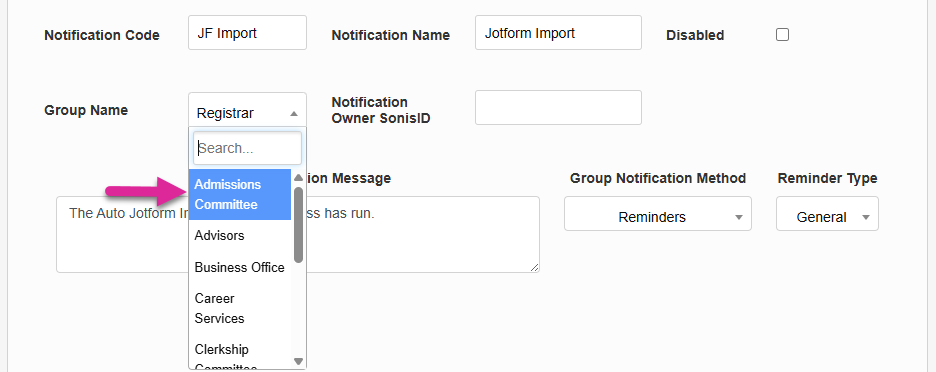
Select a group of staff members to receive the notification from the Group Name dropdown menu. Groups can be added and edited through the Table Maintenance utility.
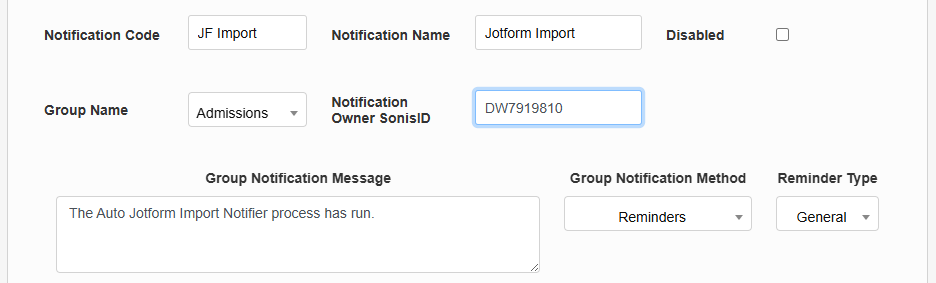
Enter the ID of the staff or faculty member who will be managing this notification in the Notification Owner SONIS ID field.
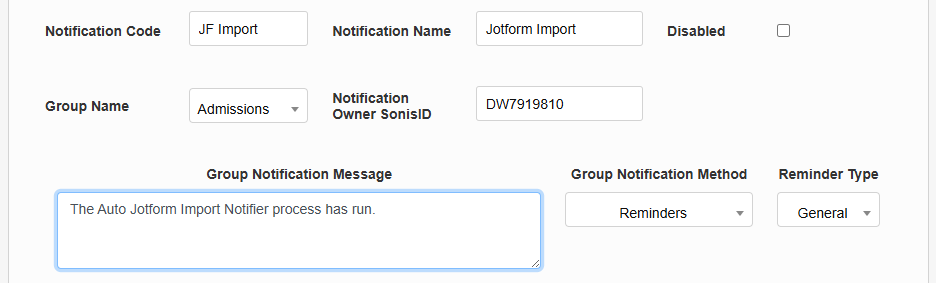
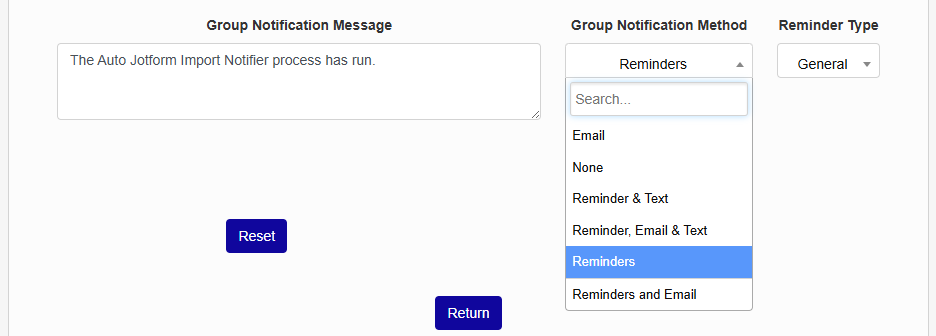
Create a Group Notification Message that will be sent to the group members when the task takes place or leave the default message in place.
The Group Notification Method dropdown menu designates whether the group and individual users will receive an in-system reminder, an email, a text, or no notification when the process is triggered. The Reminder Type dropdown can change how the in-system reminder displays. This list can be created and edited via the Table Maintenance utility.
Click Submit to save the changes and create the notifier.
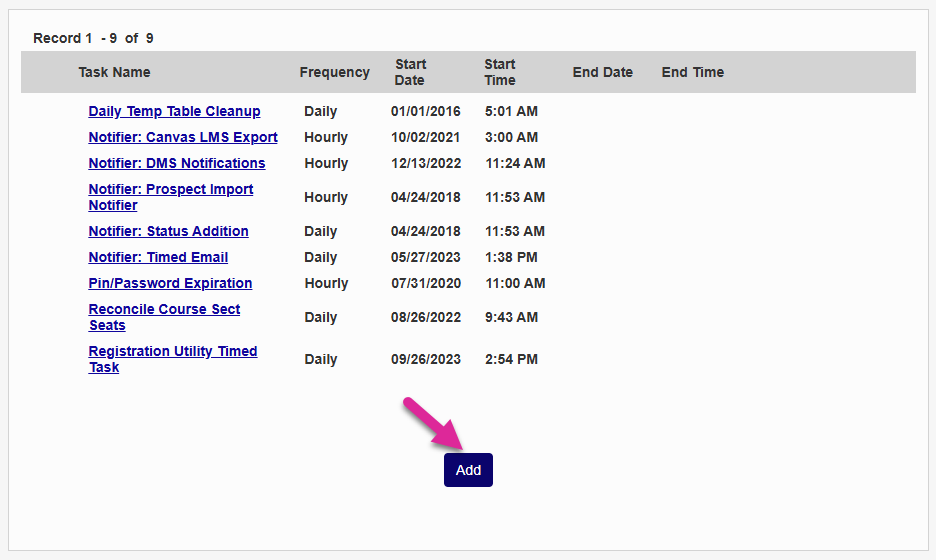
In order for the notifier to run, a timed task must be set up. Navigate to the Timed Task Scheduler under the Systems hub and click Add to create a new task.
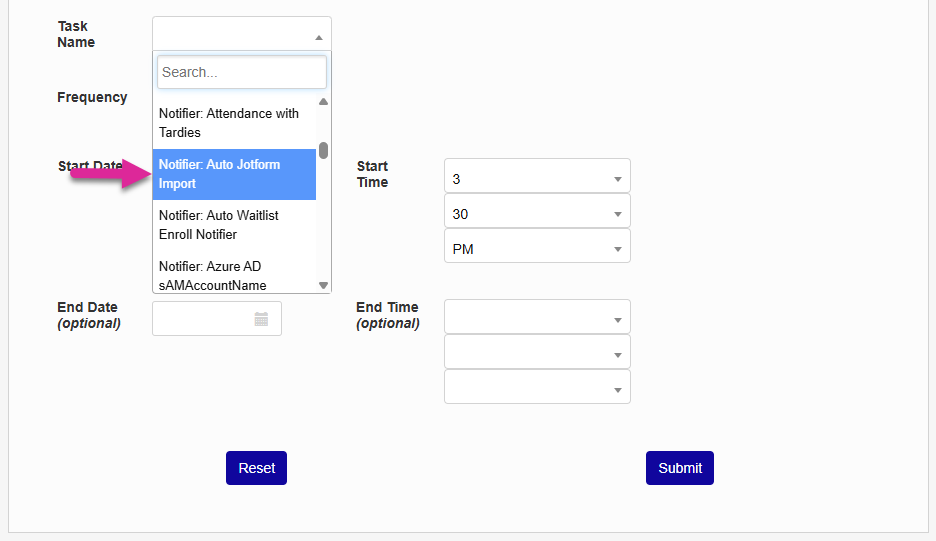
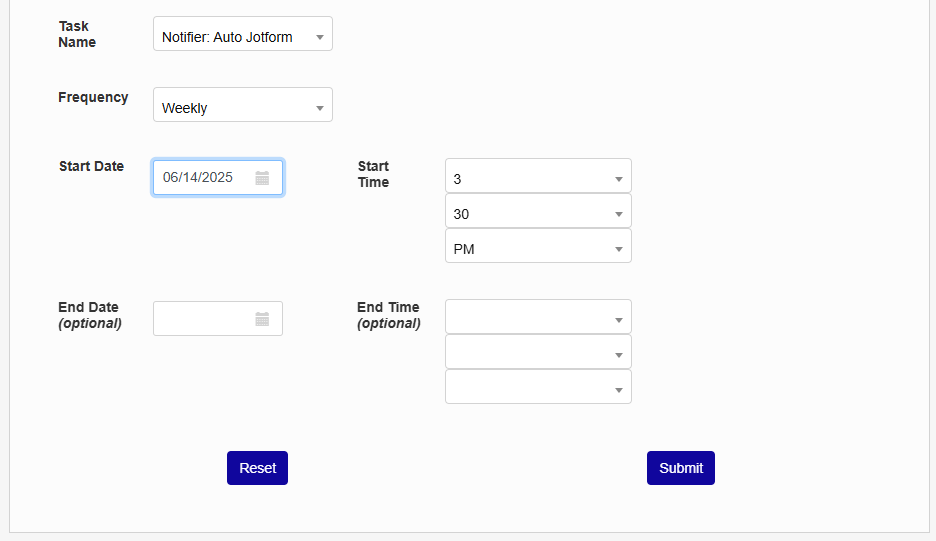
Select Notifier: Auto Jotform Import from the Task Name drop-down menu.
Select how often the task should occur with the Frequency dropdown. This will depend on how often you receive Jotform data. Keep the 1,000 record import limit in mind.
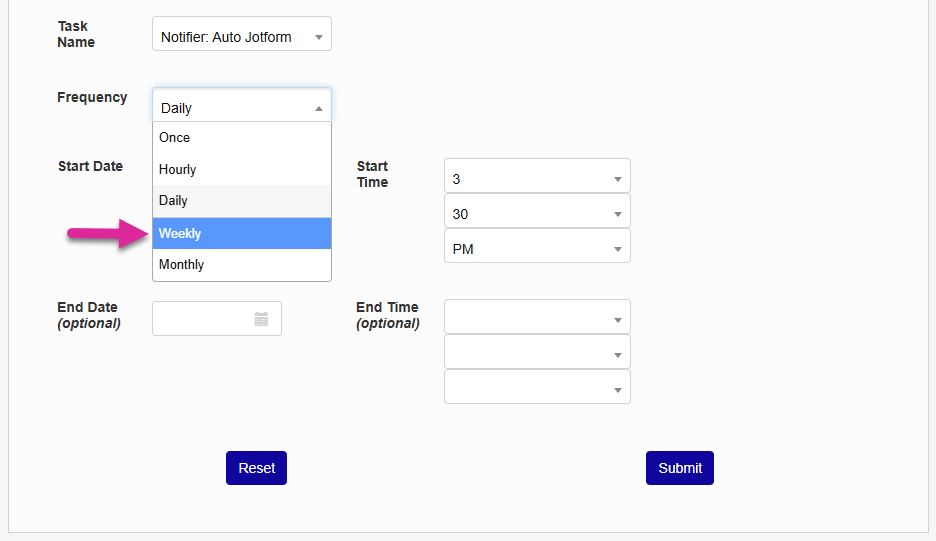
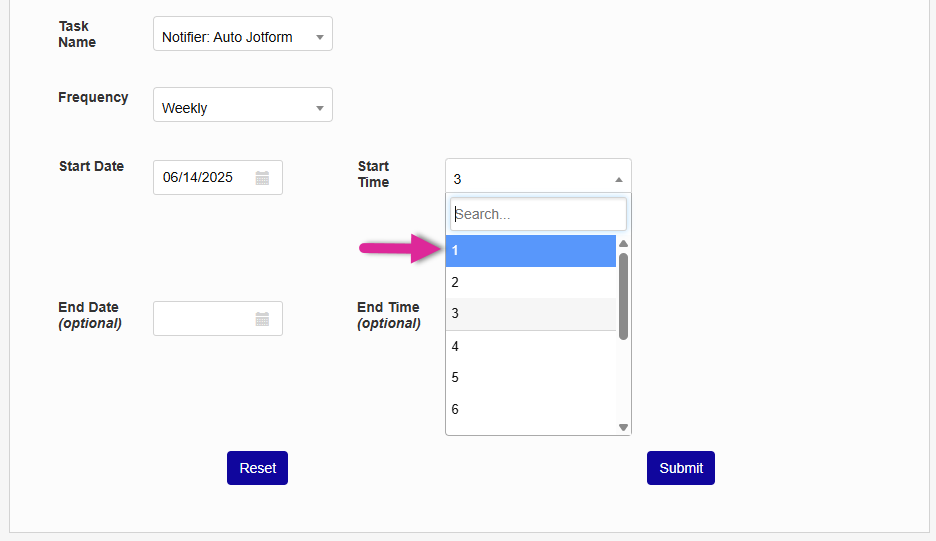
The Start Date and Start Time will automatically be set to the current date and time but can be changed to suit individual preferences. The End Date and End Time are optional.
Tip
If you'll be importing large quantities of Jotform data, it may be advisable to run this task in off-peak hours, such as at night and on the weekends.
Click Submit to save the changes and activate the timed task.