Page Add/Edit
Overview
The Page Add/Edit utility is designed to allow administrators to add new custom pages to their Jenzabar SONIS and control how these pages display. Additionally, pages that already exist in one portal or section of the system can be added to an additional section. Pages can also be renamed for added clarity or to repurpose the page for a different use than it was originally intended. Before a new page can be added, the ColdFusion file must be saved to the appropriate system folder.
To remove access to a page, use the Profile Utility and/or the Master Profile utility.
Renaming a Page
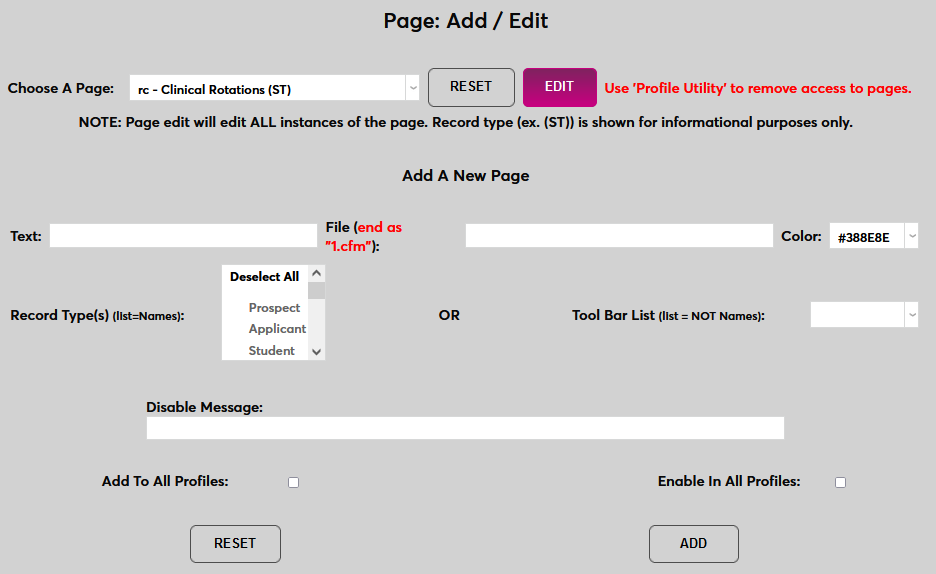
To rename a page that's currently in the local SONIS system, select that page from the Choose a Page menu and click Edit.
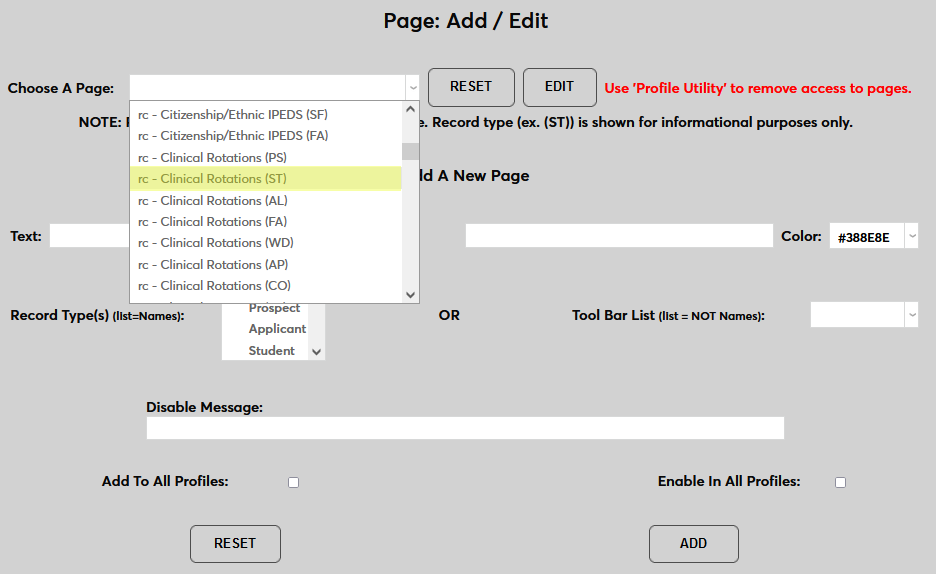
Note that Records menu pages each have a notation listing the module statuses where these pages are currently available—ST for Student, PS for Prospect, AL for Alumni, etc. However, when editing a page through this method, all versions of the page in all Records menus will be renamed.
On the following page, type a new name for the page in the Text field. Adding an underscore to the beginning of the page title will pin it to the top of the left-nav menu and highlight it. To remove a page from the highlighted pages list, simply remove the underscore.
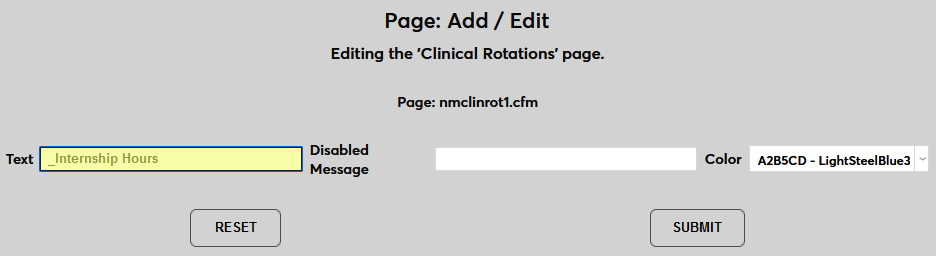
The Disabled Message and Color fields are no longer used at this time. Click Submit to save the changes and rename the page.
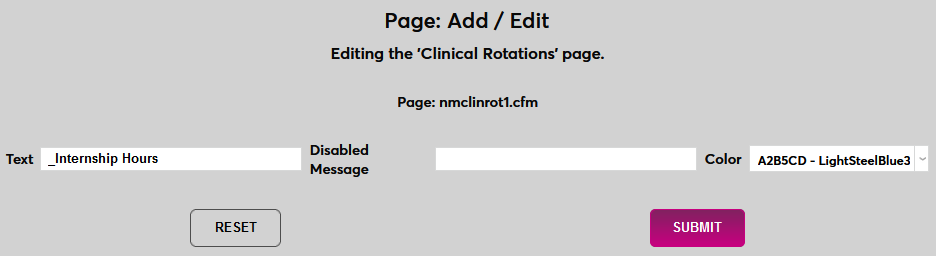
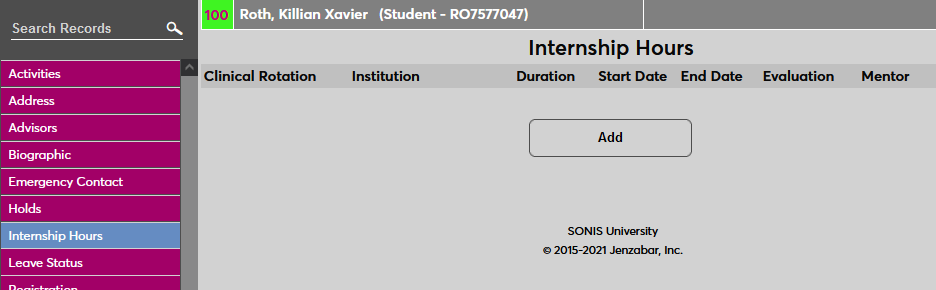
This process will update every instance of the page in the system and change both the title at the top of the page and the page name in the left-nav menu.
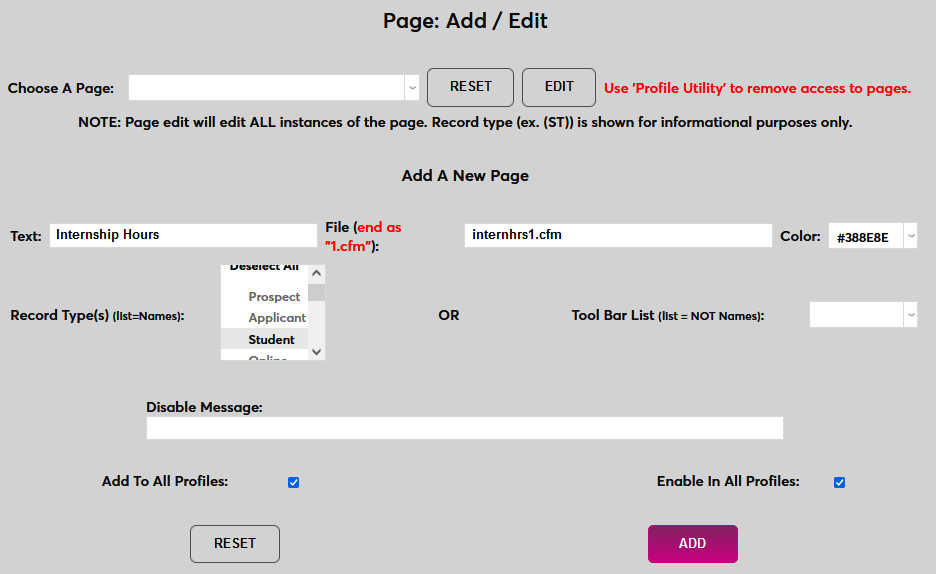
Adding a New Page
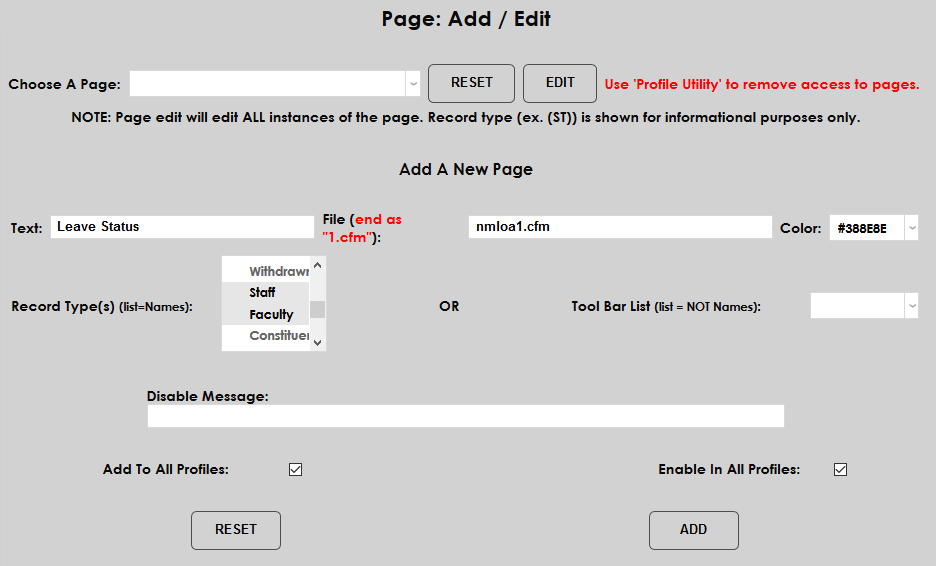
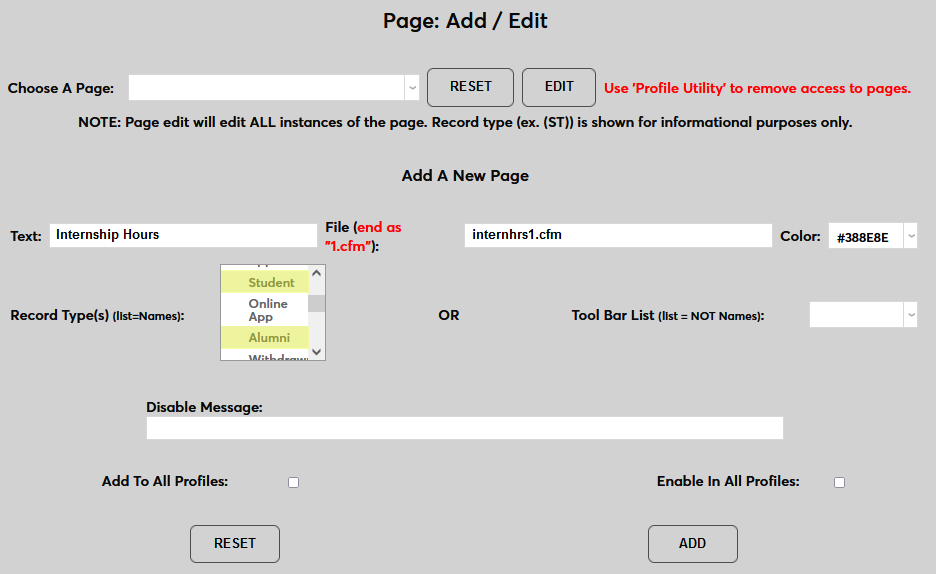
To add a custom page to the SONIS system, begin by entering the title of the page in the Text field. Adding an underscore to the beginning of the page title will pin it to the top of the left-nav and highlight it.
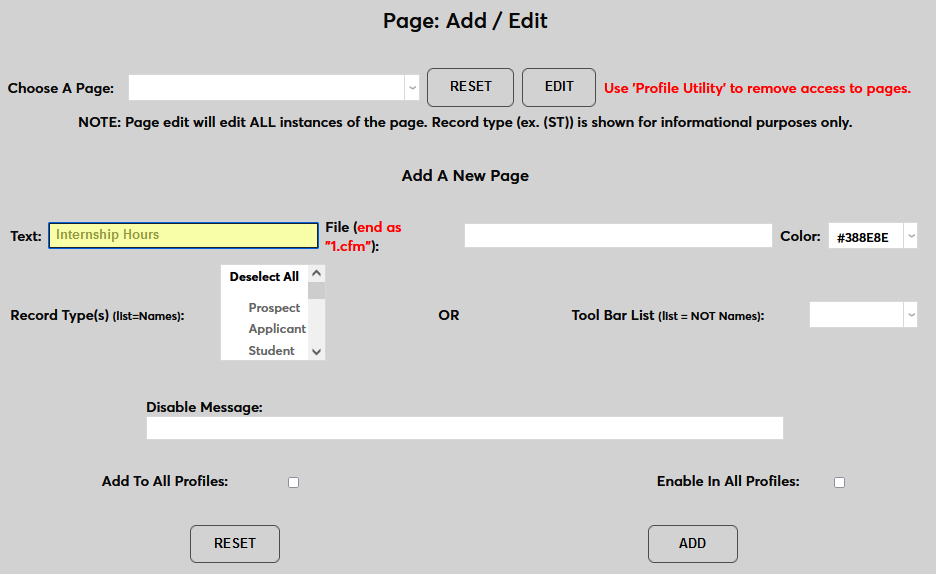
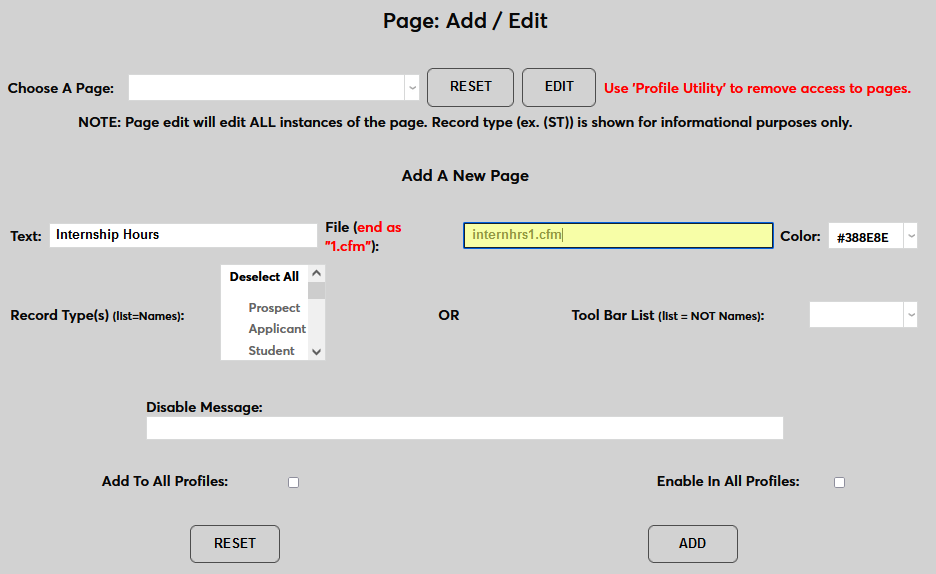
Next, add the name of the ColdFusion page in the File field. This name should end with .cfm.
If the page will be added to the Records menu, select the Record Type(s) where it should be added.
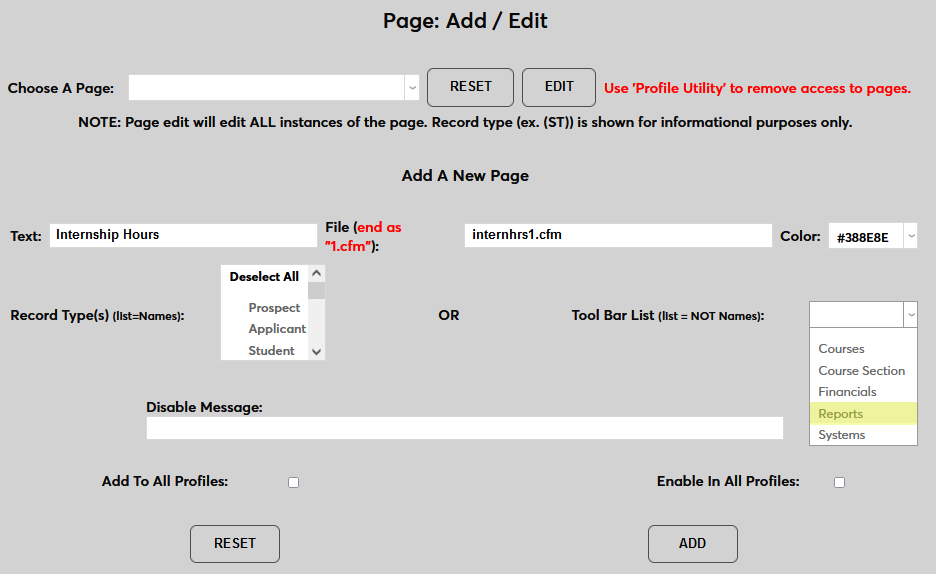
If the page is not a Records page, select one of the other Tool Bar List sections where it will be accessed.
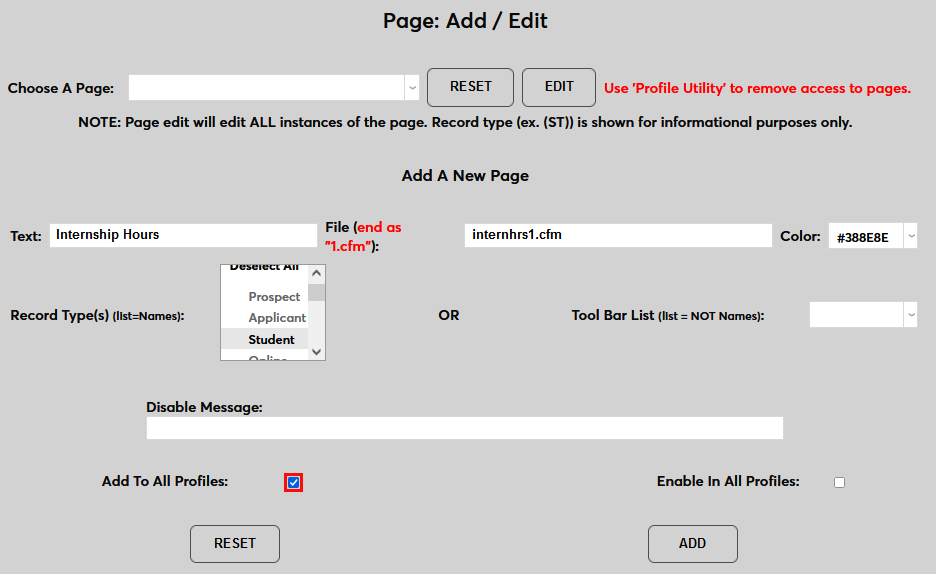
Check the Add to All Profiles to add it to all profiles automatically when the page is added to the system or leave this unchecked to add it manually to individual profiles.
Check the Enable in All Profiles to enable it in all profiles automatically when the page is added to the system or leave this unchecked to enable it manually in individual profiles.
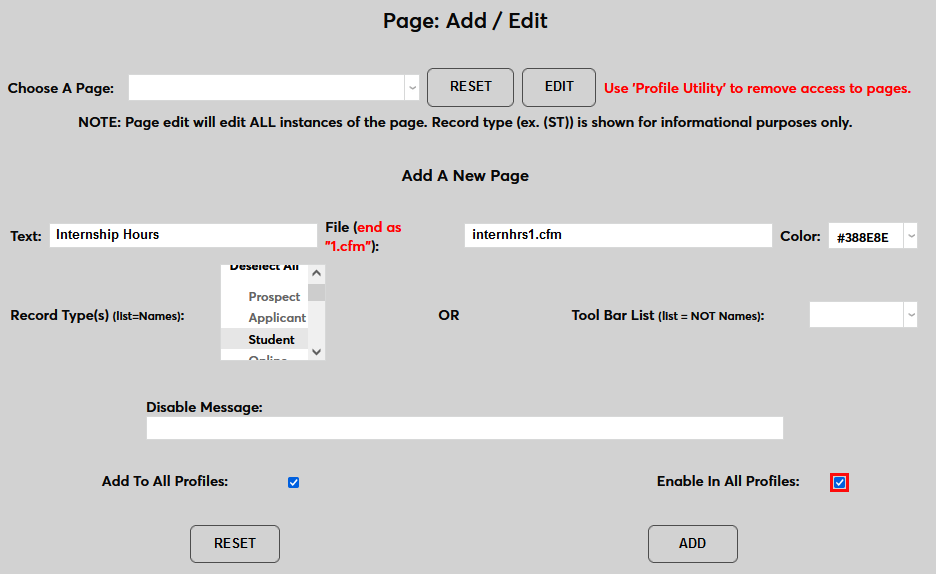
The Disable Message and Color fields are no longer used at this time. Click Add to add the page.
Adding Existing Pages to an Additional Menu
At times, an institution may wish to add a Records page that exists for one module status to additional Records menus. For example, the Leave Status page is only available in the Student Records menu but may be useful for staff and faculty as well. Alternately, an institution may wish to add a page that only exists in one toolbar menu to another. For example, a Systems utility may be needed by a staff member who works in the financial department and a client may wish to add that utility to the Financials menu as a way of providing access rather than giving that staff members in that role limited access to the Systems menu. The process for making these changes is the same as the process for adding a new page.
To begin, navigate to the page in the system that will be added to a new location and copy the name of the CFM file in the browser address bar.

If the page title cannot be located, contact SONIS Support for assistance. Once the page title has been copied, paste that page title into the File field and proceed through the additional steps as outlined above.