Sessions
Overview
The Systems hub utility, Sessions, provides administrators with a straightforward way to create and edit sessions. Sessions may be associated with specific campuses if needed. Sessions associated with a specific campus will then only appear in session menus associated with the campus.
Creating and Managing Sessions
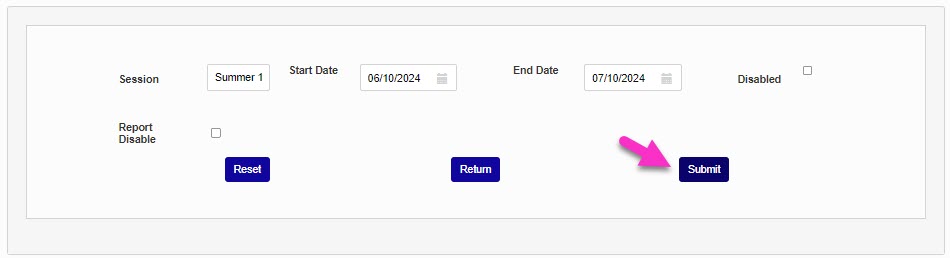
To create a session, enter the Tbl: Sessions page from the Systems hub. Click Add.
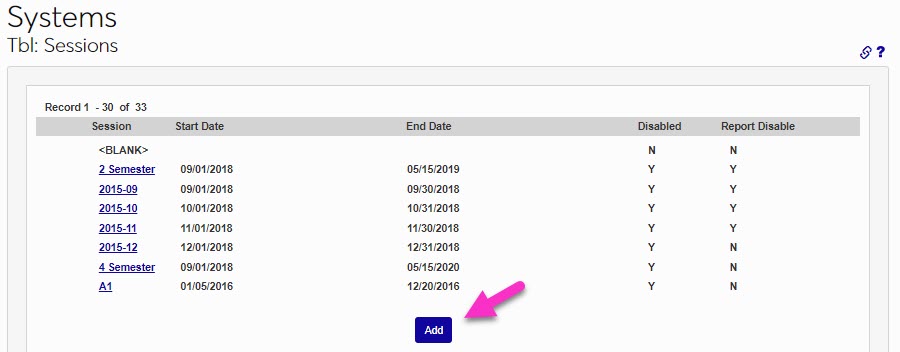
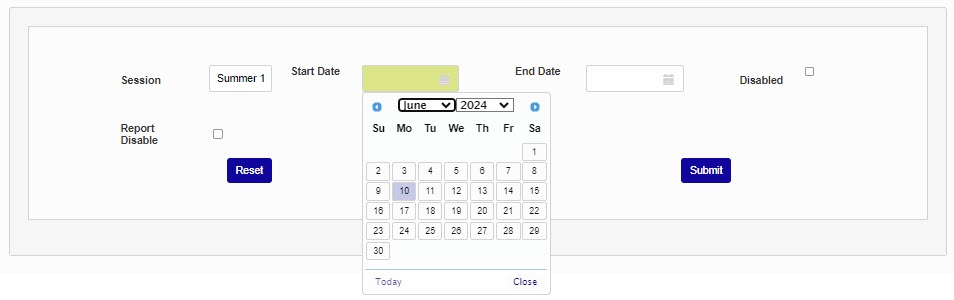
Enter a Session name. This field accepts up to 10 alphanumeric characters. Select or enter the Start and End Date(s).
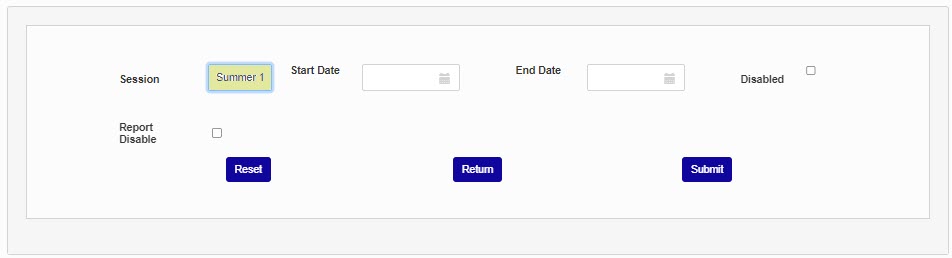
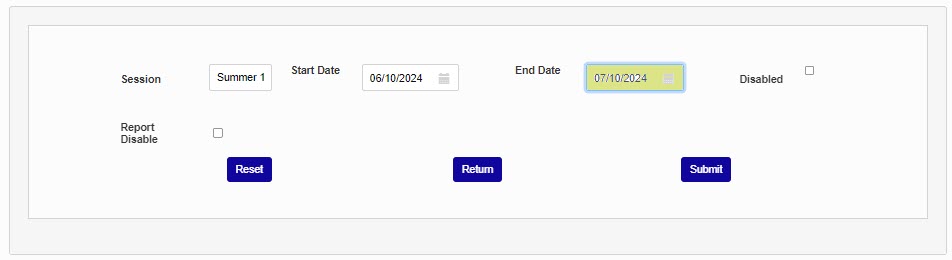
Click Submit to save the entered information and create the session.
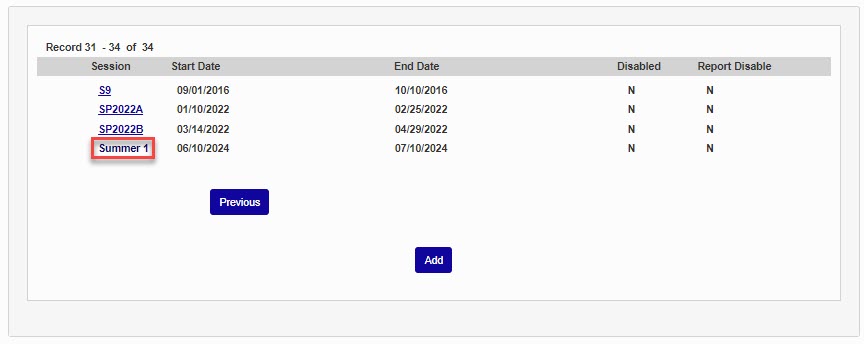
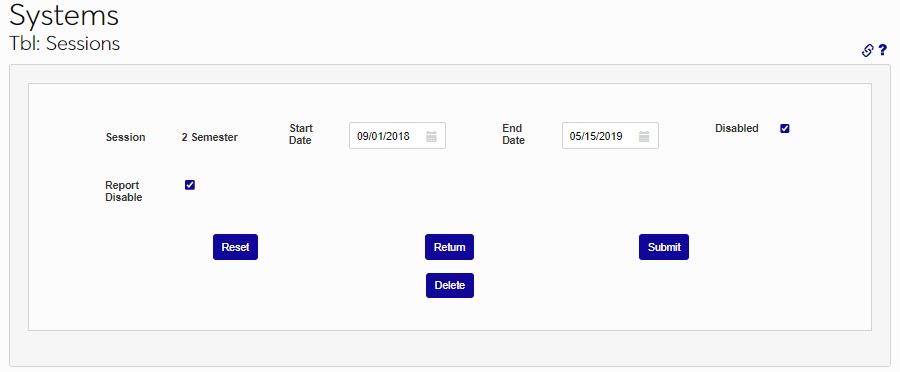
To manage a session, click the session name. The Start and/or End Date(s) can be edited or the session can be Disabled. Additionally, the session can be removed from appearing in reports by selecting Report Disable. Submit after making any updates or changes.
Session/Campus Association
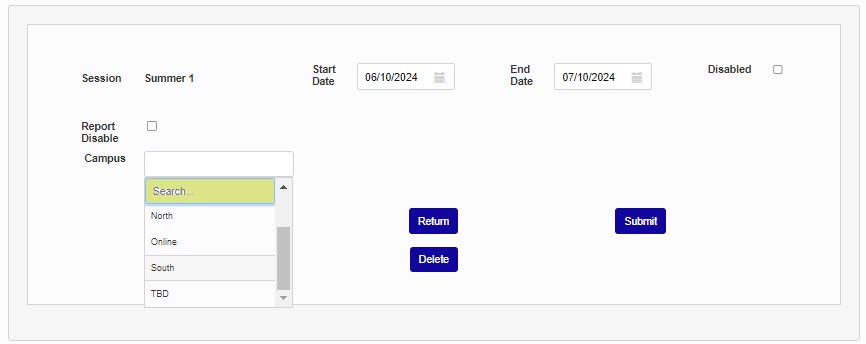
With the Add Campus to Sessions checkbox in Web Options selected, the Campus dropdown menu will appear when editing or creating a new session. This will allow each session to be associated with one or multiple campuses. Sessions will then only appear in the sessions dropdown menu for the campus(es) it's associated with. Sessions do not have to be associated with a campus even with this feature enabled. This allows administrators the ability to limit which sessions administrative users see based upon which campus(es) they have been given permissions to work with in SONIS.
Note
If the user associating the campus with a session only has access to create sessions for particular campuses, only the campuses associated with the user's permissions will display in the dropdown menu.