Import ISIR
Overview
The Institutional Student Information Record (ISIR) is the electronic version of the FAFSA. It is provided by Federal Student Aid via CPS/FAFSA Services. Jenzabar SONIS offers a utility to import ISIR files. Once the data has been imported, it is stored with the rest of the user's financial aid information.
To download an ISIR import sample file, click right-click here and choose Save As.
Importing
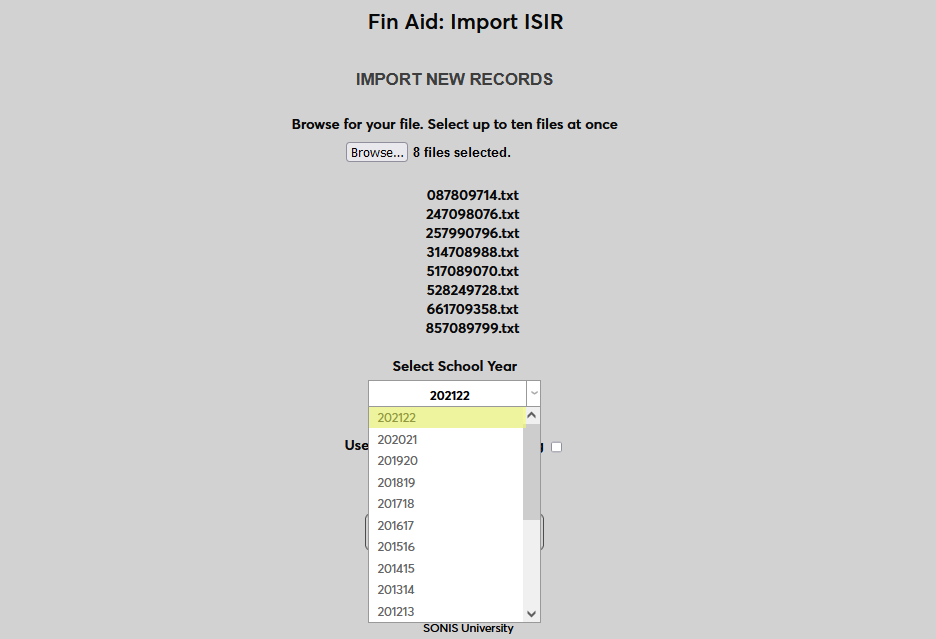
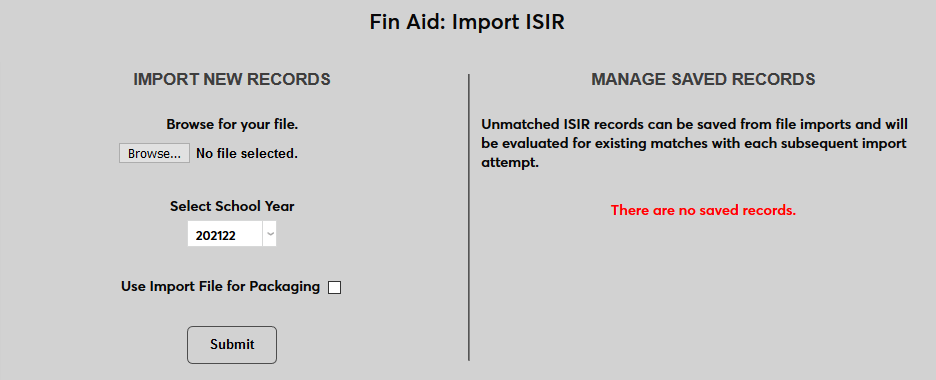
To import an ISIR file, navigate to Import ISIR under the Systems hub. Click Browse and locate the appropriate ISIR file(s). Up to 10 files can be selected.
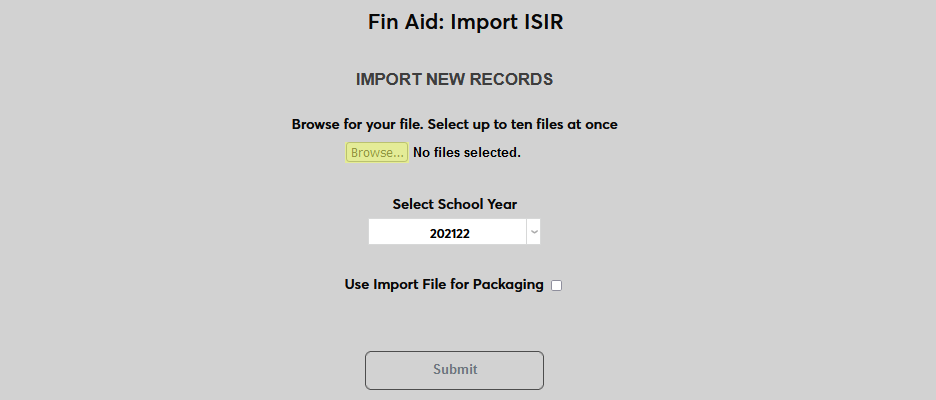
Select the applicable School Year for the import data.
Because the SONIS ISIR import function allows multiple ISIRs to be imported for the same applicant or student, a box is included to specify if the file(s) being imported should be set as the default file for financial aid packaging. Check the Use Import File for Packaging if that is the case or leave it unchecked to treat the newly imported ISIR as supplemental data.
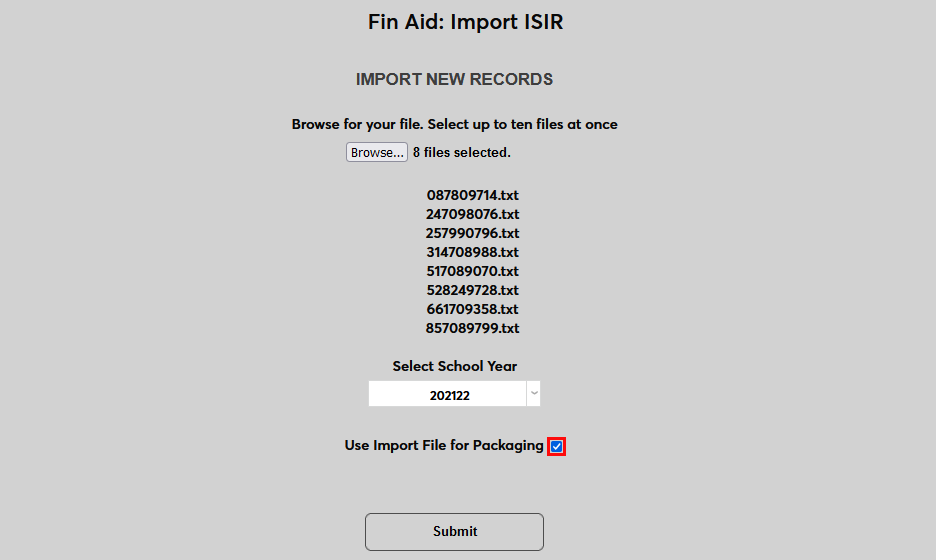
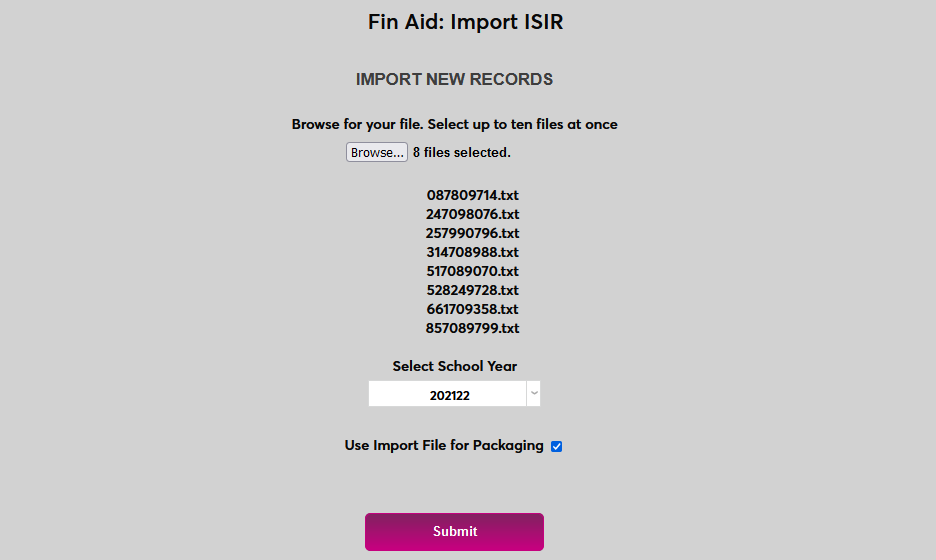
Click Submit to begin the import.
The following page offers three options.
View Unmatched Records
Click View Unmatched Records to see import data that did not match existing user records based on the social security numbers in the file.

If the Create Prospect from ISIR Import box on the System Variables page is checked, the option to alter these files is available.

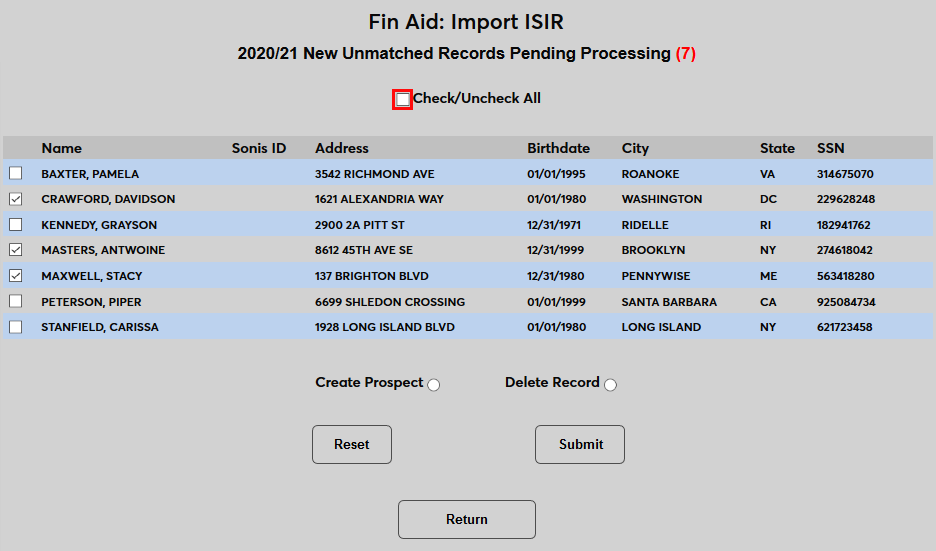
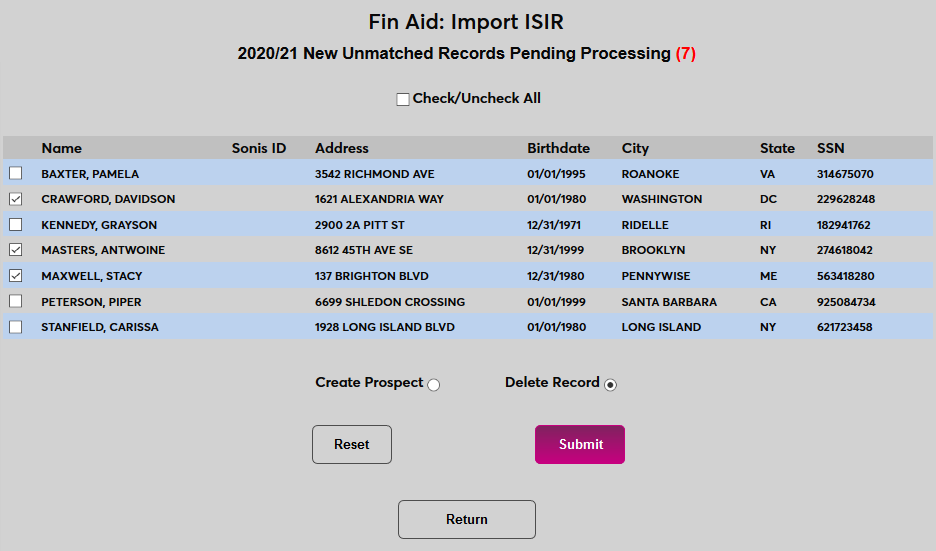
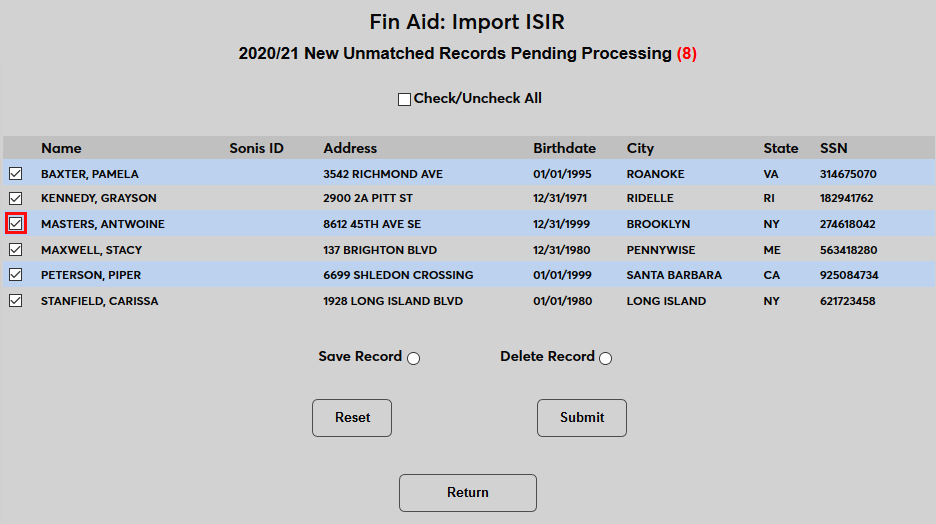
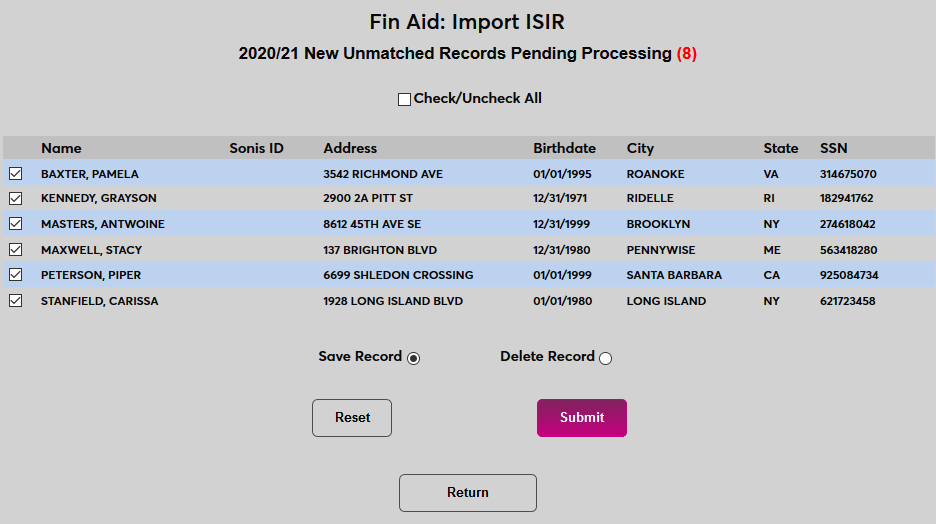
The following page lists all the unmatched records. Use the checkboxes in the left-hand column to choose records that should be changed or ignored. A Check/Uncheck All box is available at the top of the page for mass changes.
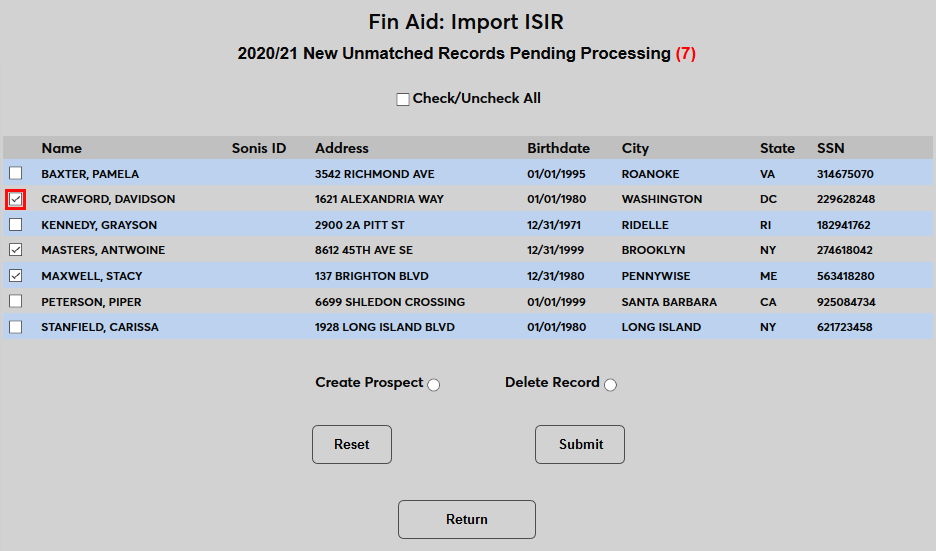
Select the Create Prospect radio button at the bottom of the page to create new Prospect records based on the selected rows or select the Delete radio button to delete the select rows.
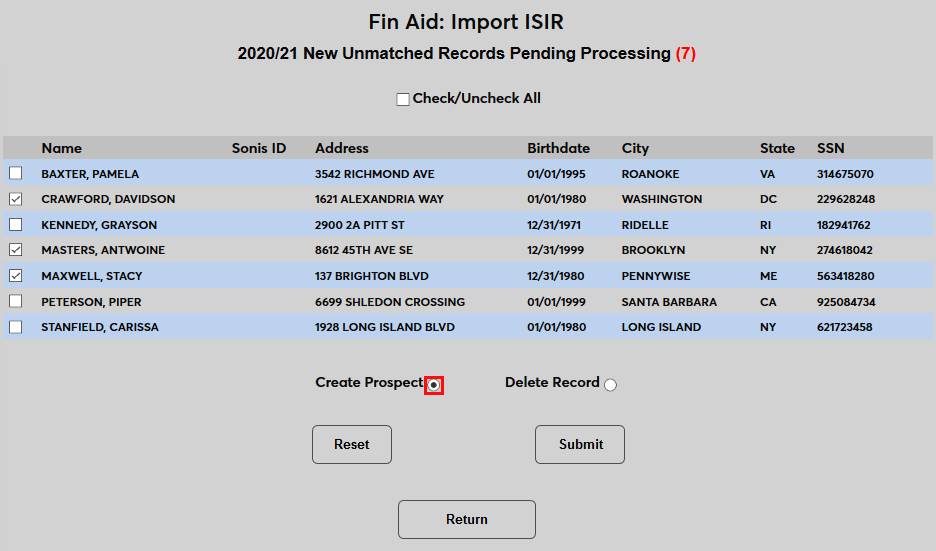
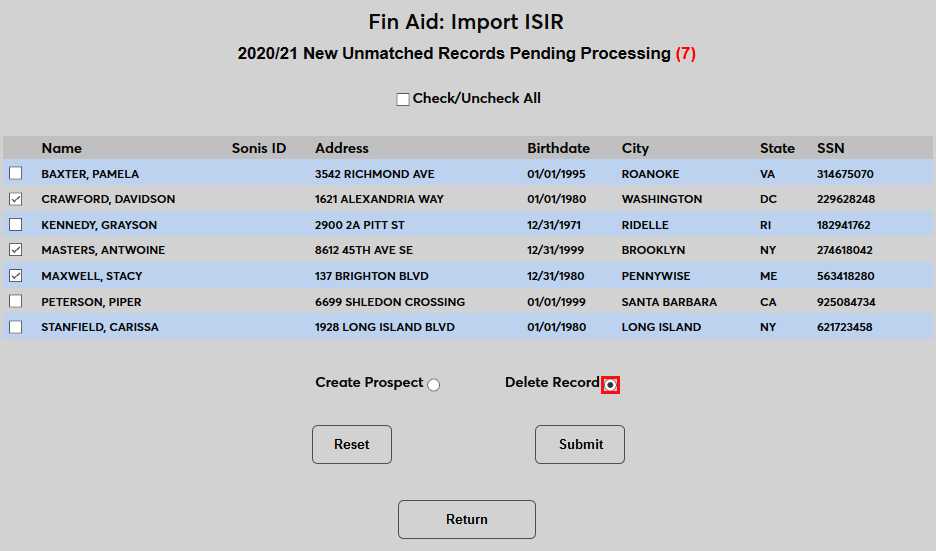
Click Submit to save the changes.
The following page shows the results of the change. Click Back to ISIR Import to return and view any additional import data.

View & Import Matched Records
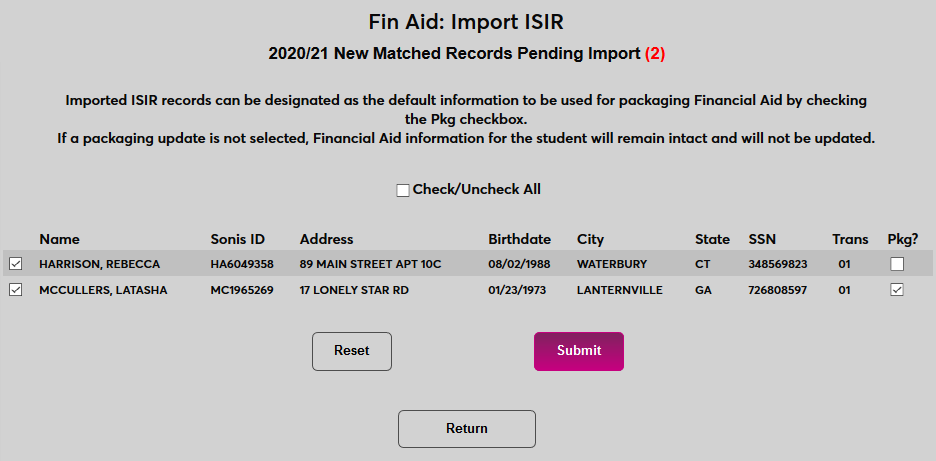
Another option is to View-Import Matched Records. Click this button to view import data that matches the social security number of existing SONIS users.

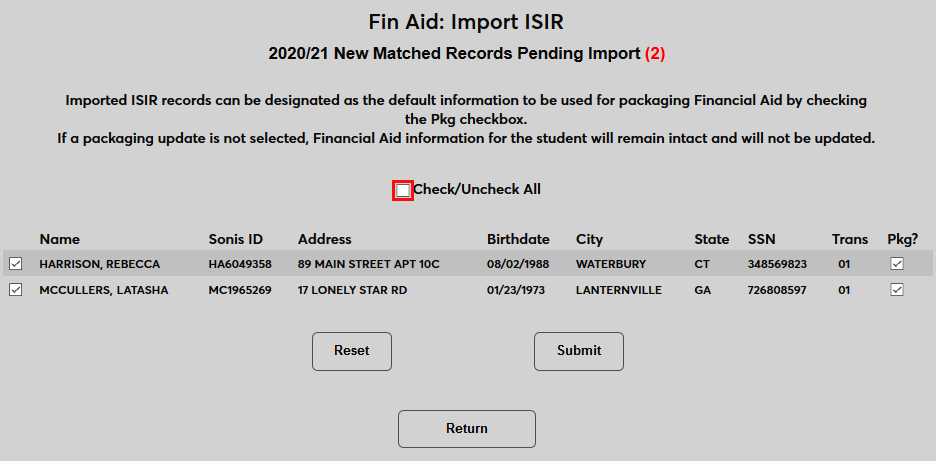
Check and uncheck the boxes on the far left to designate which records should be included in the import. A Check/Uncheck All box is available at the top of the page for mass changes.
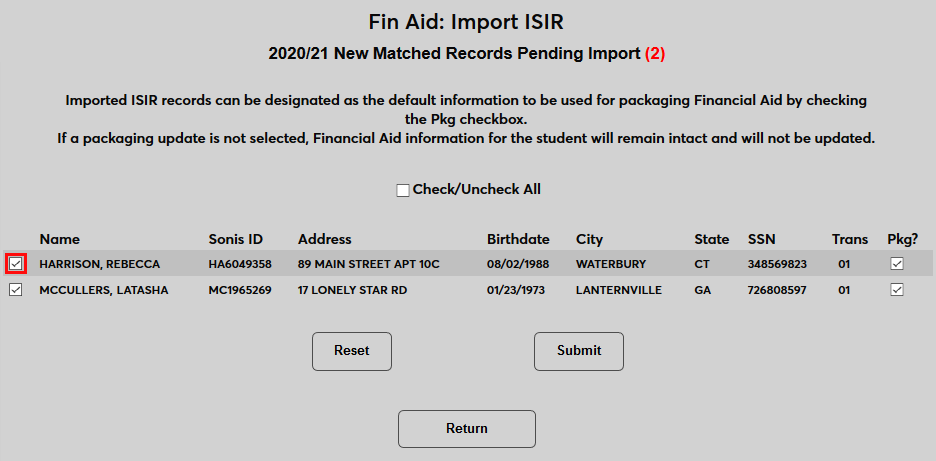
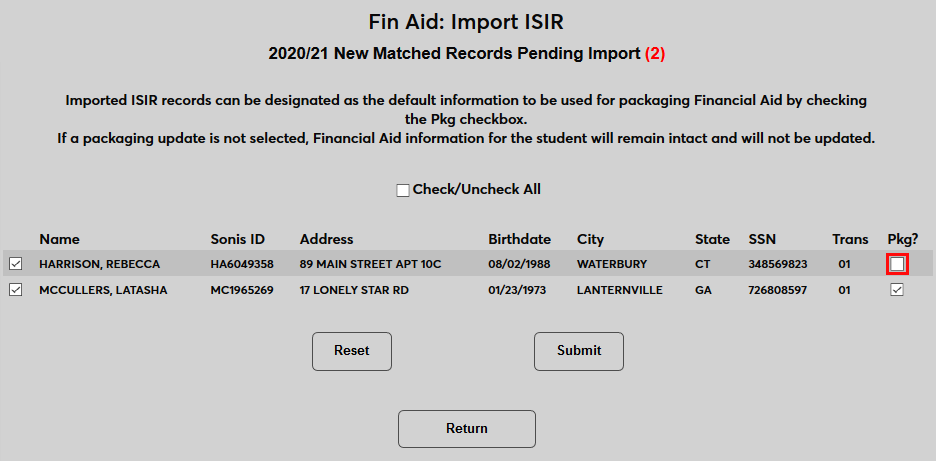
The Pkg? box is used to designate which records should be imported as the primary record for the user. If the Use Import File for Packaging box was checked in the previous step, all of the Pkg? boxes will be automatically checked. The decision made here to import the records as the financial aid package records or not will override the previous decision, which allows for individual records within the import to be treated differently from each other.
Click Submit to import the checked records.
The following page displays the results of the import.

Reset Tables
The final option is a Reset Tables button. This button is used to remove any excess data that will be not imported. Click the button to start again and import a new file.


Saving Unmatched Records
SONIS also allows administrators to save unmatched ISIR records for import at a later date. To activate this option, navigate to the System Variables page under the Systems menu and check the Save Unmatched from ISIR Import box. Click Submit to save the change.

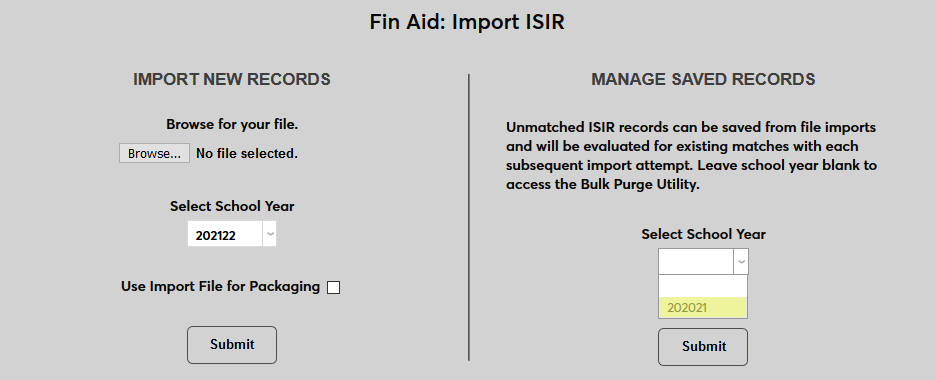
Once the option has been activated, a new section titled Manage Saved Records will appear on the Import ISIR launch page.
Process imports as normal. When utilizing the View Unmatched Records option, a new option is available. Use the checkboxes to select which records should be included and click the Save Record button.
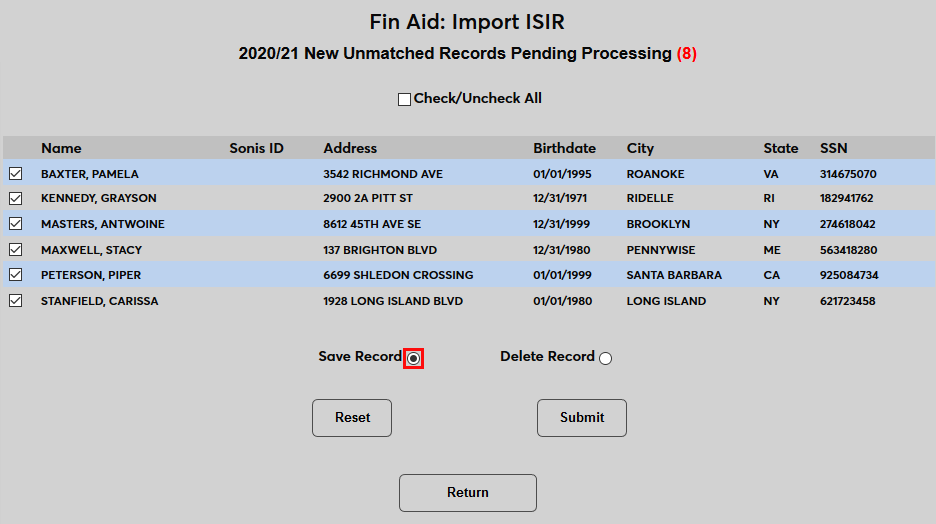
Click Submit to save the records.
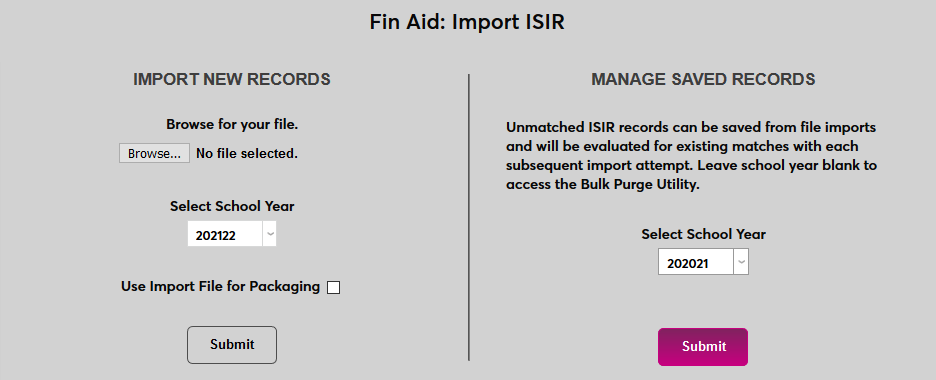
When records have been saved, they will automatically be searched for matches each time a new file is imported and any matches found will be included in the batch. They can also be accessed through the Manage Saved Records menu. Select a school year and click Submit to continue.
On the following page, the same three options presented when importing records originally will be available. If updates to student records have resulted in a match, saved records can be imported. Otherwise, they can be viewed as unmatched records or the tables can be reset.

Bulk Purge Scheduled Task
When the Save Unmatched option is active, a scheduled task is offered to automatically clean up saved records periodically. Navigate to the Timed Tasks Scheduler utility under the Systems menu and click Add to begin.
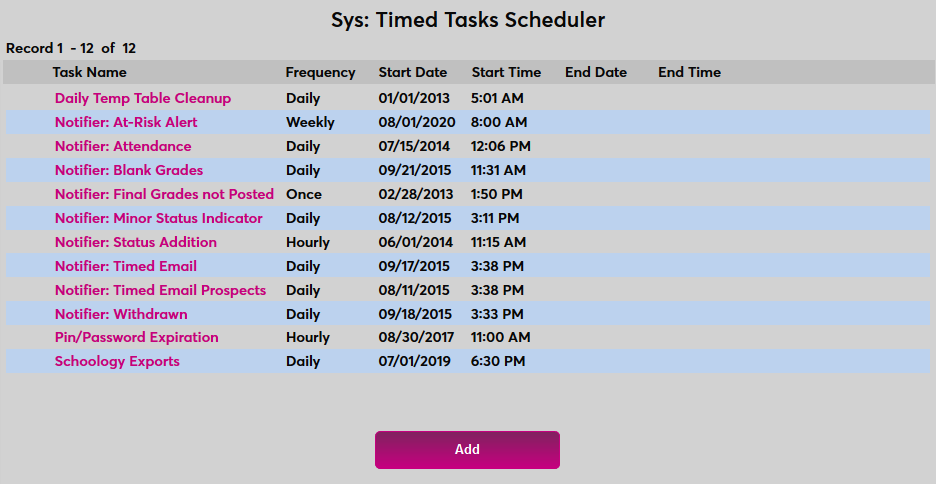
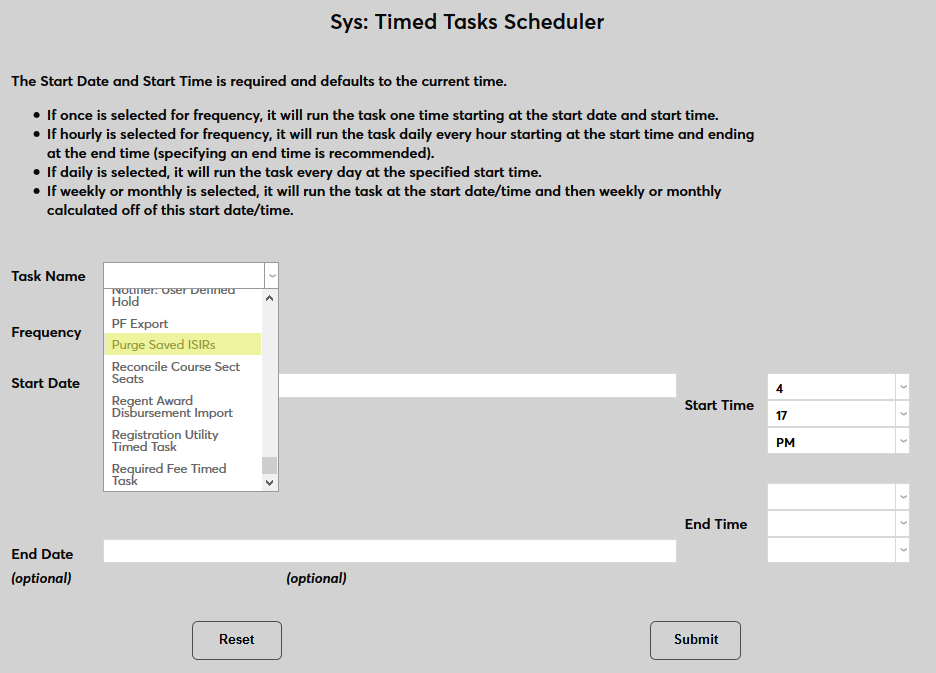
On the following page, select Purge Saved ISIRs from the Task Name menu.
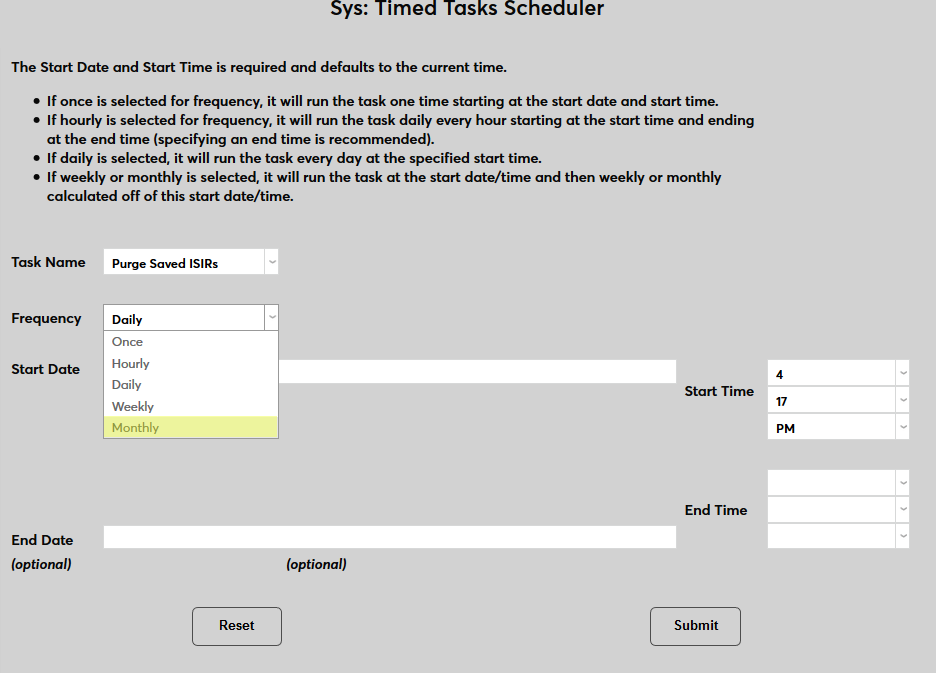
Select how often the task should occur with the Frequency dropdown.
The Start Date and Start Time will automatically be set to the current date and time but can be changed to suit individual preferences. The End Date and End Time are optional.

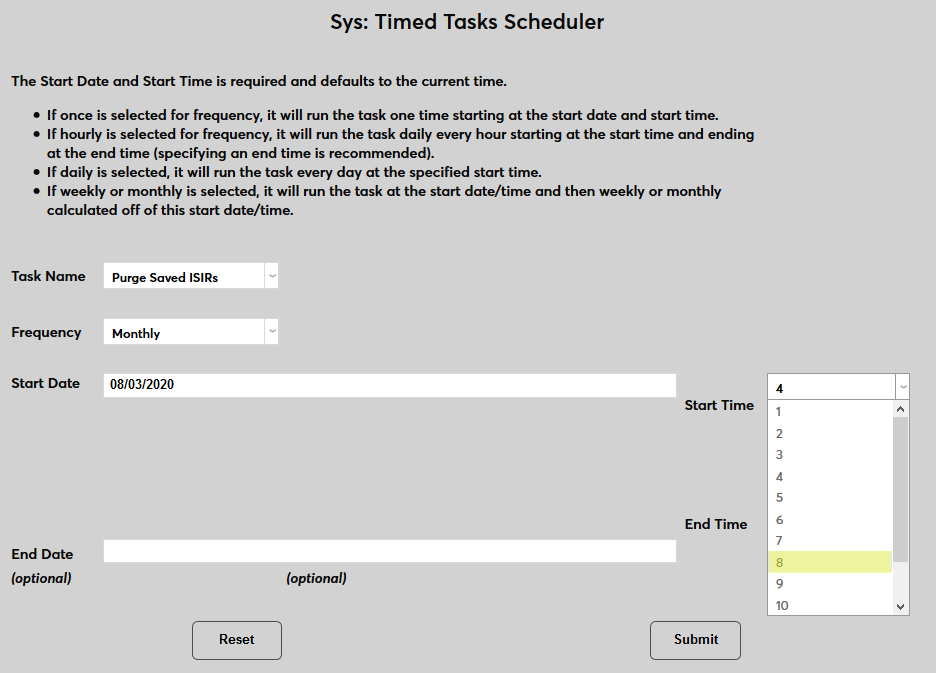
Click the Submit button to create the scheduled task.

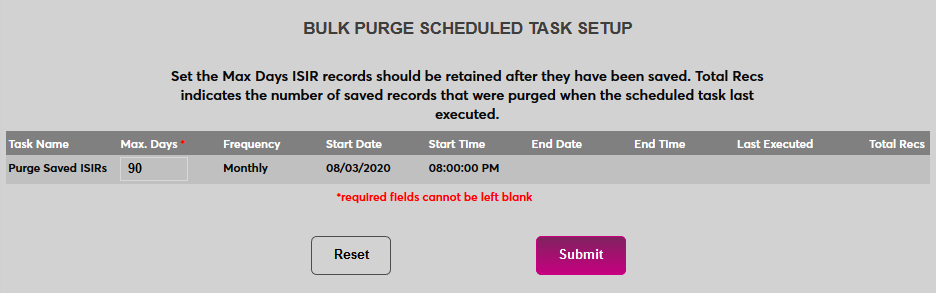
Once the scheduled task has been created, return to the Import ISIR launch page and scroll down to the section labeled Bulk Purge Scheduled Task Setup. Enter a whole number in the Max. Days field indicating the maximum number of days that saved records will be retained. When the scheduled task is run, any saved records that are older than this number of days will automatically be discarded.
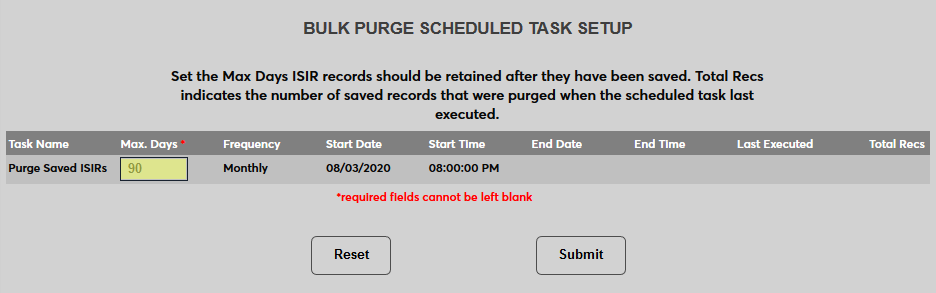
Click Submit to save the change and activate the task.
Student Record
To view a student's ISIR record, navigate to their Financial Aid record and click on the school year to be viewed. Then click ISIR Information at the bottom of the page.

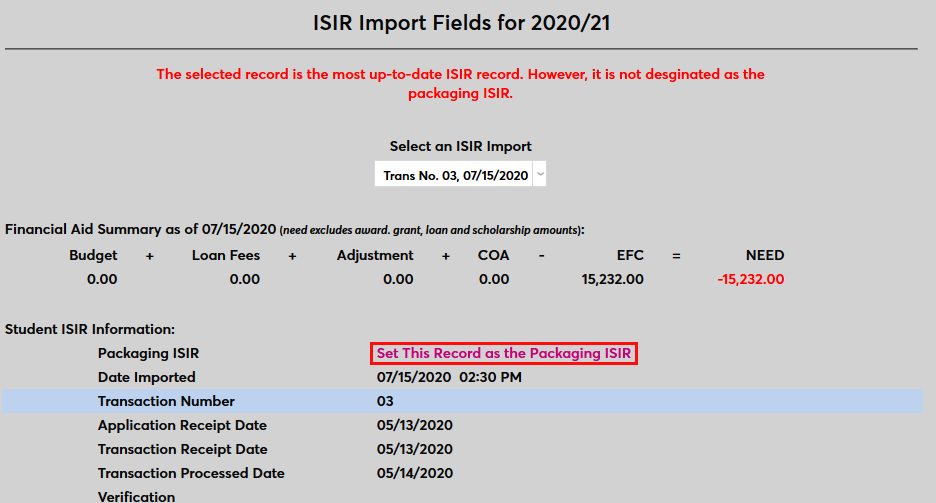
If more than one ISIR file has been imported for the user, a dropdown menu is available to view each set of data.
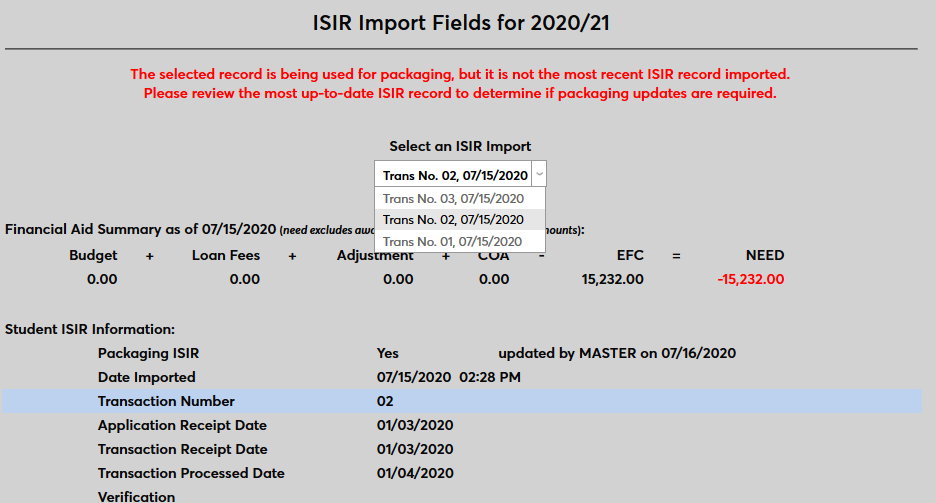
If the latest batch to be imported was not marked to be used in packaging, a note appears at the top of the page suggesting that administrators review the data. Click the Set as Packaging ISIR to change which ISIR import is being used for packaging.
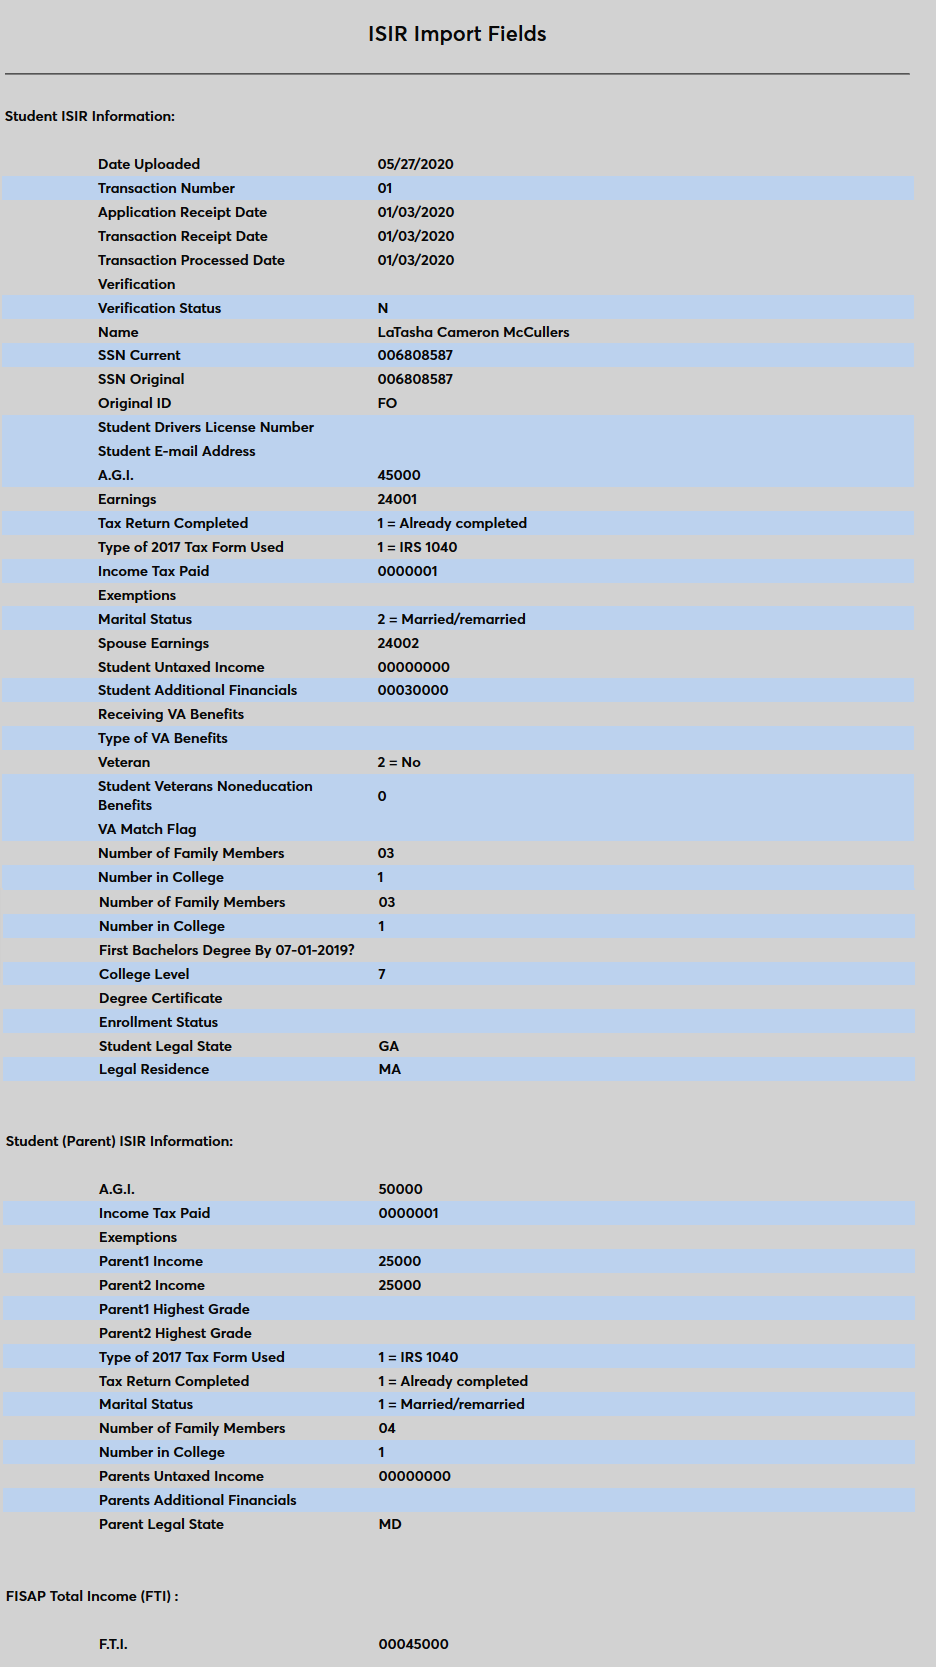
The following image displays all of the fields that are imported from ISIR to SONIS:
ISIR Setup Table
Jenzabar SONIS maintains a table that defines what data will go into the ISIR import file and where it will be saved. If CPS modifies the ISIR in some way, SONIS staff incorporate those modifications into this table as well as the code that extracts data so that the new data is extracted from SONIS and saved to the import file.
The ISIR file consists of sequential blocks of data making up a string of 2,962 characters. So, for example, the student's first name is always stored in the 31st through 42nd characters in the string. If a student's first name is longer than 12 characters, it is truncated. If it is shorter, the remainder of the 12 characters are populated by spaces. Each row/record must always be 2,962 characters, and first name must always begin as the 31st character and end as the 42nd character so that the middle initial can always be in the 43rd position.
To download an Excel file mapping the position changes of each field through prior ISIR updates, click here.