Form Builder
Overview
Form Builder is a utility that allows Jenzabar SONIS administrators to create custom forms that can then be filled out by users. As many fields as needed can be added to the form with each field customizable by size and type. In addition, the fields can be moved around the page and rearranged as the form is being built. Fields can be mapped to existing SONIS fields to allow the submitted data to be imported to the local SONIS database. Additionally, administrators can import and export form templates as needed.
Note
An assigned form must be unassigned before it can be edited. Once a user has filled out a form, it can no longer be unassigned.
Creating a Form
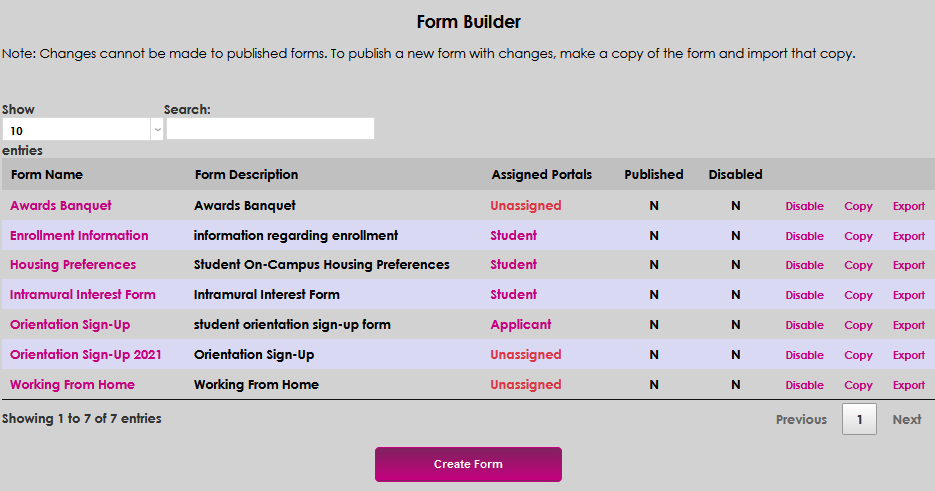
Navigate to the Form Builder utility in the Systems hub. Click Create Form to get started.
Form Setup
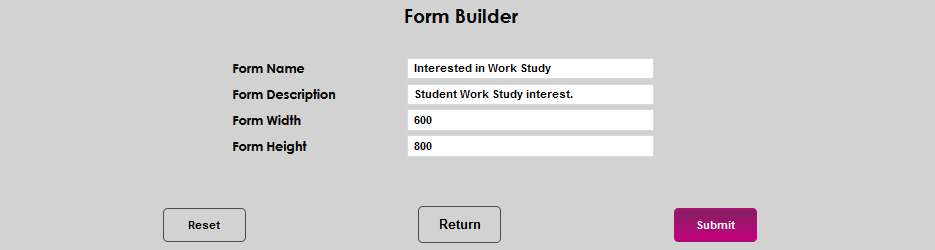
On the next page, create a Name for the form that the users who fill it out will see. The name can be up to 30 characters. The Form Description field can be up to 100 characters and will not be seen by the users.


Note that the form name cannot include special characters. Creating a form with special characters like a slash or an ampersand in the name will cause an error.
The Height and Width of the form are also customizable. The default values are 600 by 800, but these can be changed to suit each form creator. Note that SONIS is responsive and automatically adapts to mobile platforms, so administrators can create forms based on how they will appear on a desktop or laptop computer and are not required to build their forms to suit phones and tablets. Though some users may prefer to build their forms in a single column so they will appear the same on every platform. Click Submit to proceed once these fields are all filled out.

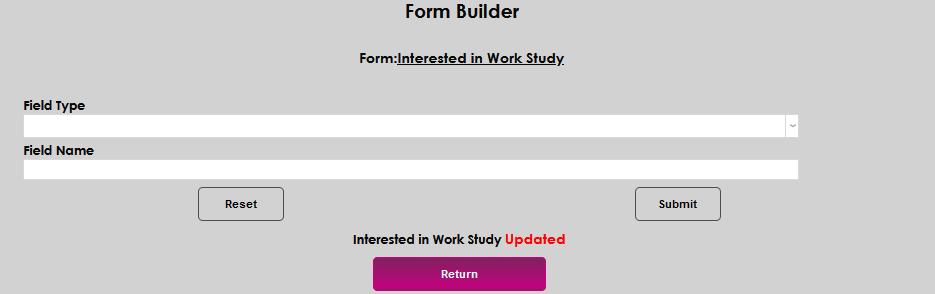
Adding Fields
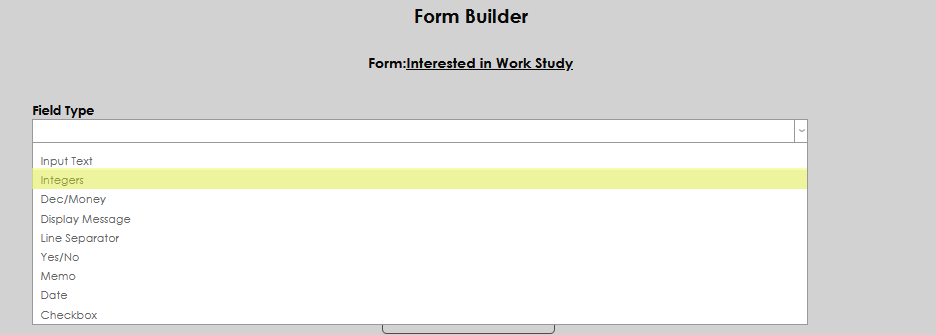
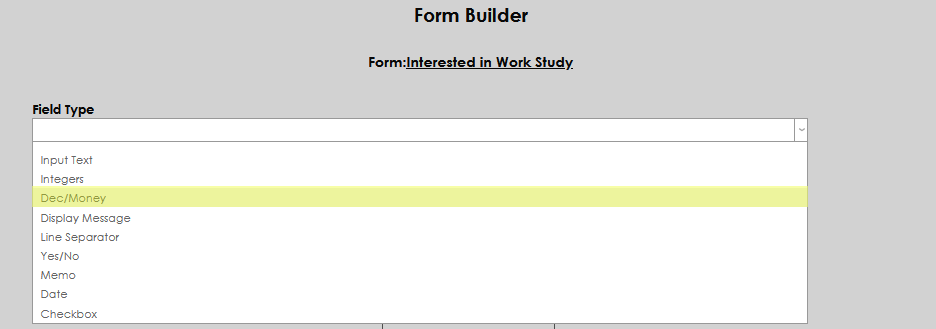
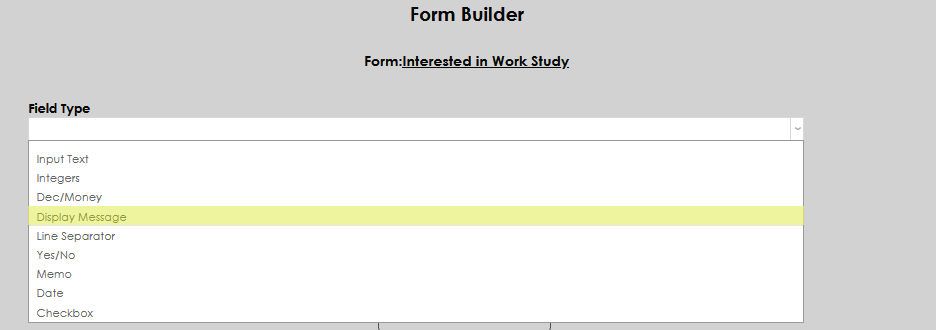
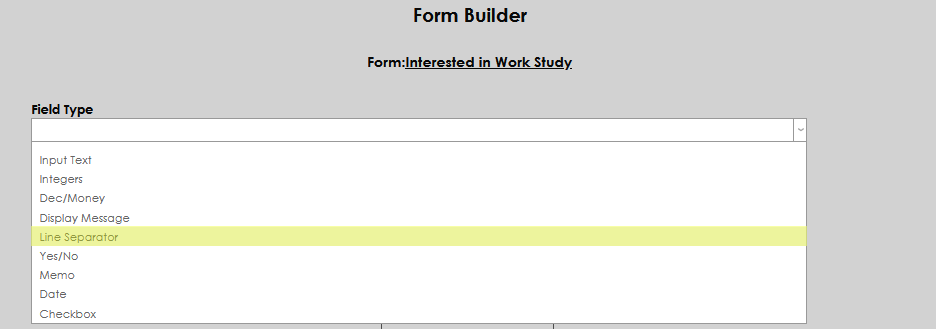
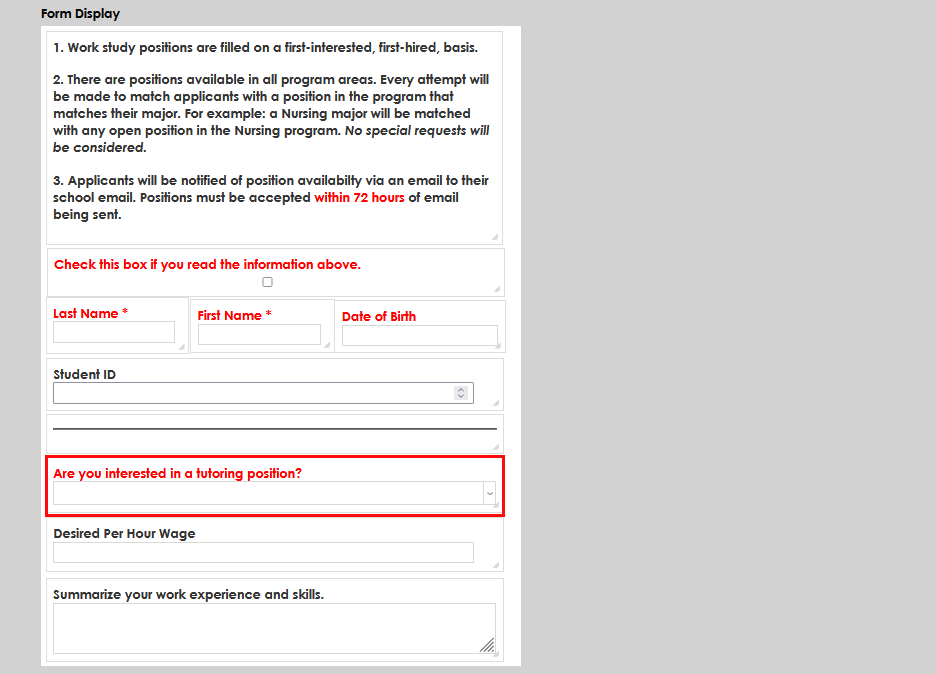
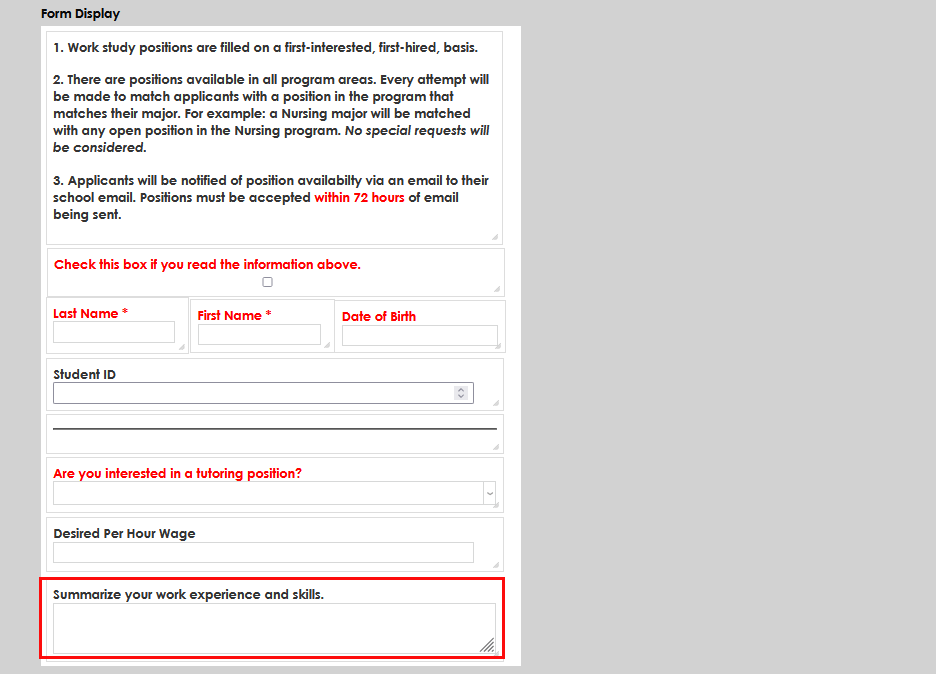
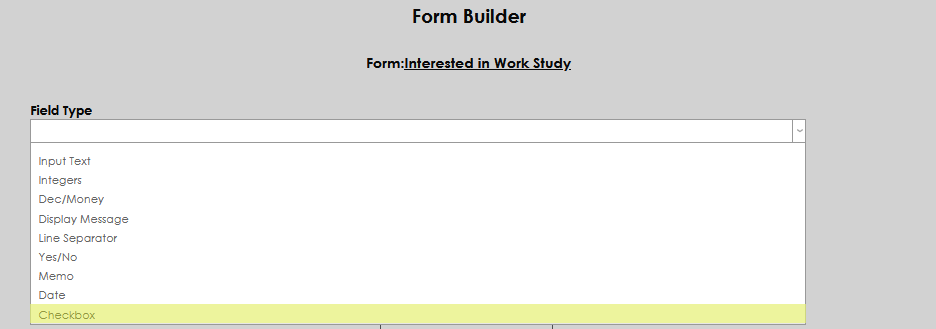
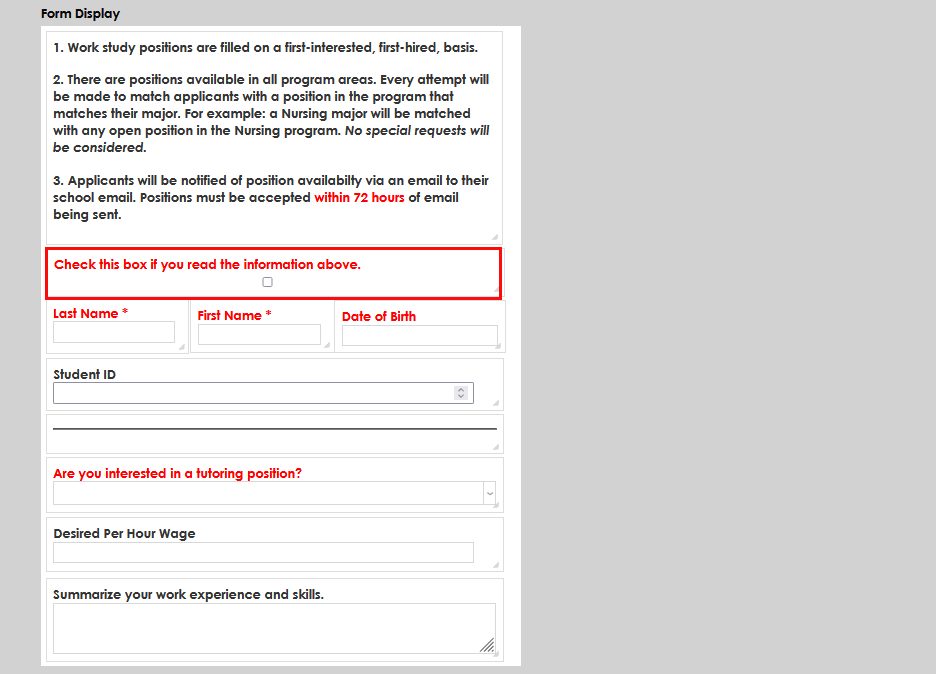
First, determine the type of field desired. Each field type has a different purpose and multiple field types often will be used on the same form. The types of fields are described below. Note that films that are marked as required are displayed in red and films that are mapped to an existing SONIS field are marked with an asterisk. Mapping options are based on the type of field selected.
Input Text
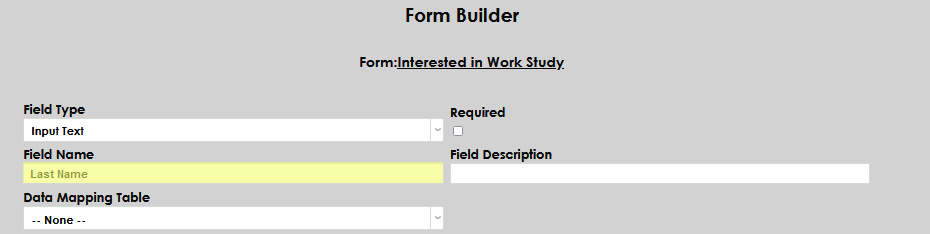
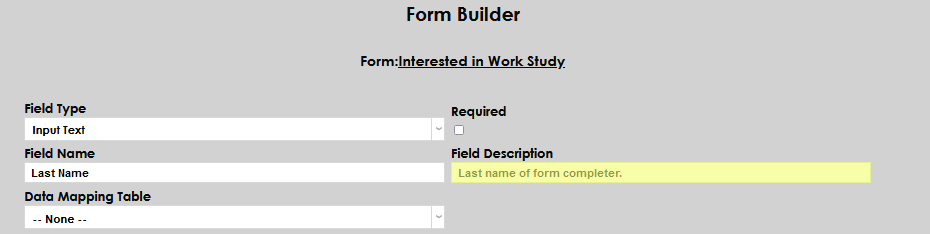
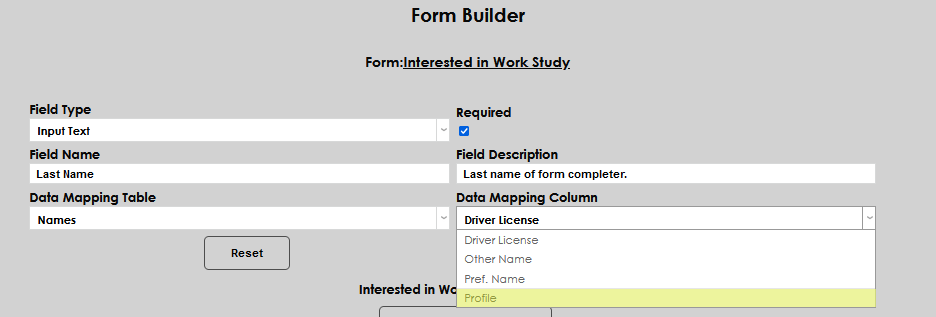
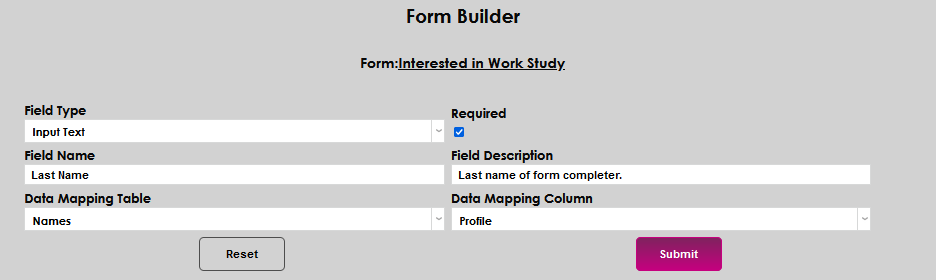
The Input Text field is used to allow users to enter any kind of text. It may contain numbers, letters, or special characters. The field can be set as Required by selecting the checkbox. Enter the label to be displayed with the field in the Field Name box. Enter a description to be used for internal reference in the Field Description box.
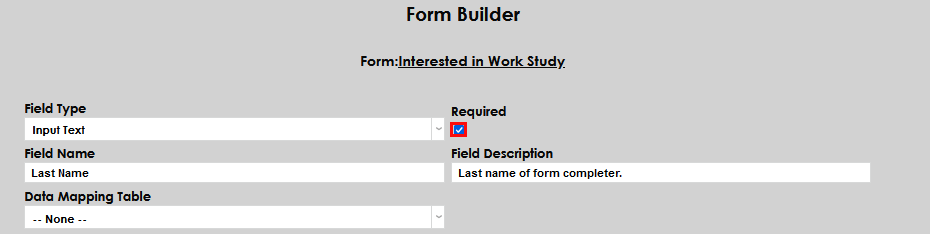
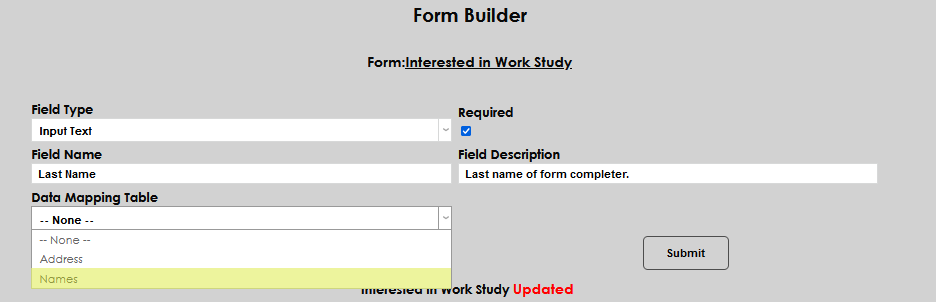
Some data can be mapped to populate existing SONIS fields. The Data Mapping Table will automatically populate with any data types that are consistent with the field type being set up. In this case, the options are Addresses and Names. When a selection has been made, the Data Mapping Column dropdown will display, allowing users to select from columns associated with the selected table.
The following fields can be mapped:
Table | Field |
|---|---|
Name | driver_license |
Name | incl_directory |
Name | notpubname |
Name | other_name |
Name | releas_dt |
Name | releas_inf |
Name | show_addr |
Name | show_email |
Name | show_phone |
Name | show_wkphn |
Name | show_wkphn |
Name | veteran |
Address | add_add2 |
Address | add_addr |
Address | cell_phone |
Address | city |
Address | e_mail |
Address | e_mail |
Address | e_mail2 |
Address | fax |
Address | phone |
Address | preferred |
Address | salutation |
Address | salutation2 |
Address | salutation_hoh |
Address | st_addr |
Address | text_me |
Address | work_phone |
Address | zip |
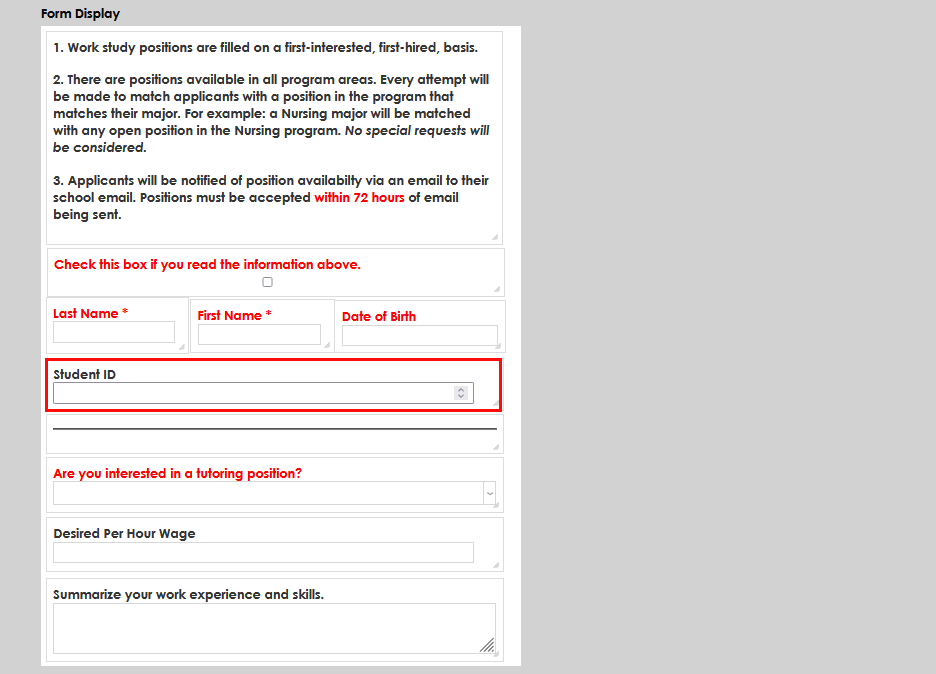
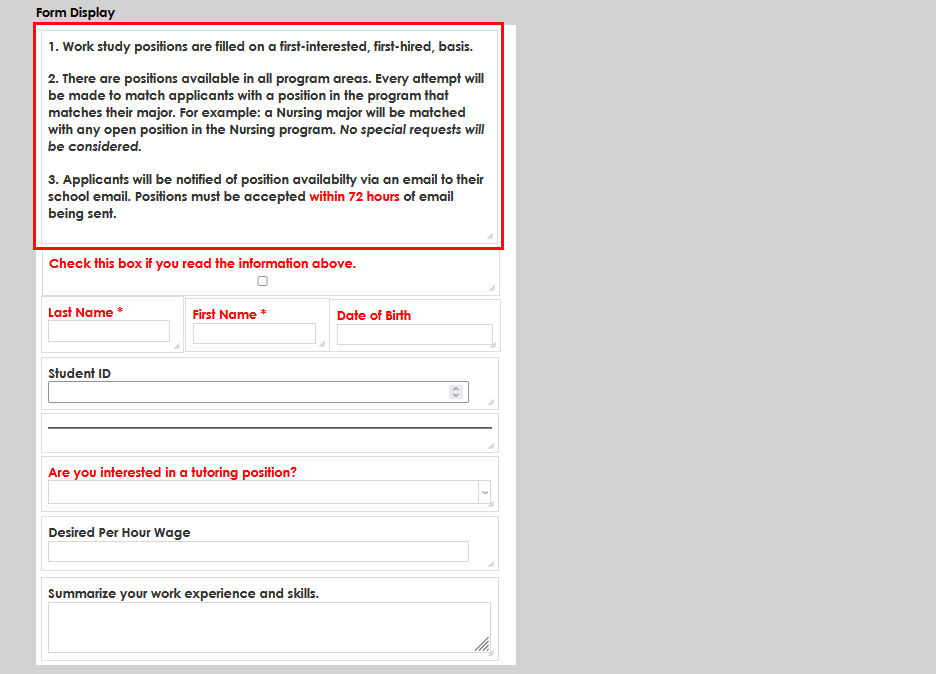
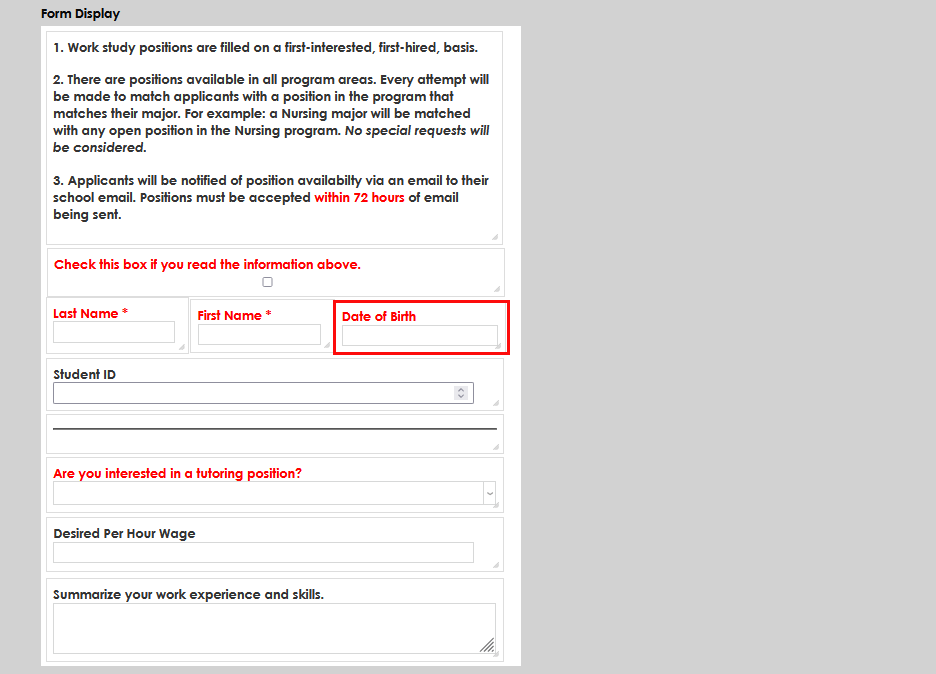
When all desired fields have been set up, select Submit to save. The created fields will display in the form on the bottom half of the page.

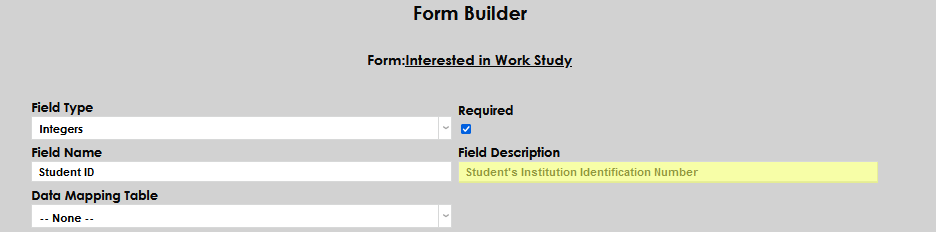
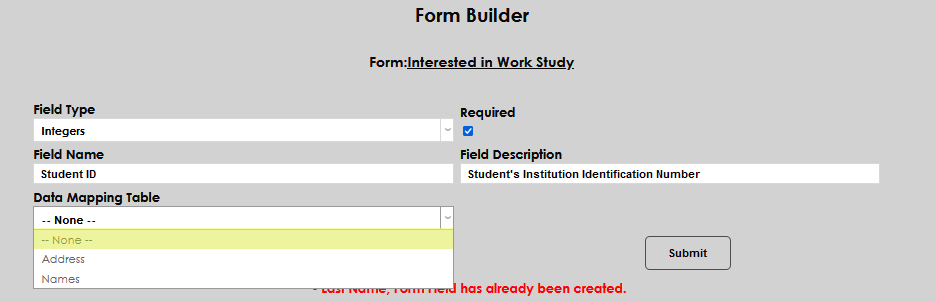
Integers
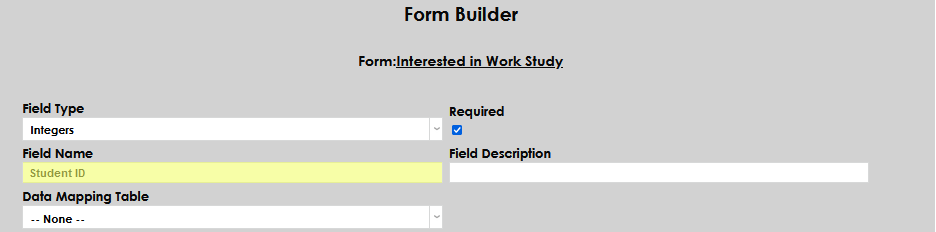
The Integers field type accepts any combination of whole numbers. It will not accept letters or special characters. Enter desired label in Field Name and a corresponding internal description in Field Description. Address and Names are the associated Data Mapping Tables.
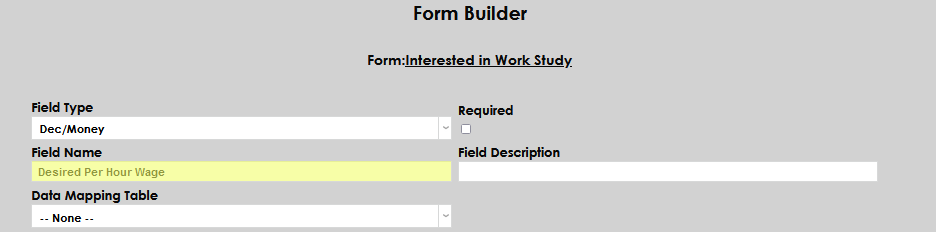
Dec/Money
The Dec/Money field type is for monetary figures or other numbers that may include a decimal point. Enter the label in Field Type and an internal description in Field Description. There are no associated Data Mapping Tables.


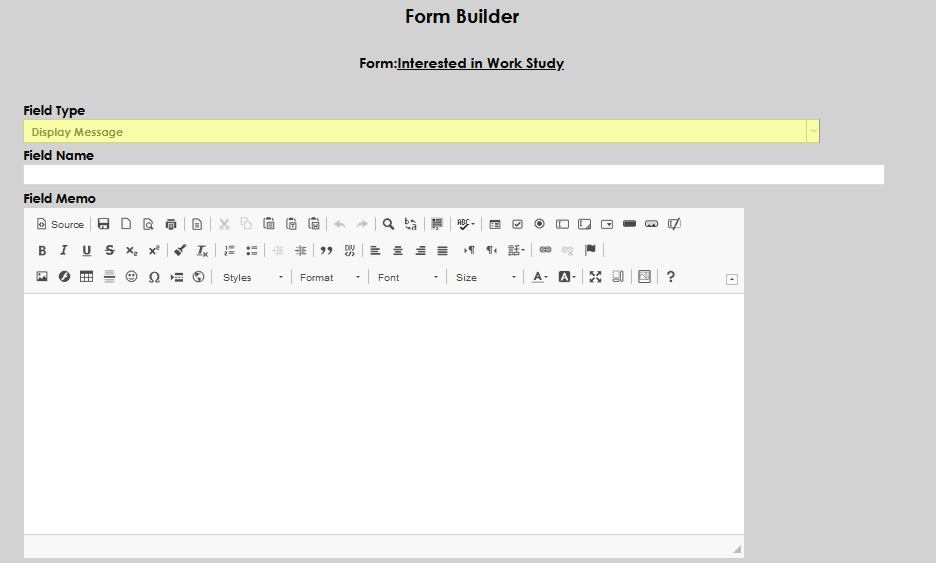
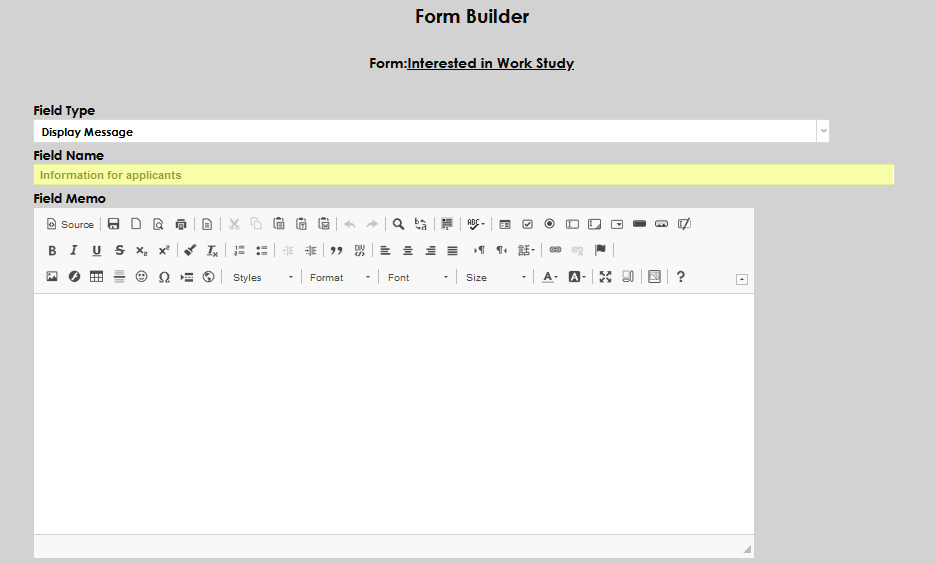
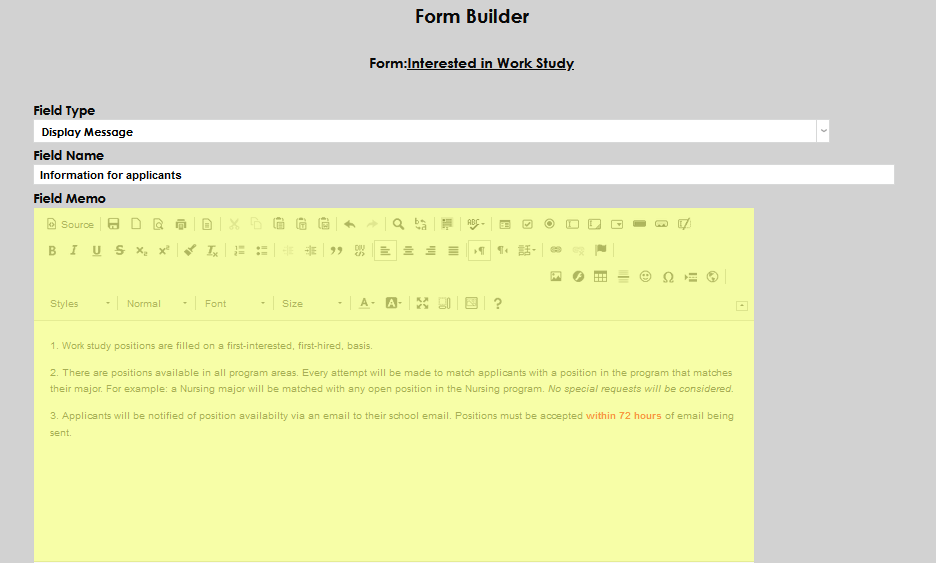
Display Message
The Display Message field type allows form creators to include a section of text for the person filling out the form to read. This field will not allow input from the user accessing the form. The Line Separator and Display Message field types do not include an option for a description and do not display the name they're given on the form. Rather, the name is simply used by the system to recognize that field. The Display Messages field type offers standard text editing capabilities, so administrators may change the font size, font color, and font style of the text to be displayed, among other options.
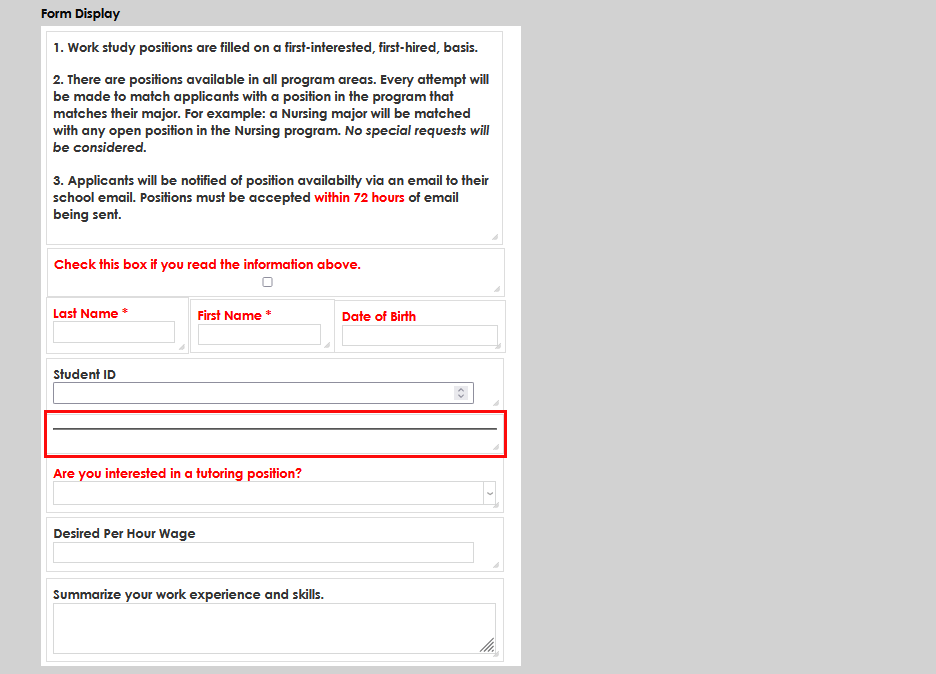
Line Separator
Line Separator is a field type that is for display purposes only. Choosing this field type creates a visible line on the page to separate one section from another. Field Name is required, however, it will not display.

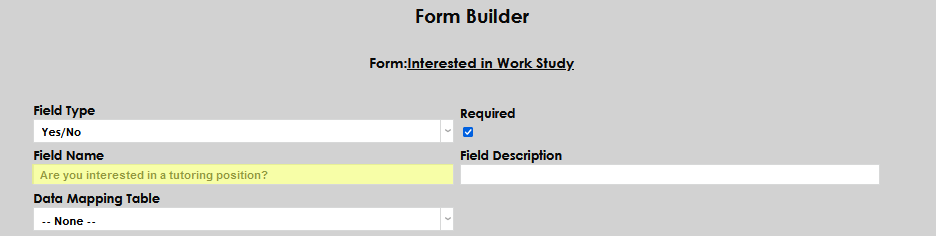
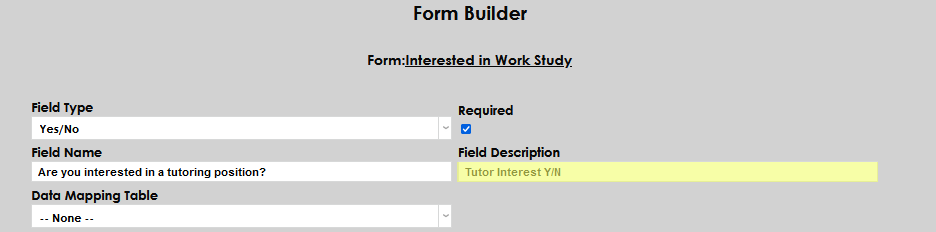
Yes/No
The Yes/No field type is for asking questions that require a binary yes or no answer. It creates a dropdown menu. Enter the question in Field Name and the internal reference in Field Description.

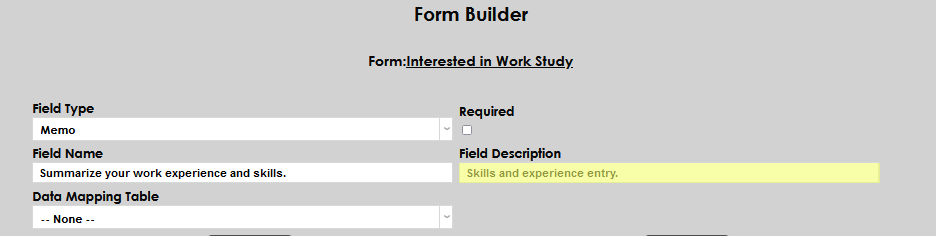
Memo
The Memo field type allows the users of the form to answer a question with a longer block of text. Enter the instructions to, or a question of, the user in Field Name and the internal reference in Field Description.
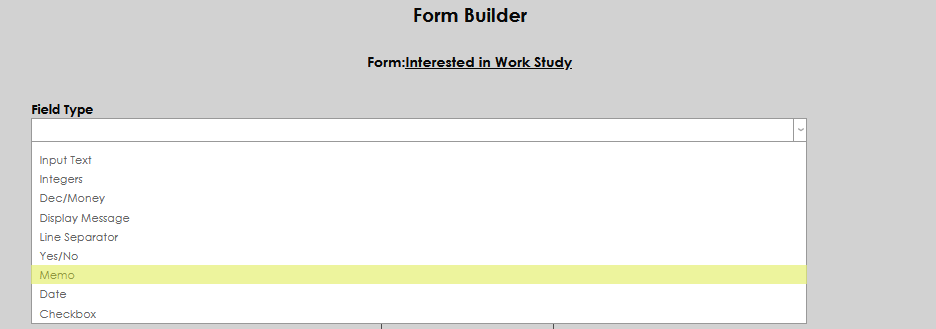

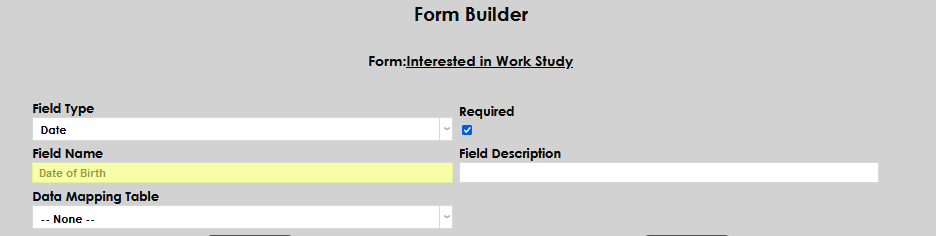
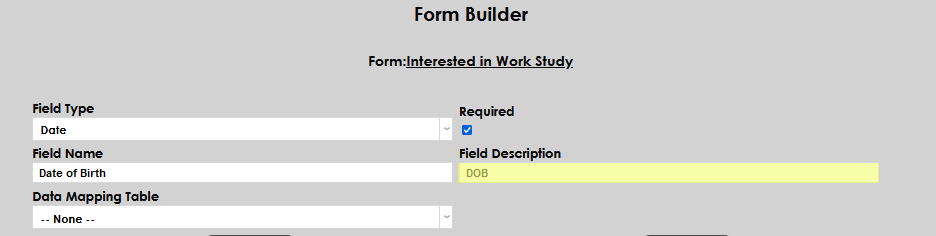
Date
The Date field type is for entering a standard date. Submitting other characters will result in an error. A date picker or calendar will display when the user selects the field. Enter the label for type of date desired in Field Type and the internal reference in Field Description.
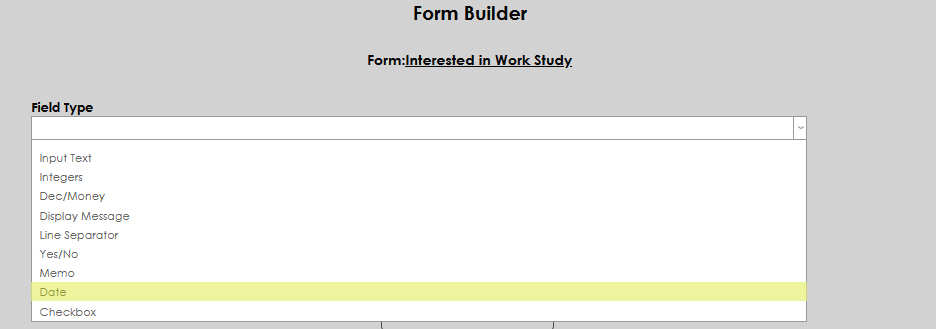
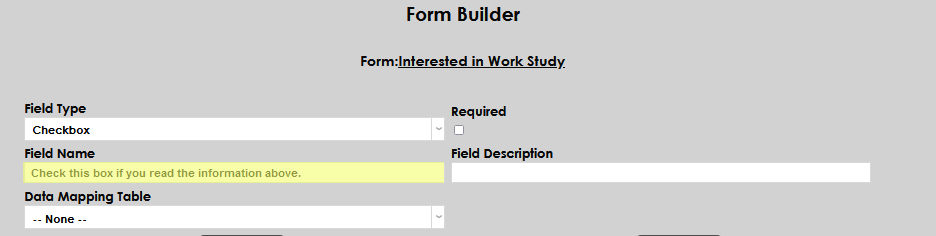
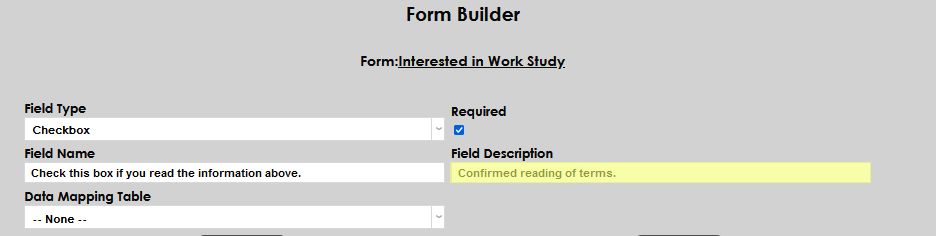
Checkbox
Checkbox allows a checkbox to be added to the form. Enter the label for the checkbox in the Field Name and any internal reference in Field Description.
Form Import/Export
Importing a Form
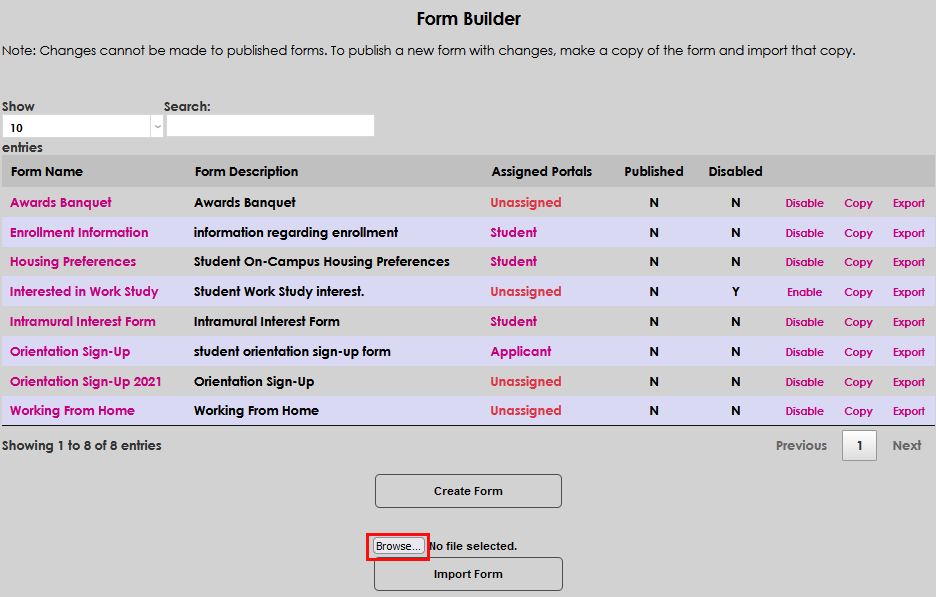
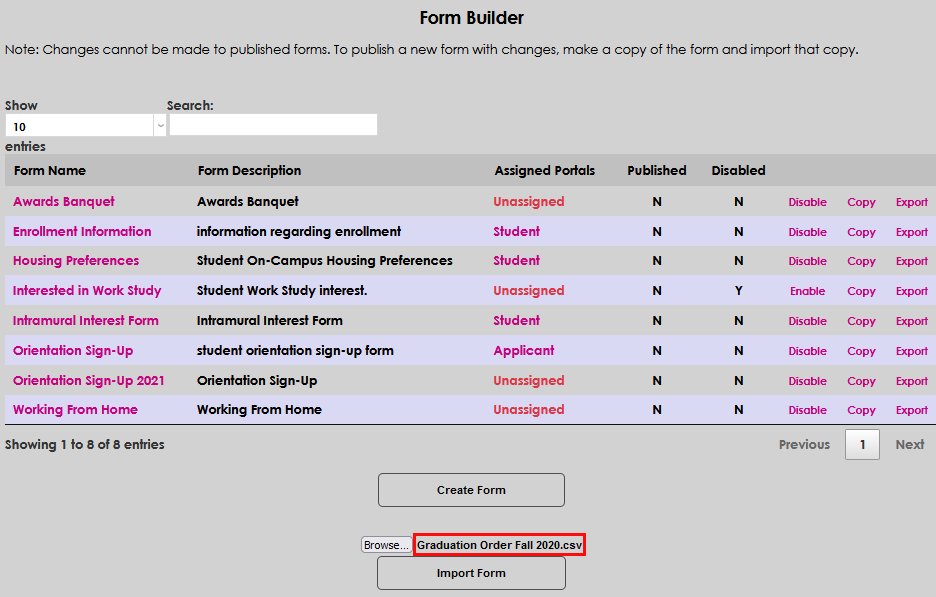
With this function, users may download or receive exported Form Builder forms from peers or other SONIS member institutions, and load the forms into Form Builder, eliminating much of the time needed to create a form. Once imported, the form will be mapped to available SONIS fields. Only the layout of the form will be imported. No user data will be imported. To import, select Browse. A standard file picker window will open. Navigate to the appropriate document location, select the Form Builder file, and click open. The file name will display above the Import Form button. If the file displayed is the one expected, click Import Form to import. If not, simply start with Browse again. The Form Name must be unique or the import will fail.
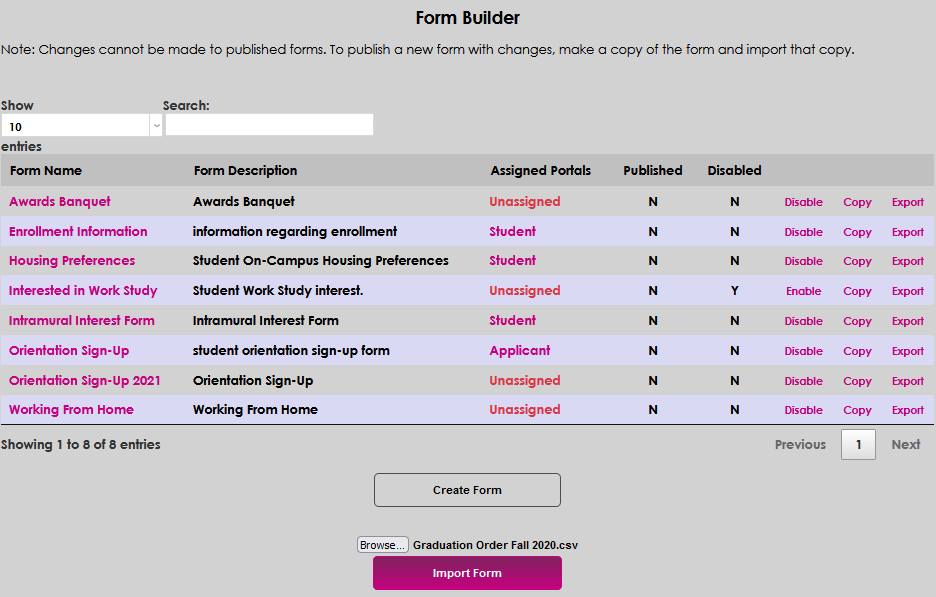
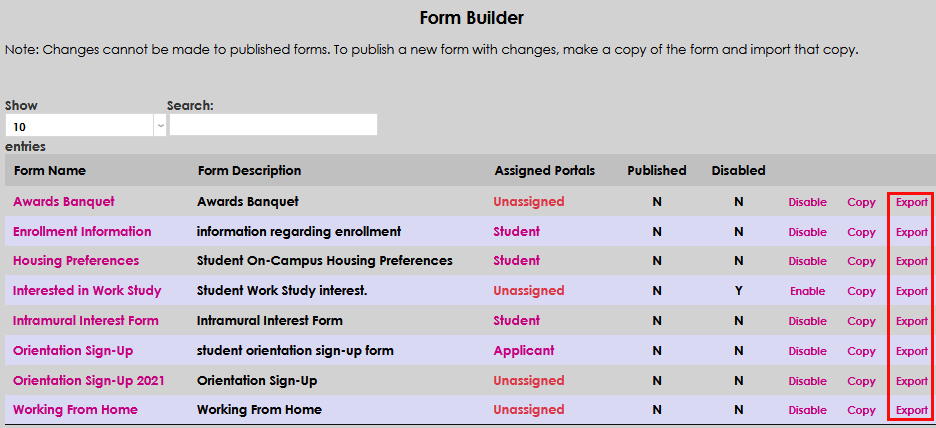
Exporting a Form
Users may export forms to share with others. Only the layout of the form will be exported. No user data will be exported. Click Export in the row for the form to be exported. An XML version of the form will be exported to the user's batch folder where it can then be downloaded.
Assigning a Form
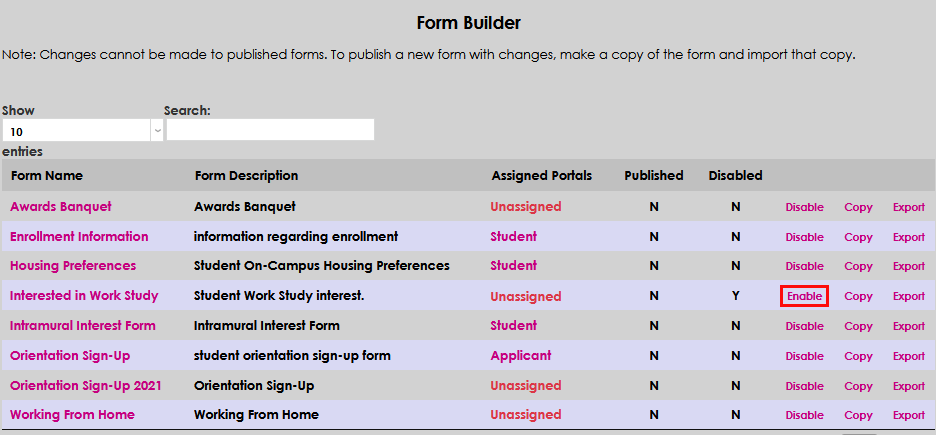
When the form is set up completely, click Return to return to the Form Builder homepage. Next, click Unassigned assign the form to a group of SONIS users.
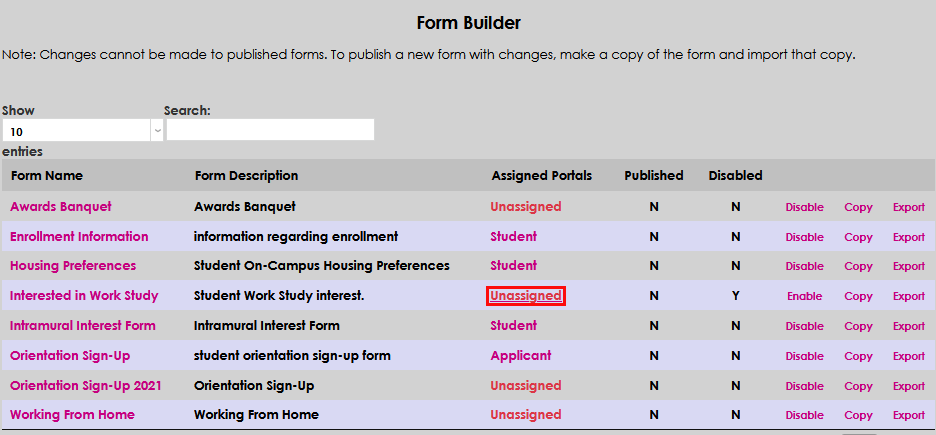
On the following page administrators can choose to assign the form to Students, Faculty, Alumni, Applicants, Sponsors, or Employers. Check the appropriate box or boxes and click the Submit button.


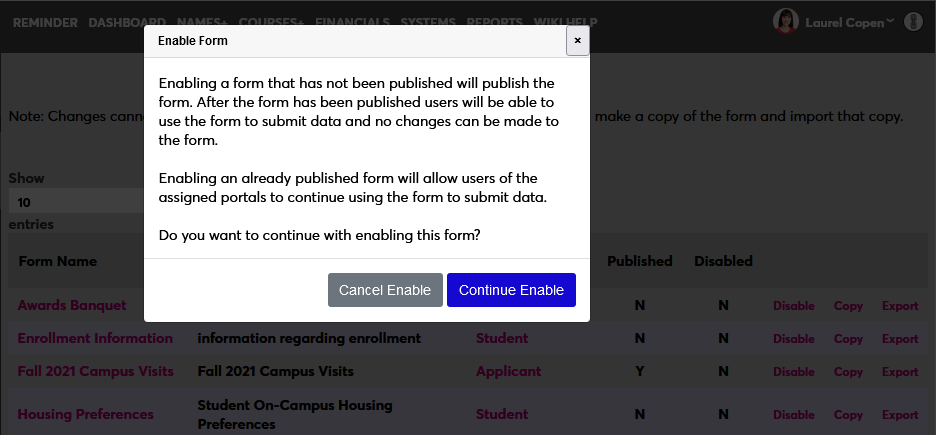
Once a film has been assigned to a portal page, it must be enabled before it will be live. Click the Enable link. A pop-up will appear asking if you're sure that you want to enable the form. Click Continue Enable.
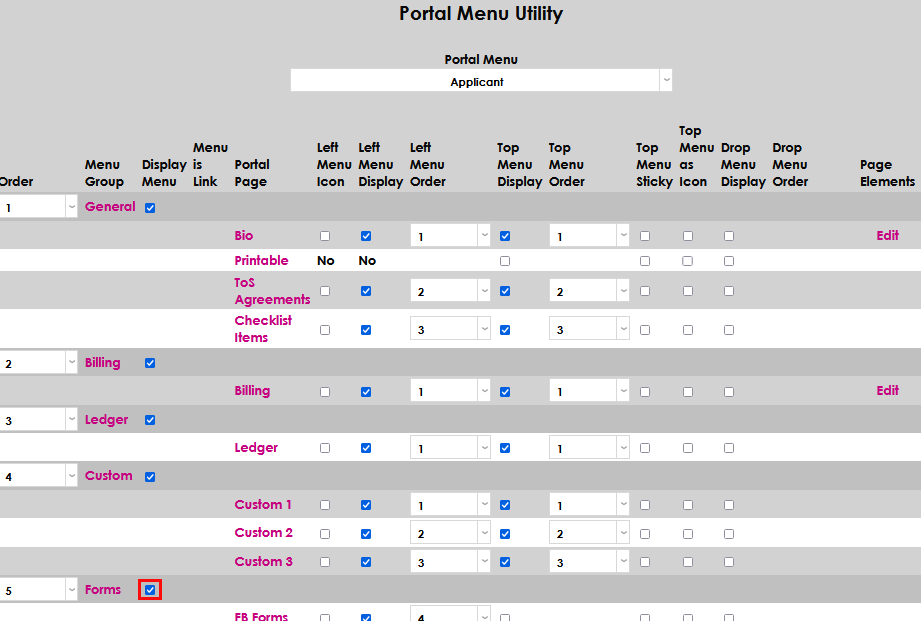
In order for the form to be available in the selected portal, the Forms box must be checked on the Portal Menu Utility page.

Filling Out a Form
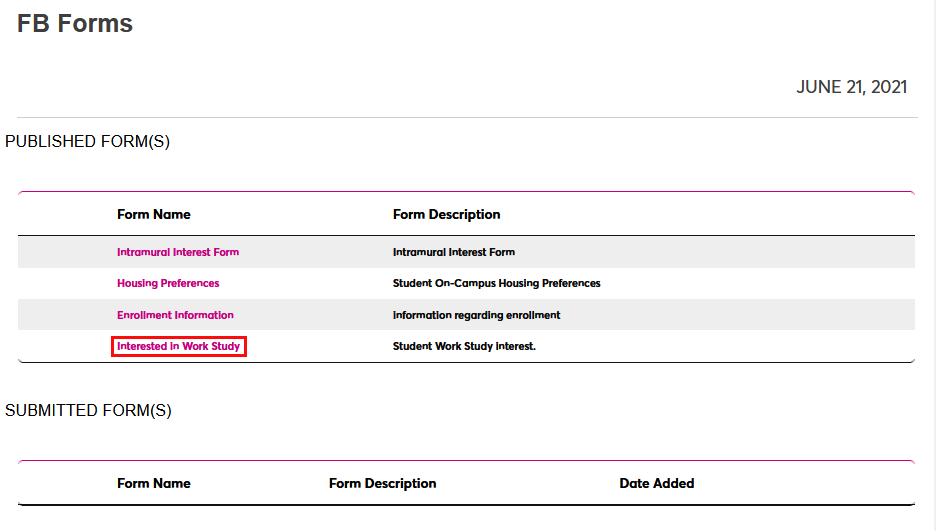
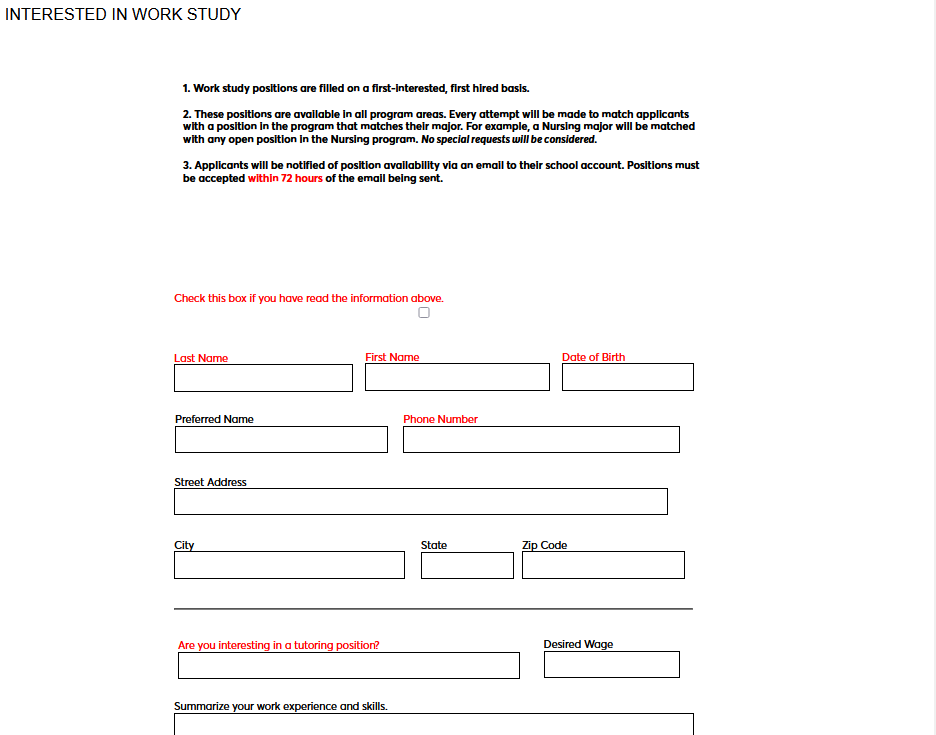
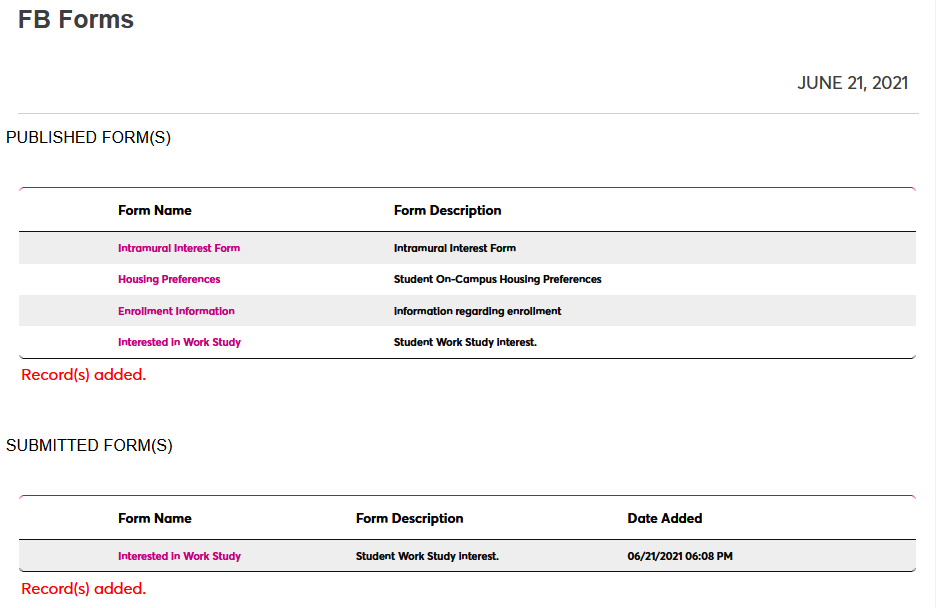
To access a Form Builder form from the portal to which it's been assigned, click on Forms in the left-nav menu and then FB Form. The form will be listed under the Published Forms heading. The user can click on the name of the form to access it.
Once the form has been submitted, it appears in the Submitted Forms section of the page. Users can click on the title again to make edits to the form.
Viewing/Importing Results
Individual Records
Once a SONIS user has been selected through the Name Search function, administrators can view the forms that the user has filled out by navigating to the Form Builder Forms page. Each form will be listed by date added. To view the information submitted, click on the form name.

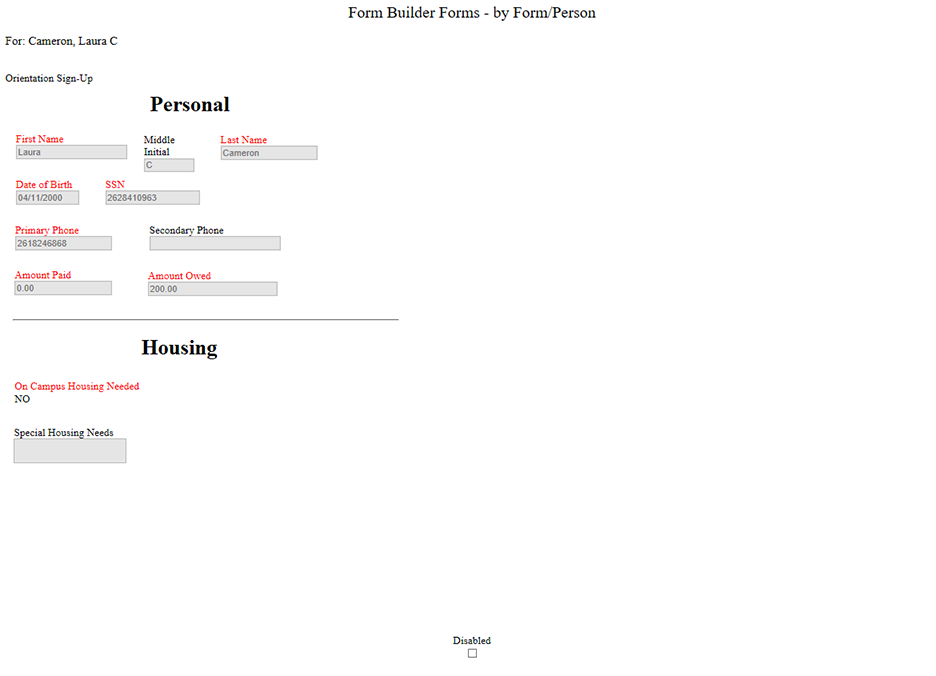
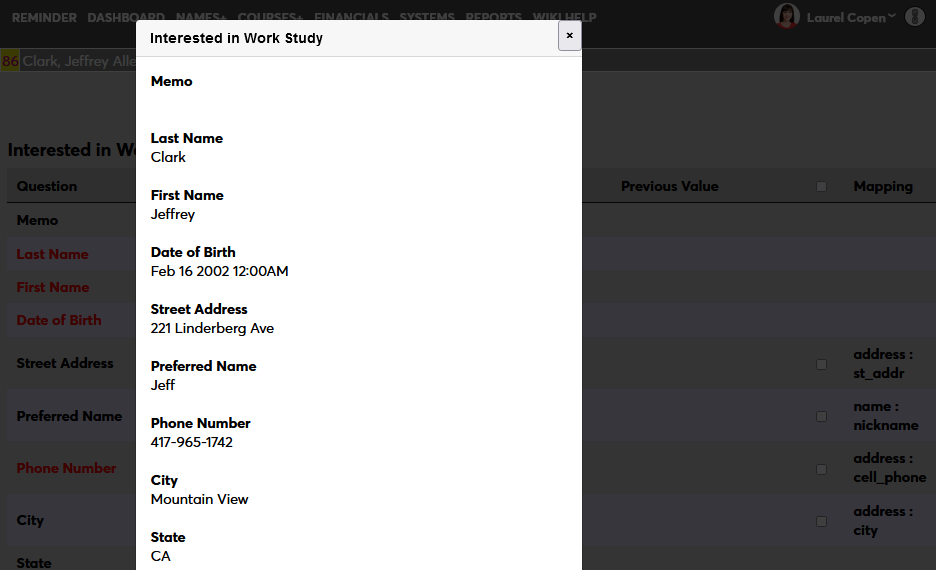
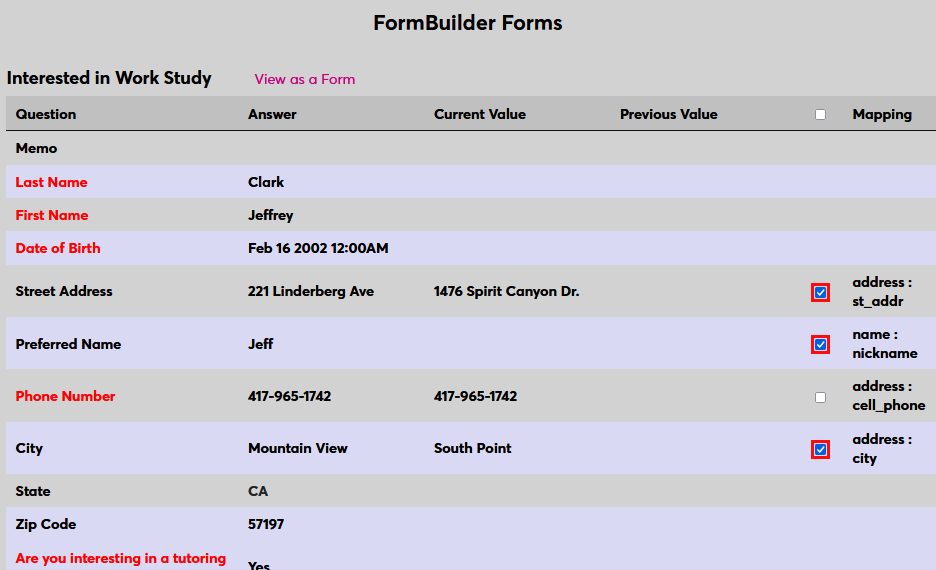
To view the data as it was laid out for the user, click the View as a Form button. The form will open in a pop-up.
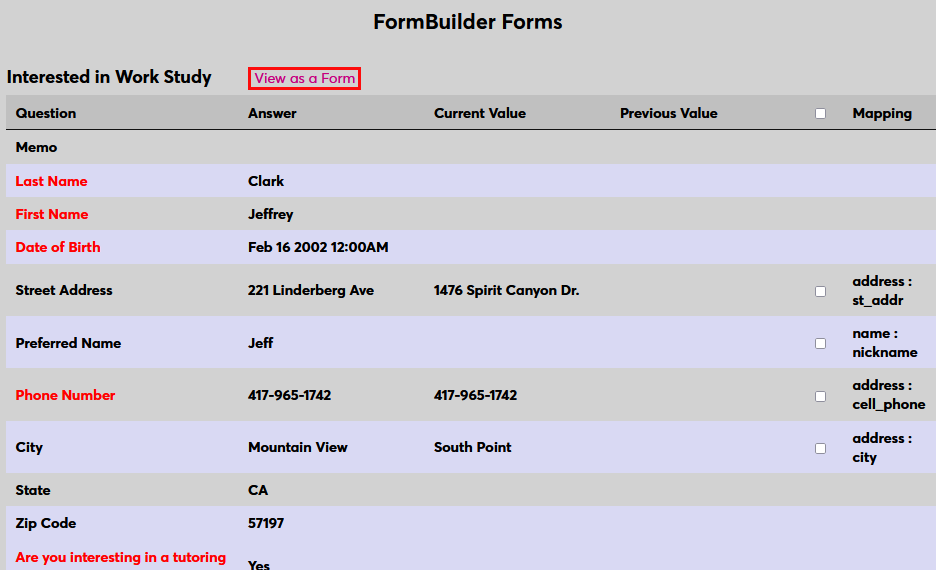
In the table view, fields that have been mapped display the Answer in cone column and the Current Value in the next. Check the box for one or more Mapping and click Submit to import the data from the form.
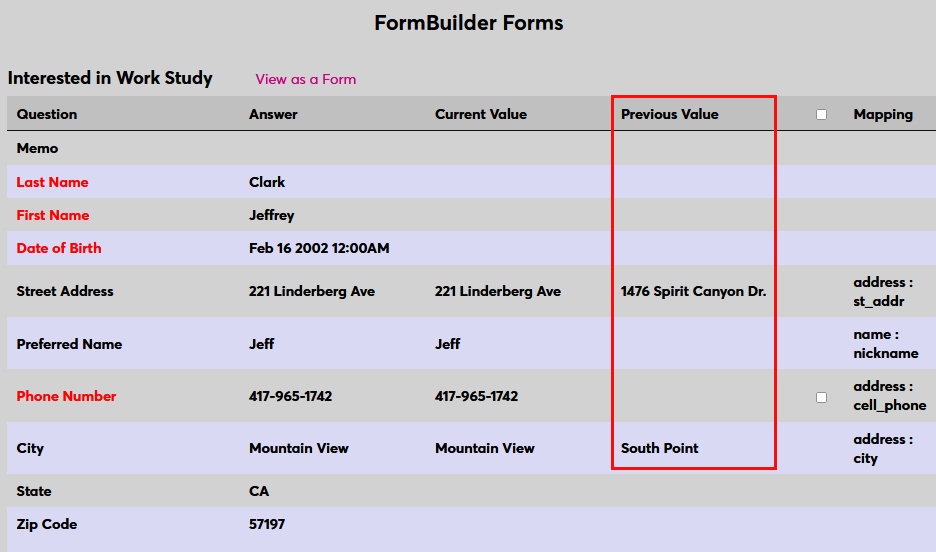
Once the form data has been imported, the value that was in the field before displays in the Previous Value column where it can be manually recovered.
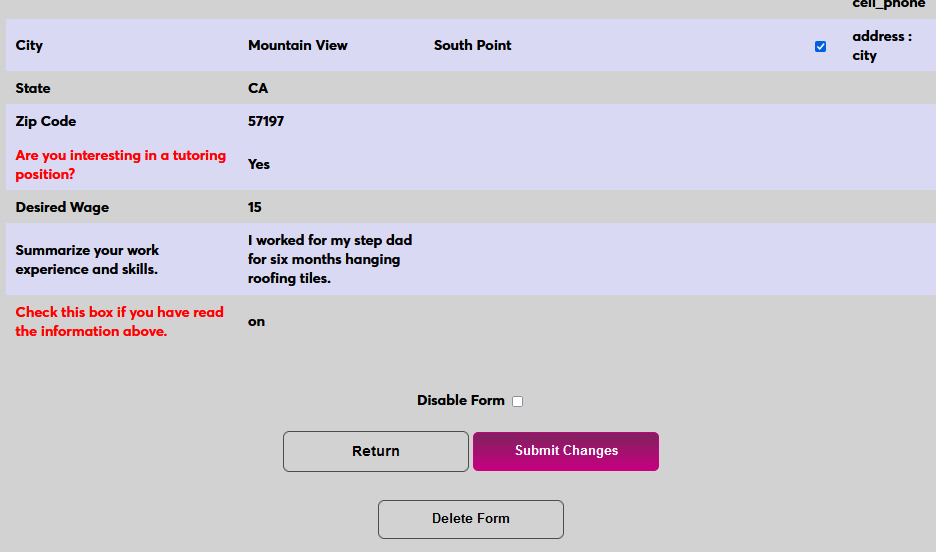
The administrator can disable the form to deny user access by checking the Disabled box and clicking Submit or delete the form with the Delete button. Forms cannot be deleted once the data has been imported.
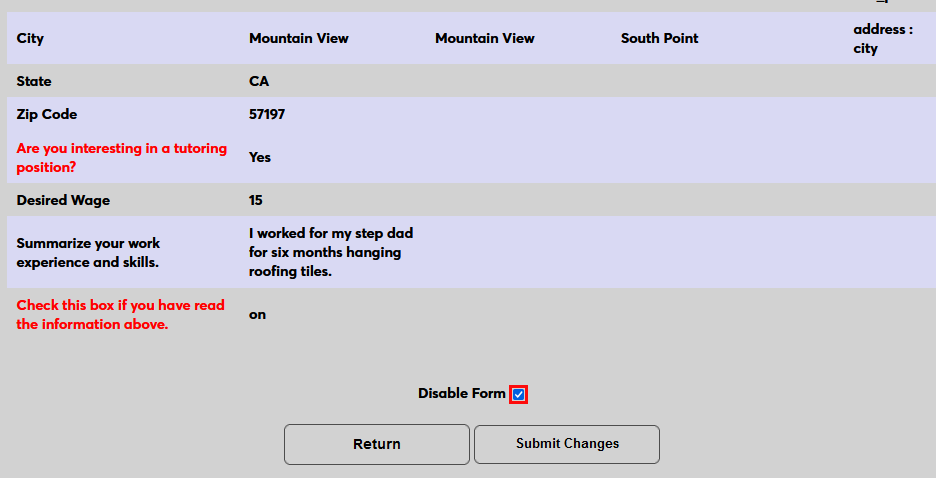
When a form has been disabled, that information will display on the user's Form Builder Forms page. It can be re-enabled by repeating the process and unchecking the Disabled button.
Bulk Import
The Bulk Form Data Import is available by navigating to Form Builder Import in the Systems hub. On this screen, the names of the forms that are published display, as well as statistics identifying how many forms have been submitted by users and the import status of these forms. There is a link for users to disable a form.
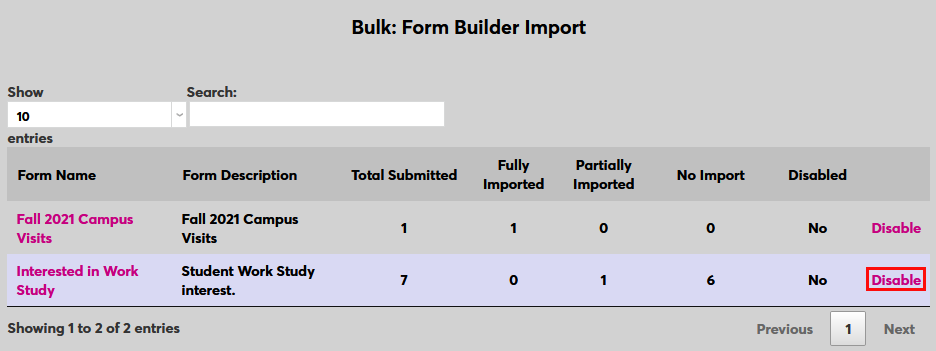
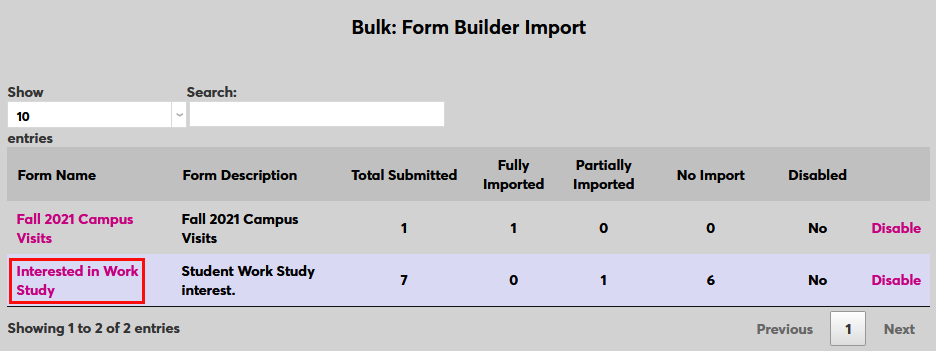
Select a form by clicking on the Form Name.
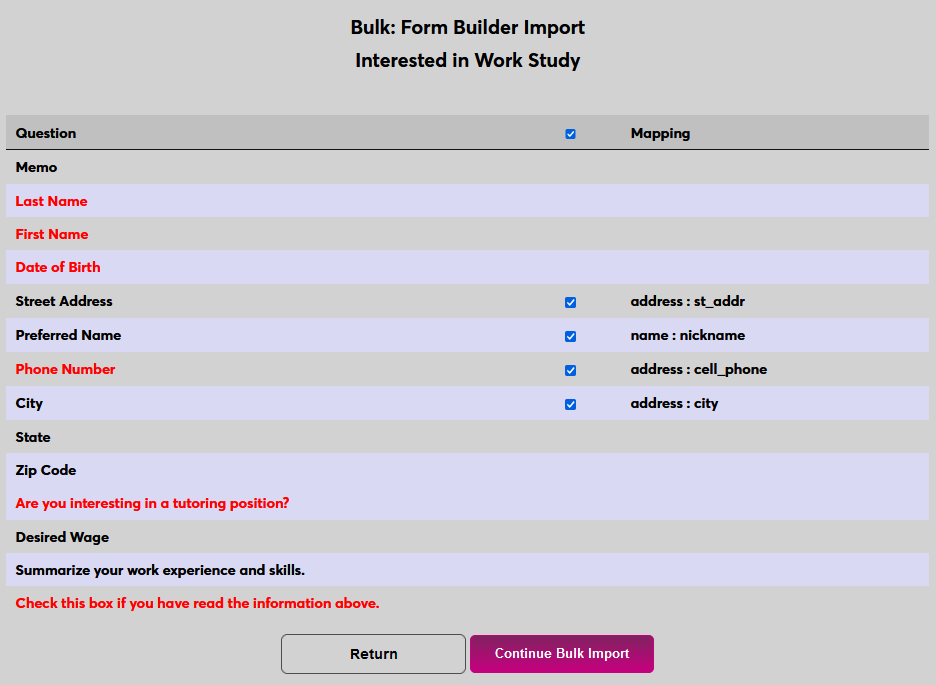
The fields that have been mapped to SONIS display in the table. Select the desired field(s) to import by checking each box or check the Mapping box up top to select all fields.
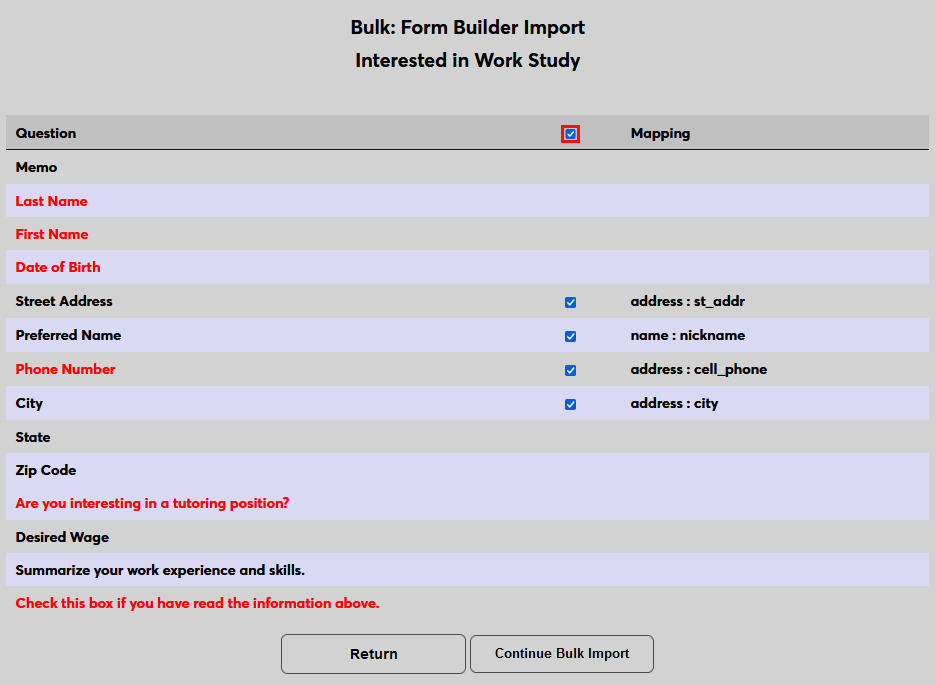
Click the Continue Bulk Import button to continue.
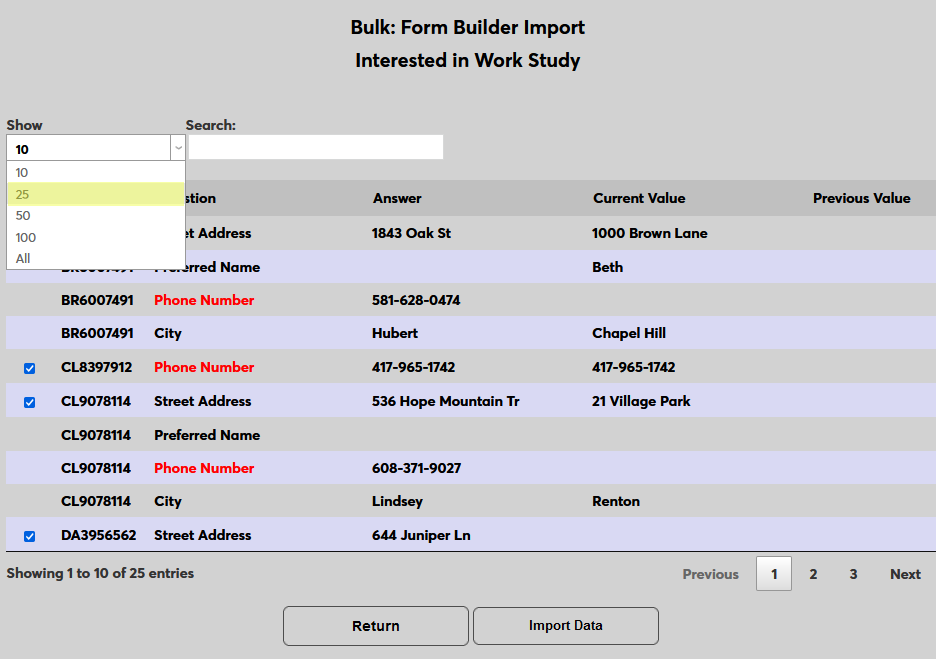
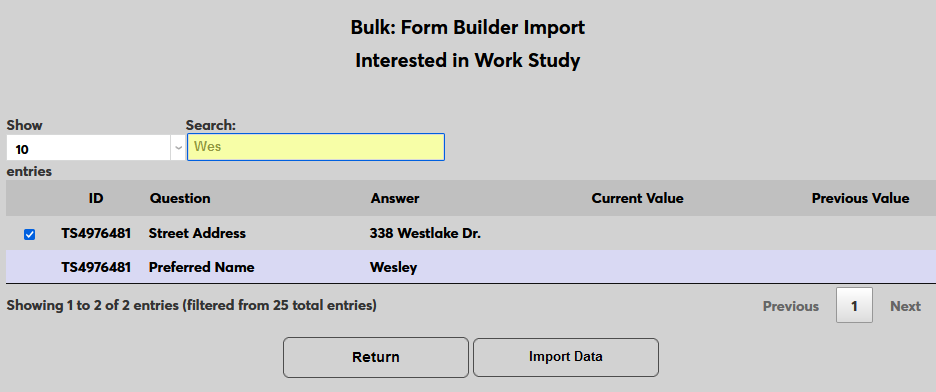
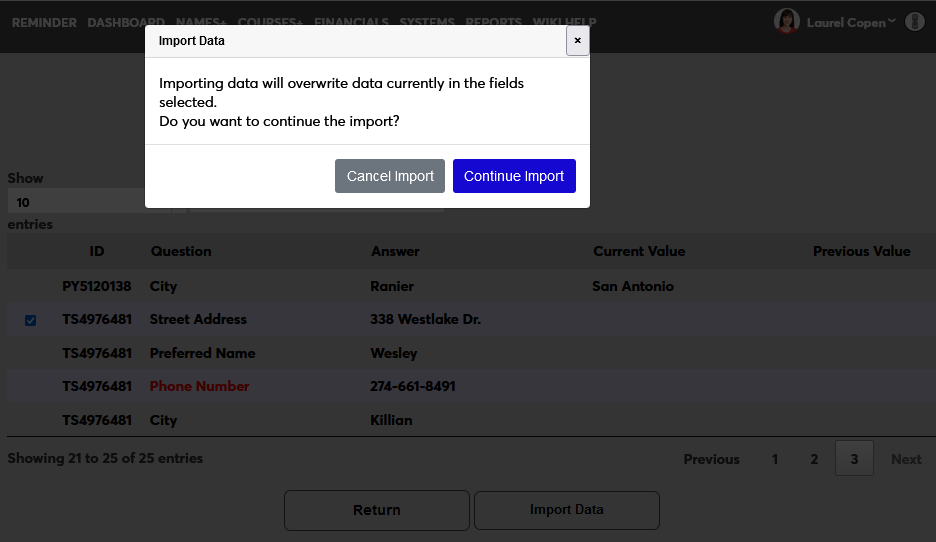
The following page displays the data to be imported. It's recommended that administrators review this data to ensure that there are no errors. The Show menu can be used to increase or decrease the number of rows on the page and a live Search field is available to search for a particular value.
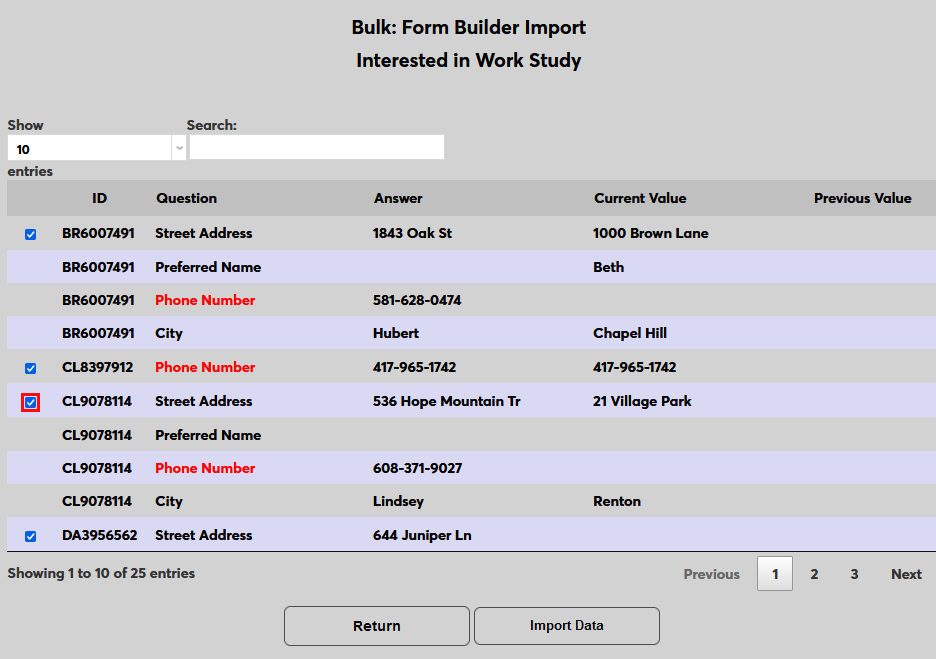
To keep any data from being imported, uncheck the box to the left of the row.
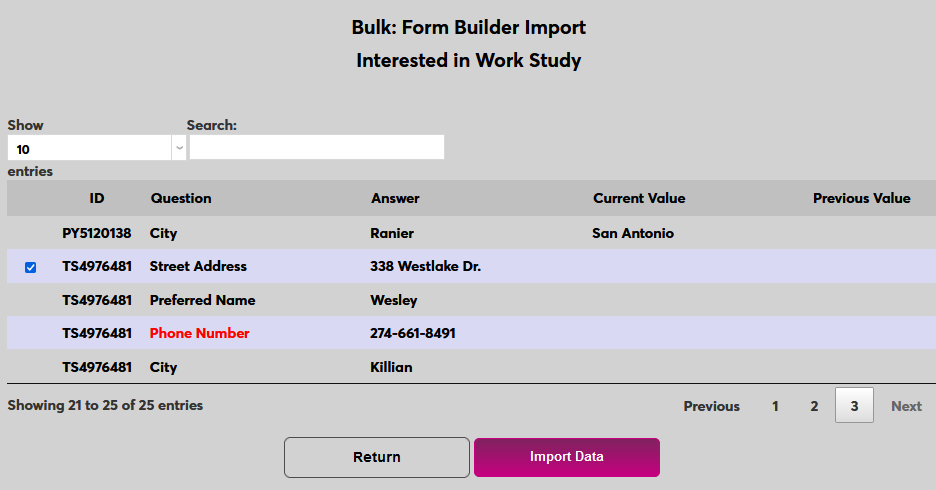
Once all of the fields to be imported or ignored have been selected or deselected, click Import Data. A pop-up window will appear to confirm that the data should be imported. Click Continue Import to complete the process.
Report
Administrators also have the option of viewing submitted forms through as a report. Navigate to Form Builder Reports in the Reports hub. Select the form results to be viewed from the Form Name box on the right and click the Build Report button. Results can be limited by Campus, Division, Department, Status, or Level or by entering a specific User ID.

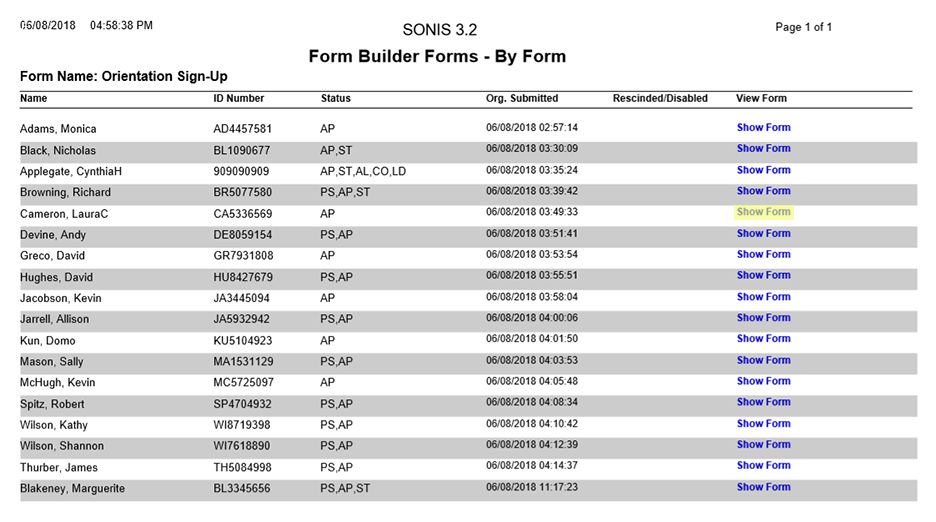
On the following screen, click Preview Report to view the report. The report will open in a new window. The report has columns detailing the number of Total Forms along with forms that have been Submitted, Rescinded, and/or, Disabled.


Clicking on a number will reveal more details about the users who've filled out the forms.

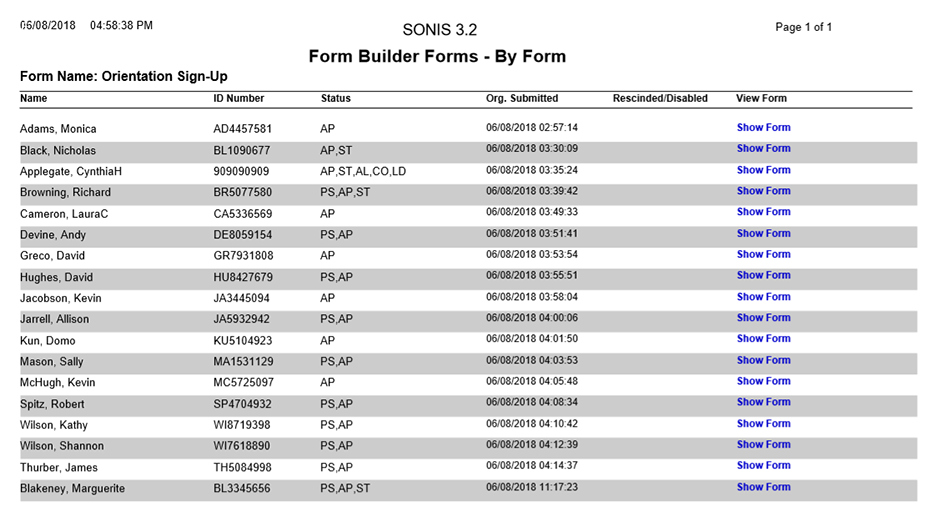
Click "Show Form" to view an individual user's responses.