Payment Plans
Overview
The Payment Plan functions allow Jenzabar SONIS member institutions to set up payment plans for students to assist students with paying their institutional bills. Students can access their plan through the Student Portal or it can be hidden from them. Administrators can also assign and monitor payment plans on the student's Users hub page, Payment Plans.
Setup and Use
Payment plans must be defined before they can be used anywhere in SONIS. Detailed instructions on how to create and manage payment plans are available here.
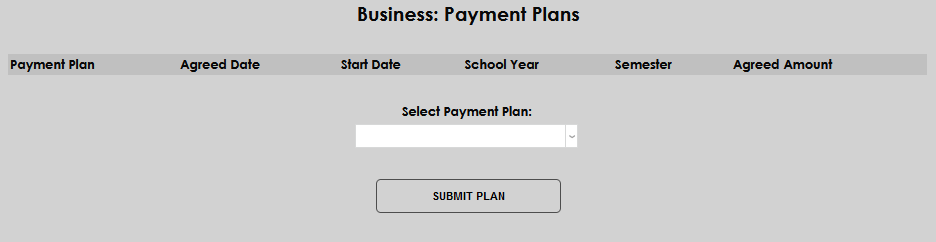
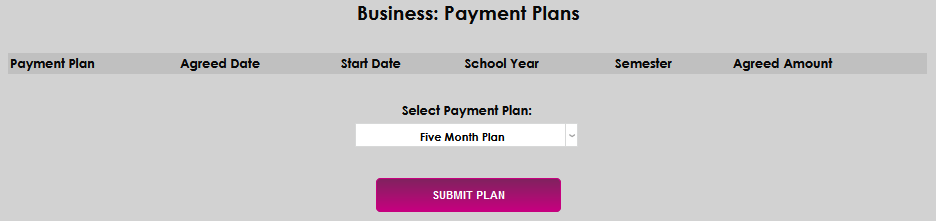
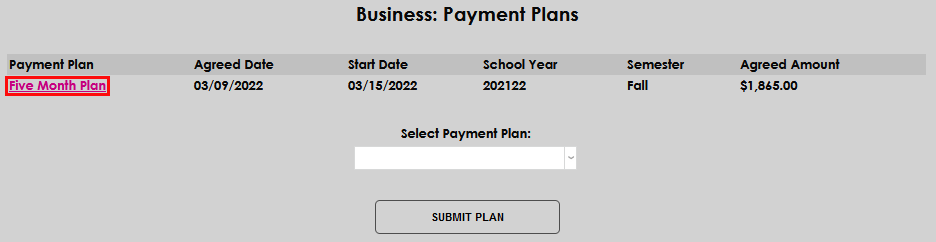
After confirming a student's desire to enter into a payment plan, and discussing the terms of the plan with them, enter the Business: Payment Plans page from the student's Users hub and select the appropriate type of plan from the Select Payment Plan dropdown menu.
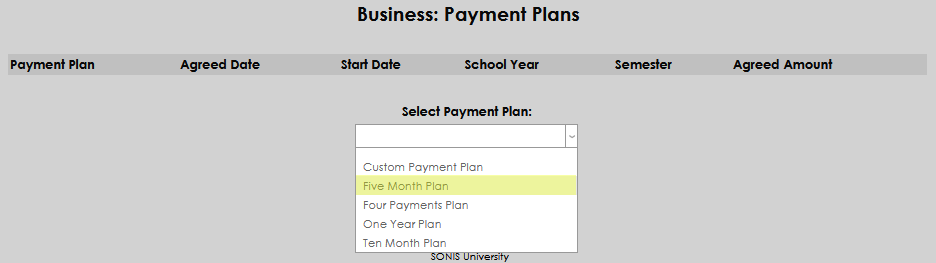
Click Submit Plan.
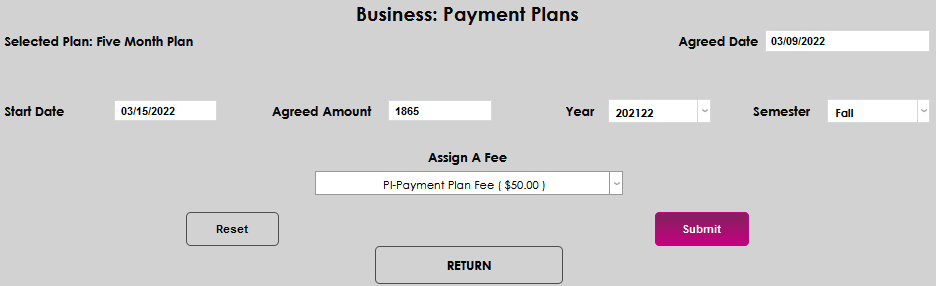
A page will open, allowing the entry of further details about the selected payment plan. Enter the date the student agreed to enter a payment plan in the Agreed Date field and the date it will begin in the Start Date.
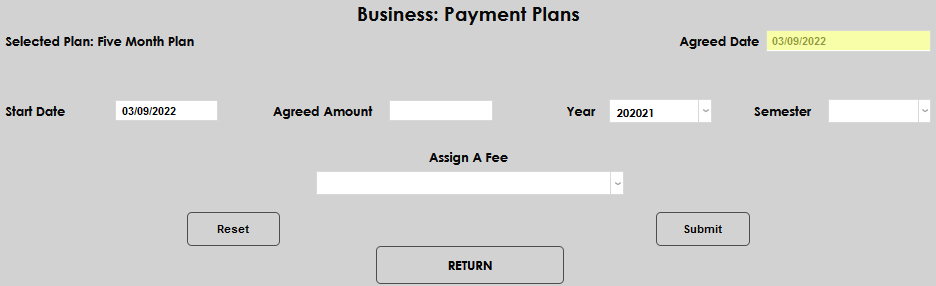
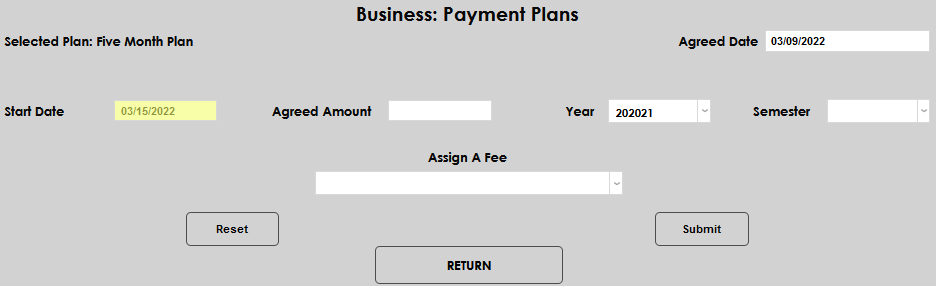
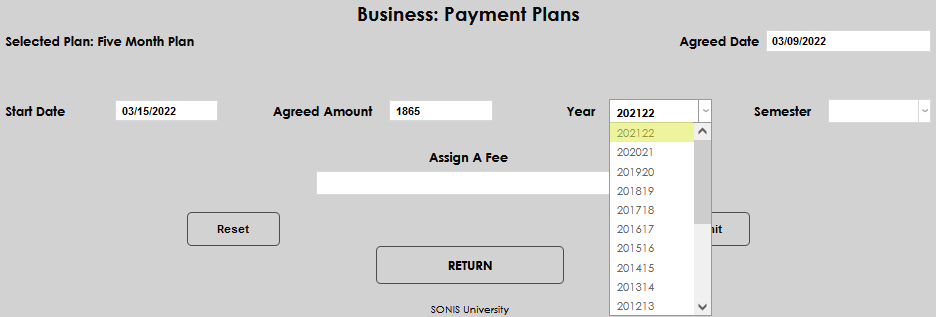
Enter the total amount subject to the payment plan in the Agreed Amount field. Generally, this is the total tuition and fees owed by the student for a specific semester or time period. Select the Year for the plan.

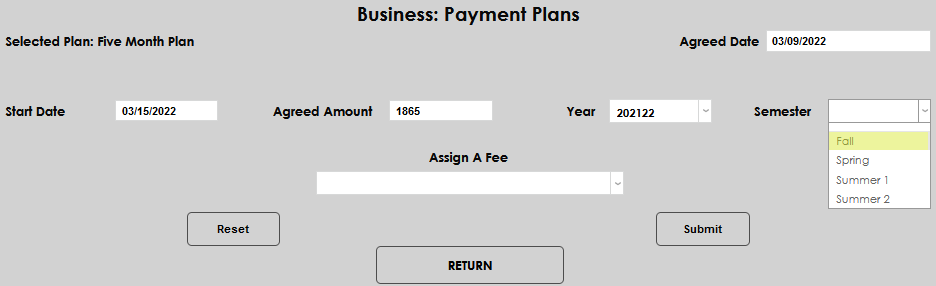
Pick the appropriate Semester and add any associated fee using the Assign a Fee dropdown menu.
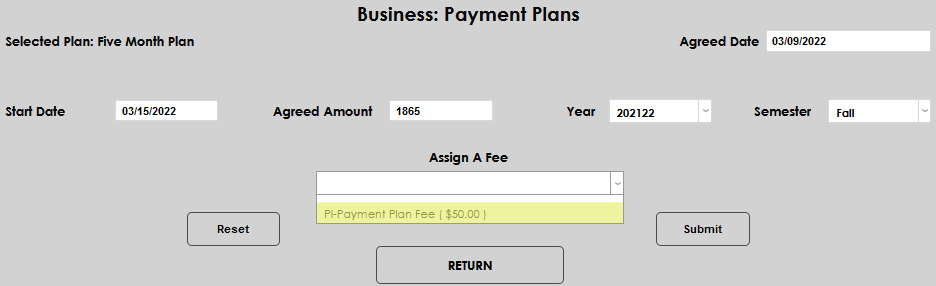
Click Submit to save the entered information.
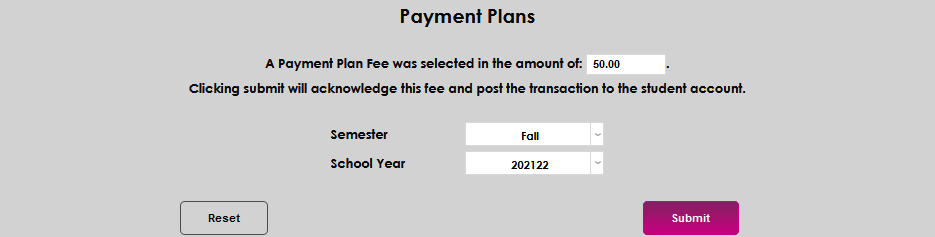
The following page displays a summary of the entered payment plan details. The Fee, Semester, and/or School Year can be changed, if needed. The Amount and Dates cannot. Confirm that the details are accurate and click Submit to post the payment plan fee as a transaction on the student's institutional account and create the payment plan.
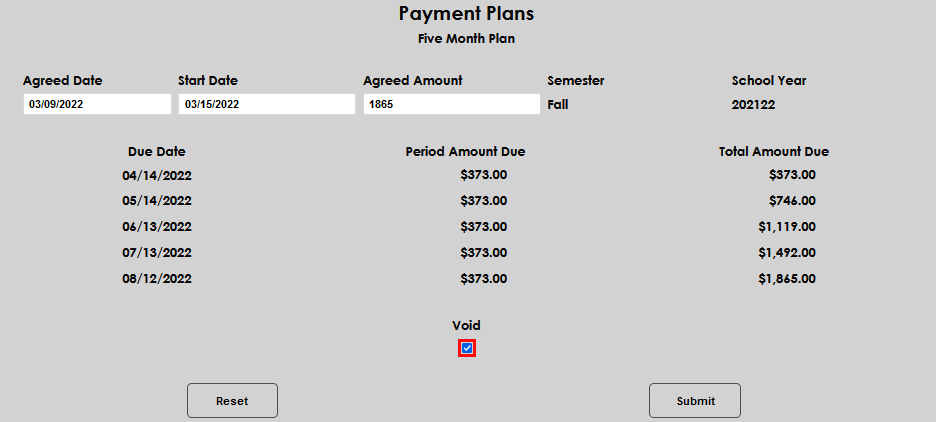
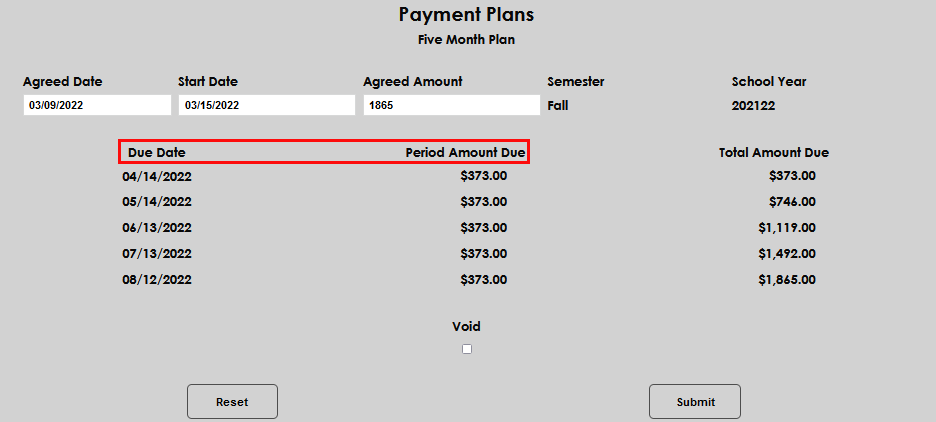
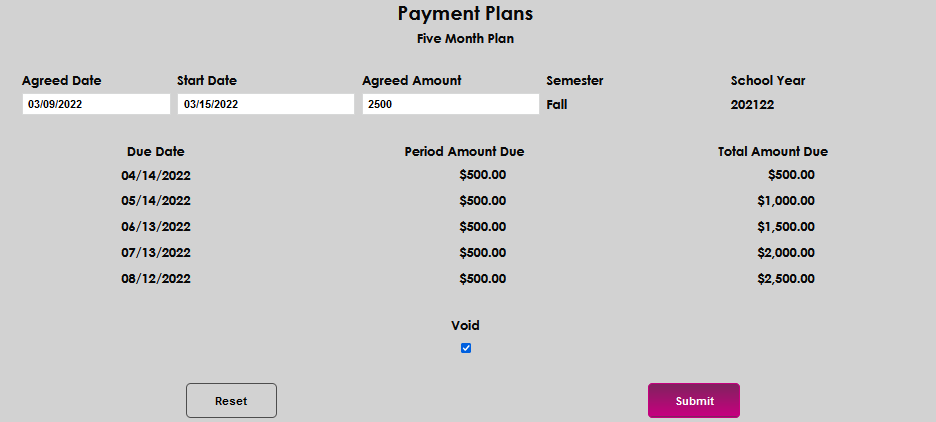
The next screen shows the full details of the payment plan, including the individual payment amounts that will be due on each date, not including the Payment Plan Fee. The Agreed Date, Start Date, and Agreed Amount can be adjusted on this page, if needed. The payment plan can also be removed at this point by clicking the Void checkbox. Click Submit to save any changes to the payment plan shown.
Working With a Student's Existing Plan
When a student has enrolled in a plan that has not expired, it can be managed or edited on their Business: Payment Plans page. Click the Payment Plan name to open an existing plan.
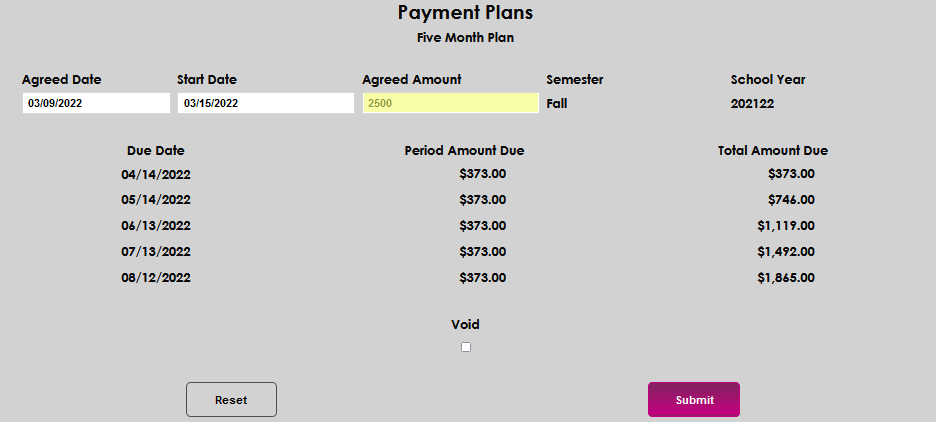
It is possible edit the Agreed Date, Start Date, or Agreed Amount. Clicking Submit after making the desired edit(s) will update the payment Due Date or Period Amount Due values.
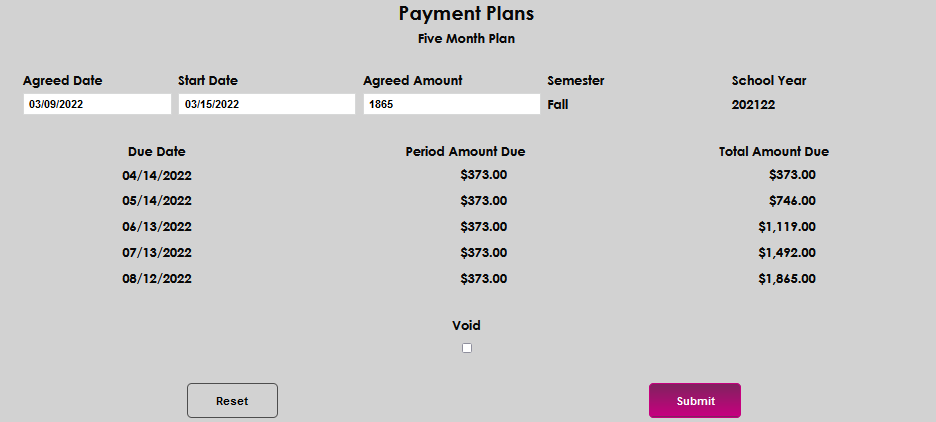
Removing A Payment Plan
If the payment plan should be removed entirely, click the Void checkbox, then click Submit.
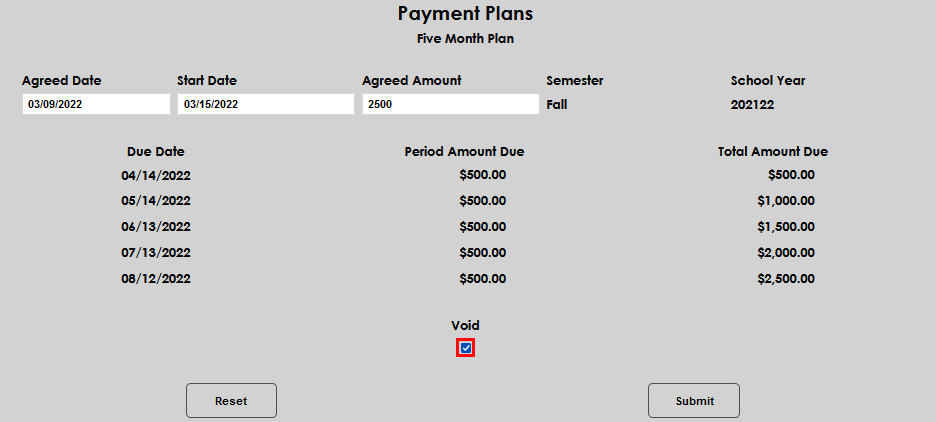
After clicking Submit, the payment plan will be completely removed from the student's record.