GPA Table Management
Overview
The GPA Reset table is a simple Systems utility that allows administrators to delete and rebuild the GPA table. Rebuilding the table can eliminate any errors that may have occurred since the last reset. Some system processes automatically delete and rebuild the table, but performing a manual reset from time to time can be useful, particularly at key points in the semester. Jenzabar SONIS also offers a Timed Task and Notification Assignment for periodic automatic updates. It's suggested that this process be run only during off-peak hours as it can tax system resources.
The GPAs of individual students can also be reset using the GPA Individual Reset utility, also under the Systems menu.
Manual Reset
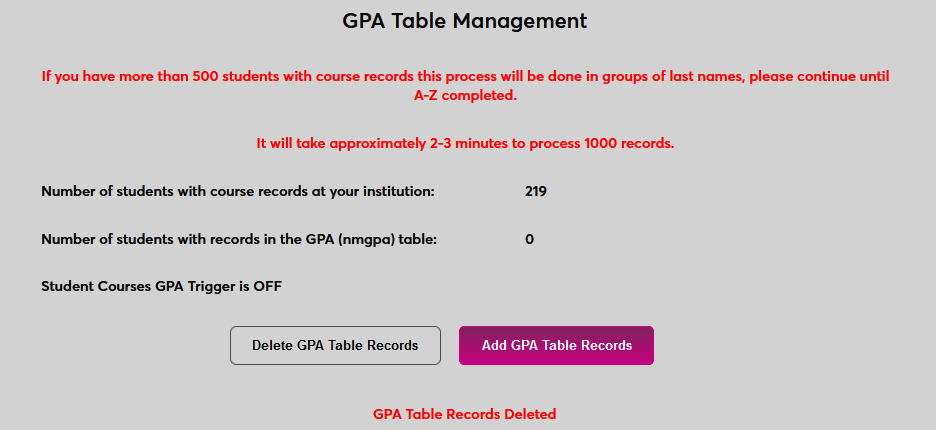
To manually reset the GPA table, navigate to GPA Table Management in the Systems hub. The page lists the number of students with course records and the number of students with records in the GPA table. The page also notes whether the Student Courses GPA Trigger setting is on or off. If the setting is on, the GPA table is used to store GPAs. If it's off, the table is not used and GPAs are calculated on the fly each time. Contact SONIS customer support to have the setting turned from on to off. If the setting is off, running the GPA reset process on this page will turn it on.

To rebuild the GPA table, click the Delete GPA Table Records button to begin.

To rebuild the table, click the Add GPA Table Records button. As the page notes warn, the process can take a few minutes and slow down the system slightly when large numbers of students are being processed.
Automatic Reset
Clients can use the SONIS Notification Assignment/Timed Task system to run the GPA reset on a regular interval. When the automated process runs, the GPA table is both deleted and rebuilt.
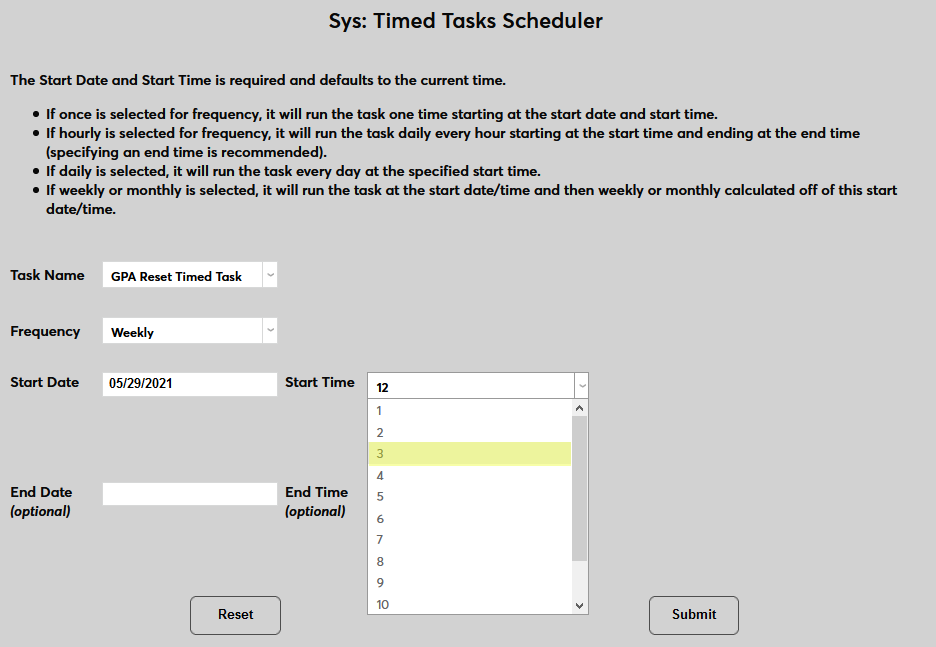
To begin, create a timed task that will trigger the reset. Navigate to the Timed Task Scheduler in the Systems hub and click Add to create a new task.

Select GPA Reset Timed Task from the Task Name dropdown menu.

Select how often the task should occur with the Frequency dropdown.
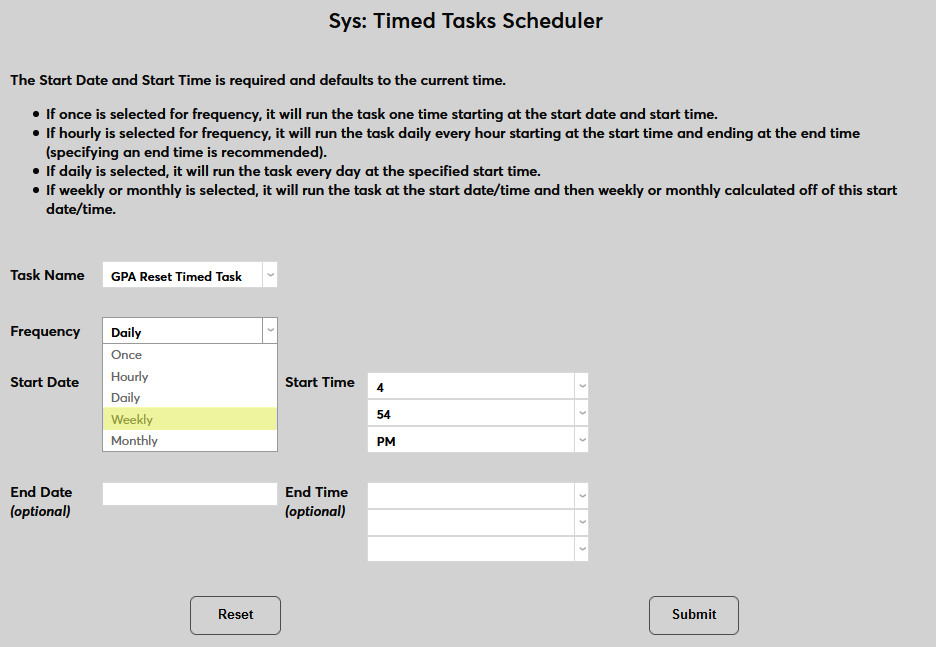
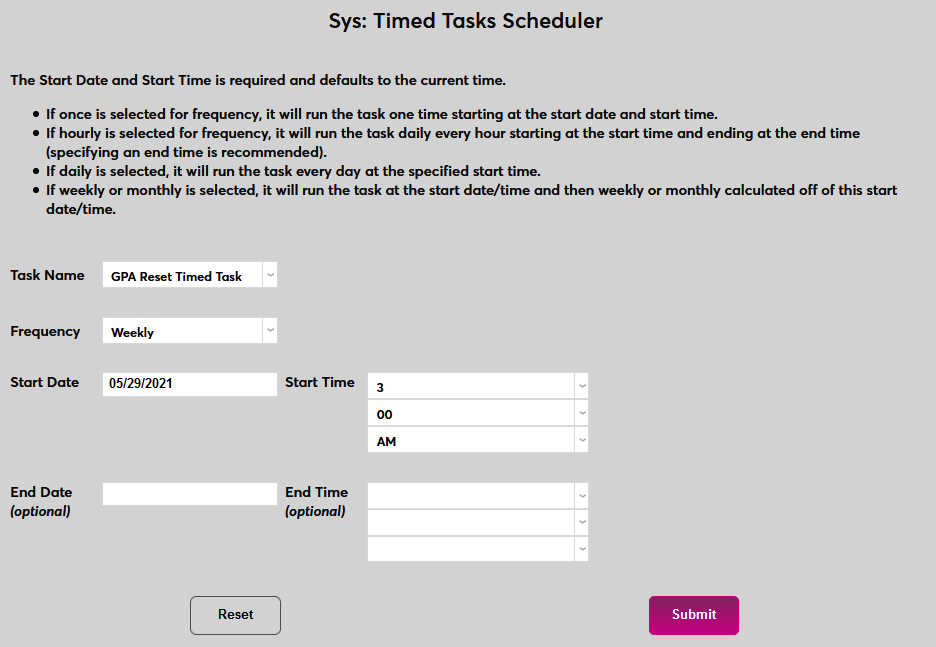
The Start Date and Start Time will automatically be set to the current date and time but can be changed to suit individual preferences. The End Date and End Time are optional.
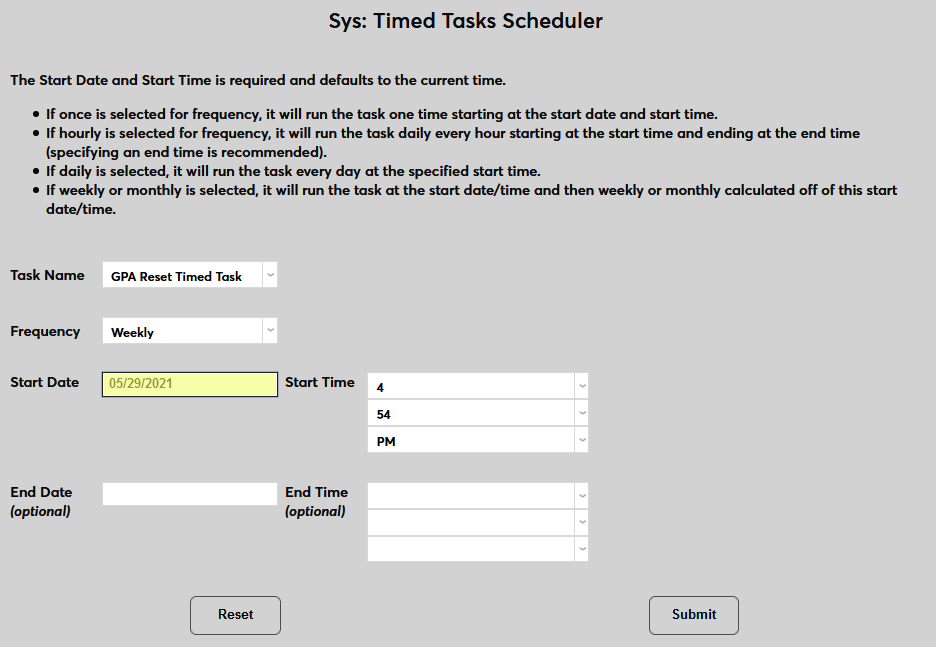
Click Submit to save the changes and activate the timed task.
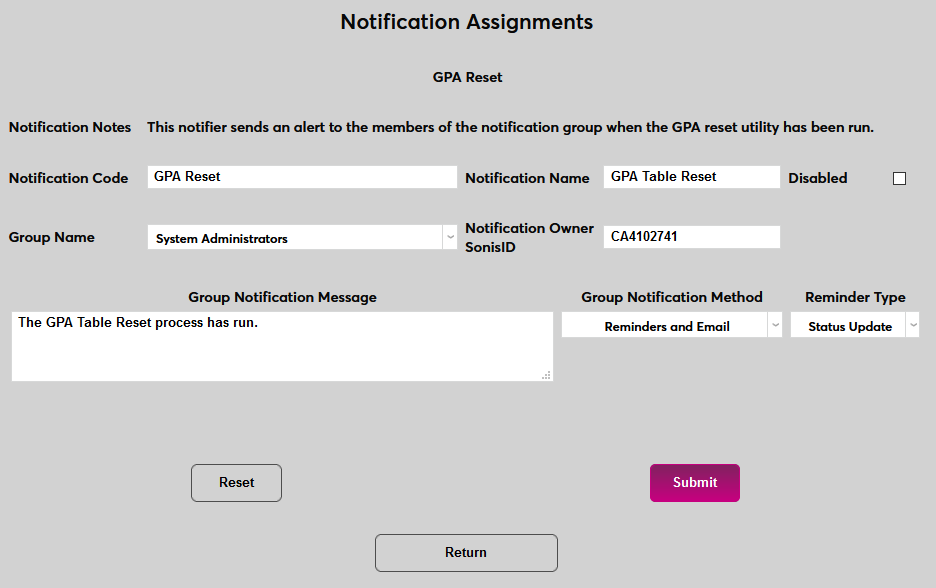
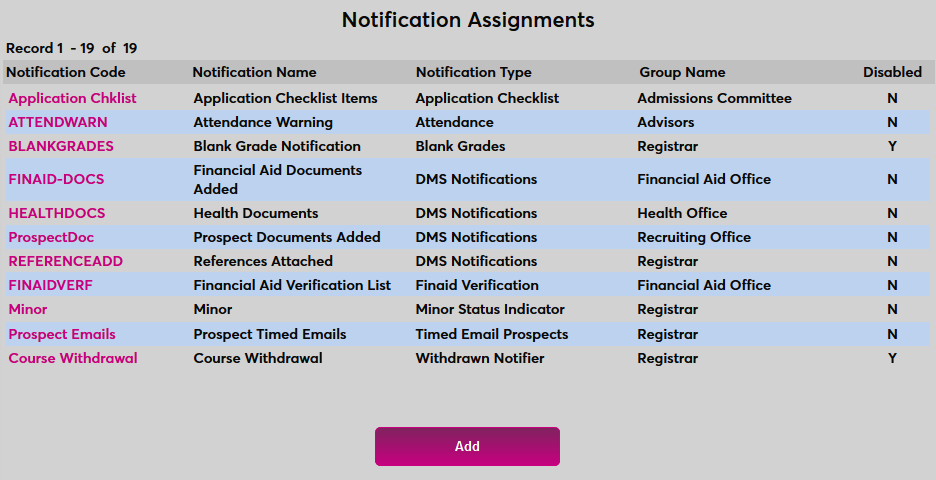
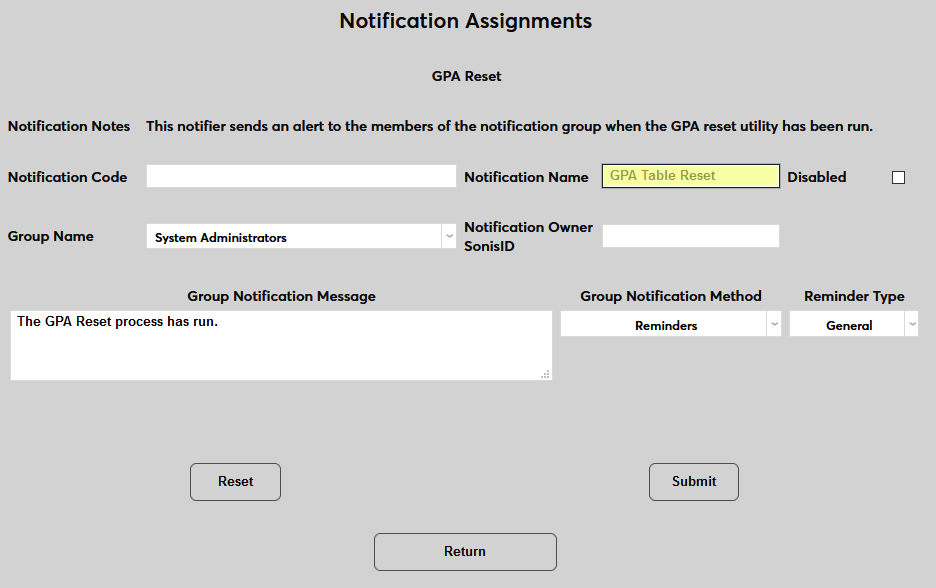
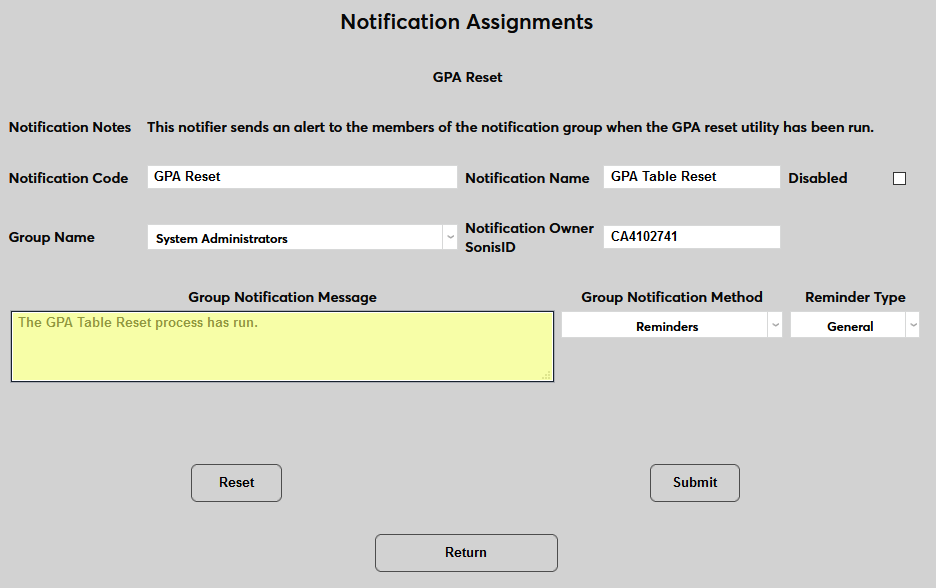
Next, create a notifier to alert staff members that the process has run. Navigate to the Notification Assignments page in the Systems hub and click Add to create a new notifier.
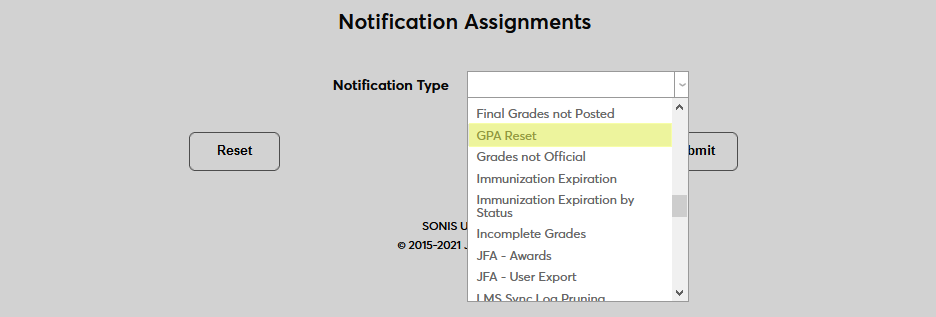
Select GPA Rest from the Notification Type dropdown menu and click Submit.

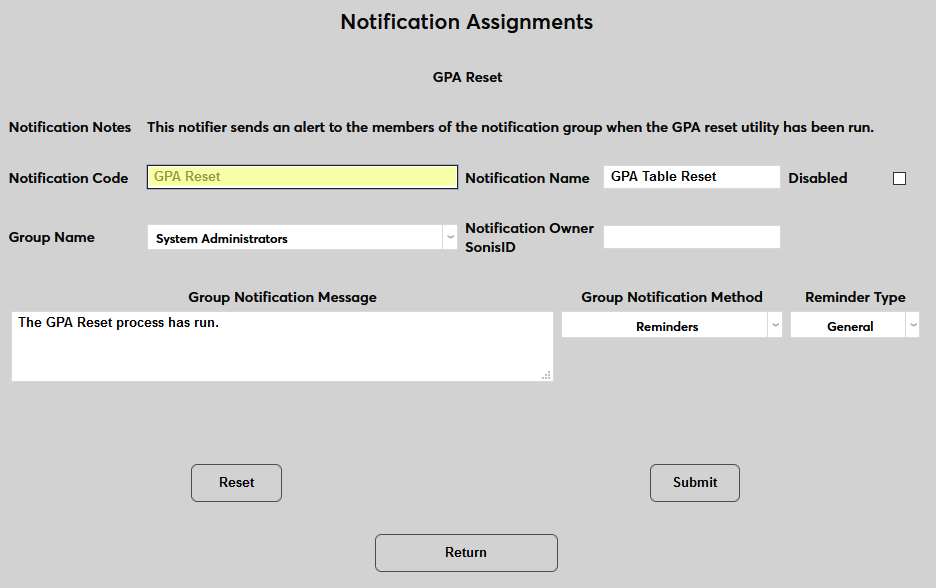
Next, create a Notification Name, a descriptor of the notifier's purpose with a 50 character limit, and a Notification Code, a shorter version of this name with a 20 character limit that the SONIS system will use internally to identify the notifier.
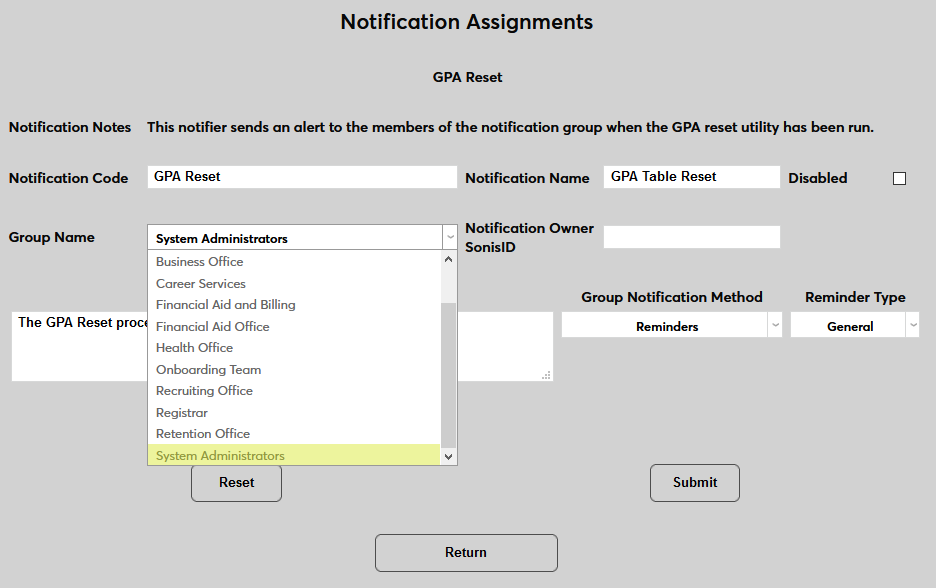
Select a group of staff members to receive the notification from the Group Name dropdown menu. Groups can be added and edited through the Table Maintenance utility.
Enter the ID of the staff or faculty member who will be managing this notification in the Notification Owner SonisID field.
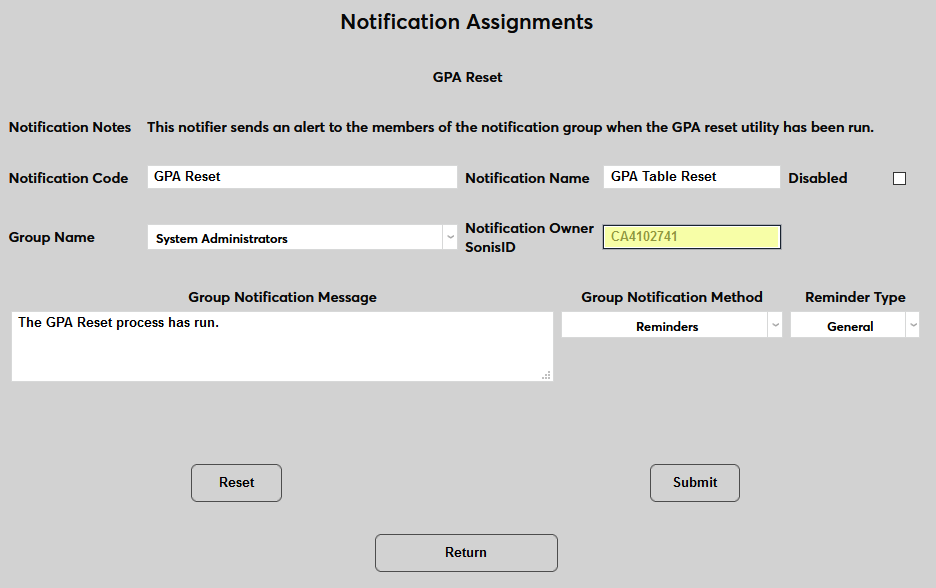
Create a Group Notification Message that will be sent to the group members when the task takes place.
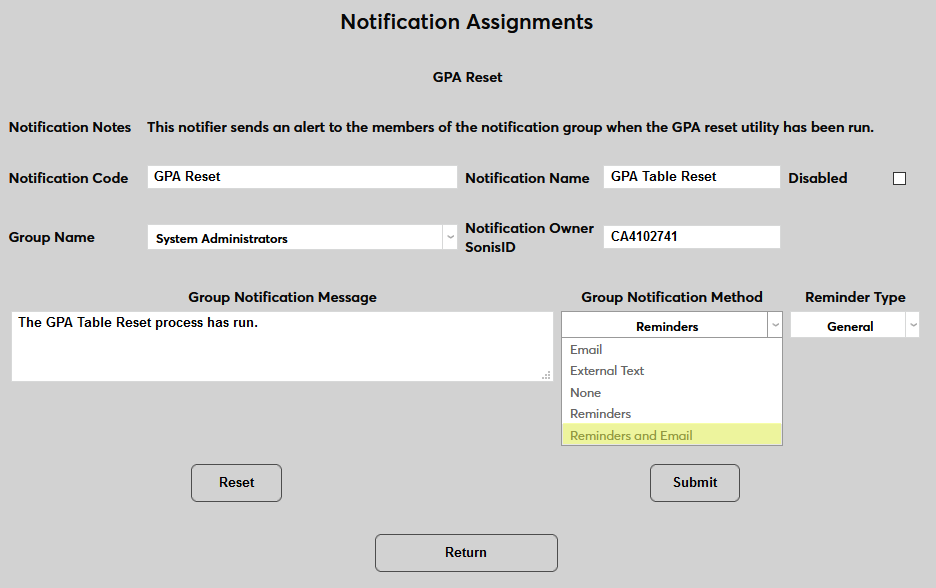
The Group Notification Method dropdown menu designates whether the group and individual users will receive an in-system reminder, an email, a text, or no notification when the process is triggered. The Reminder Type dropdown can change how the in-system reminder displays. This list can be created and edited via the Table Maintenance utility.
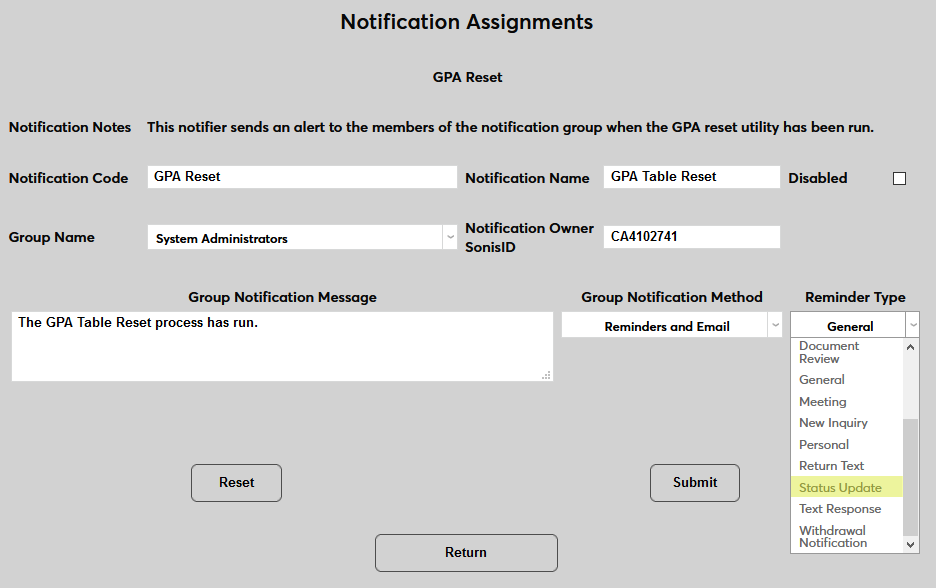
Click Submit to save the changes and create the notifier.