Clinical Rotations
Overview
For those Jenzabar SONIS member institutions that provide medical training and clinical rotations, the Systems hub page Clinical Rotations can be used to create and maintain rotations, to include associating them with a rotation provider's location. The type of rotation, such as surgical or psychiatric, contact, duration in weeks, and start and end dates can be defined as part of the setup. Management of rotations at the student level are done on the Users hub page, Clinical Rotations. The page also stores evaluation data for the student, which can be customized by each institution.
Setup
Institution Type Table
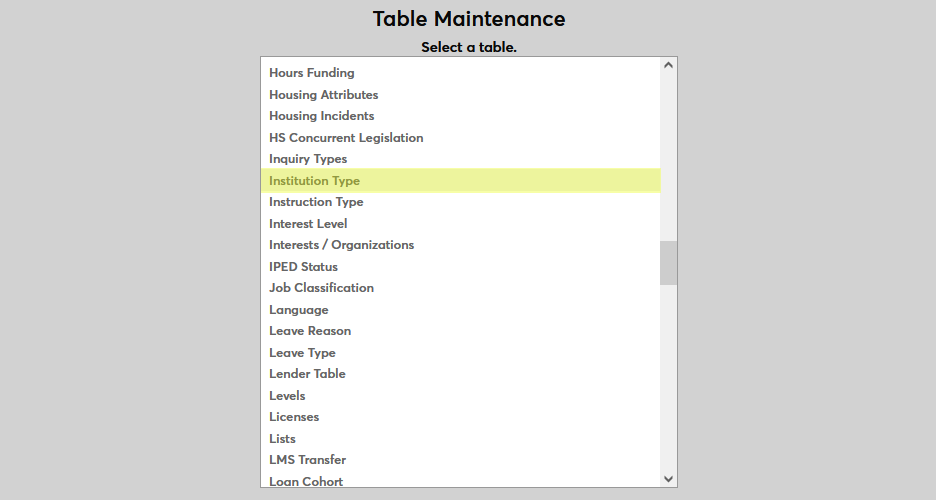
Before clinical sites can be added, one or more institution types must be designated as clinical site types. Navigate to Table Maintenance under the Systems hub and select Institution Type.
Either create a new institution type or edit an existing institution type. At least one institution type must be marked with a 1 in the Clinical Rotation field.
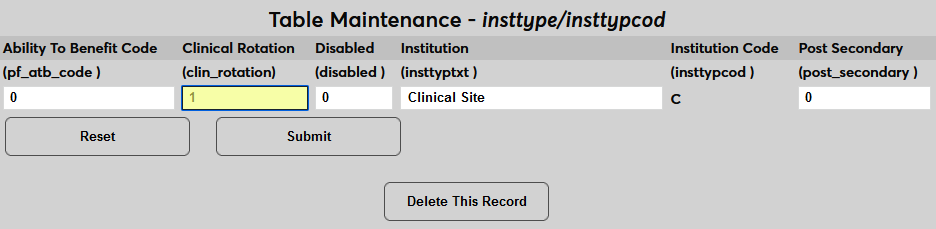
If needed, more than one institution type can be marked as a type that features clinical rotations.
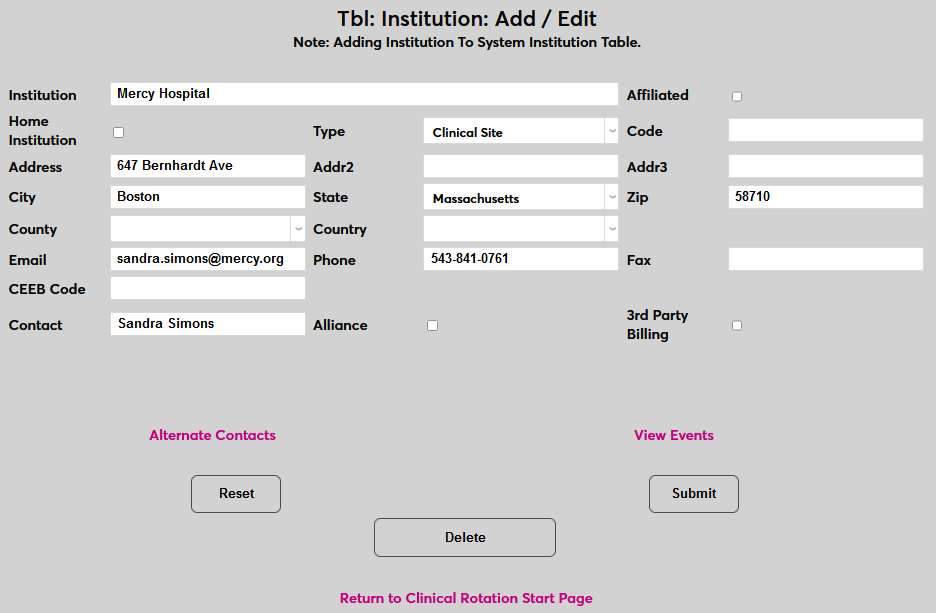
Institution Table
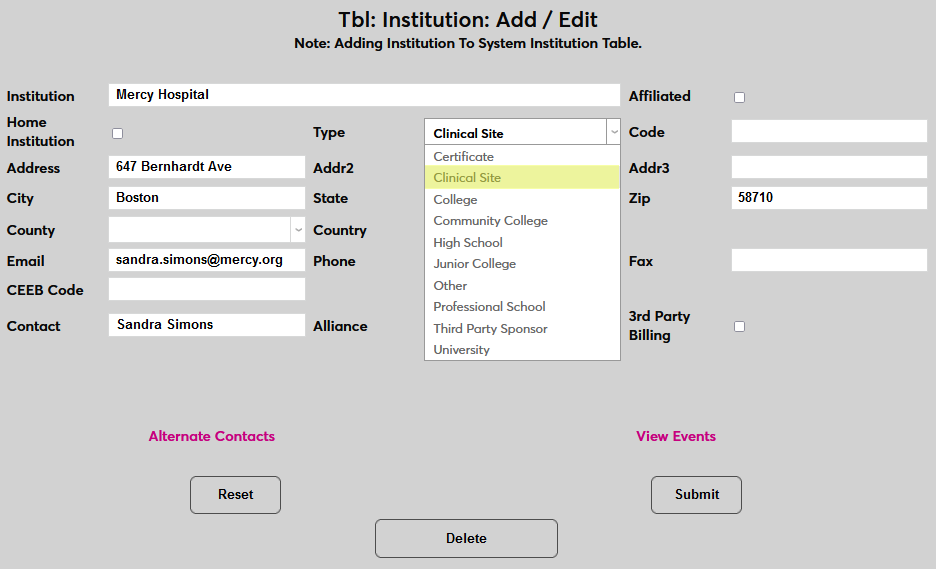
Next, navigate to the utility under the Systems menu. Ensure that at least one institution has an institution type with the Clinical Rotation designation selected under the Type menu.
Clinical Rotation Table
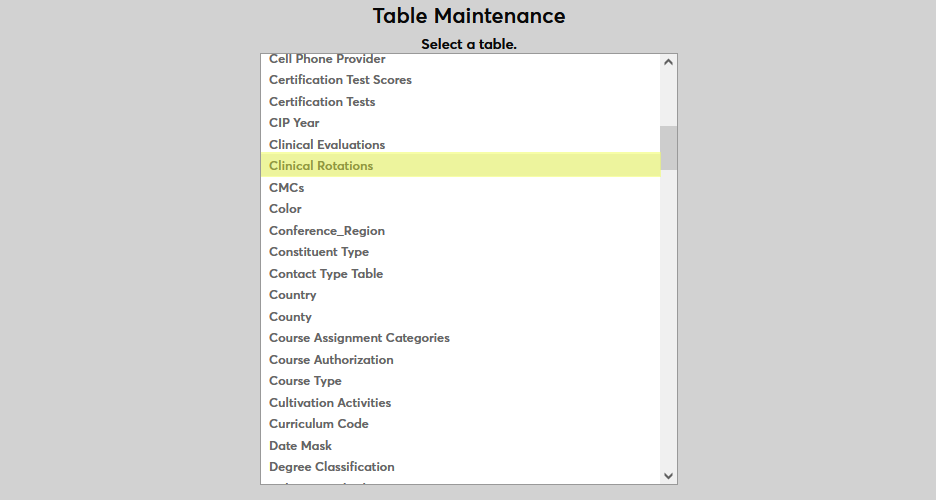
Once institutions have been designated as clinical sites, each client must designate the kinds of clinical rotations that will be offered. Navigate to Table Maintenance under the Systems menu and select Clinical Rotations.
Click Add New to create a new rotation. On the following page, create a description of the clinical rotation type under the Clinical Rotation field. This field has a 100 character limit, so detailed descriptions can be used.

Create a two-character code that will be used to identify the rotation behind the scenes in the Clinical Rotation Code field.
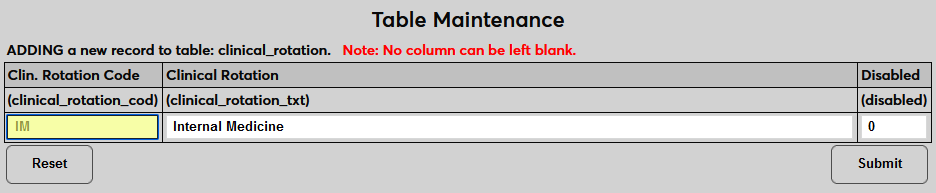
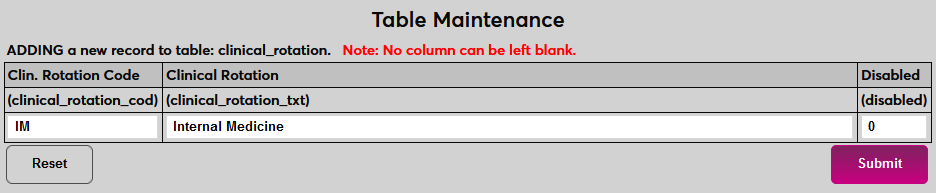
Click Submit to save the changes and create the clinical rotation. Repeat this process as necessary until all rotations that will be offered have been created.
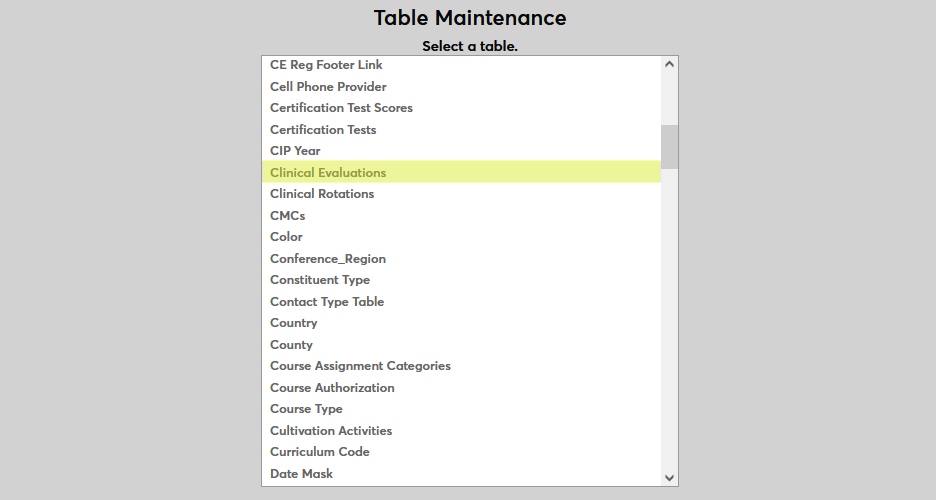
Clinical Evaluations Table
If students' rotations will be evaluated, the values assigned to them need to be created as well. Navigate to Table Maintenance under the Systems menu and select Clinical Evaluations.
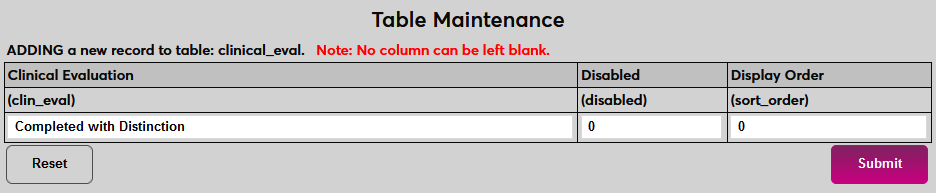
Click Add New to create a new evaluation. Name the evaluation, essentially the grade that the student will be given, using the Clinical Evaluation field. This field has a 30-character limit.
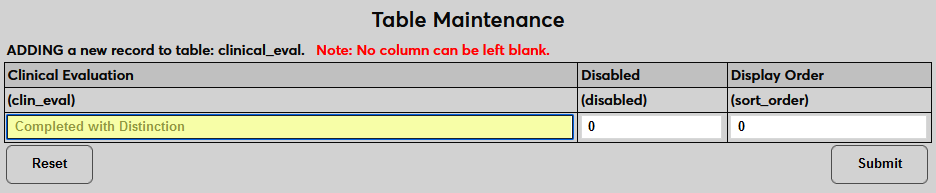
The Display Order can be altered to change the order in which the evaluations will appear. Otherwise, they will display alphabetically. Click Submit to save the changes and create the evaluation. Repeat this process as necessary until all evaluation responses that will be given out have been created.
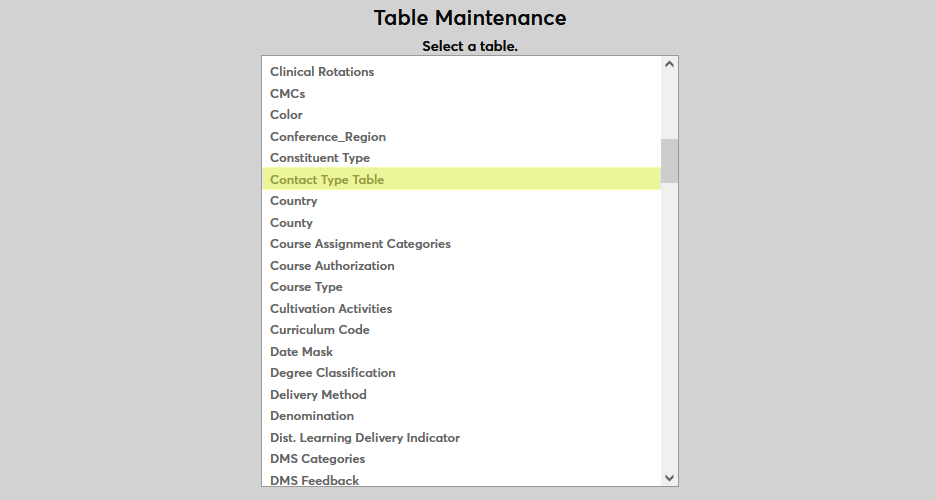
Contact Type Table
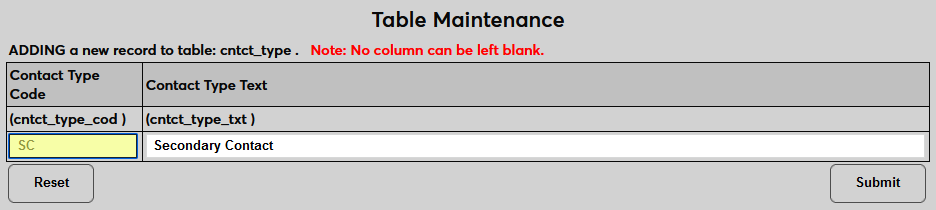
Finally, there's the Contact Type table. This table is used to designate how a contact for a clinical rotation is labeled. For example, there could be a primary contact and lesser designations who are fallback options of the primary contact is unavailable. Navigate to Table Maintenance under the Systems menu and select Contact Type Table.
Click Add New to create a new contact type. Name the contact type using the Contact Type Text field. This field has a 100 character limit, so detailed descriptions can be used.
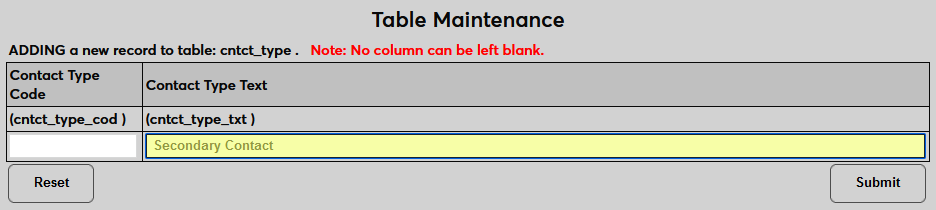
Next, create a two-character code that will be used to identify the rotation behind the scenes in the Clinical Rotation Code field.
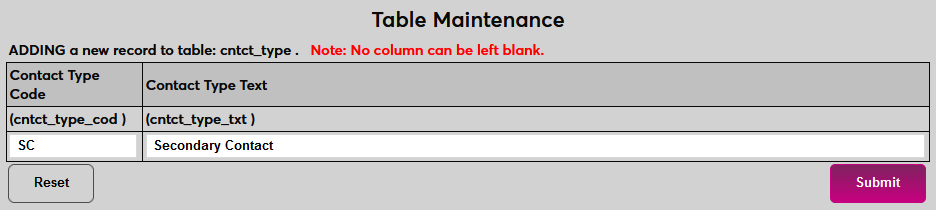
Click Submit to save the changes and create the contact type. Repeat this process as necessary until all needed contact type designations have been created.
Event Type Table
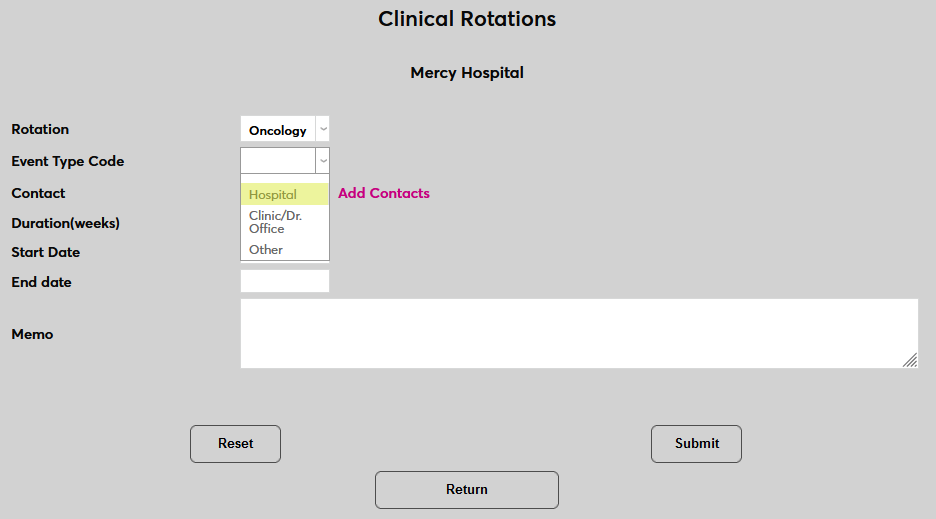
Another field used when creating clinical rotations is the Event Type field. This field is used to designate the type of rotation being offered. For example, a rotation in a medical clinic versus a hospital. Navigate to Table Maintenance under the Systems menu and select Event Type Table.
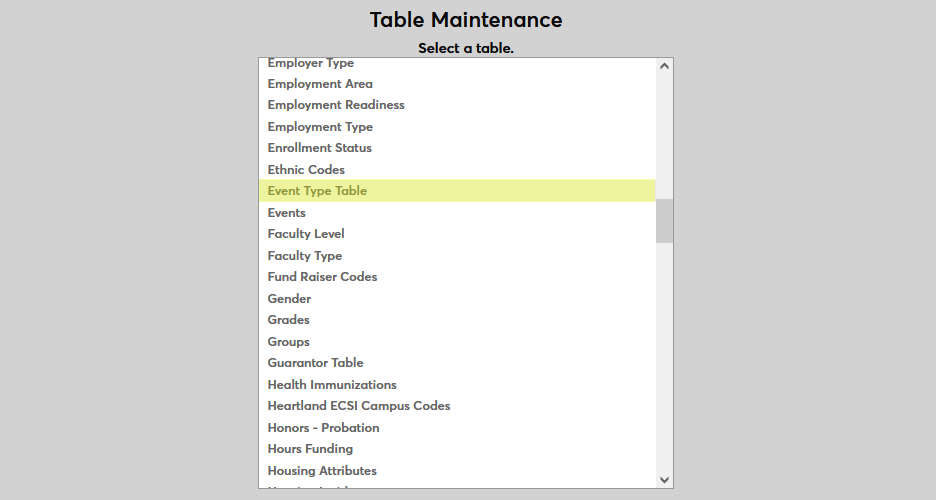
Click Add New to create a new event type. Name the event type using the Event Type Text field. This field has a 100 character limit, so detailed descriptions can be used.
Next, create a two-character code that will be used to identify the type behind the scenes in the Event Type Code field.
Click Submit to save the changes and create the event type. Repeat this process as necessary until all needed event type designations have been created.
Creating/Editing Rotations
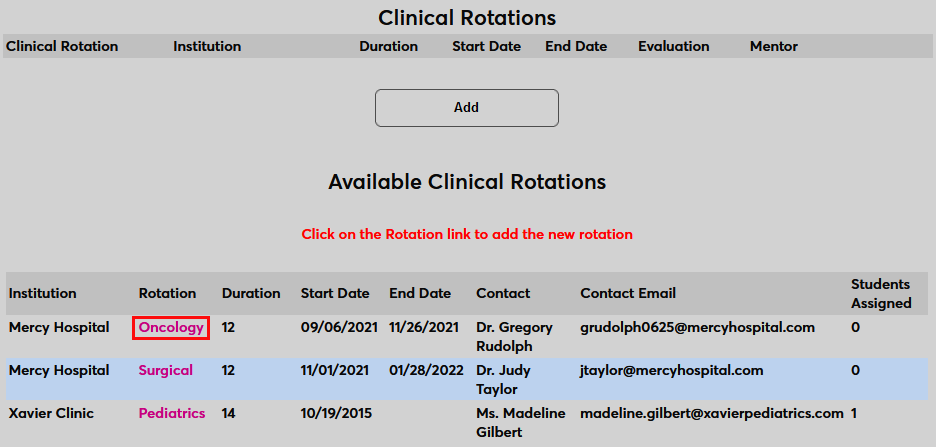
To create new clinical rotations or edit existing rotations, navigate to the Clinical Rotations utility in the Systems hub. From here, all institutions that have been given the clinical site designation mentioned earlier will be listed. Click on the name of a site to be taken to their institution page where changes can be made.

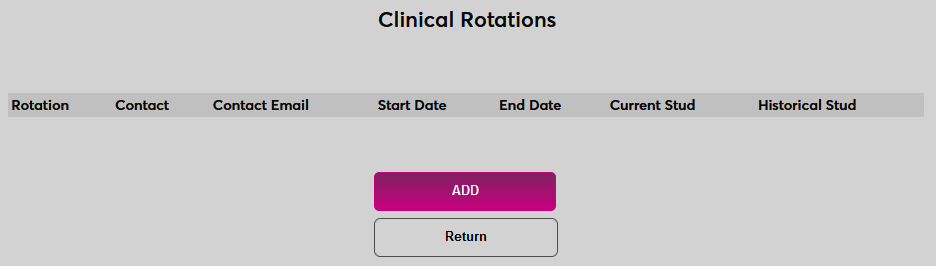
To create a new rotation or edit an existing rotation at a clinical site, click the view/edit Rotations link and then click Add on the following page to continue.

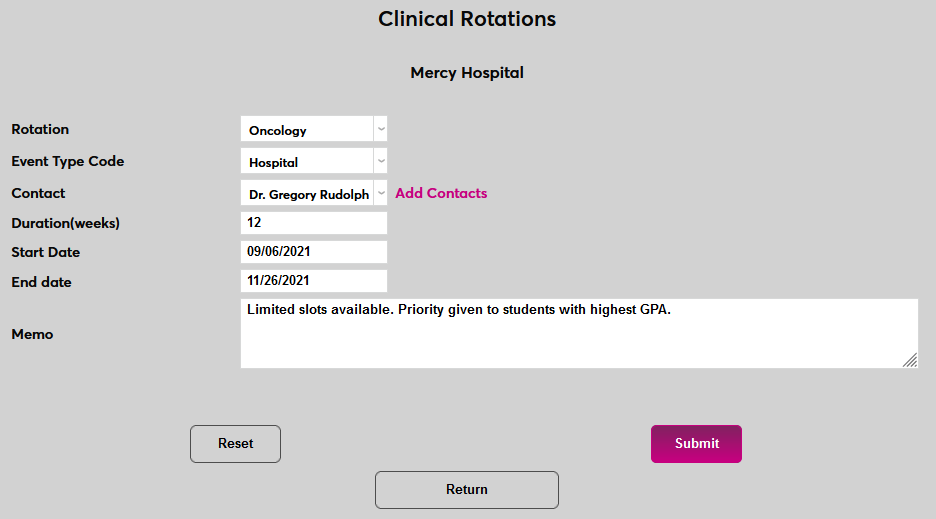
On the Clinical Rotations add page, select the Rotation type and the Event Type Code.
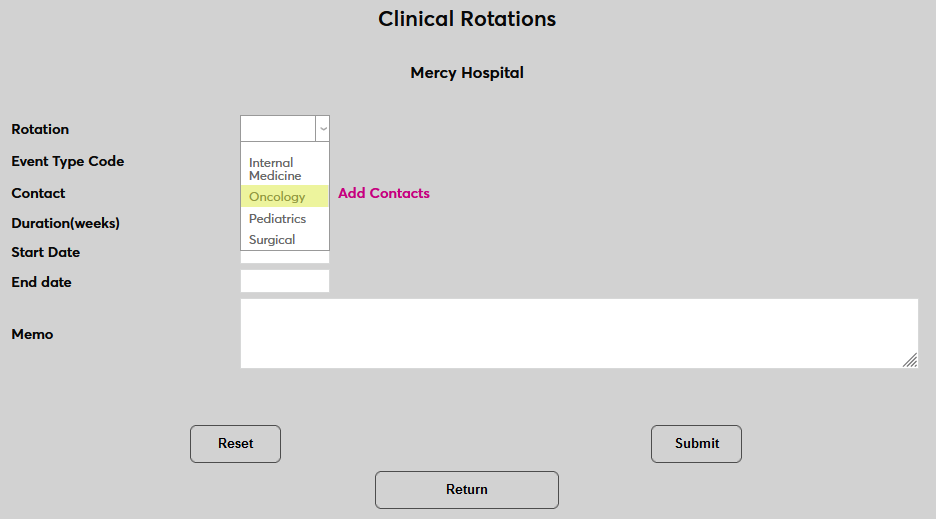
Select a Contact associated with this institution.

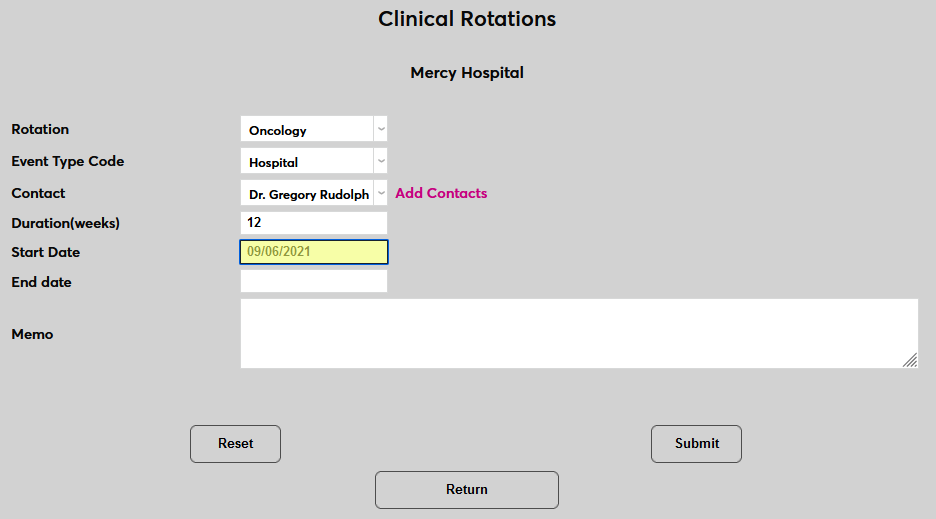
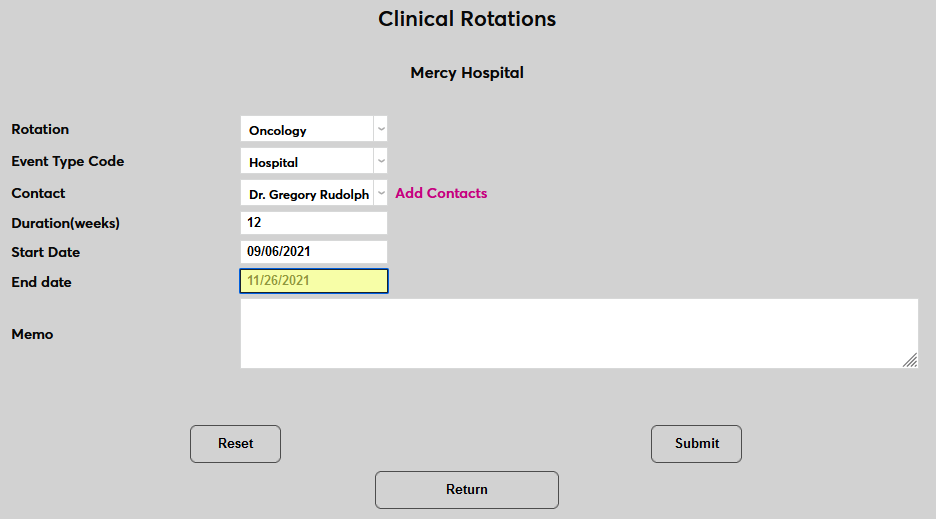
Enter the Duration that the rotation will last in weeks.
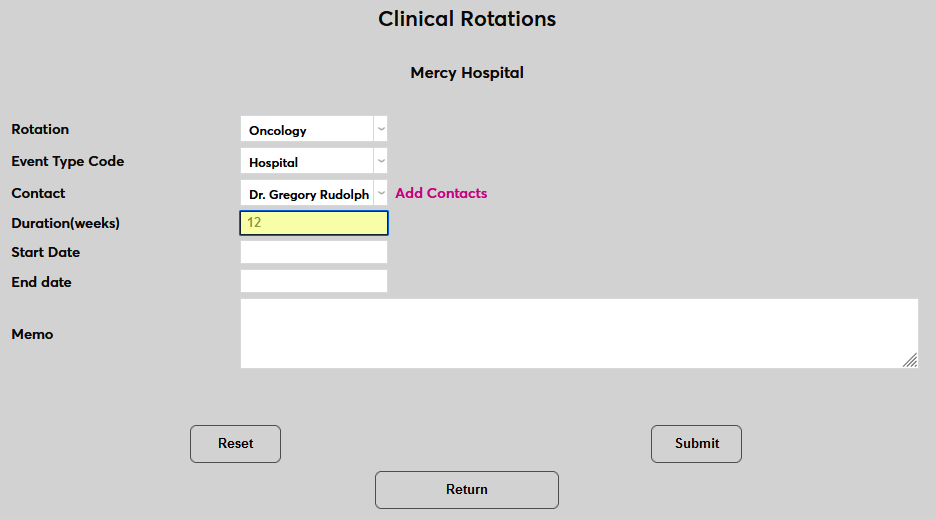
Enter the Start Date and End Date of the rotation opportunity. This is the timeframe during which the opportunity to sign up for a rotation will be available, not the duration of the rotation itself. Though these dates may align if the rotation is only being offered once.
An optional Memo field is available for any notes that may be needed.
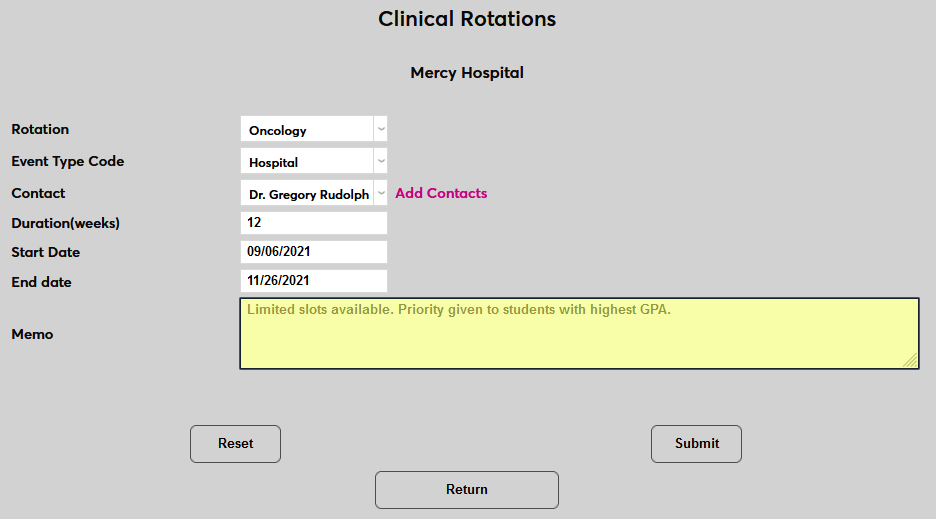
Click Submit to save the changes and create the rotation.
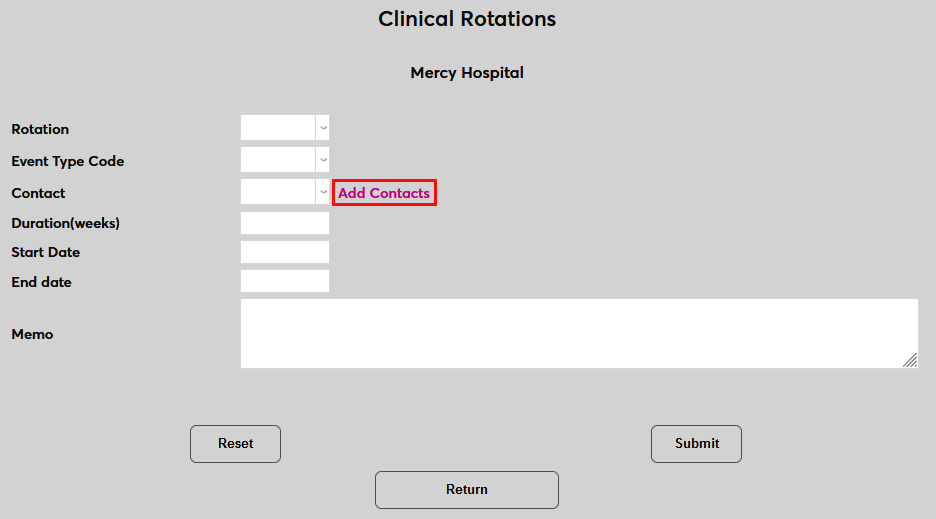
Adding Contacts
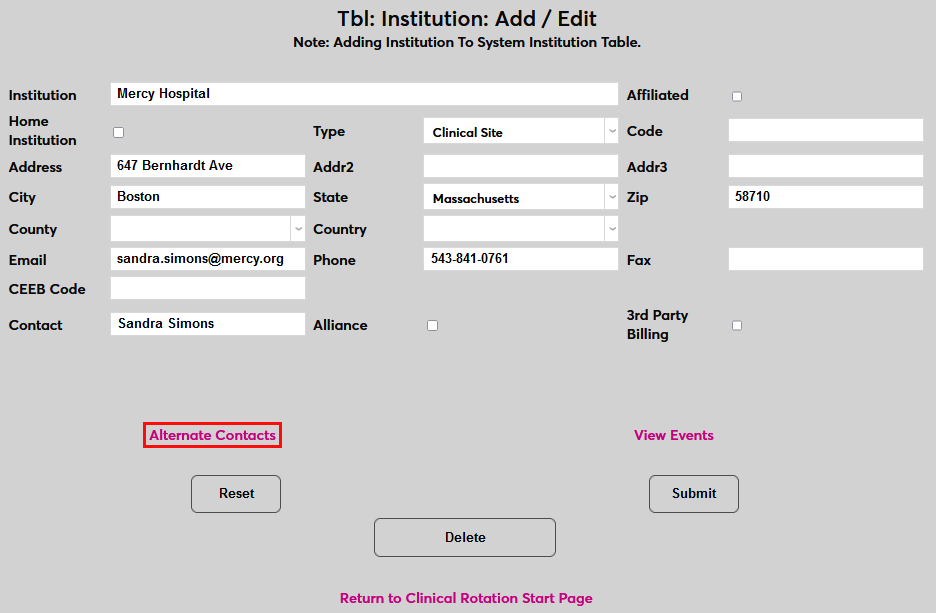
If the contact that will administer the clinical rotation has not been added to the system previously, click Add Contacts to add this individual to the system.
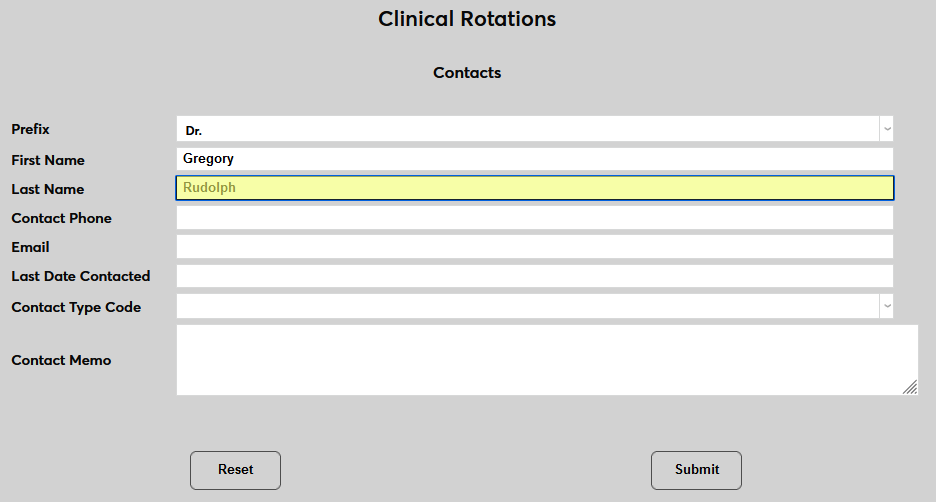
On the next page, select a Prefix for the contact. Contact prefixes can be added and edited from the Prefixes table in Table Maintenance.
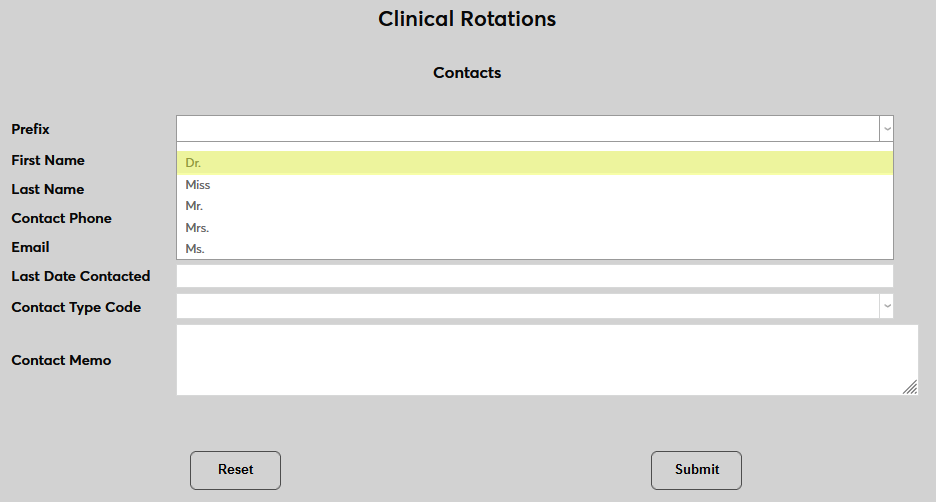
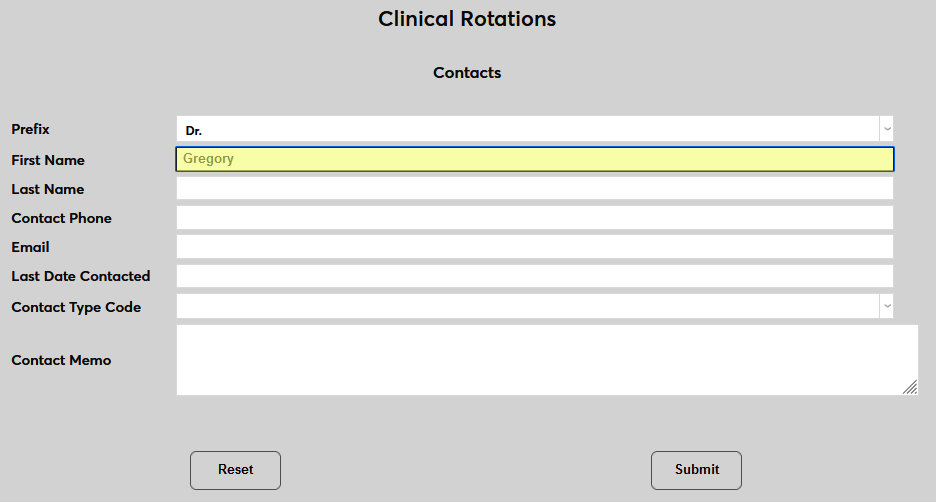
Enter the contact's First Name and Last Name.
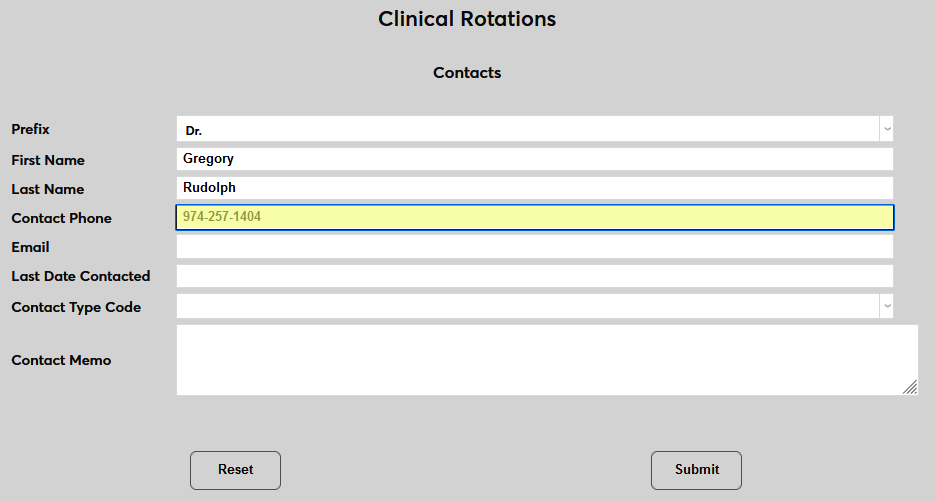
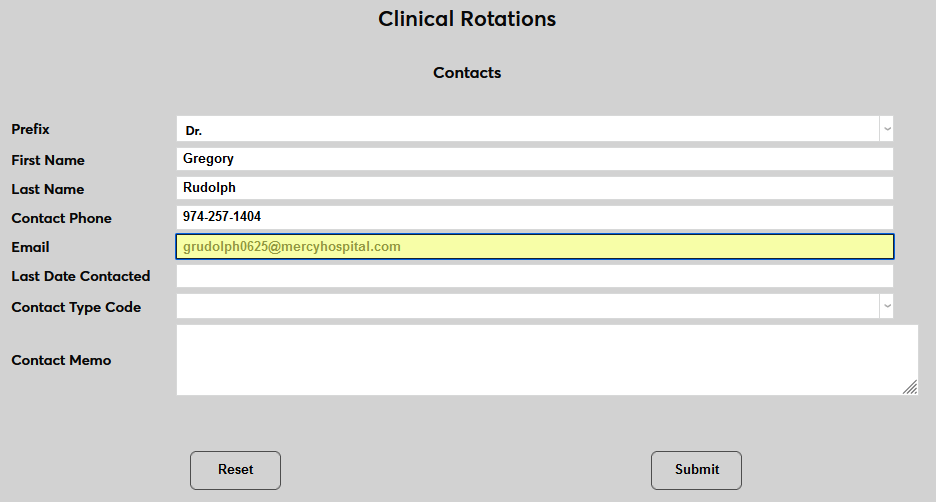
Fill in the Contact Phone and Email fields with the best methods to contact the individual.
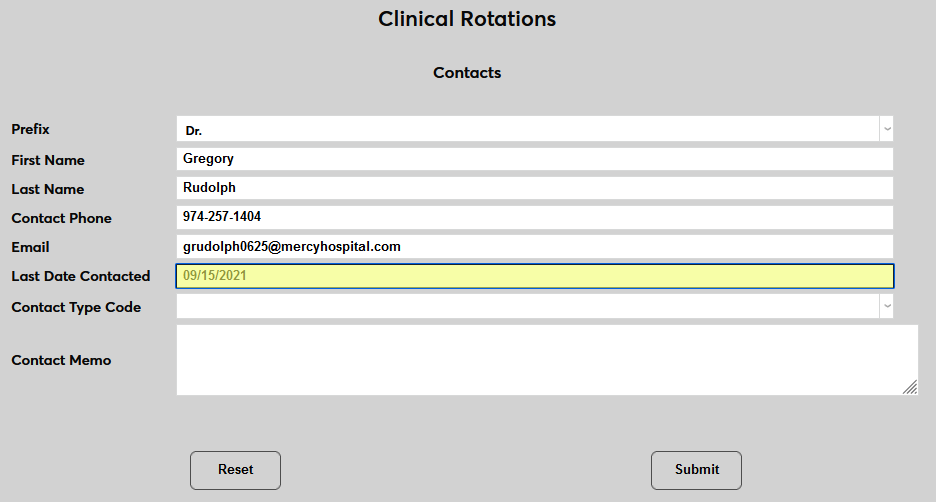
Enter the Last Date Contacted to indicate how up-to-date the contact information may be.
Select a Contact Type Code, indicating what kind of contact is being added.
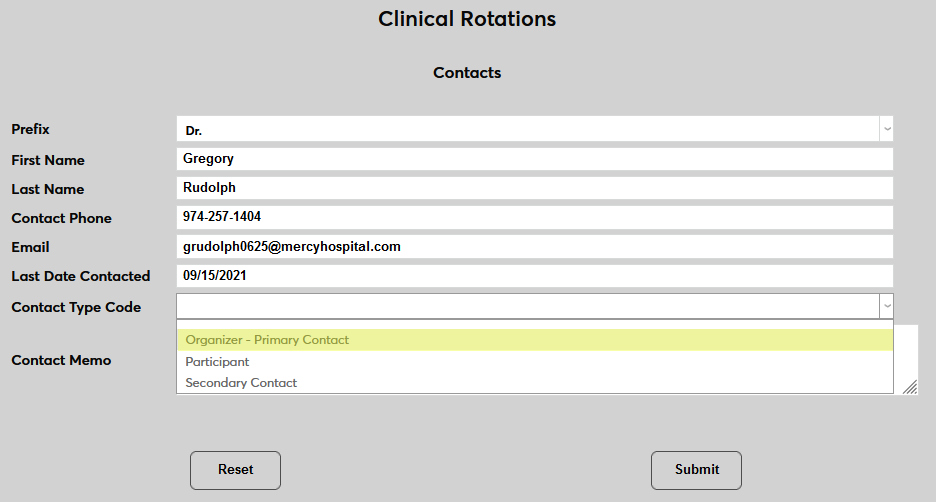
An optional Contact Memo field is available for any notes that may be needed.
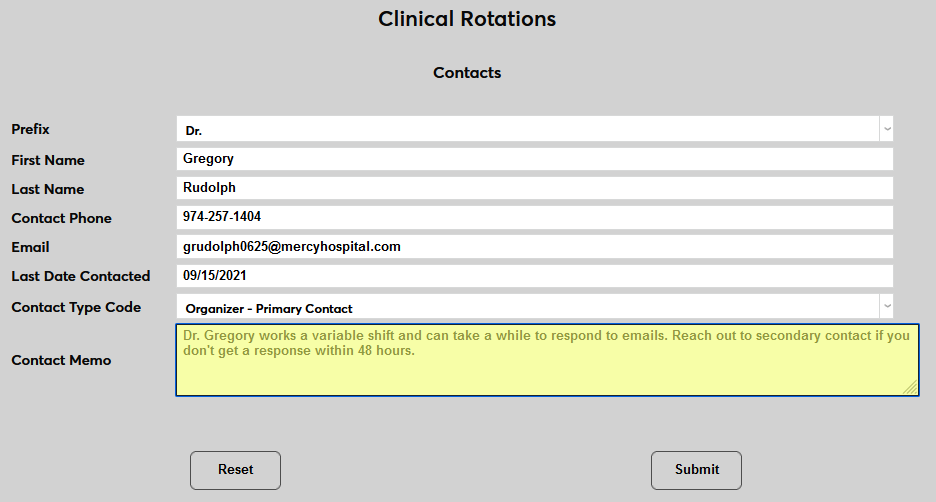
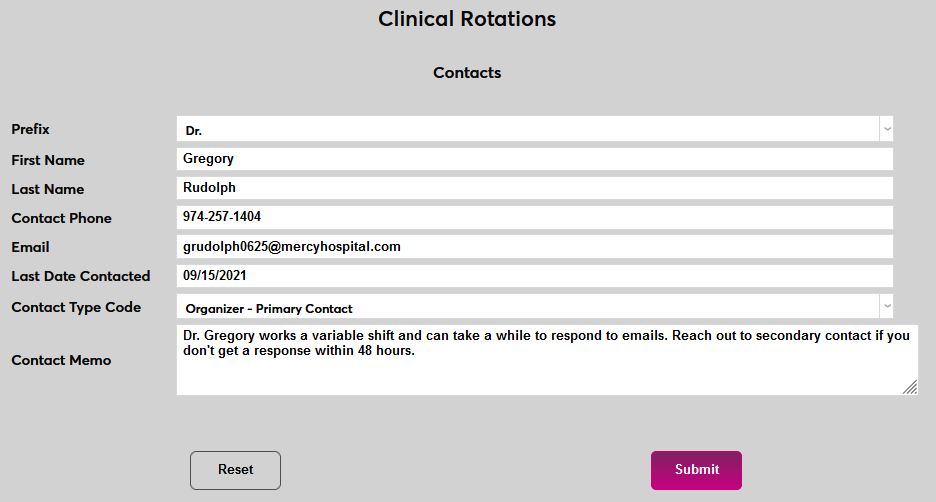
Click Submit to save the changes and create the contact.
Note that new contacts can also be added from the Add/Edit page for the institution. This is also where existing contacts are edited.
Making Changes
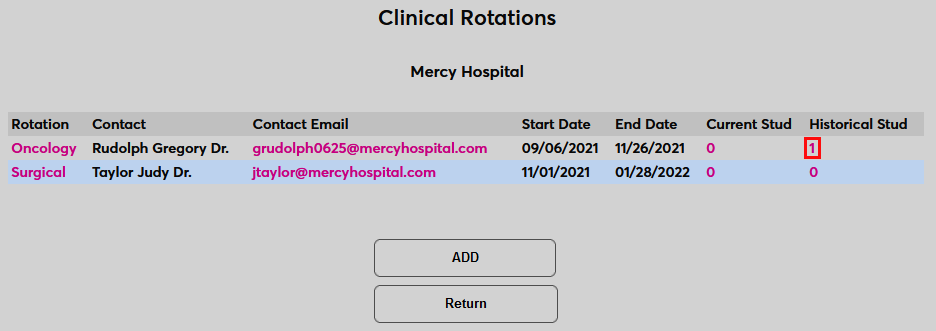
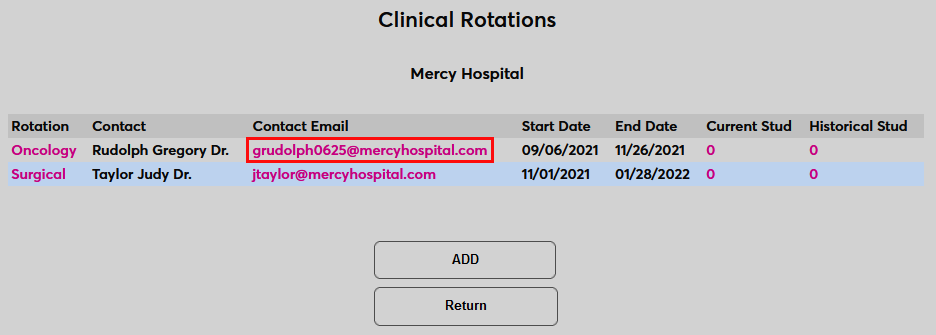
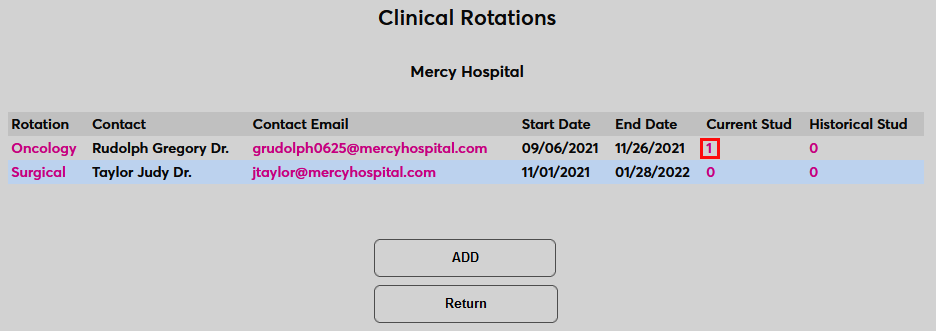
Once rotations have been created, click the view/edit Rotations link again to view them. From here, click the rotation type link to make changes and/or the Contact Email to send an email to the contact.
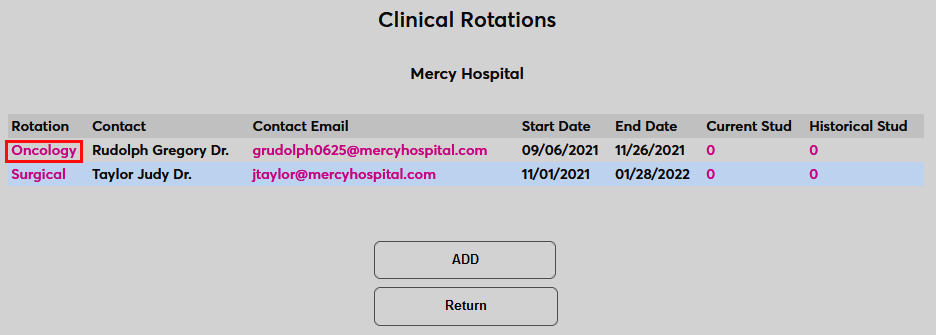
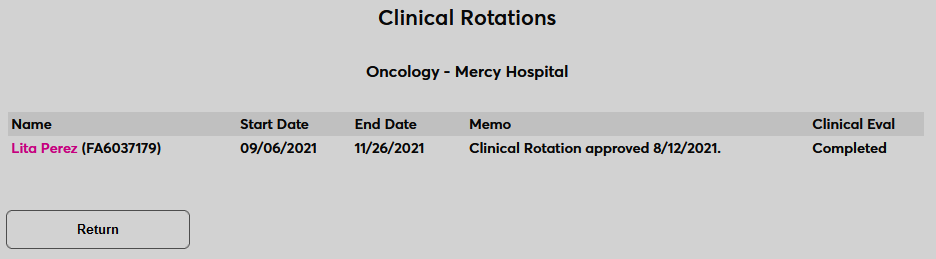
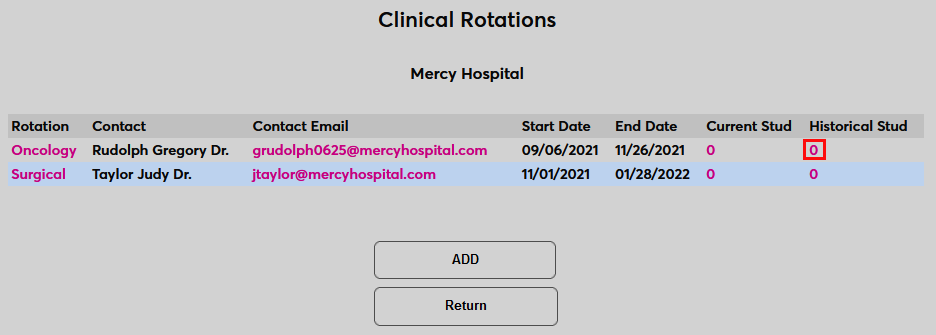
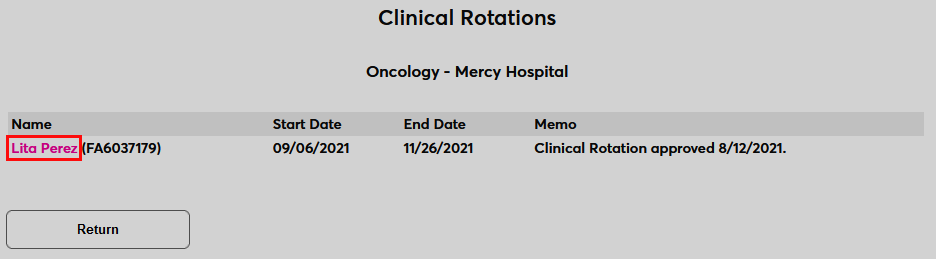
If there are any Current Students enrolled in the rotation or Historical Students who participated in the past, administrators can click will see a number greater than zero in those columns and can click the links to view a list of those students.

Clinical Rotation Records
To assign a student to a clinical rotation, select the student using the Name Search function and navigate to Clinical Rotations in the Users hub. Click Add to add a new rotation.

Select a Rotation from the list at the bottom of the page.
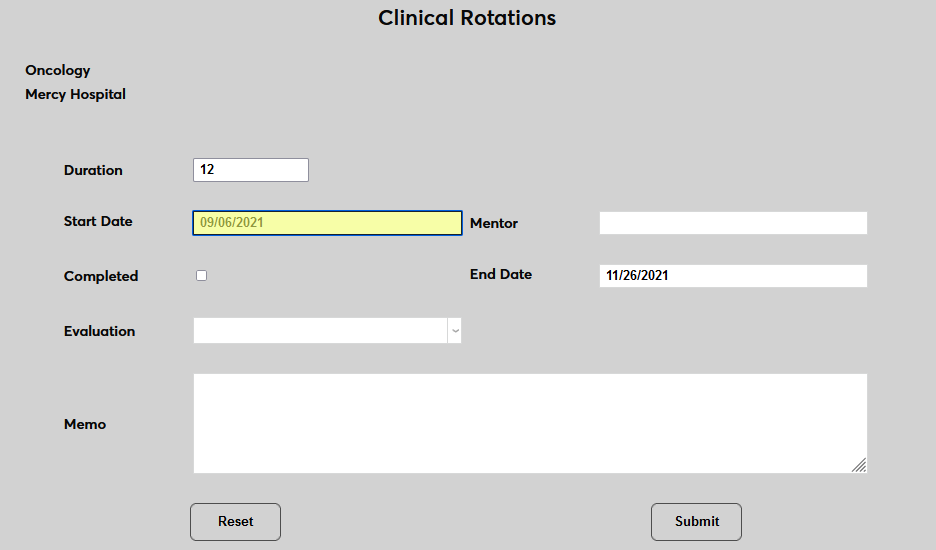
On the following page, only the Start Date is required. The Duration for the rotation is automatically filled in based on the default duration, but can be changed if necessary.
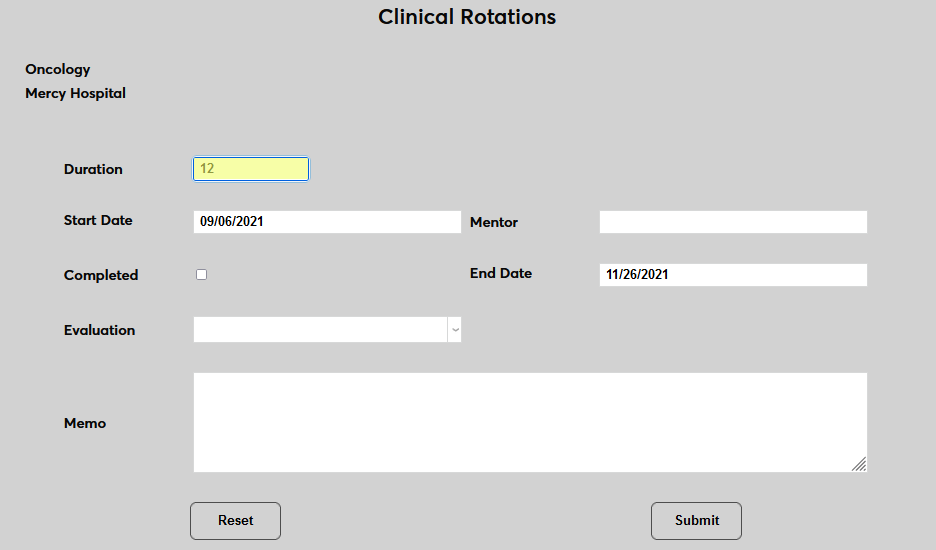
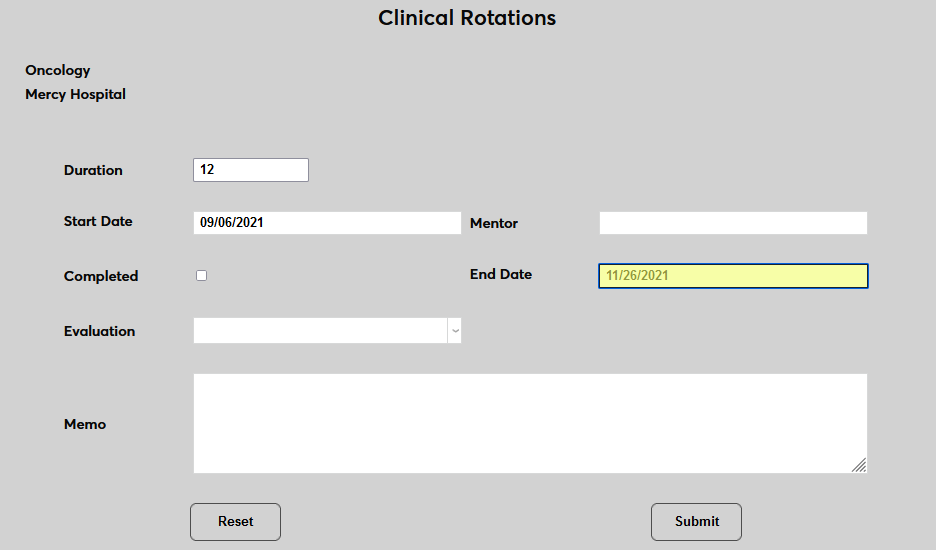
The Start Date and End Date fields are both filled in with default values based on the start and end dates of the rotation. Both values can be altered as needed.
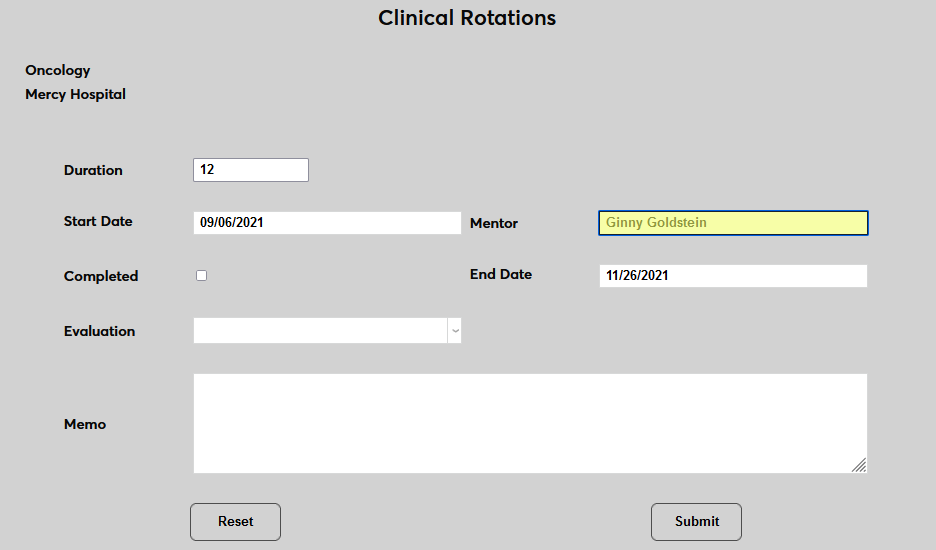
Enter the Mentor who will be working with and, in most cases, also evaluating the student.
Check the Completed box if this rotation has been completed. Leave it unchecked if the rotation is upcoming or in progress.
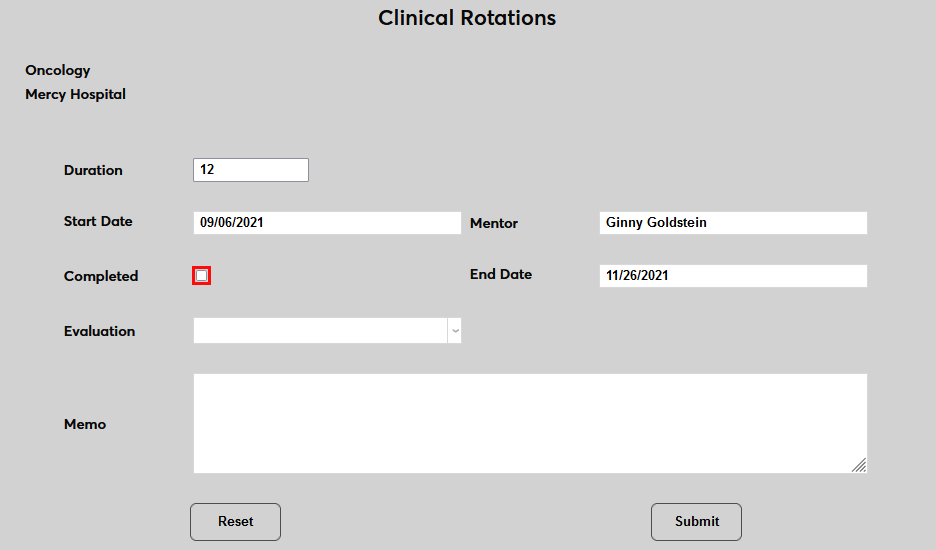
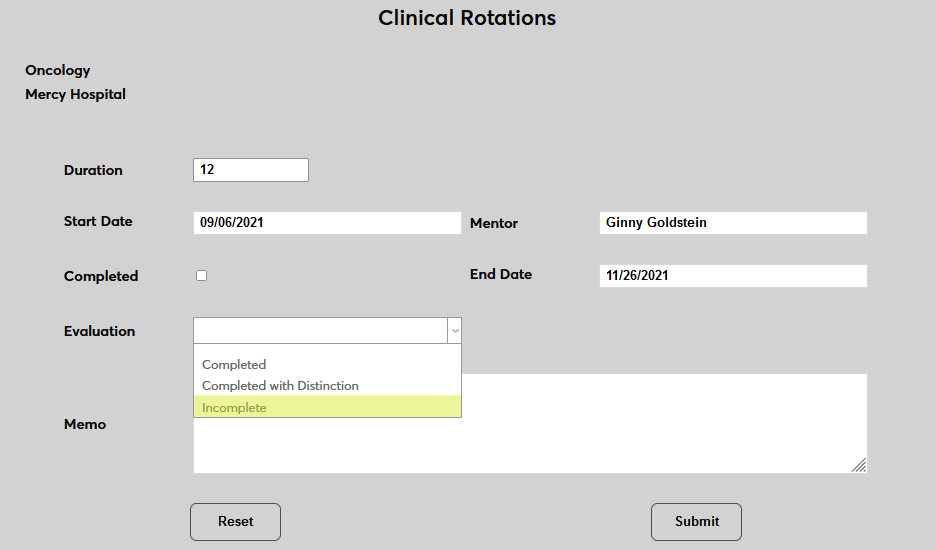
Select an Evaluation for the student's participation in the rotation. In most cases, this will be left blank until the rotation is completed, but some schools may wish to place an Incomplete status or other designation on an in-progress or upcoming rotation.
A Memo field is available for any notes that need to be added.
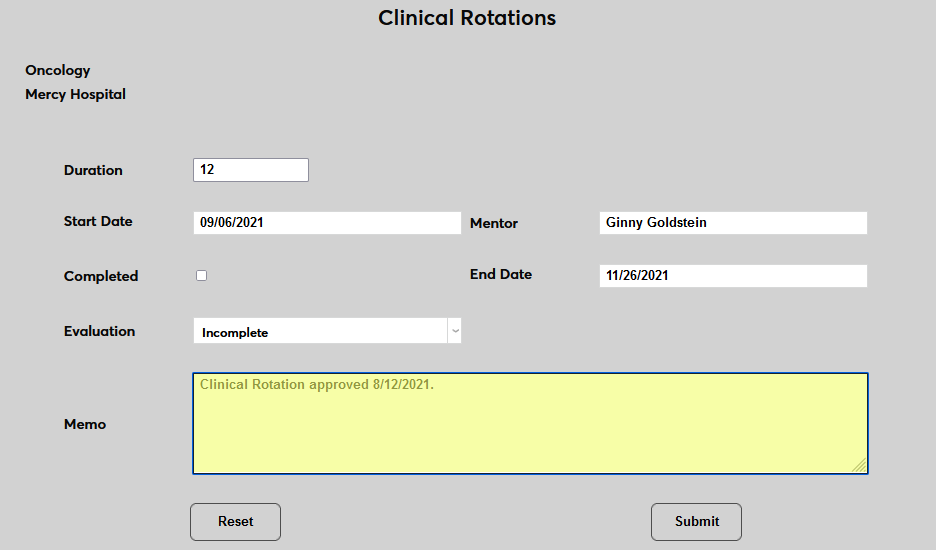
Click Submit to save the changes and add the rotation to the student's records.

Once a rotation has been added, click on the Clinical Rotation name to make changes.

When a student has been assigned to a rotation, the number on the Clinical Rotations Systems page will update and the student will be listed under the link. Click the student's name to make changes from here that will also be saved to the Records page.
When the Completed box is checked, the student will be moved to the list of Historical Students. Changes to historical records can be made in the same manner.