PowerFAIDS Cloud Programs Export
Overview
With the move to being a cloud-based solution, PowerFAIDS now allows the import of .CSV files. The PF Cloud Programs Export page, available from the Financials menu, accommodates this need and produces .CSV export files of program data. Initial setup is required and covered in detail below. All specifications for this export were developed based upon the PowerFAIDS Cloud SII File Layout Technical Reference document, which is available in the PowerFAIDS Resource Center. A sample file can be viewed or downloaded from MyJenzabar here.
Setup
Prior to creating any export files that will be imported to PowerFAIDS, ensure that the following areas within Jenzabar SONIS are appropriately set up.
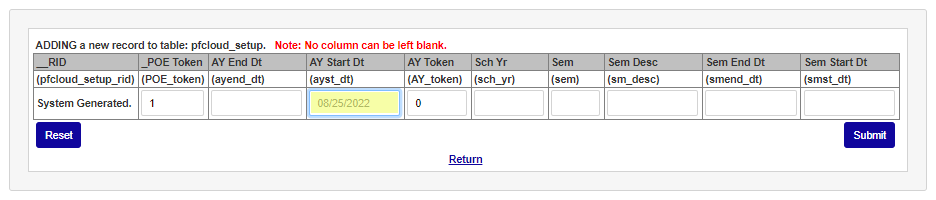
PowerFAIDS Cloud Setup Table
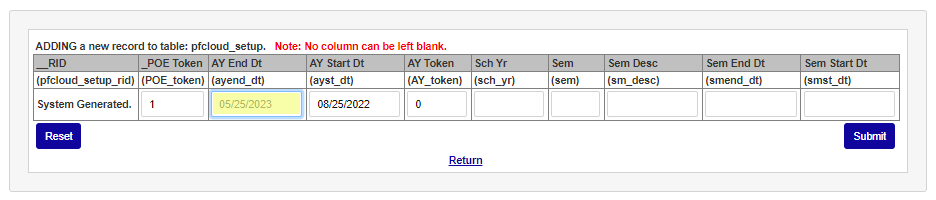
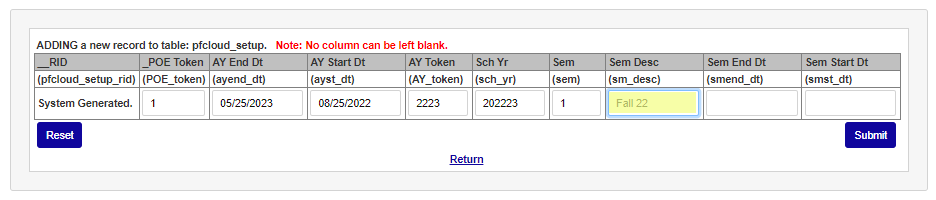
All columns on this table must be completed for each academic year and semester where data will be exported. Select PowerFAIDS Cloud Setup from the Table Maintenance menu and click Add New Record. Enter the POE Token used within PowerFAIDS for the term period being defined.

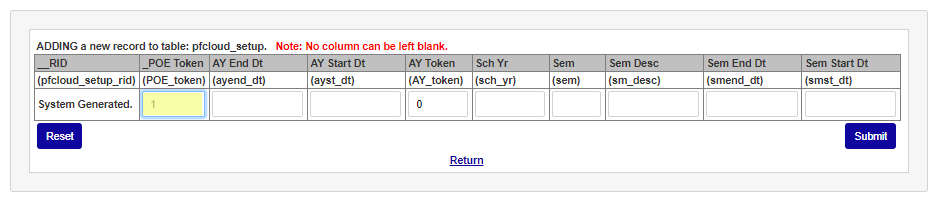
Enter the academic year start date in the AY Start Dt field and the academic year end date in the AY End Dt field.
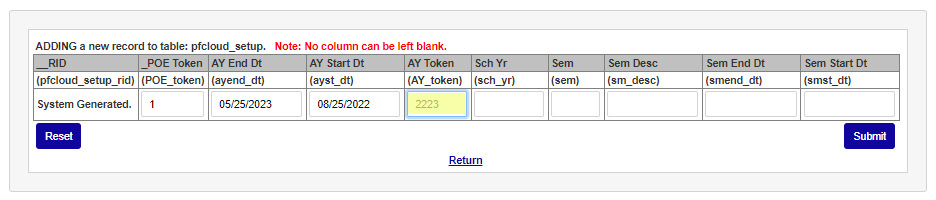
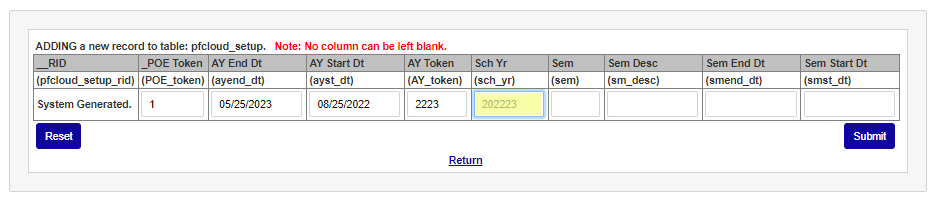
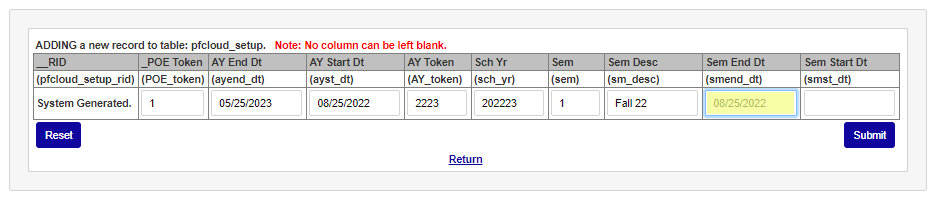
Enter the PowerFAIDS token for the academic year being setup in the AY Token field. Enter the school year code used in Jenzabar SONIS in the Sch Yr field.
Enter the semester number used in SONIS for this POE in the Sem field. Enter the name of the semester in the Sem Desc field.
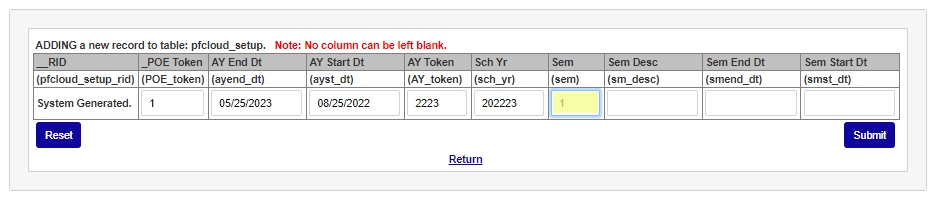
Enter the last day of the semester in the Sem End Dt field and the first day of the semester in the Sem Start Dt field.
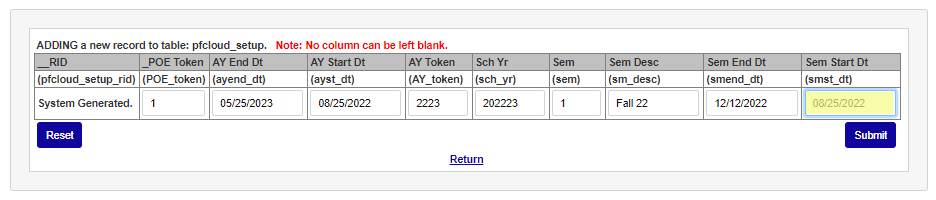
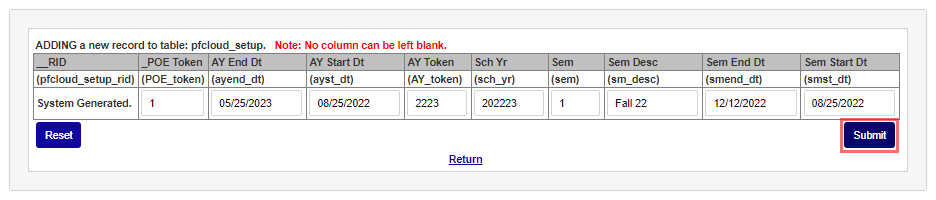
Click Submit to save the entry. Repeat these steps for any semester or term that information will be sent to PowerFAIDS.
PowerFAIDS Program Code/Token
On the Systems hub page Programs, enter the PowerFAIDS Program Code (this is called the Program Token in PowerFAIDS). The code should be entered for every financial aid eligible program. To enter the token, click the Program Code link and enter the PowerFAIDS Program Code/Token in the field.
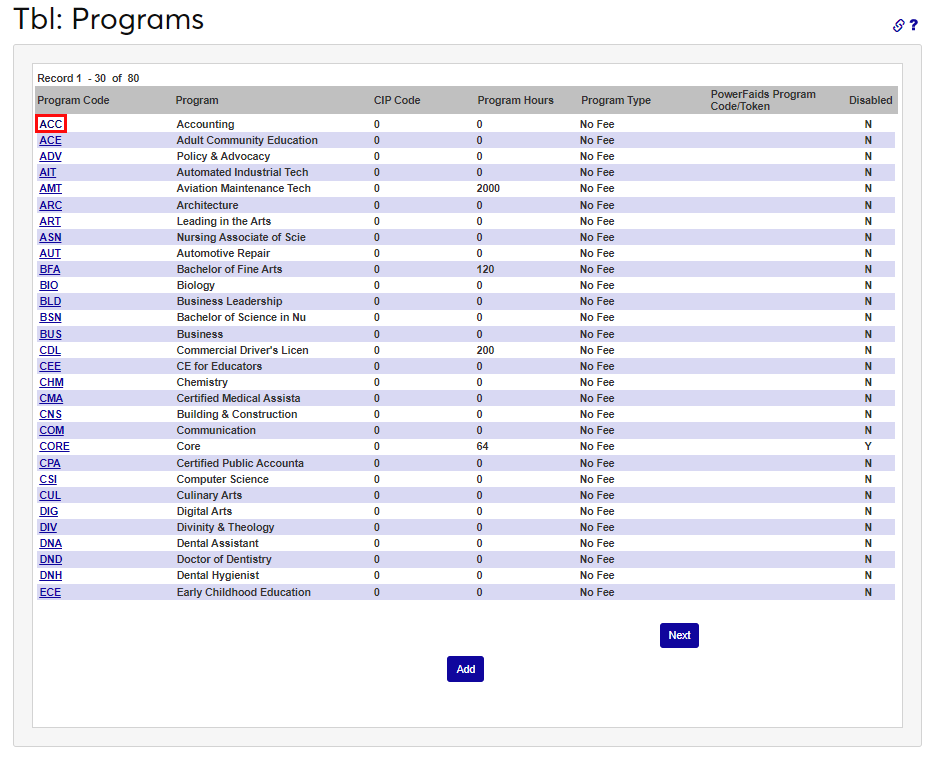
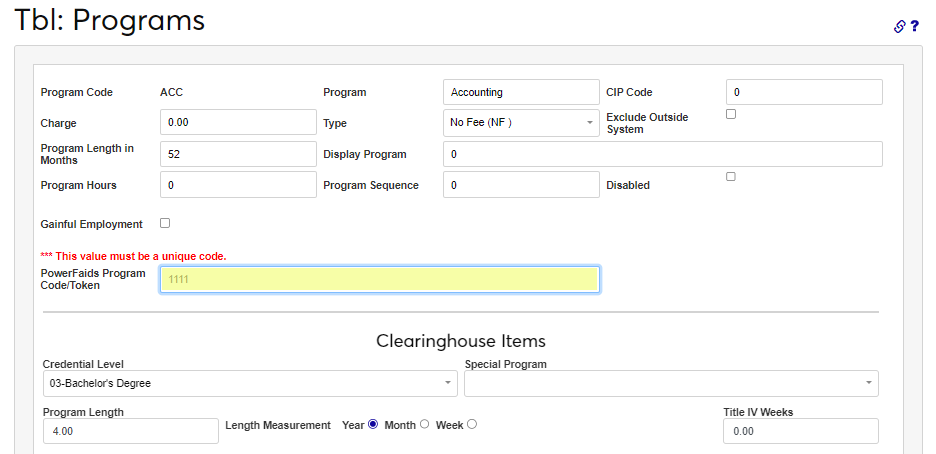
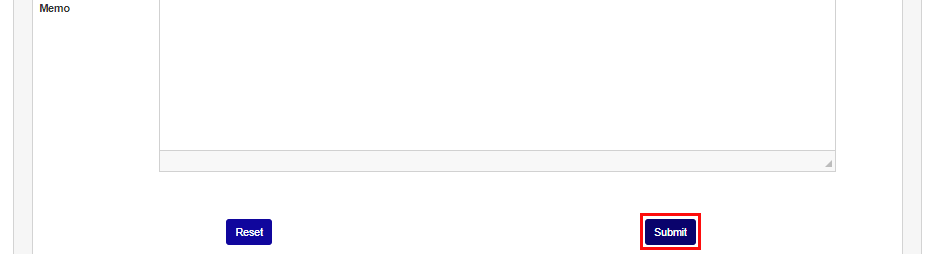
Scroll to the bottom of the page and click Submit to save the entry. Repeat this process for each financial aid eligible program.
Address Type
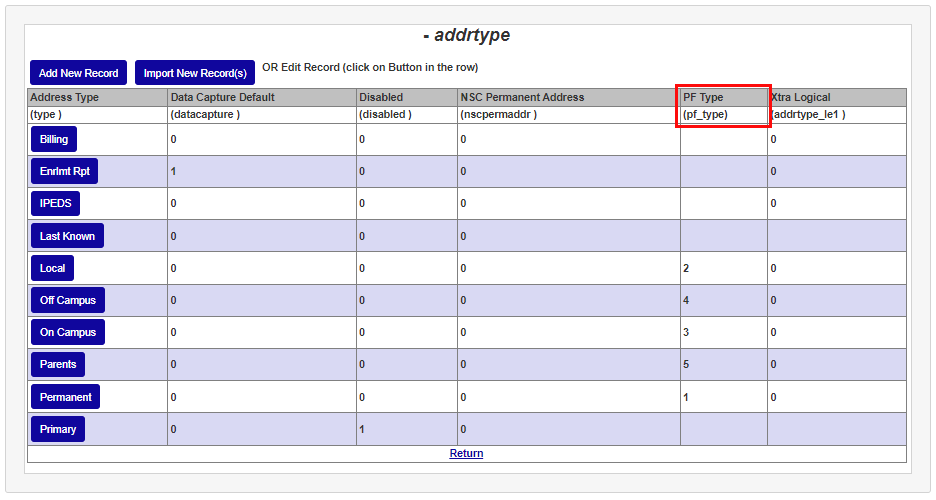
Utilizing the SII File Layout Technical Reference, Pay Student Section, Address Type, ensure the address type that will be included in the export has the appropriate code in the PF Type field.
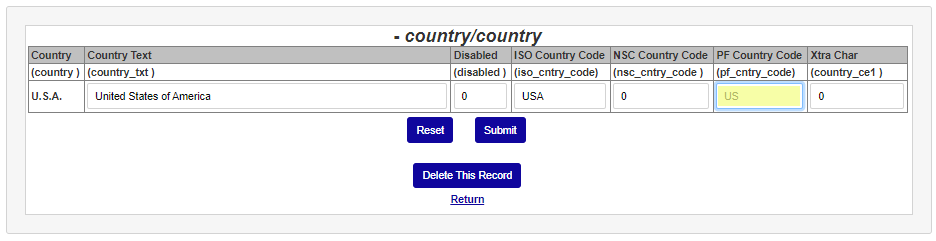
Country Table
Utilizing the SII File Layout Technical Reference provided by PowerFAIDS, enter the PowerFAIDS Country Code, as listed in the Valid Country Code List, in the Country table.
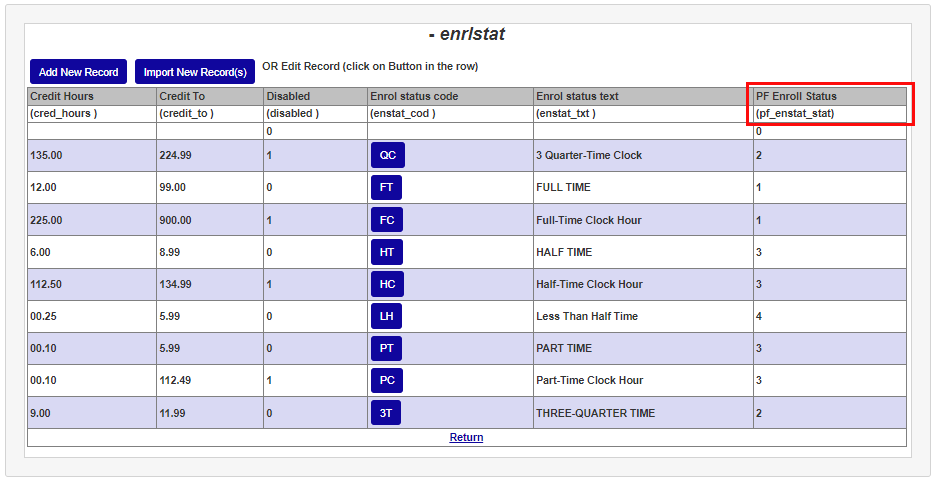
Enrollment Status
Utilizing the SII File Layout Technical Reference, Pay Period Section, Enrollment Values, ensure the PF Enroll status column has the appropriate value entered for each enrollment status.
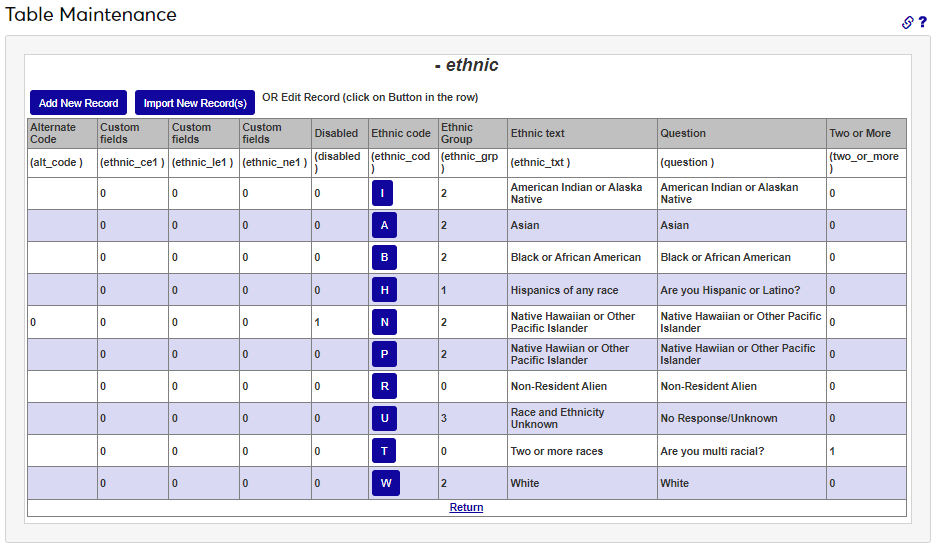
Ethnic Codes Table
Utilizing the SII File Layout Technical Reference, Student Section, Race Values, enter the appropriate ethnicity values in the Ethnic Code table making sure to coordinate the SONIS codes with the PowerFAIDS values.
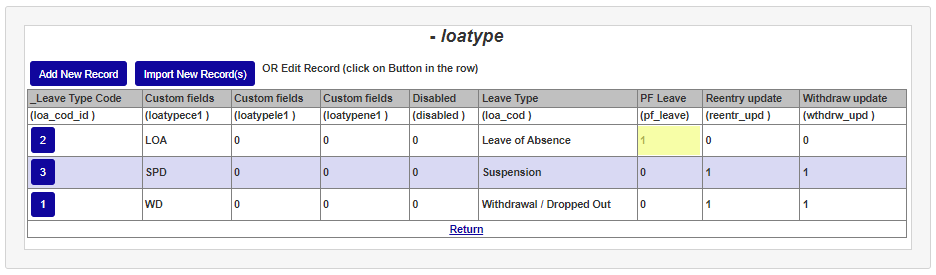
Leave Type
In the Leave Type table, ensure the Withdraw Update is set to 1 for leave types that are considered withdrawals.

In the PF Leave field, confirm that leave types considered to be a leave of absence are set to 1 .
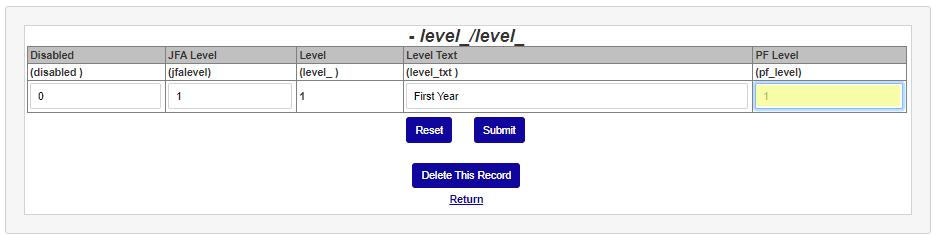
Level Table
Utilizing the SII File Layout Technical Reference, Payment Period Section, enter the Year in School values in the Levels table PF Level field, making sure to match the SONIS levels with the PowerFAIDS levels.
Web Options
In Web Options ensure that the Display Clearinghouse Data in Programs field is checked.

Creating Exports
After the tables are set up as needed, the user can proceed to the Financials menu PF Cloud: Programs Export page to create the Programs Export.
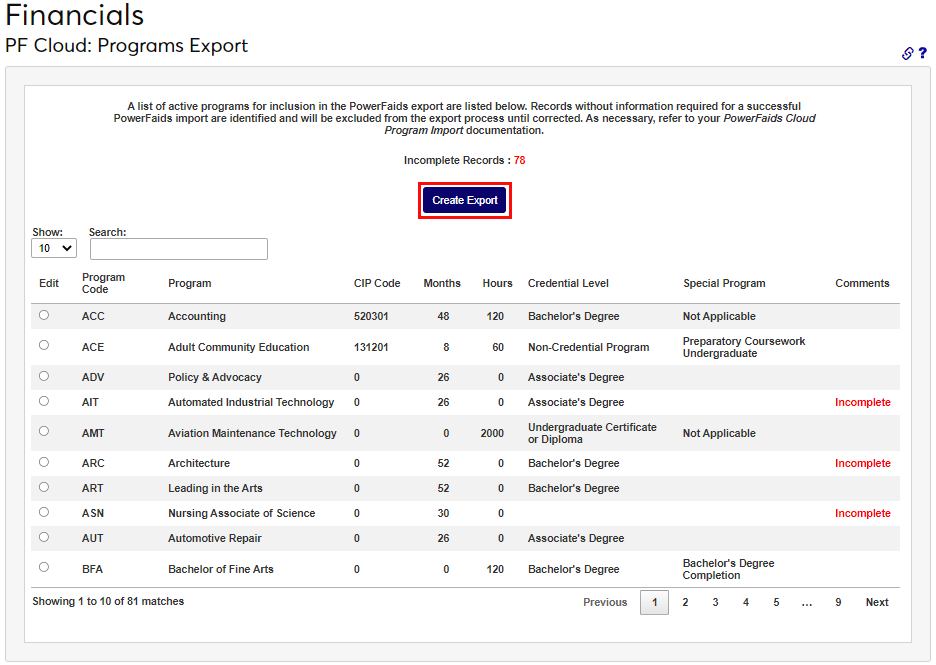
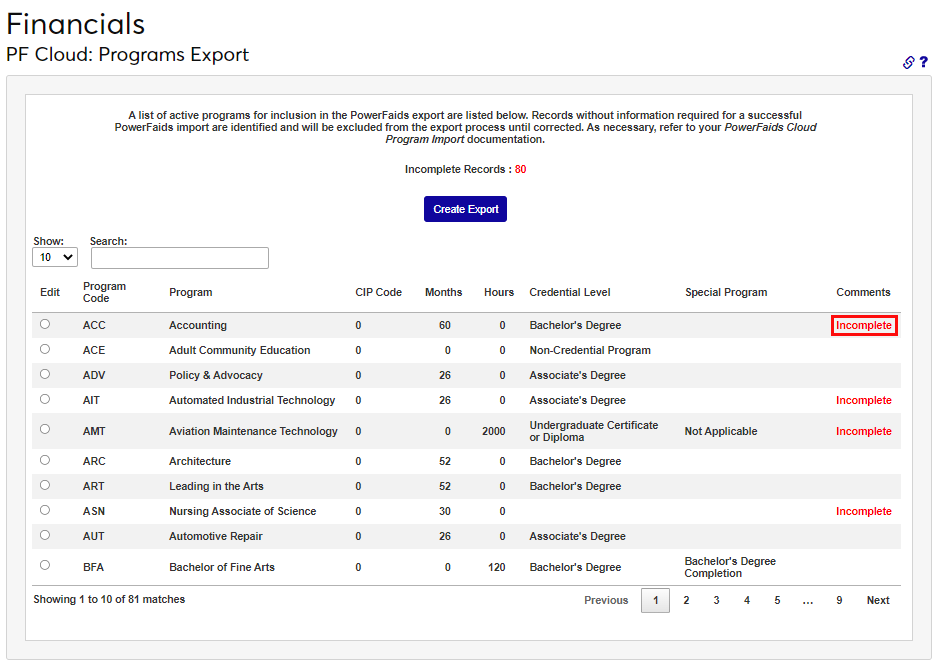
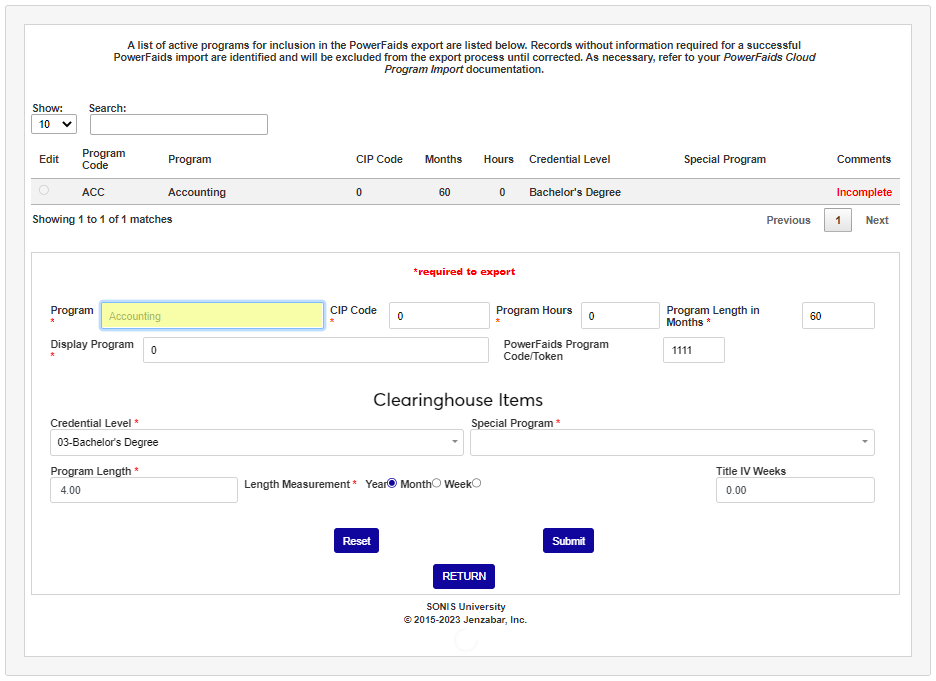
Incomplete Programs
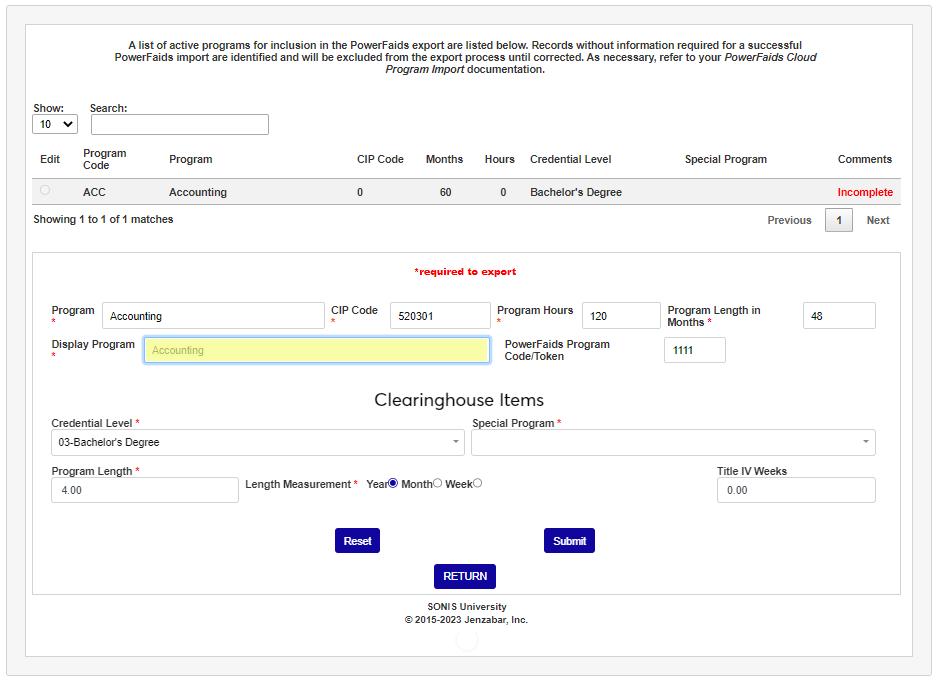
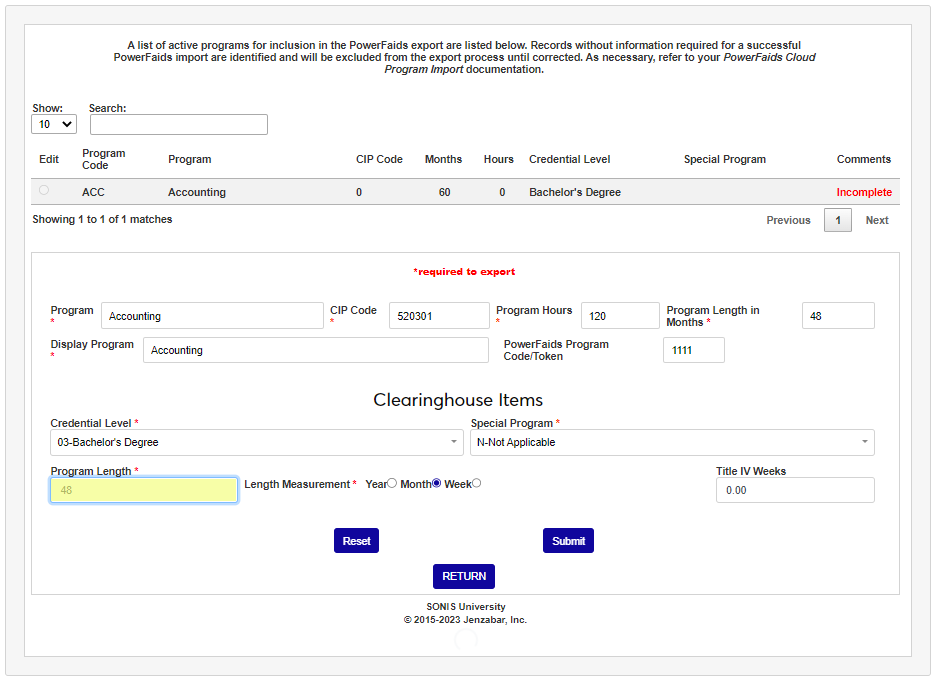
When users initially access the page, they are presented with a summary of programs that are active in SONIS. Records that do not include all the information required for a successful import to PowerFAIDS are labeled as Incomplete.
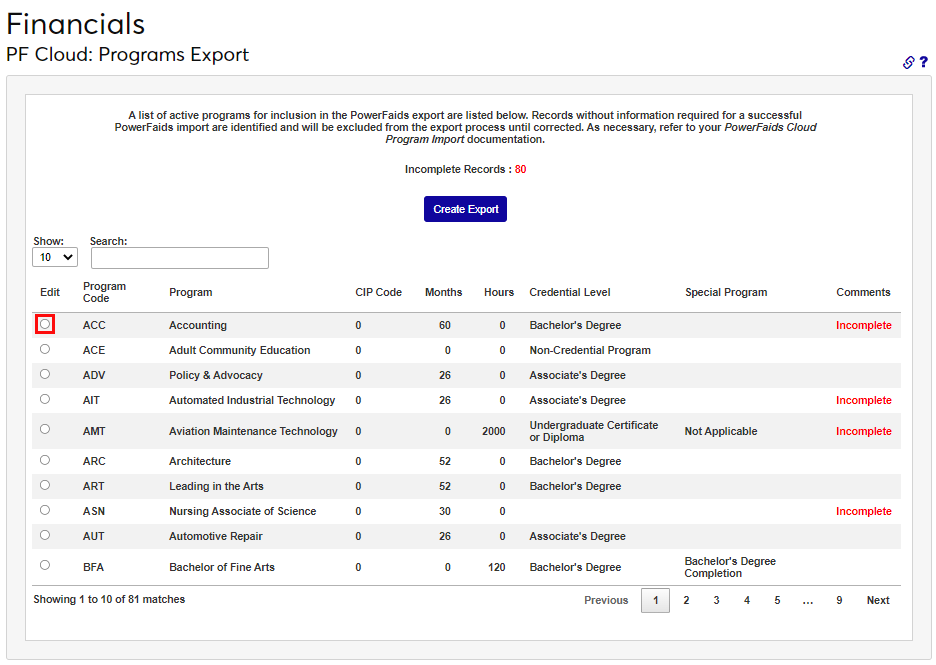
For records designated as Incomplete, users are presented with an immediate opportunity to correct records, without having to leave the export page. Clicking the Edit radio button opens a section below the program, allowing the entry or correction of all areas included with an export. The required data are indicated with a red asterisk.
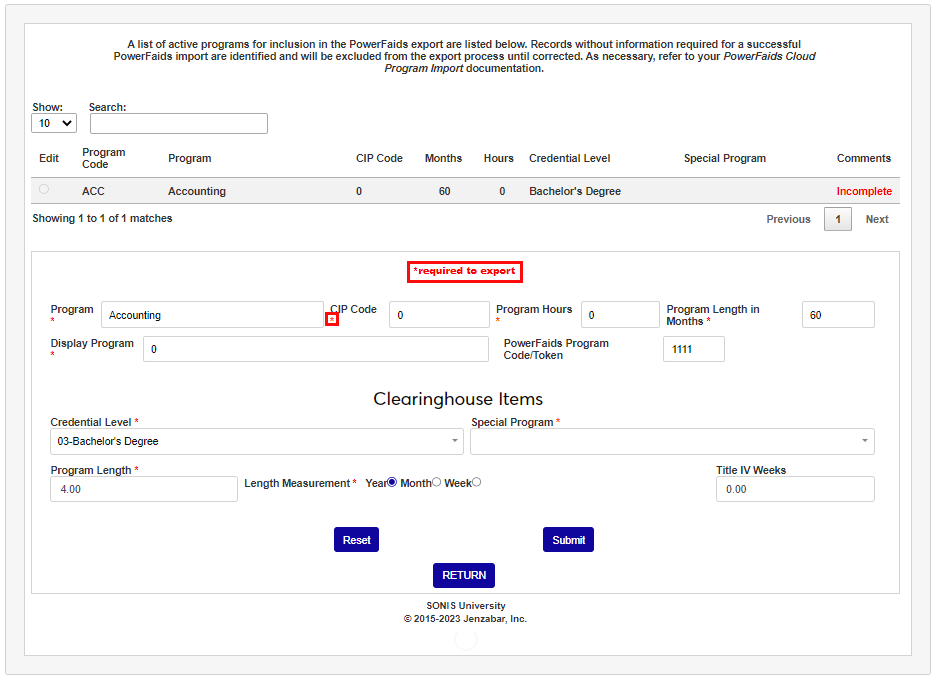
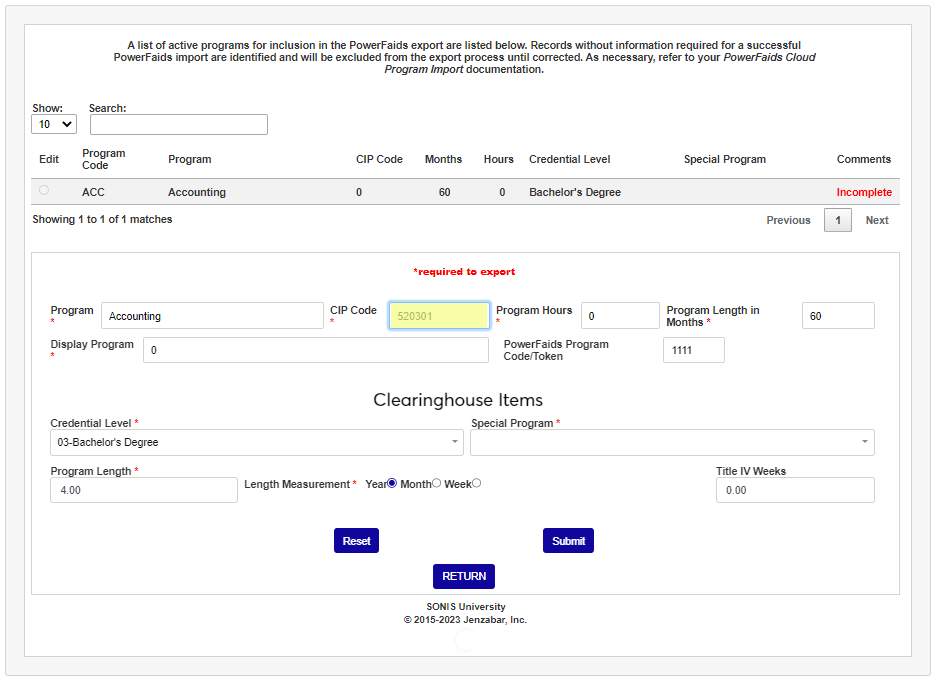
Ensure the Program name is appropriately representative of the program name that should be sent to PowerFAIDS. For those using the Clearinghouse features, CIP Codes should be entered without a decimal but will be properly formatted in the created export file, per PowerFAIDS import requirements.
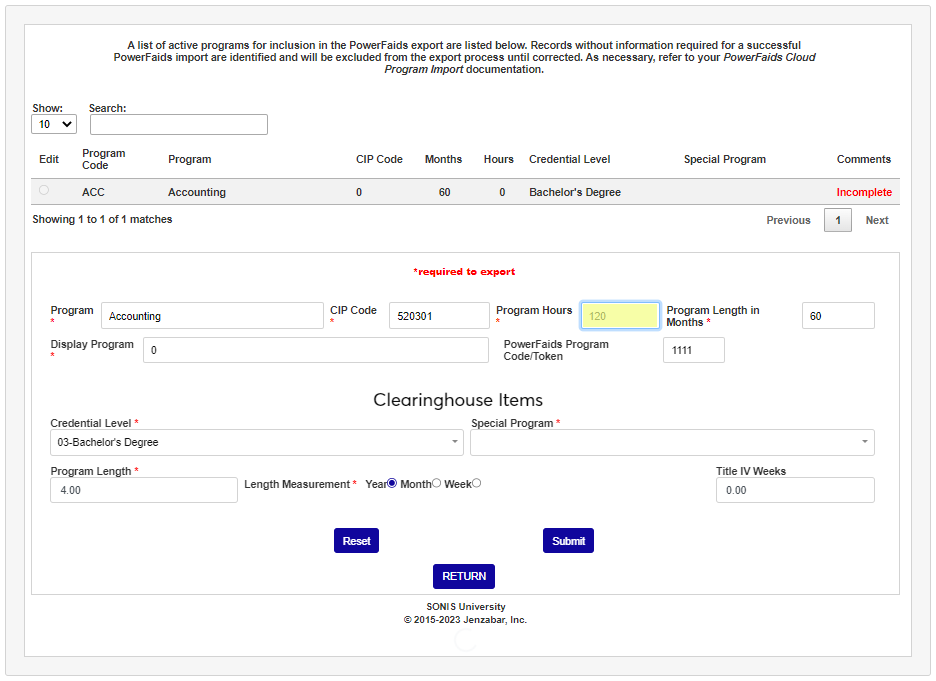
Enter the number of hours needed to complete the program in the Program Hours field and the number of months needed to complete it in the Program Length in Months . These numbers should match the values submitted on the institution's eCAR/eAPP , if applicable.
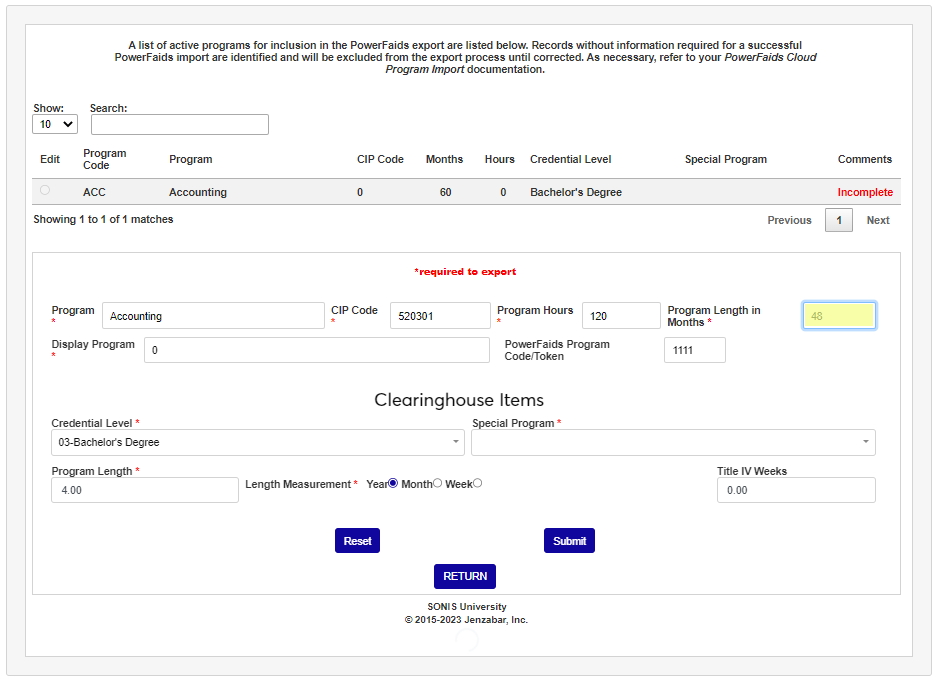
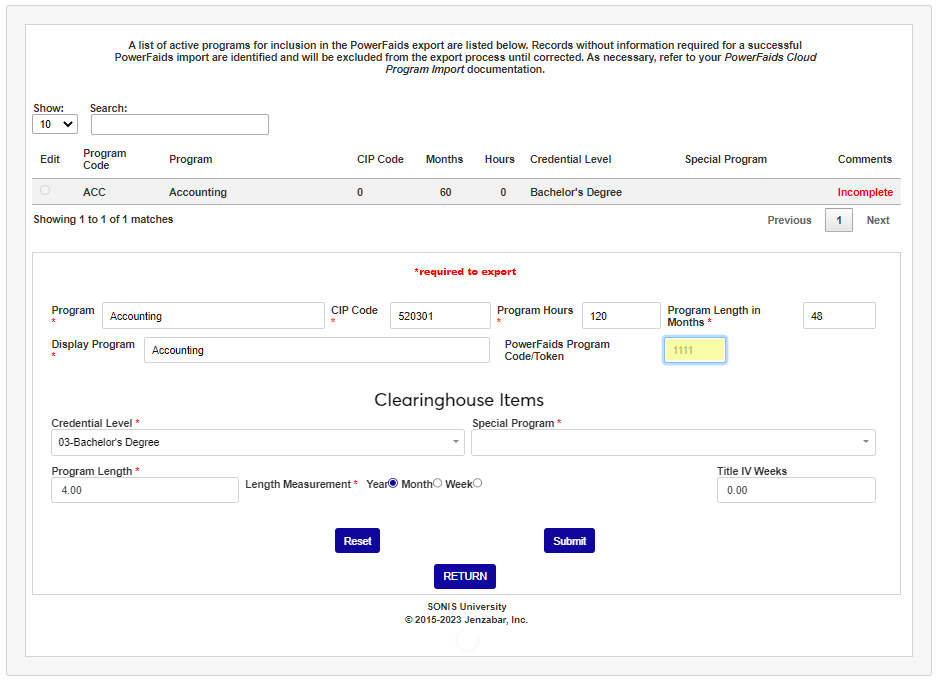
In the Display Program field, enter the name of the program that should be displayed. Enter the name of the program within PowerFAIDS, in the PowerFAIDS Program Code/Token field.
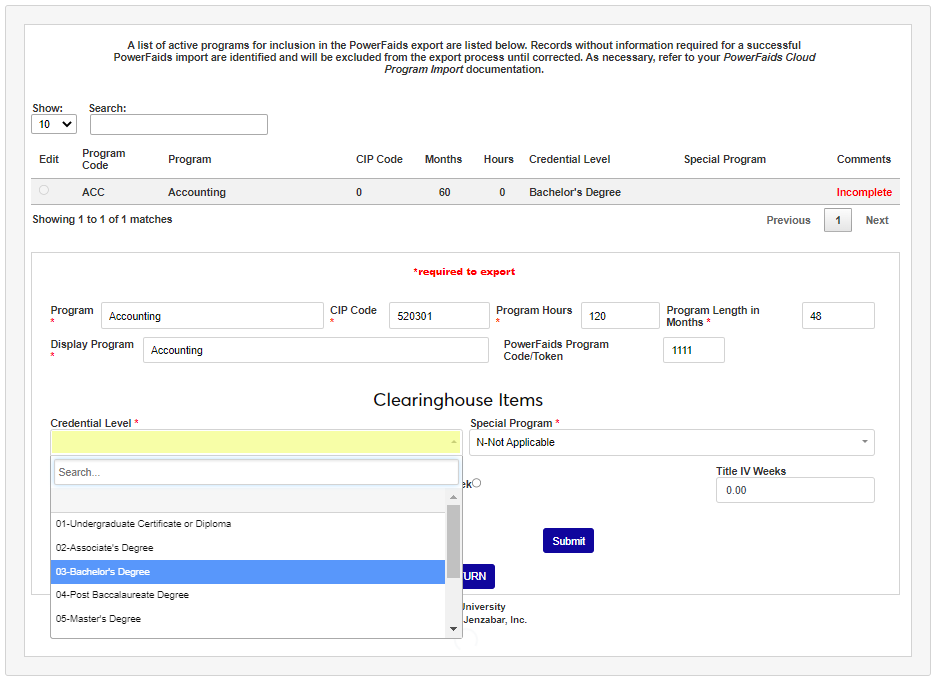
In the Clearinghouse Items section, set the Credential Level from the dropdown. If this is defined as a Special Program use the dropdown to indicate this.
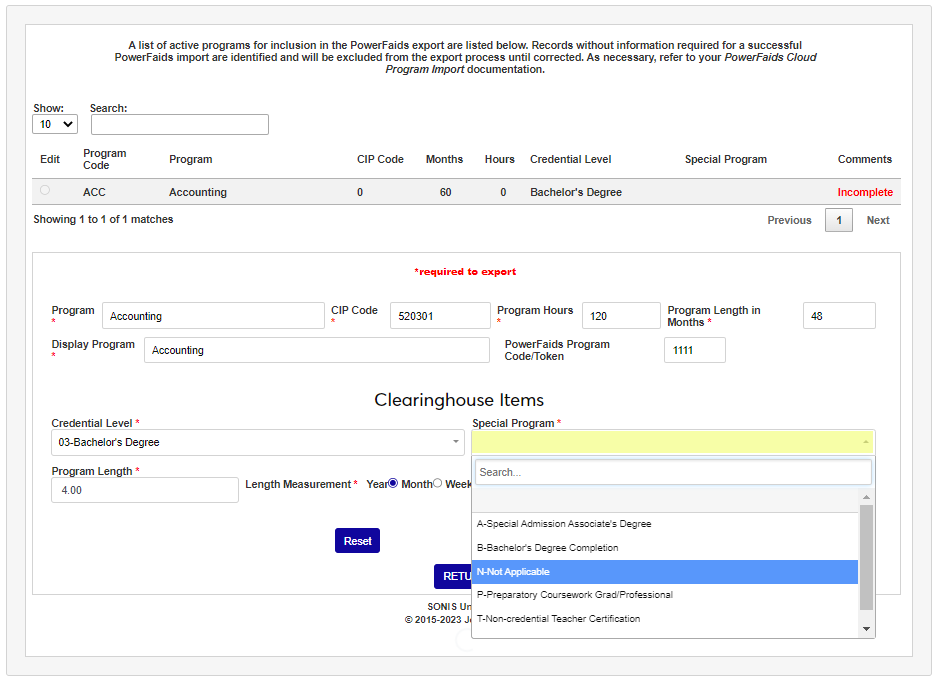
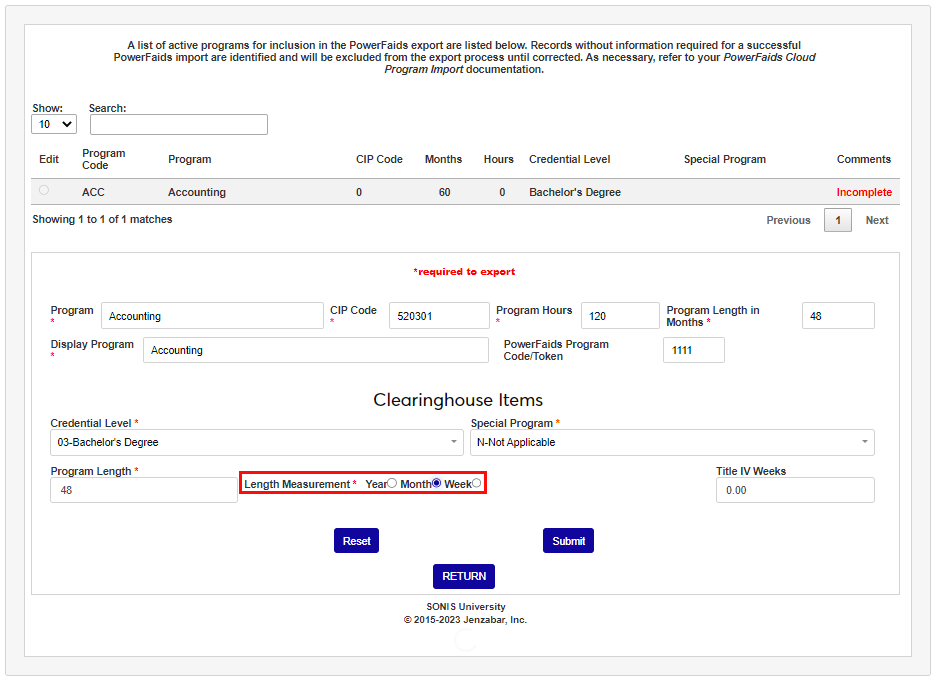
Enter the Program Length and select the Length Measurement that corresponds with it. These should match the values used for any enrollment reporting.
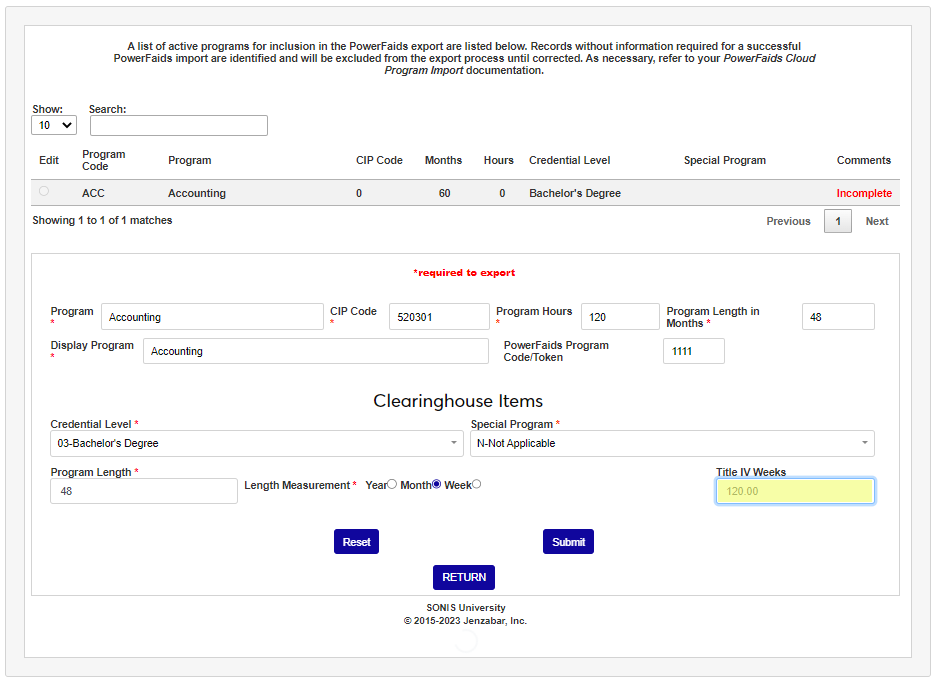
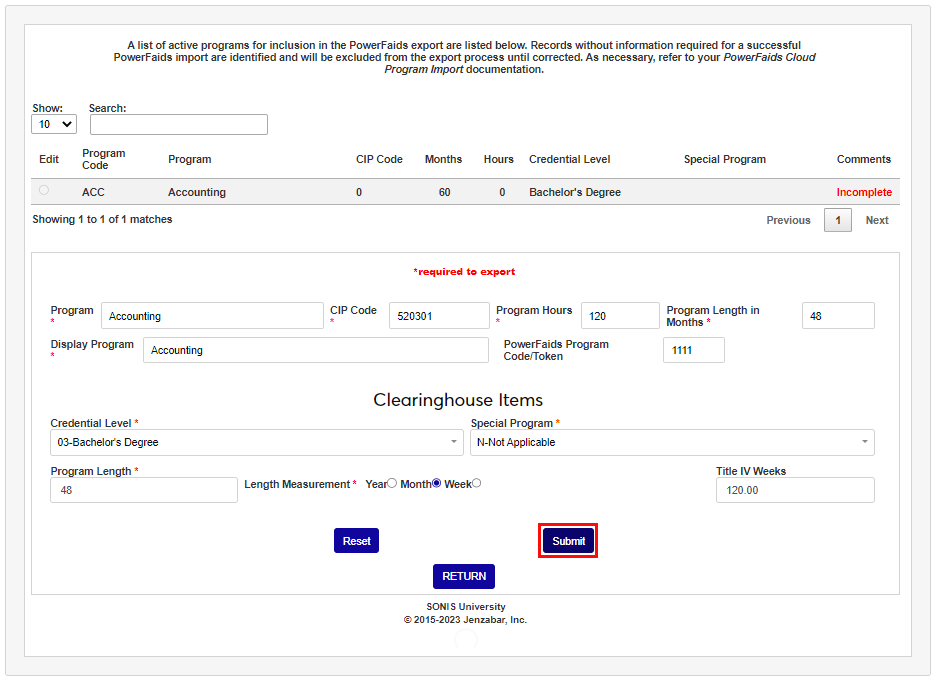
Enter the total number of weeks of instructional time in a Title IV Academic Year in the Title IV Weeks field. Click Submit to save the entered information.
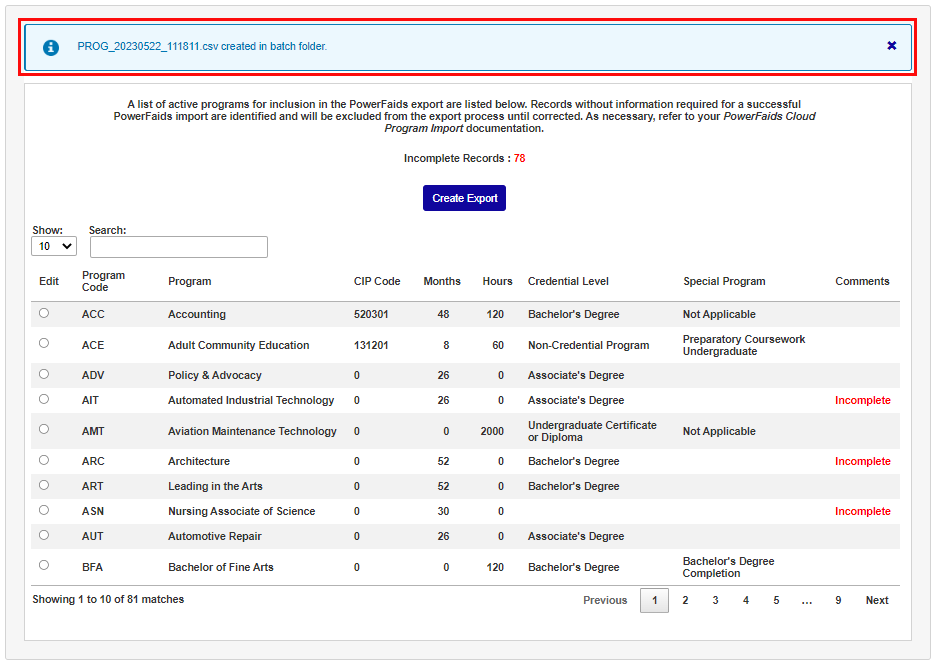
Exporting
When the Program records are set up satisfactorily, the Create Export button is used to initiate creation of the file and the user will be notified the file was created. The Batch File Downloader available from the Systems menu can be used to access the export file.