Biographic Information
Overview
The Biographic Information page, available within the General folder or from the top menu, contains selected information from the faculty member or advisor's demographic and teaching records.
Teaching Schedule
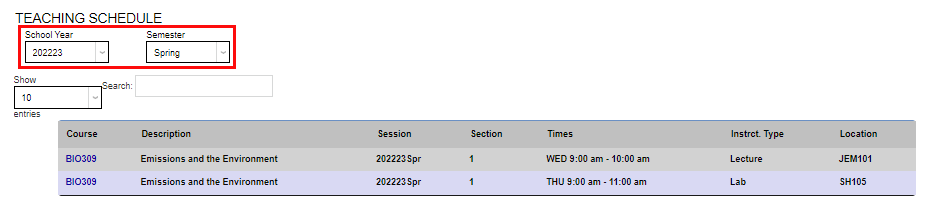
The Teaching Schedule section displays the course(s) the faculty member is scheduled to teach for a given School Year and Semester. To change years or semesters, simply select the desired year and/or semester from the drop-down menus. The display will update right away. A search field is provided in case the user would like to narrow the results down.

Course Information
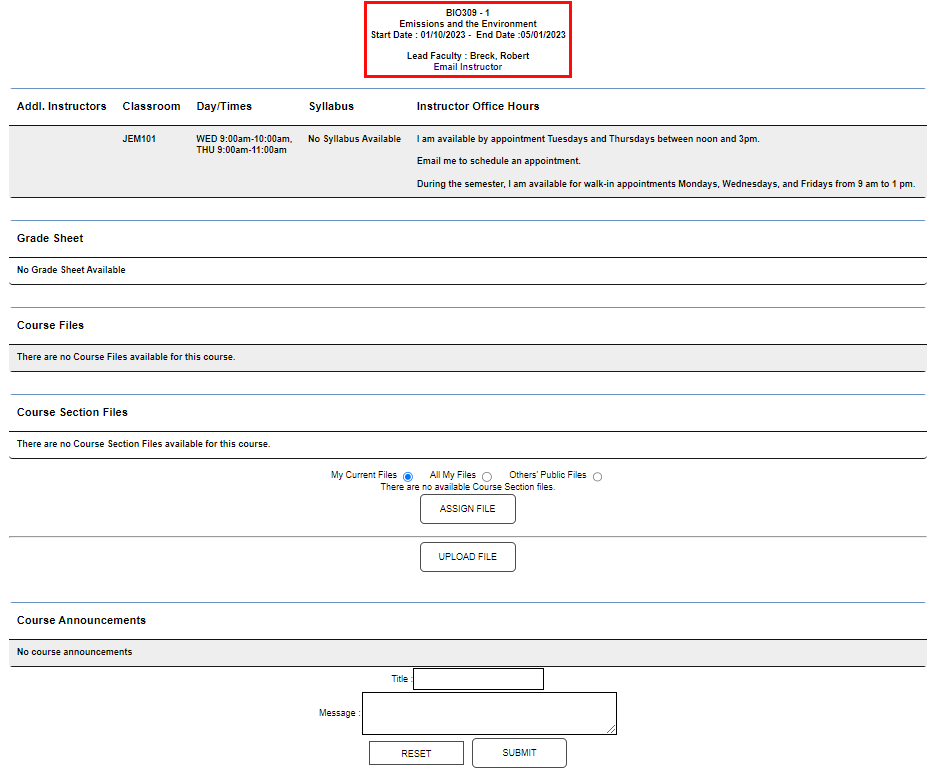
Clicking the Course opens a new page with information specific to the course selected. At the top of the page, the section number, name, run dates, and lead faculty information are displayed. There is also a link to Email Instructor which launches the user's default email client and prepopulates the new email window with the email address of the lead faculty member when clicked.

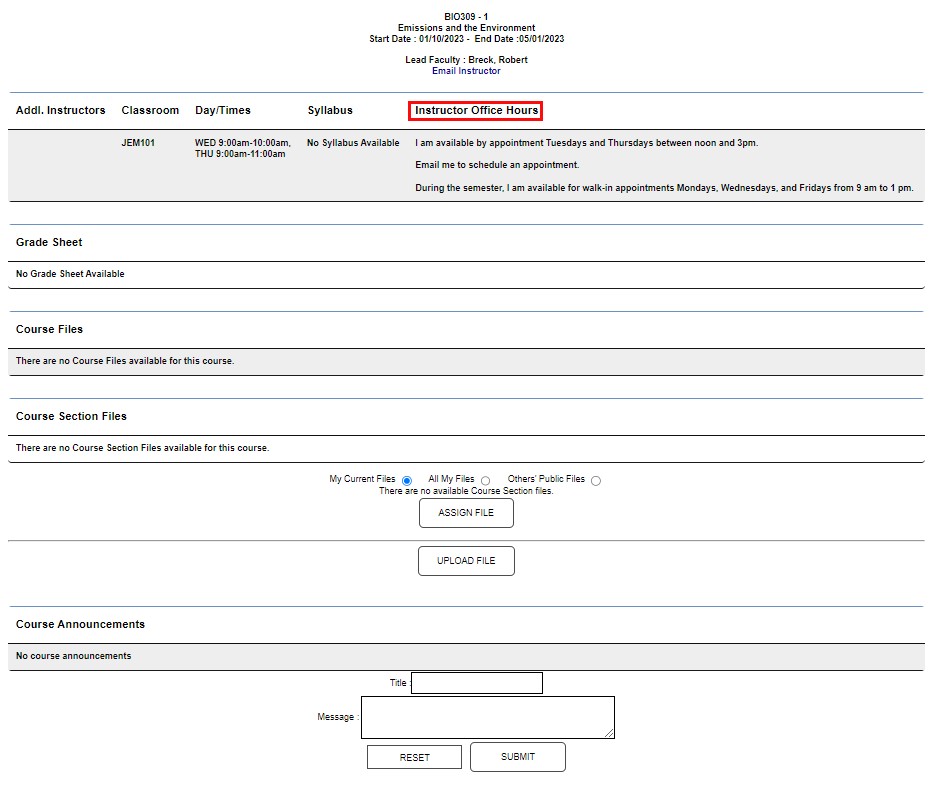
The next section displays information specific to the course section and the office hours defined by the instructor.
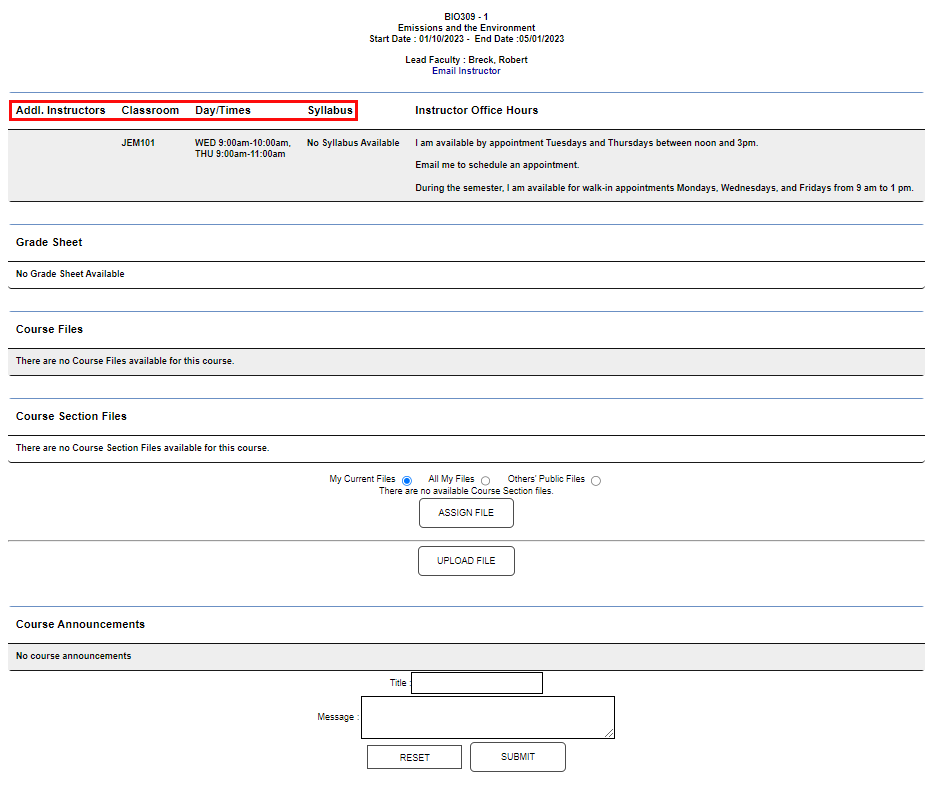
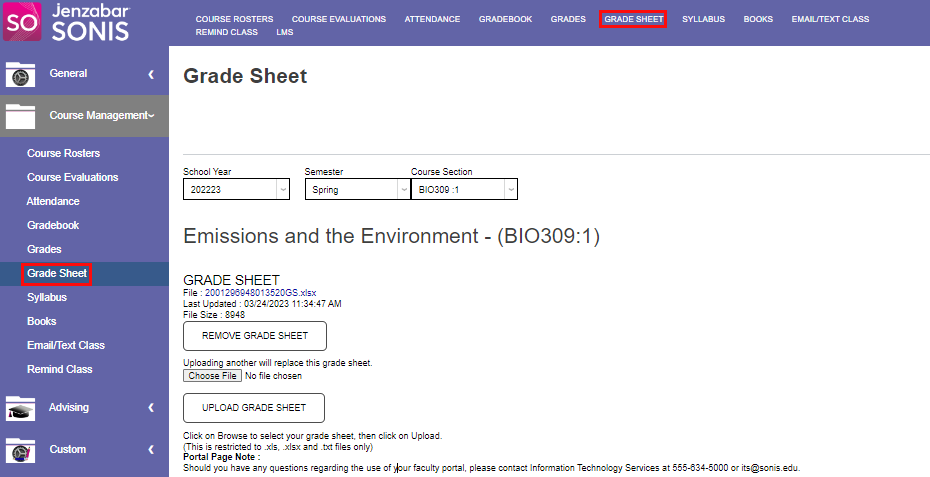
When a Grade Sheet has been uploaded using the Grade Sheet function in Course Management, it is displayed here.
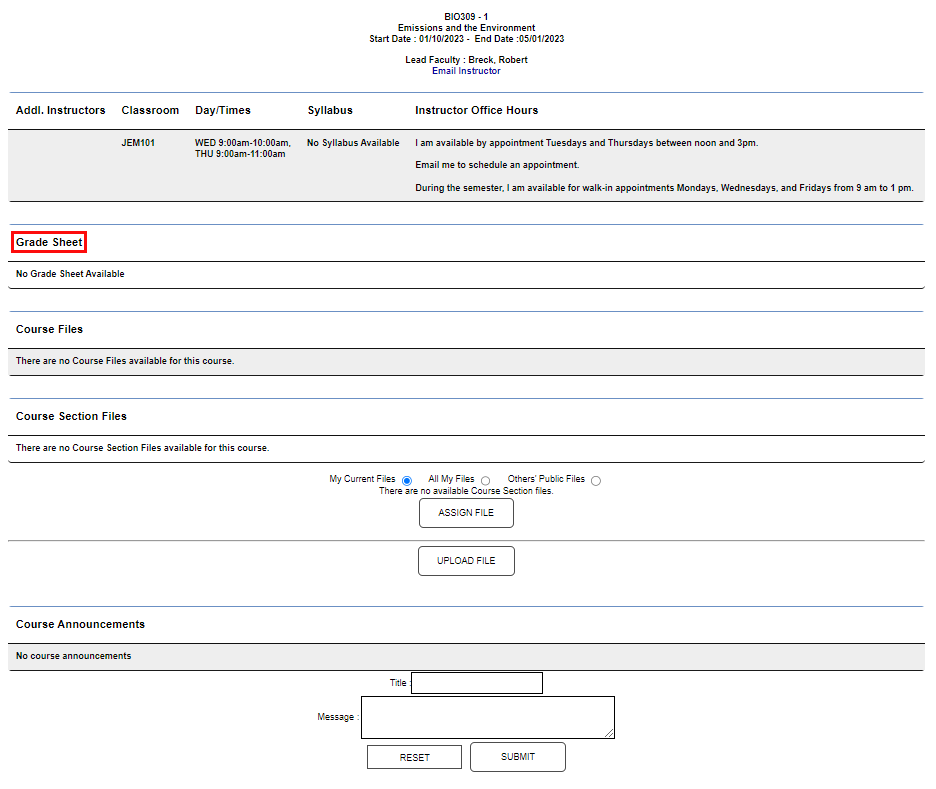
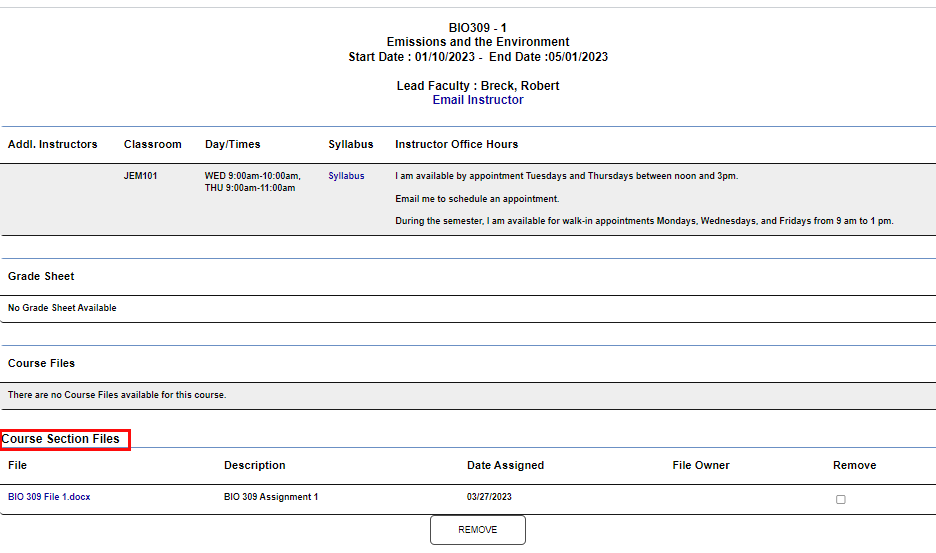
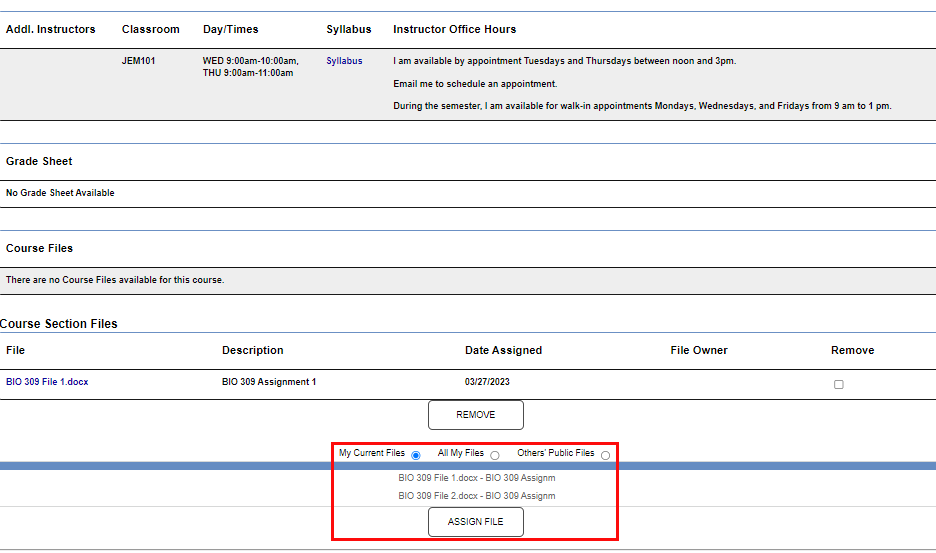
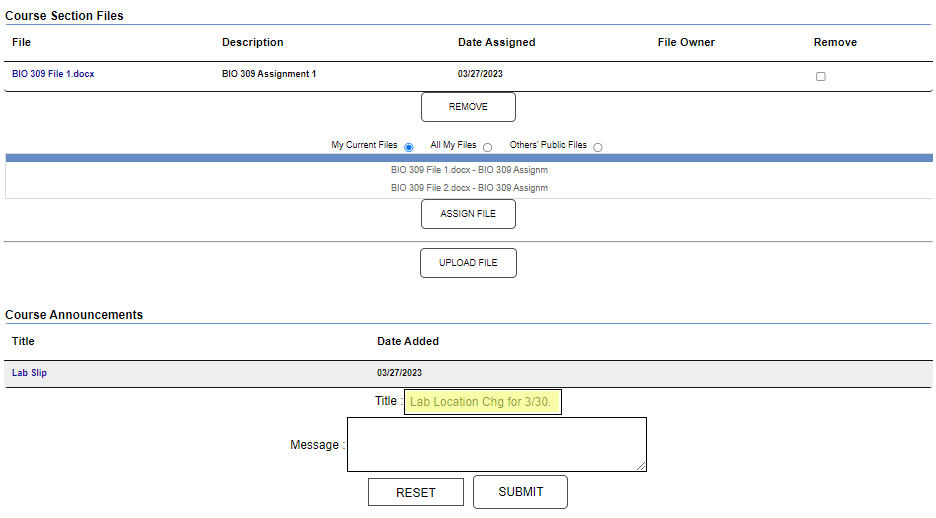
If Course Files have been uploaded and assigned to the course section, they display in the Course Section Files and can be viewed by clicking on the name. Files associated with the faculty member and available to assign to the section display at the bottom of the page.
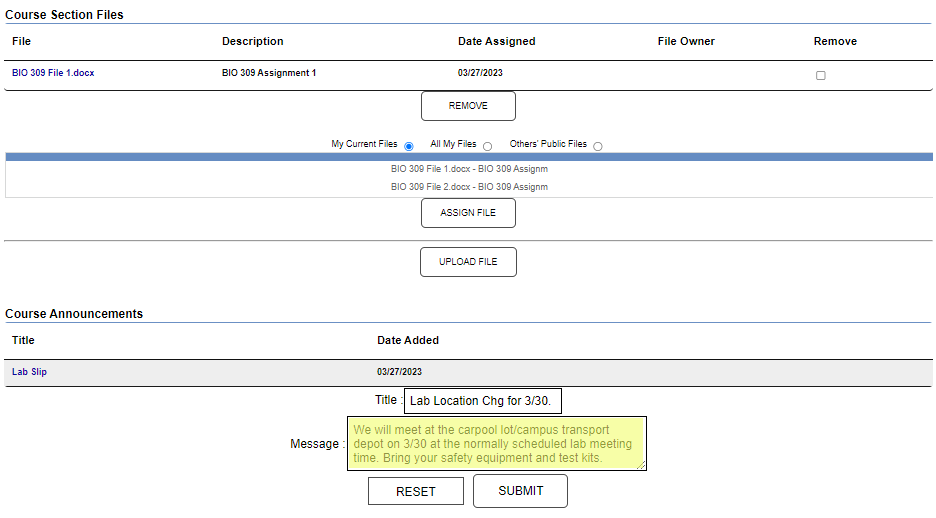
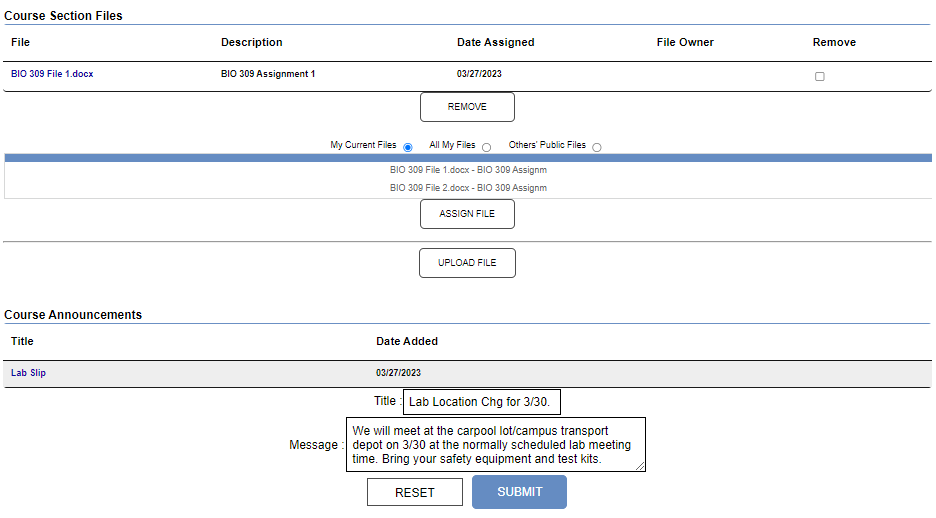
To make a Course Announcement to everyone enrolled in the class, enter a Title of up to 30 alphanumeric characters and a Message or the content of the announcement. There is no character limit in the message field.
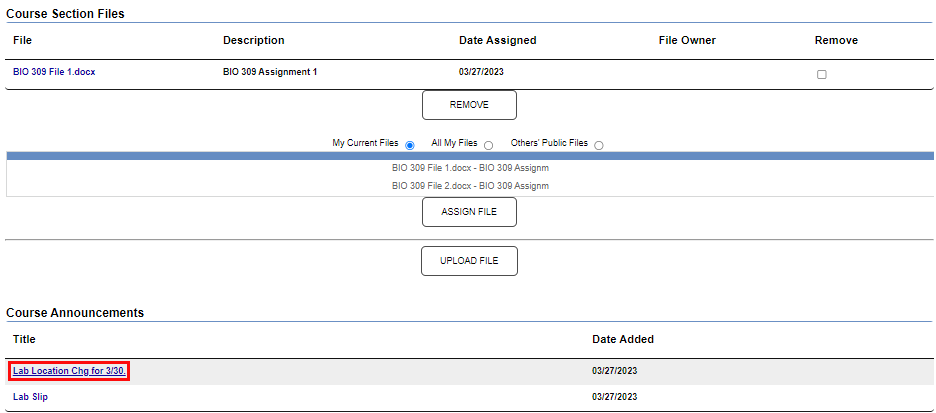
Click Submit to publish the announcement to the enrolled students. To view published announcements, click the Title link.
File Upload
The File Upload function allows the user to load files that will be associated with the courses they are assigned to. When files are loaded, they will display to the user on this page, as an option to be added to the course section on the course information page, and to those registered in the course.
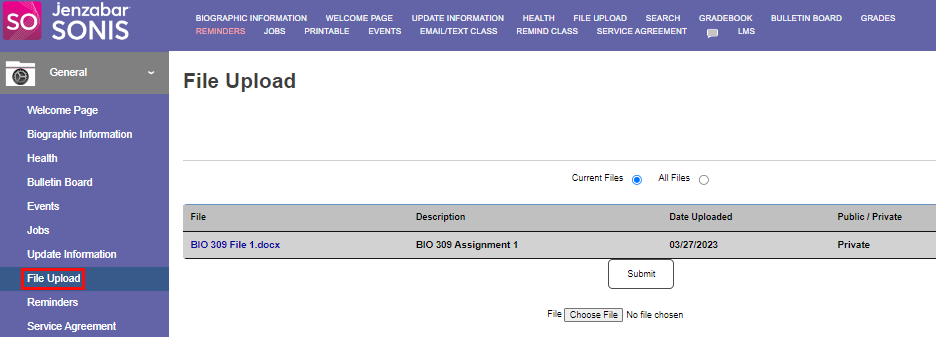
Click Choose File to select a file to upload. After selecting the file, enter a name for it in the Description box. This field accepts up to 200 alphanumeric characters and digits.


Determine if the file should be Public or Private by selecting the appropriate radio button. When a file is set as public, any user with a faculty portal will have access to the file and may assign it to a course they manage. When a file is set as private, only the user who uploaded it may assign it to a course. Click Upload to load the file to the portal.

