Rooms & Buildings
Overview
The Rooms and Buildings table is where Jenzabar SONIS stores information about campus buildings and the rooms within them. Buildings are separated by type with the types defined by each individual institution in Table Maintenance in the Building Types table. When using the table for classroom buildings, the system tracks the available seats in each room and allows administrators to list amenities that may or not be present such as whiteboards, projectors, etc. These attributes are used when selecting meetings for a course section. When using the table for residential facilities, the system tracks amenities in a similar manner, but can also be used to assign the housing cost for the room. Once rooms have been created, they can be assigned to course sections in the process of creating these sections or using the Room Finder utility.
In addition to the standard cost associated with a dorm room, institutions may wish to charge additional fees using the Housing Additional Fees utility. To learn more about the housing functions offered by Jenzabar SONIS, visit the Housing overview page.
Adding Buildings
Adding buildings and rooms requires a logical flow of entry: first, campuses must be created, then buildings can be added to campuses, and rooms added to buildings. To add a building, select the campus the building will be associated with from the At dropdown and then click Buildings.


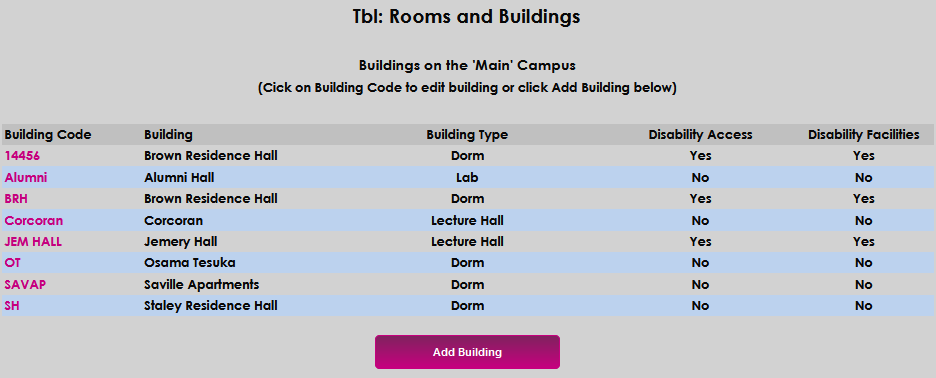
The following page displays any buildings that have already been created and associated with the chosen campus. Click Add Building to begin creating the new building.
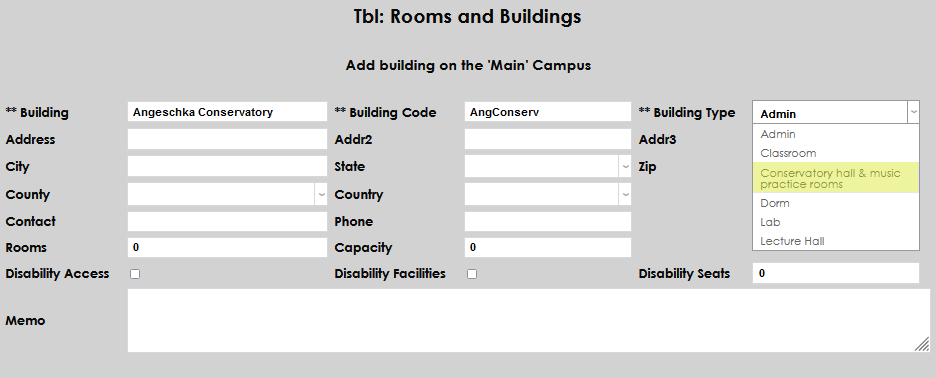
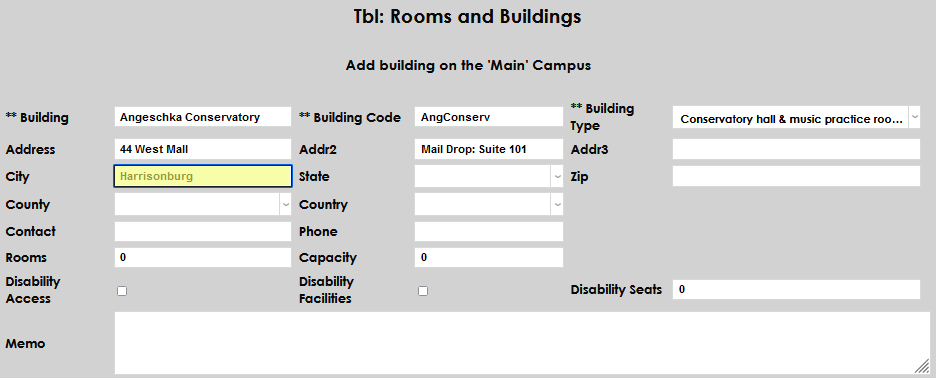
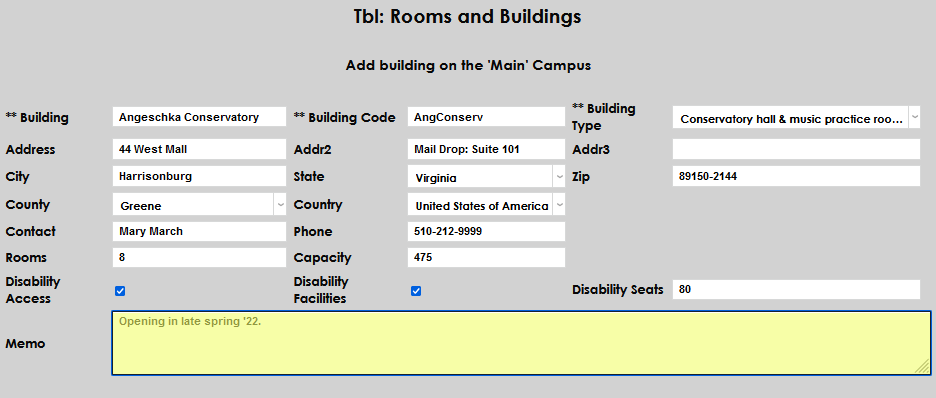
Enter the name of the Building. This field accepts up to 40 alphanumeric characters and will display throughout SONIS and the web functions that contain building information.
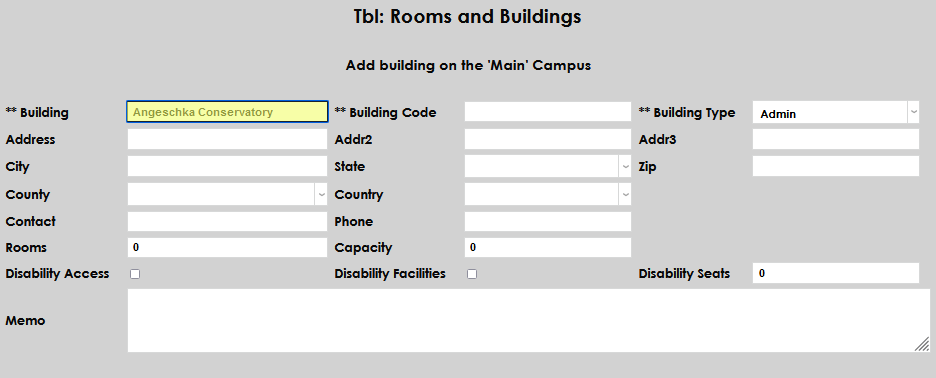
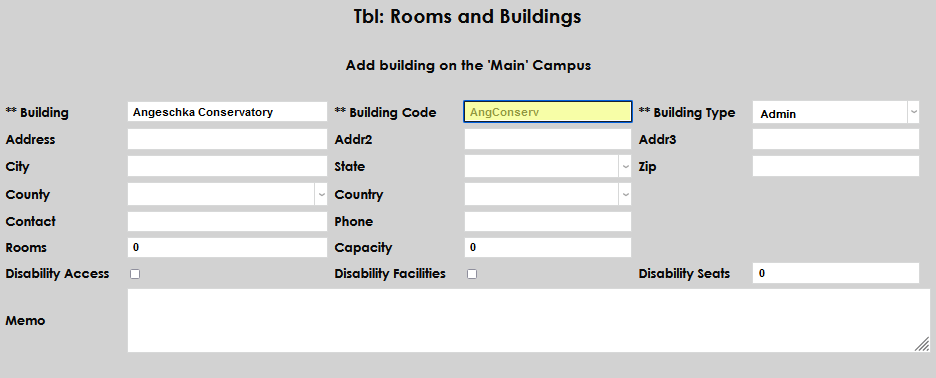
Enter up to 10 alphanumeric characters that will become the Building Code. This will display throughout SONIS and the web functions that contain building information.
Select the Building Type from the dropdown. If the needed type is not displayed, an administrator must create it on the table.
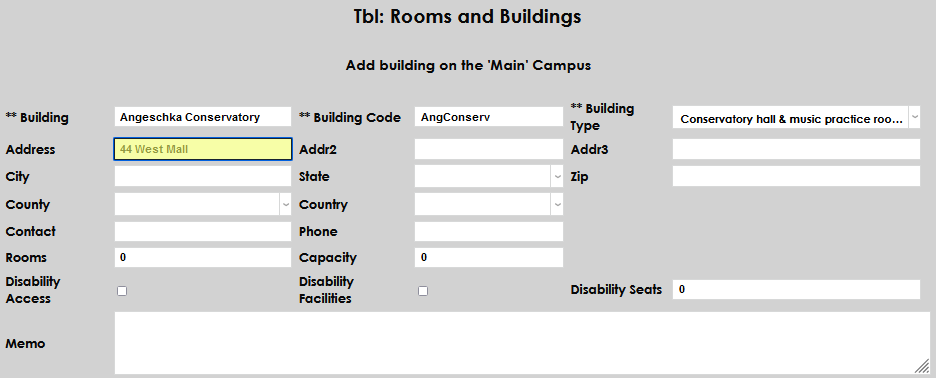
Enter the physical address in the Address field. This field accepts up to 35 characters.
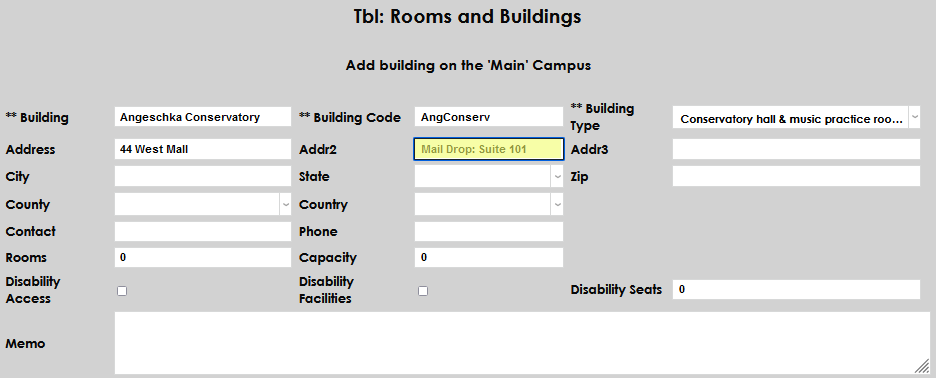
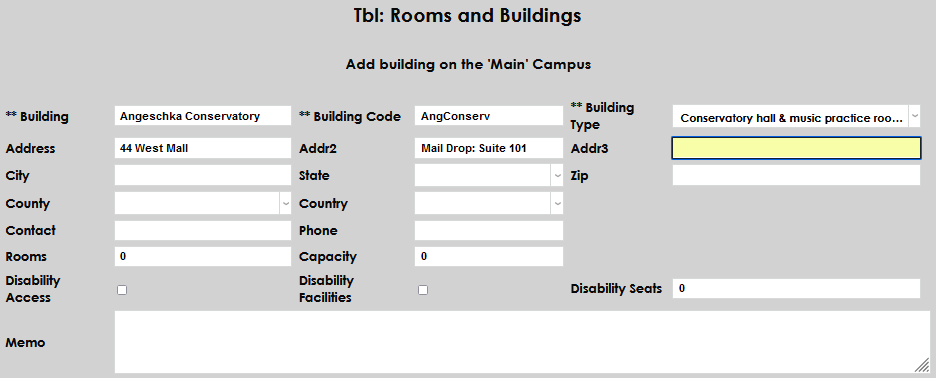
Enter any secondary address details in the Addr2 field. If there are other details associated with the address, add them in the Addr3 field. Both fields accept up to 35 characters.
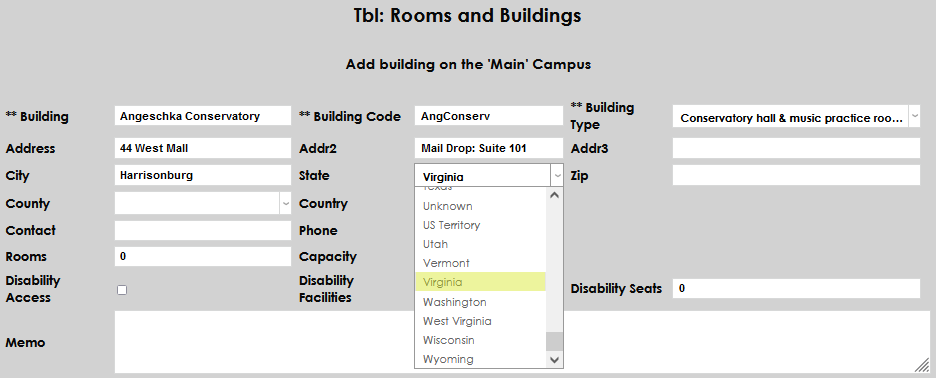
Enter the City and select the State from the dropdown.
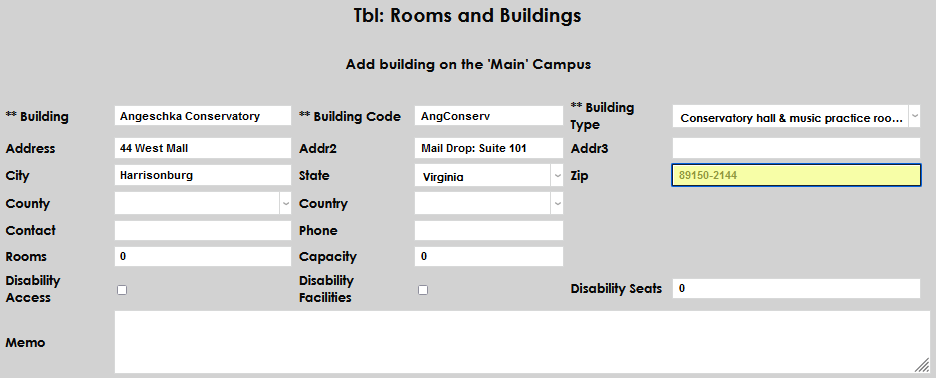
Enter the zip code in the Zip field. If desired, the Zip+4 can be entered.
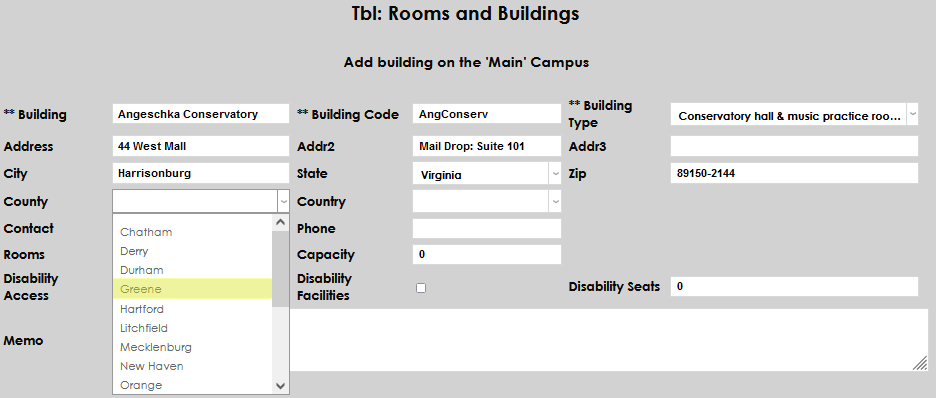
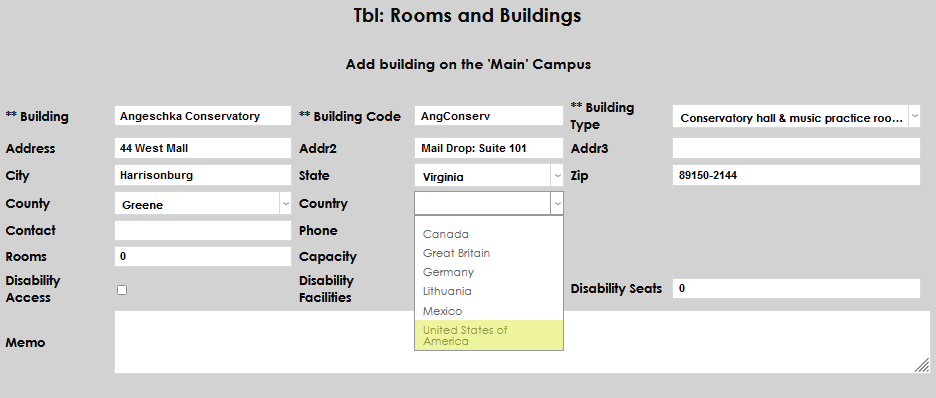
Select the County and Country from the corresponding dropdown menus.
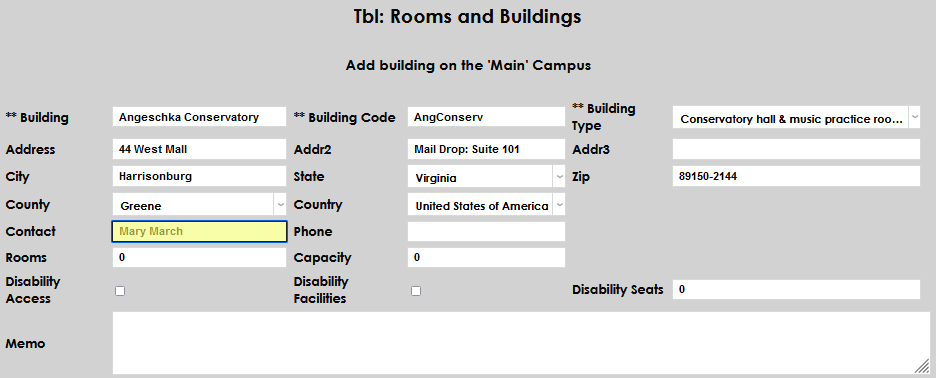
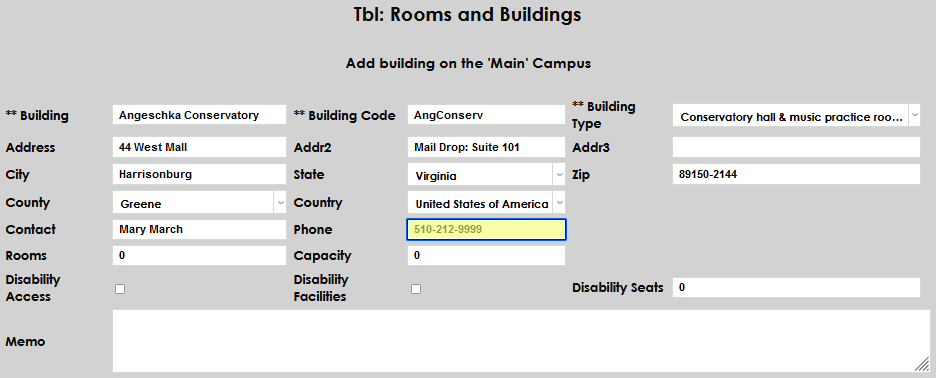
If there is a contact person associated with the building, enter their name in the Contact field. Enter their phone number, or the main number of the building, in the Phone field.
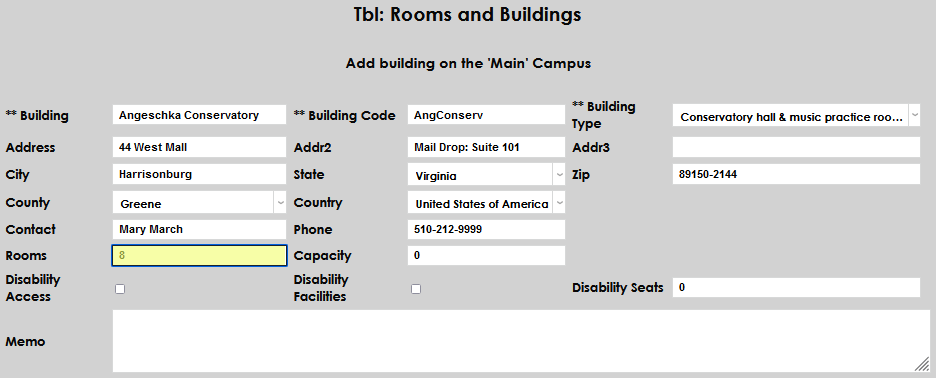
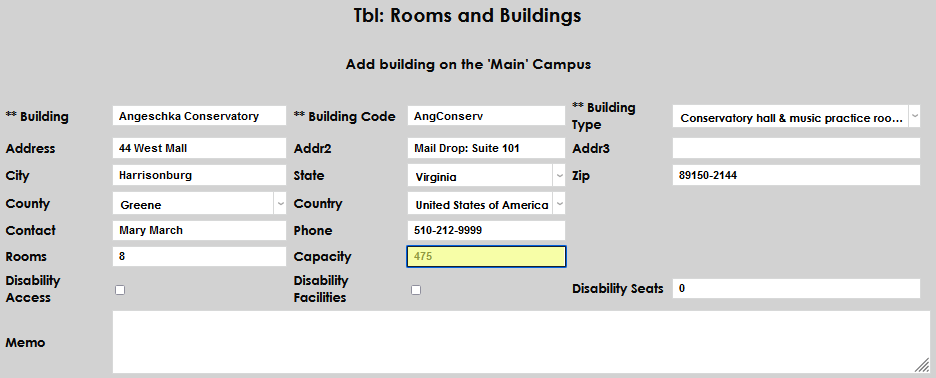
If appropriate to the building type, enter the number of Rooms and the total building Capacity. For dorms and locations where courses will be scheduled, these are important details to ensure the housing and schedule functions work correctly. The opportunity to define the rooms will be provided after the building is created.
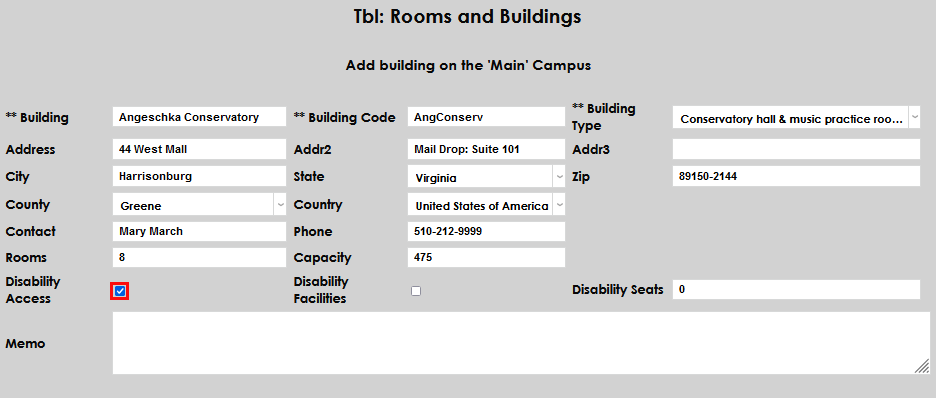
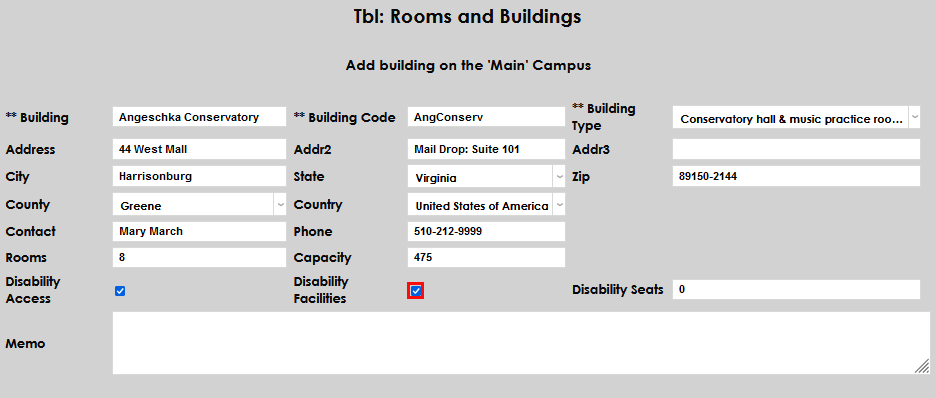
If the building has Disability Access and/or Disability Facilities, check the appropriate box.
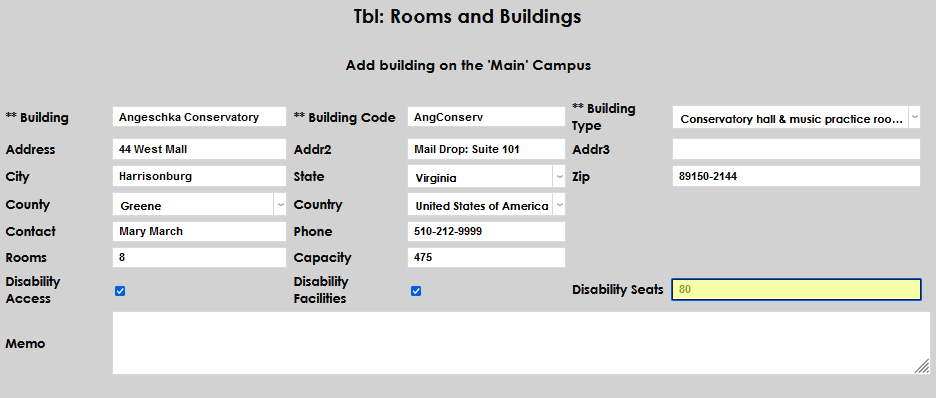
Enter the total number of Disability Seats. Enter any other important details about the building in the Memo field.
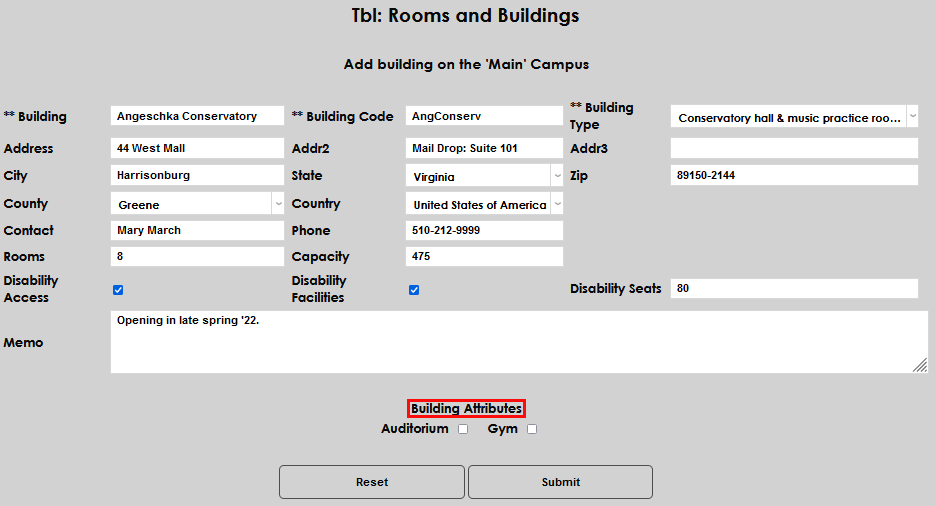
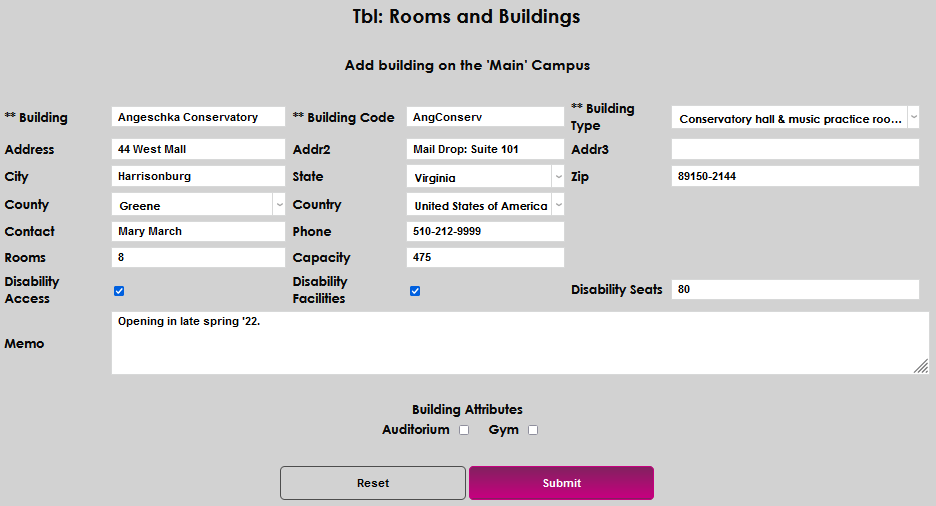
Select the any Building Attributes, if appropriate to the building, and select Submit to save the entries and create the building.
Adding Rooms
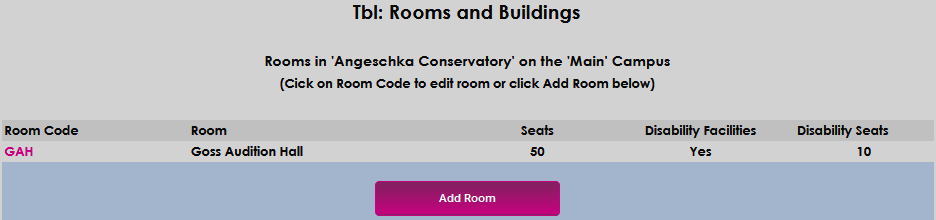
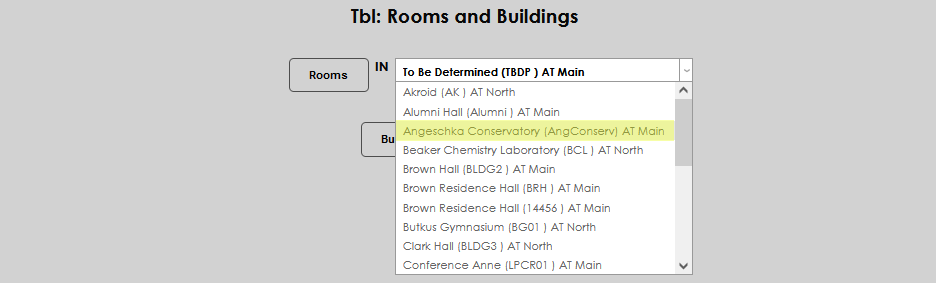
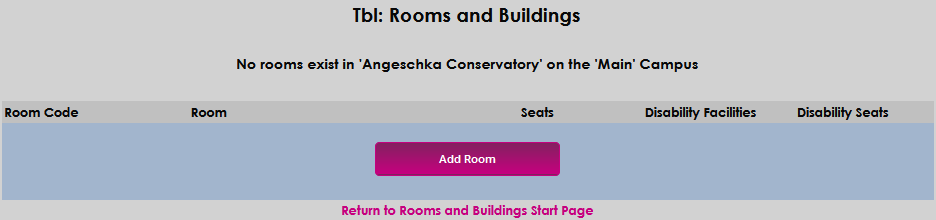
To add and define the rooms for buildings, select the building name from the Rooms In dropdown and click Rooms.

Click Add Room.
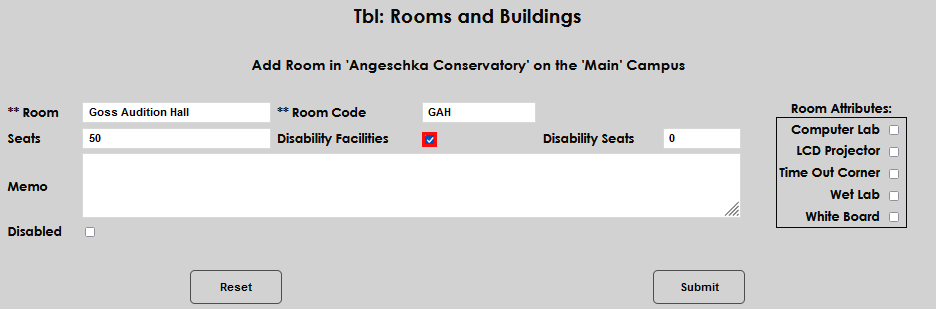
Enter up to 30 alphanumeric characters that correspond with the Room name. If the room has a number instead of a name, it is acceptable to enter the number.
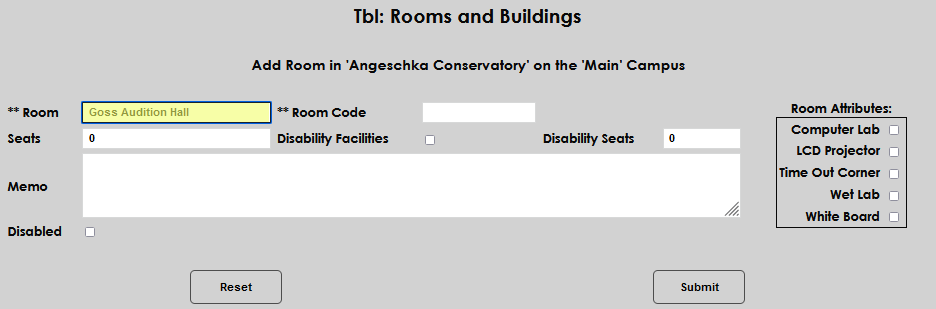
Enter up to 10 alphanumeric characters that will become the Room Code.
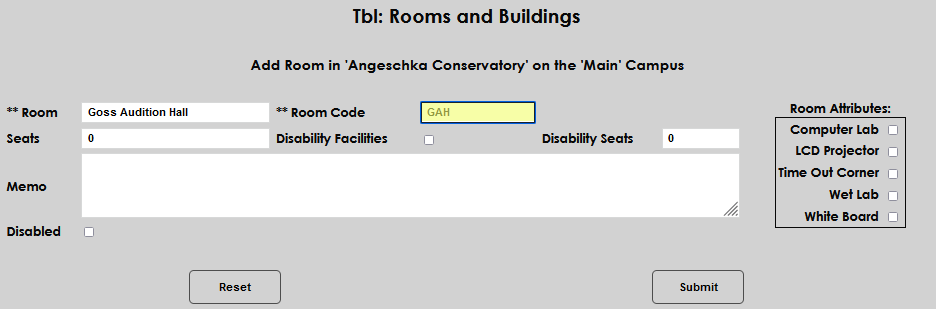
Enter the number of Seats and select the Disability Facilities checkbox if the room has disability spaces.
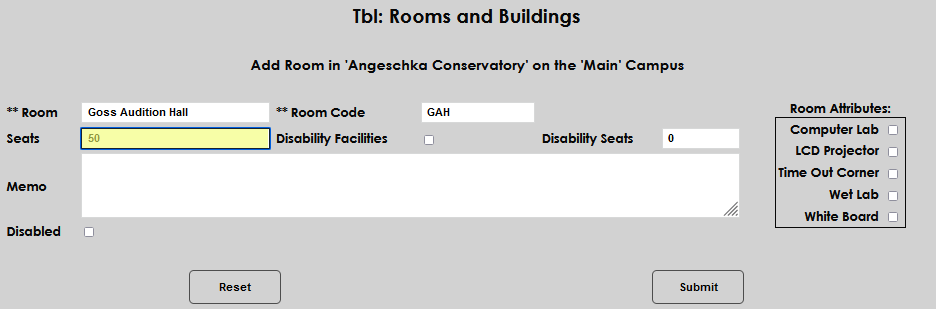
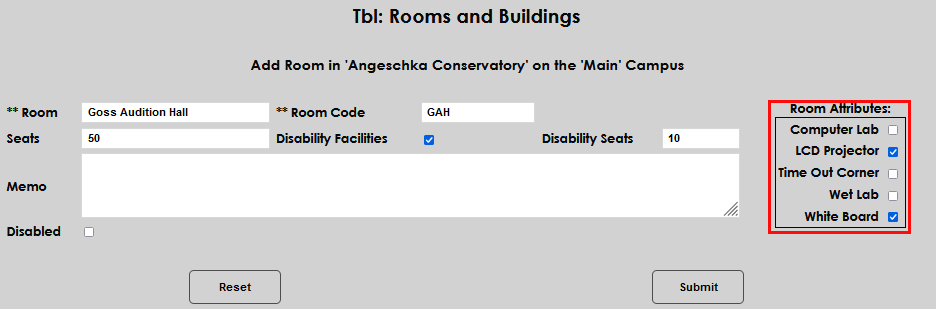
Enter the number of Disability Seats and select any applicable Room Attributes.

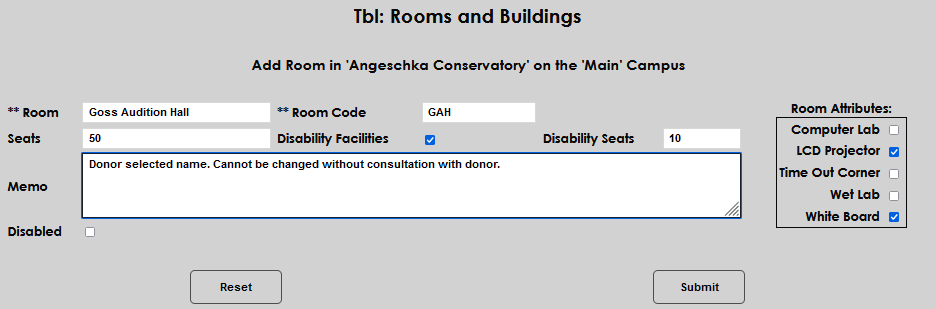
Enter any important information in the Memo field and click Submit to save the entered information.
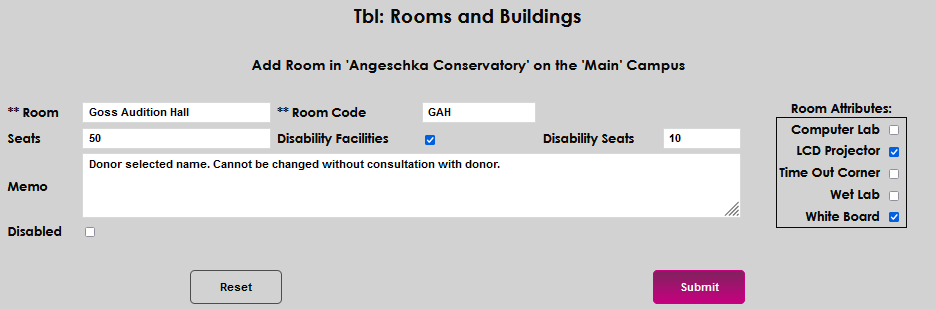
Simply click Add Room to continue adding rooms to a building.