Post to Billing
Overview
The SONIS Post to Billing utility is used to finalize transactions and post them to student accounts. Before posting to billing, administrators should ensure that all necessary transactions for the period have been created using the Post Transactions utility. Both processes should be completed before utilizing the Post to Accounting utility to export transactions to a third party accounting software. Only items posted to billing and posted transactions appear on the bill. Administrators must post to billing before billing.
Pre-Billing
Once transactions have been posted to billing, they will be publicly viewable by the student in question and can be posted to accounting, at which point they can no longer be edited or altered. For this reason, many institutions make use of the Post to Pre-Billing utility. This utility allows schools to compile transactions for reporting without officially posting them to billing. Additionally, many schools use the Pre-Billing utility to inform students of anticipated charges. While the utility offers a slightly different outcome, it looks and functions identically to the Post to Billing utility. Running Post to Billing deletes the pre-bill file and posts all the unposted charges used to create the anticipated bill.
Registration Settings
Some institutions may wish to forgo the Post to Billing process and have all tuition charges post to billing during the registration process. To set this up, navigate to the Web Options page under the Systems menu and locate the Registration Settings section. Select either Post to Billing to have registration charges automatically posted to billing or Post to Pre-Billing to have registration charges posted to pre-billing during student registration.

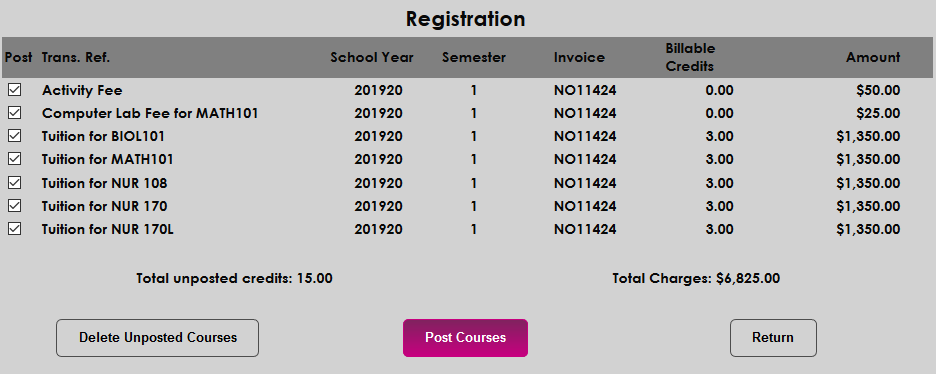
When the Post to Billing or Post to Pre-Billing registration options have been checked, administrators will have the option to Post Courses as the final step in the registration process. These charges will go directly to pre-billing or billing with no additional posting required.
Post to Billing
Individual User
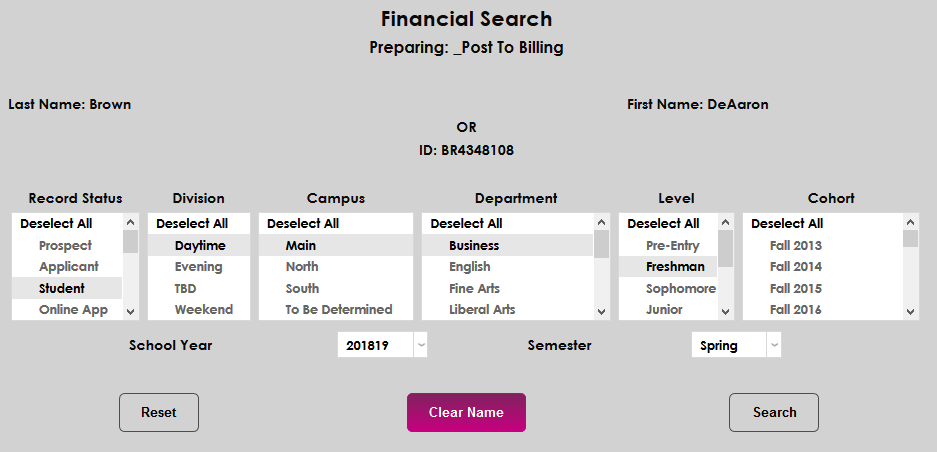
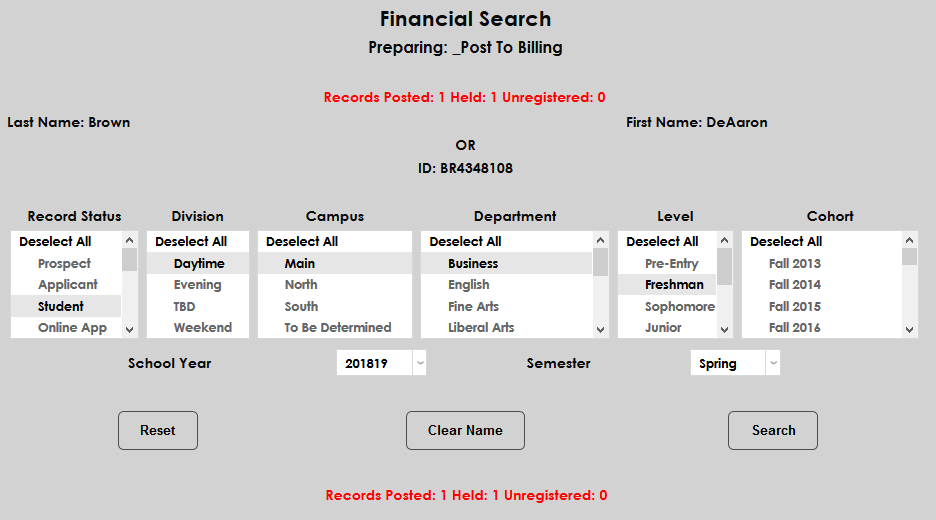
If a user account has been selected using the Name Search function, that user's information will be displayed at the top of the page. Click Search to search for transactions to post under this account or Clear Name to remove the user and search for another user.
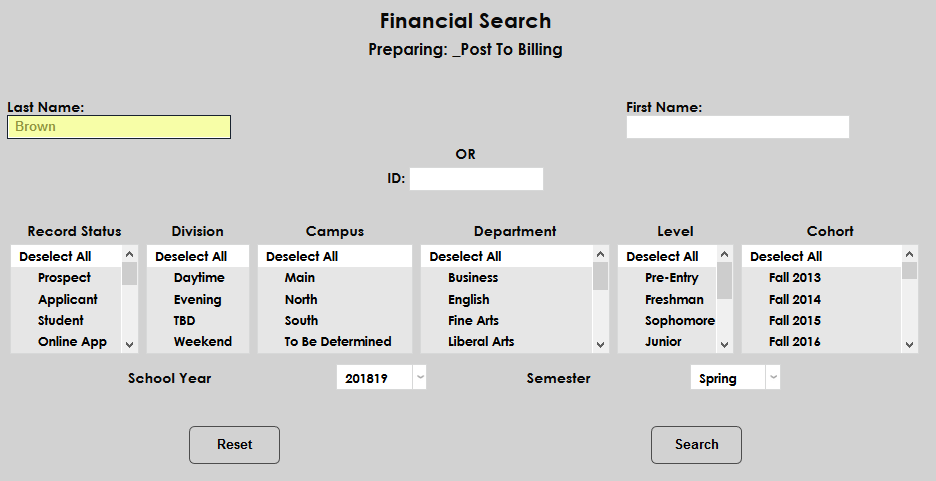
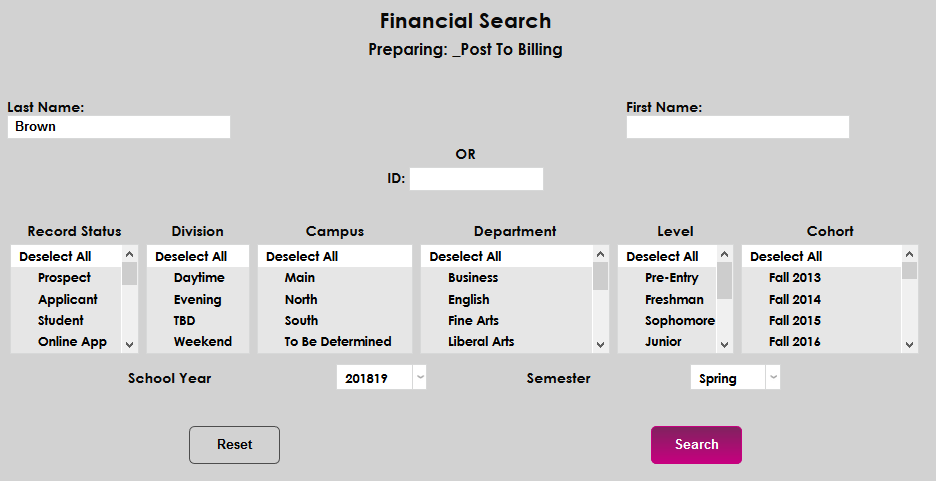
To search for a single SONIS user, use the Last Name, First Name, and/or SONIS ID fields.
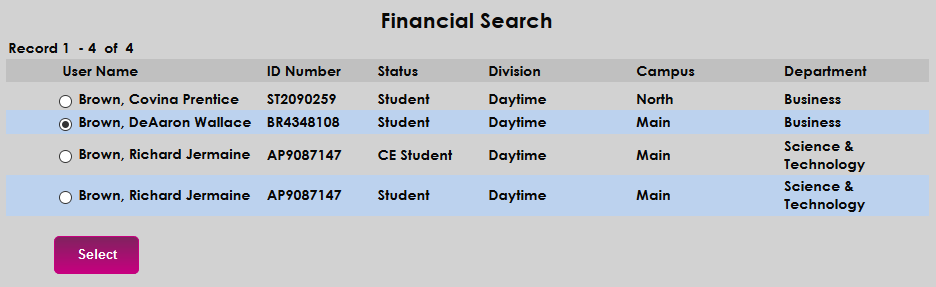
On the following page, click the radio button next to the appropriate student and click Select.
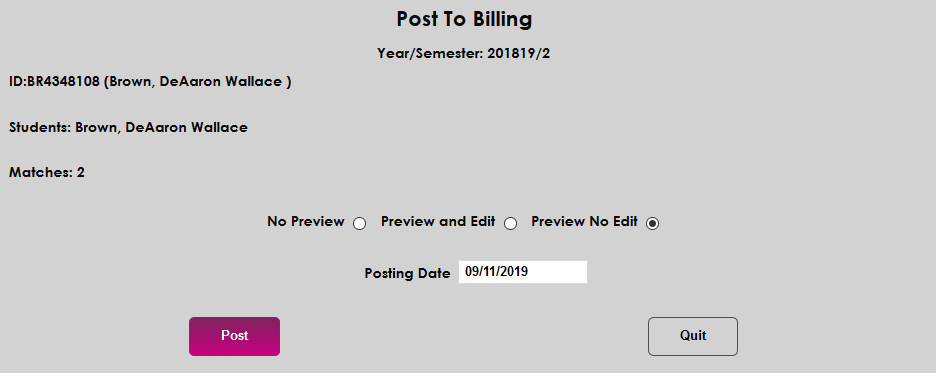
Once the student has been selected, administrators can choose to post their transactions to billing with No Preview, to preview those transactions with editing allowed, or to preview those transactions without the option to edit them. Select the appropriate radio button and click the Post button. The posting date can be edited from this page as well.

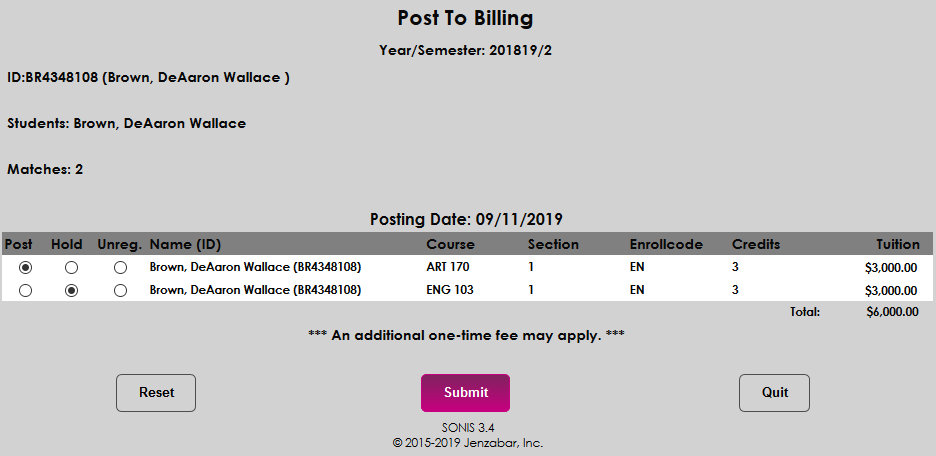
If the Preview and Edit option is chosen, administrators will see a list of the student's transactions. Select the Hold button to leave the transaction as-is and not post it to billing. Select the Unregister button to indicate that the student is not taking the course and remove the charge. Click the Submit button to continue.
Once the transactions have been posted, the administrator is returned to the search page where the results are listed.
Multiple Users
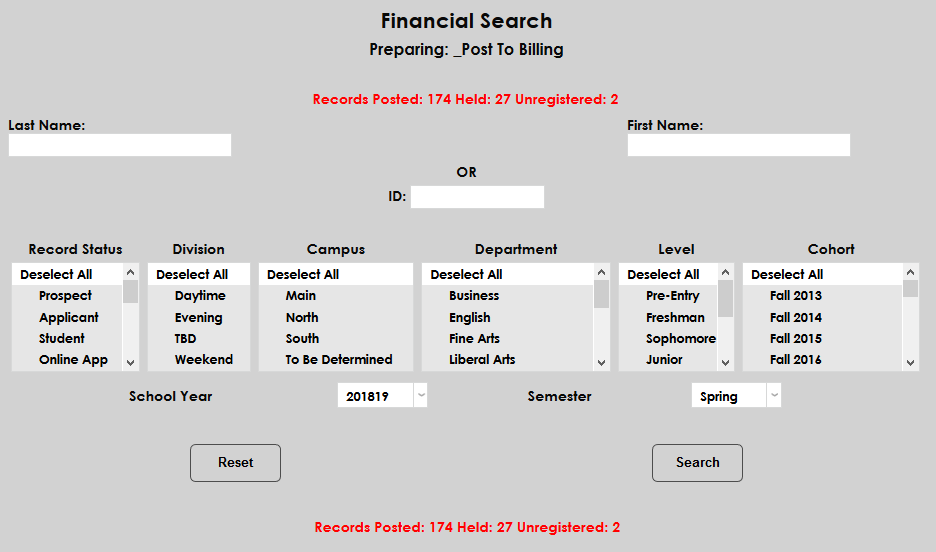
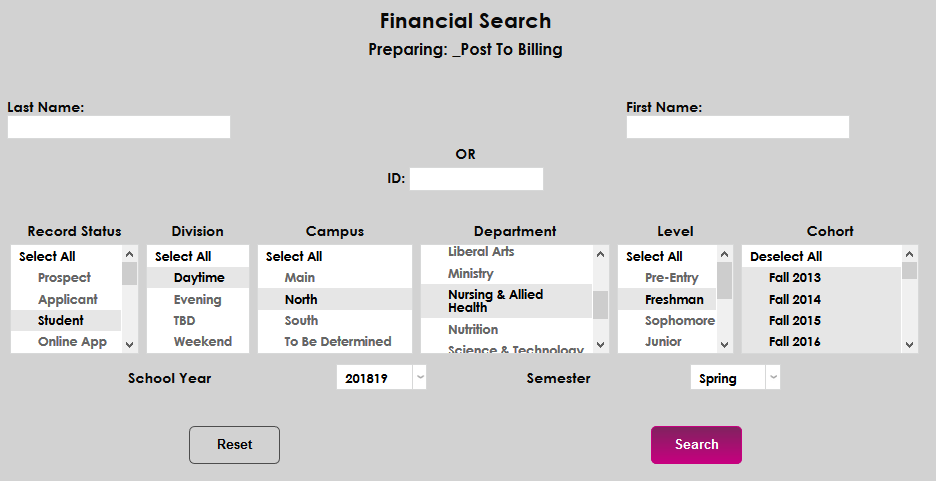
Administrators can also use the Post to Billing utility to post transactions to multiple student accounts at the same time. To begin, clear out any individual student data and narrow down the search by selecting demographics from the b>Record Status, Division, Campus, Department, Level, and Cohort menus along with the School Year and Semester of the transactions.
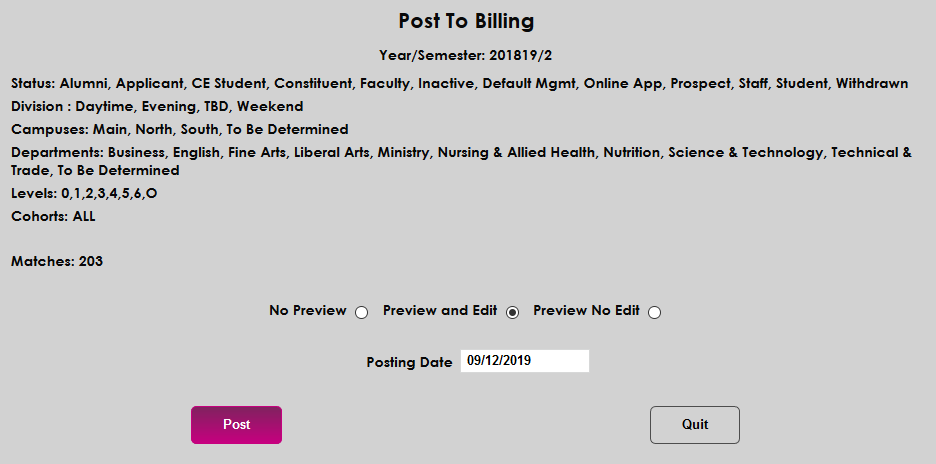
The demographic categories selected will be listed at the top of the next page along with the number of matching transactions found. Administrators can choose to post their transactions to billing with No Preview, to preview those transactions with editing allowed, or to preview those transactions without the option to edit them. Select the appropriate radio button and click the Post button. The posting date can be edited from this page as well.
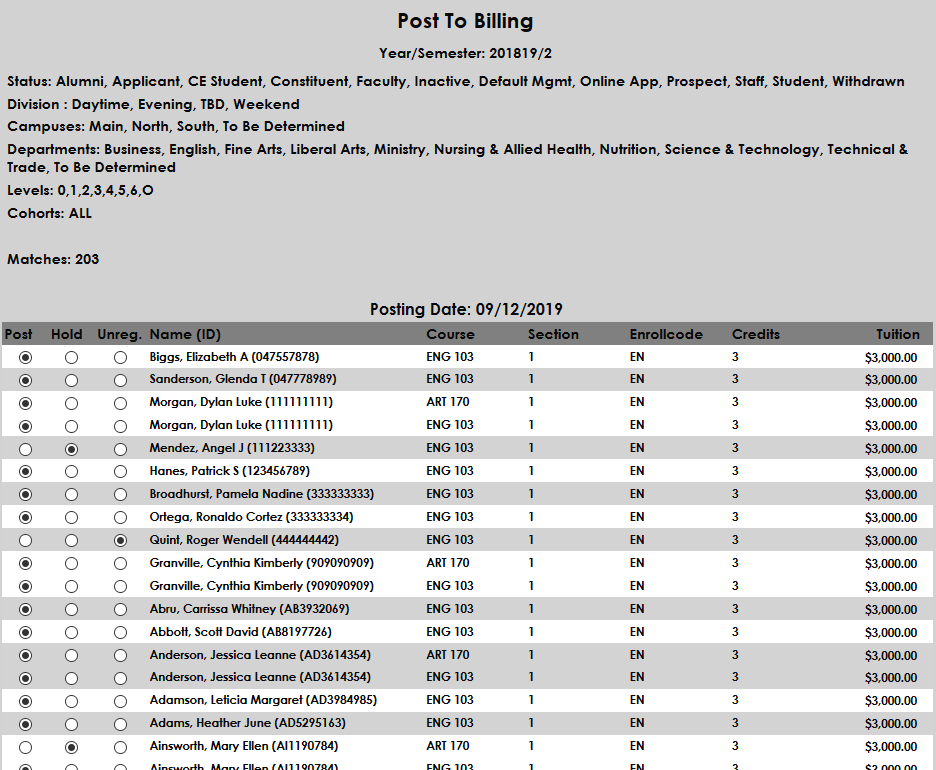
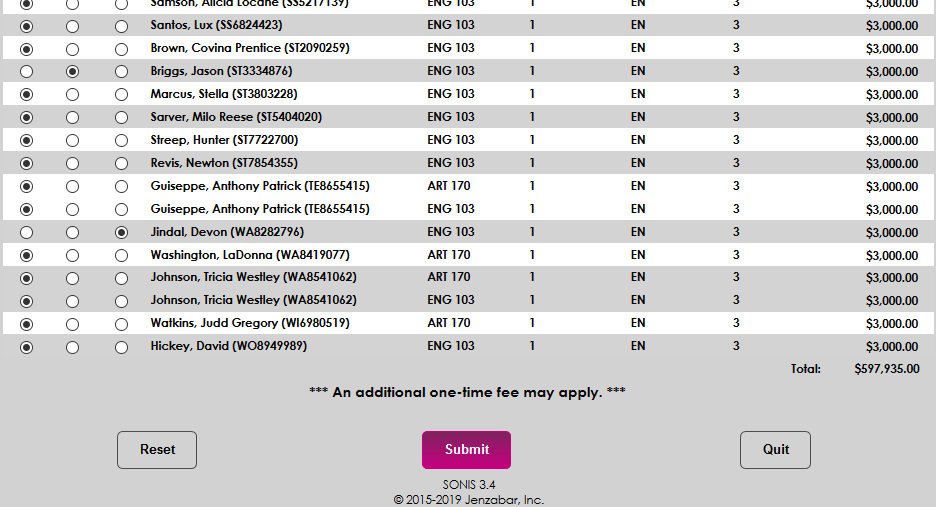
If the Preview and Edit option is chosen, administrators will see the full list of transactions to be posted. Administrators can choose to Hold an individual transaction, leaving it as-is and not posted to billing. They can also select the Unregister button to indicate that the student is not taking the course and remove the charge. The Receivables report, also under the Financials menu, can be used to check the validity of these charges and decide which options to select. Click the Submit button to continue.
After posting the transactions, the administrator will be returned to the search page where the results of the process are displayed at the top and bottom.