Passport Tracking
Overview
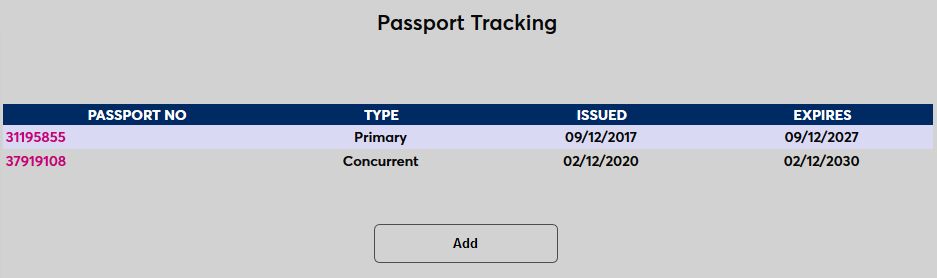
Some institutions, particularly those outside of the United States or with international student programs, have a need to store and access their students' passport information. This can easily be accomplished through the Jenzabar SONIS Passport Tracking utility in the Users hub, which has fields to store all passport information and allows multiple passports to be on file.
Set Up
Before entering passport information, two tables need to be set up to provide selection options.
Passport Authority
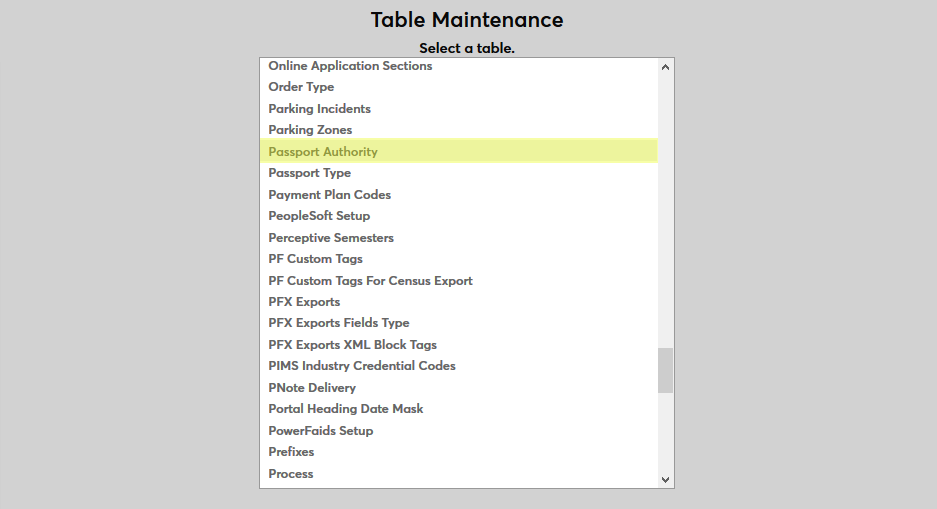
To create passport authorities, navigate to the Table Maintenance utility in the Systems hub and select Passport Authority. The passport authority is the governmental department that issues the passport.
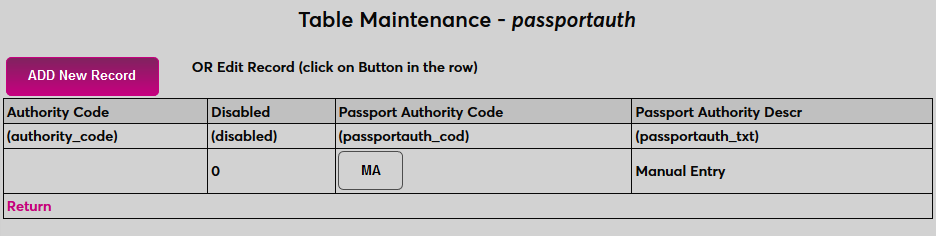
By default, a Manual Entry authority exists. This listing allows administrators to enter an authority when the appropriate passport authority isn't listed. This passport authority should not be deleted or otherwise altered.
Click the Add New Record button to create a new passport authority.
First, create a descriptive name the passport authority in the Passport Authority Descr field that will be used to identify the the label in SONIS. The field has a 100-character limit.
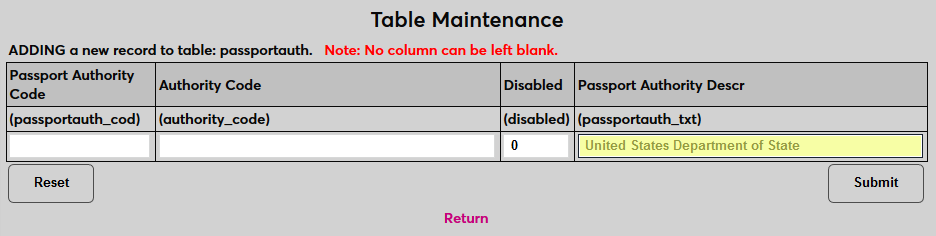
Next, create a Passport Authority Code , a shorter version of the description that will be used to identify the type behind the scenes. The field has a two-character limit.
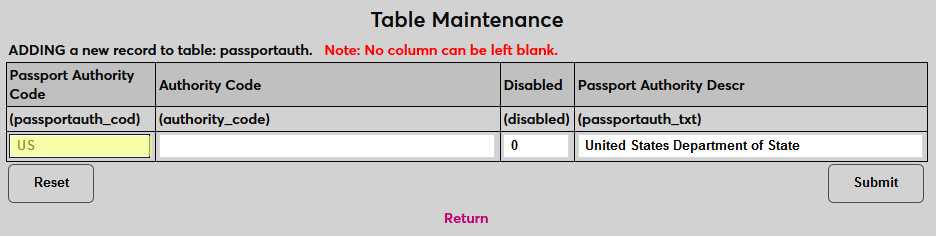
Then, create an Authority Code , the official abbreviation for this authority that appears on passports. The field has a 100-character limit.

Click Submit to save the changes and create the passport type.
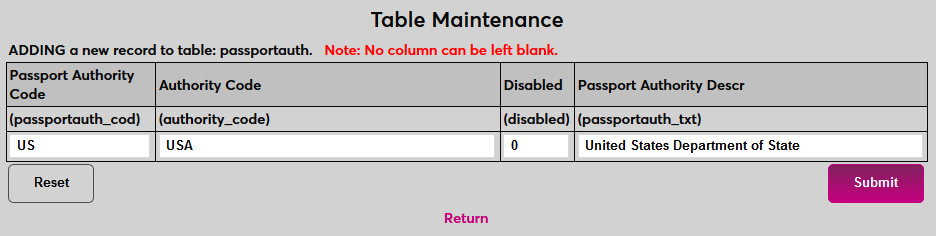
Repeat the process until all passport authorities that will be used have been created.
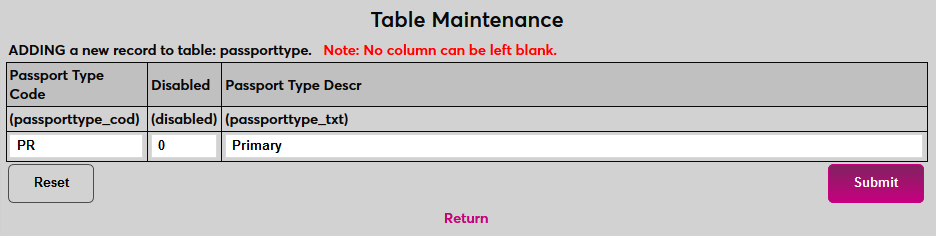
Passport Types
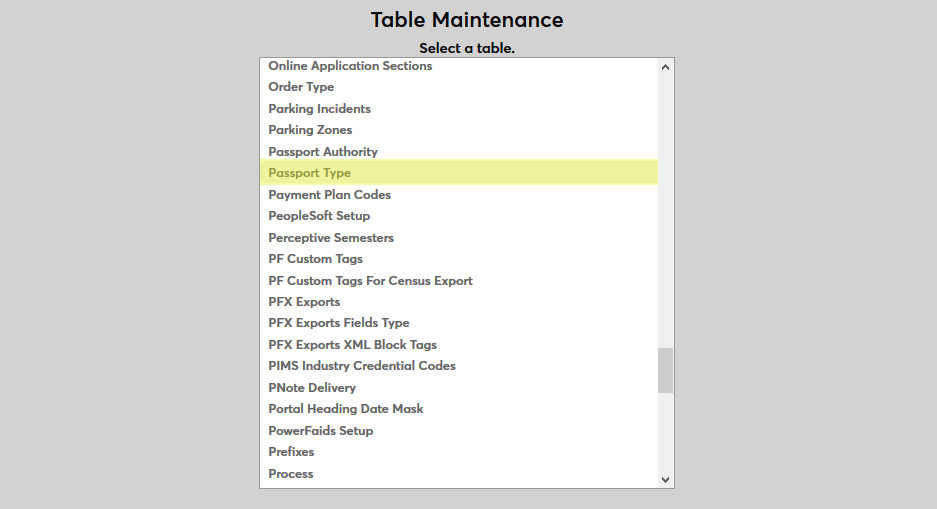
To create passport types, navigate to the Table Maintenance utility in the Systems hub and select Passport Type.
Click the Add New Record button to create a new passport type.
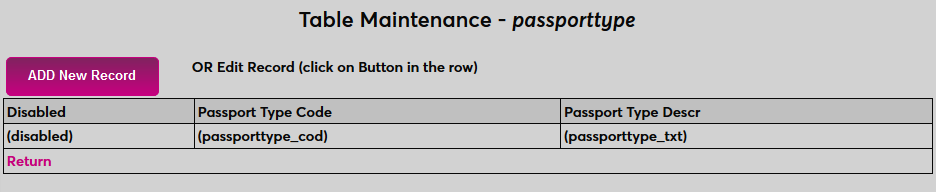
First, create a descriptive name the passport type in the Passport Type Descr field that will be used to identify the the label in SONIS. The field has a 100-character limit.
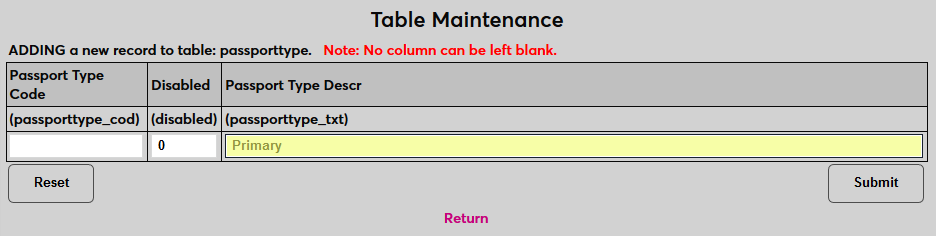
Next, create a Passport Type Code , a shorter version of the description that will be used to identify the type behind the scenes. The field has a two-character limit.
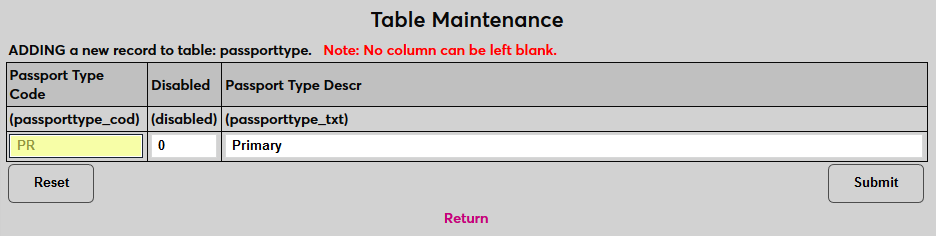
Leave a 0 in the Disabled field to leave the passport type active or replace it with a one to disable the type.
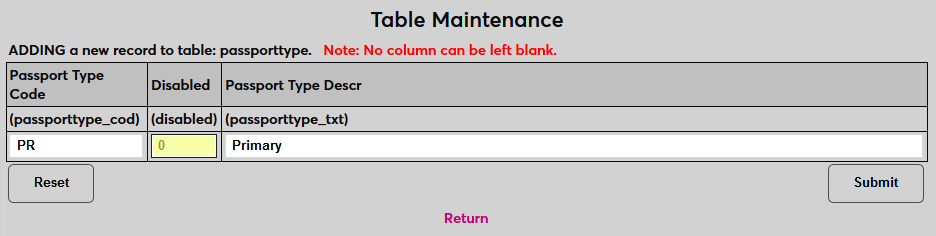
Click Submit to save the changes and create the passport type.
Repeat the process until all passport types that will be used have been created.
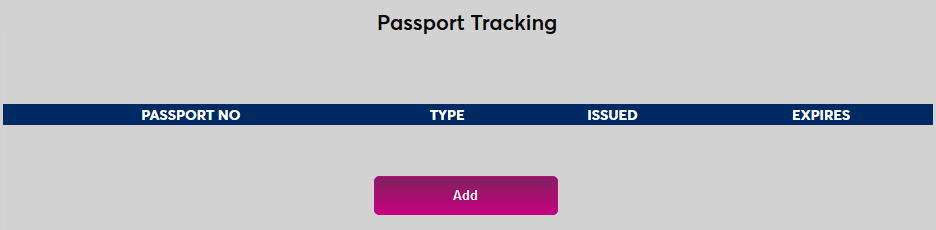
Creating Records
To enter passport information for a student, select that student an navigate to Passport Tracking under their Users hub menu. Click Add to create a new entry.
On the following page, begin by entering the user's passport number.
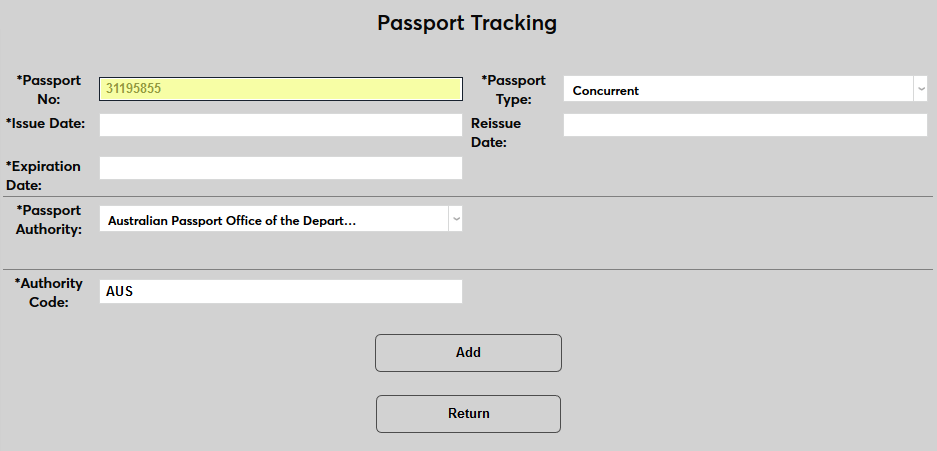
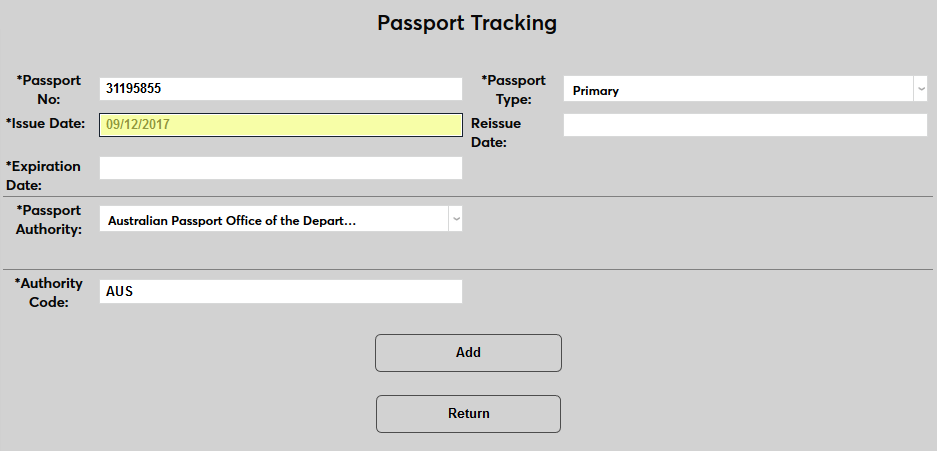
Select a Passport Type from the dropdown menu.

Enter the Issue Date of the passport as well as the Reissue Date if applicable.
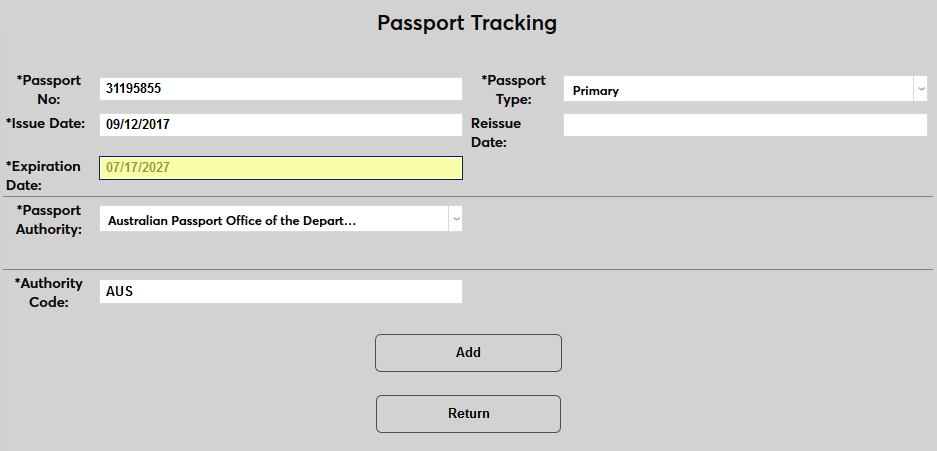
Enter the Expiration Date of the password.
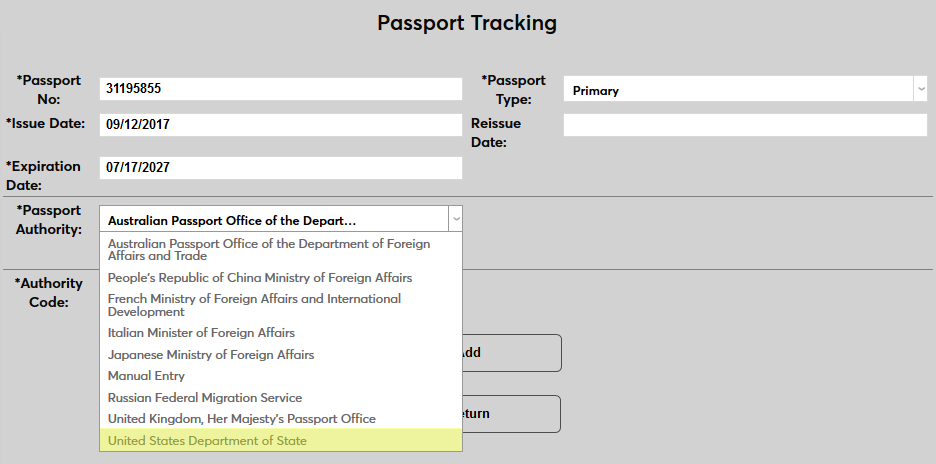
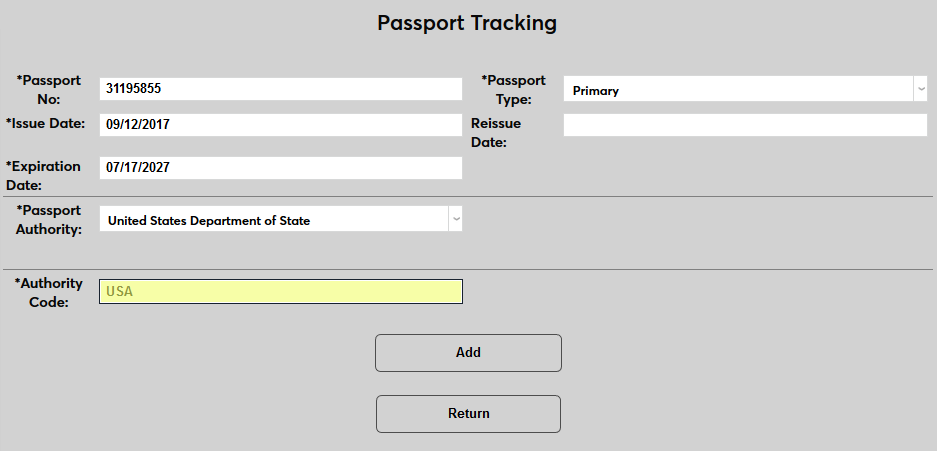
Select the issuing authority on the passport from the Passport Authority dropdown or select Manual to enter the authority manually if it's not one of the available options. The Authority Code will be automatically filled in based on prior setup if a preexisting authority is chosen, but the field can be edited if it doesn't match the actual passport.
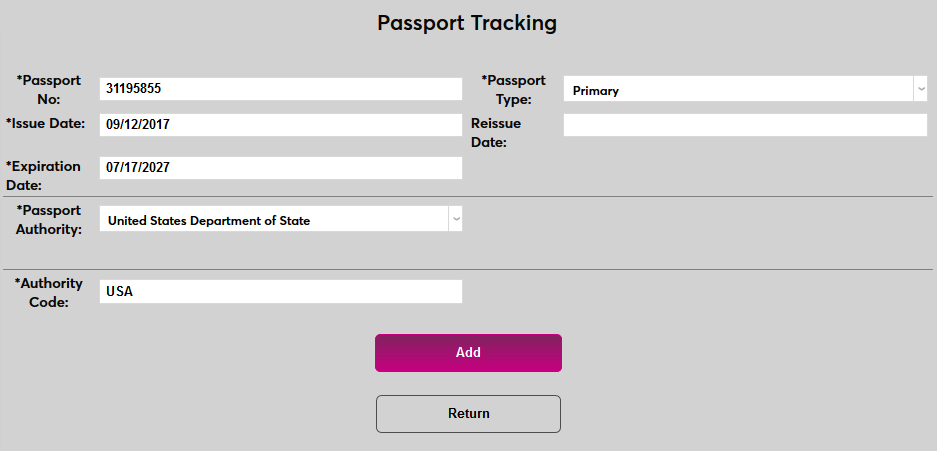
Click Add to create the passport record.
Each user can have multiple passports on file.