Reminders
Overview
Jenzabar SONIS provides a robust group of communication functions whereby administrators and users can send, receive, and respond to messages, create and manage activities for themselves and others, and associate reminders and notifications with tasks, activities, and messages. Lists and groups can be used to ensure members receive these reminders and notifications in batches.
Using Reminders
When an individual has an unread reminder, Reminder on the toolbar will display in light red and a count of notifications will display next to it in a red bubble.

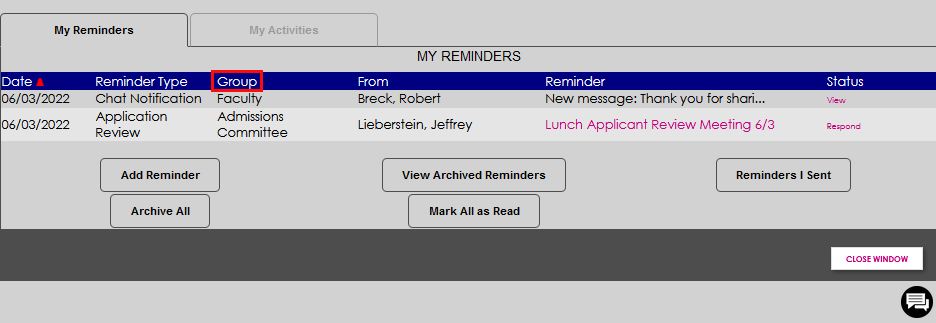
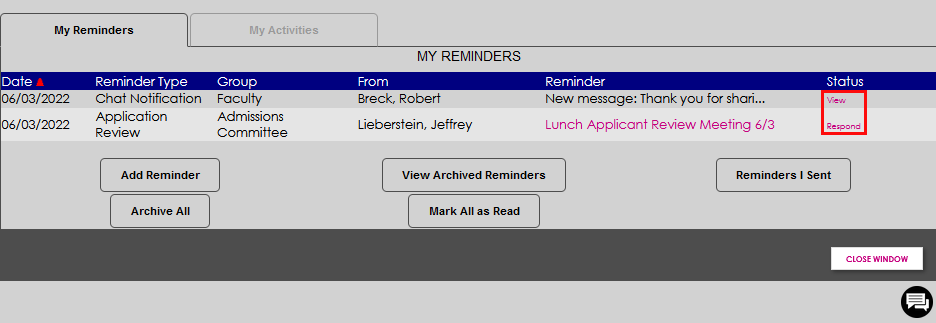
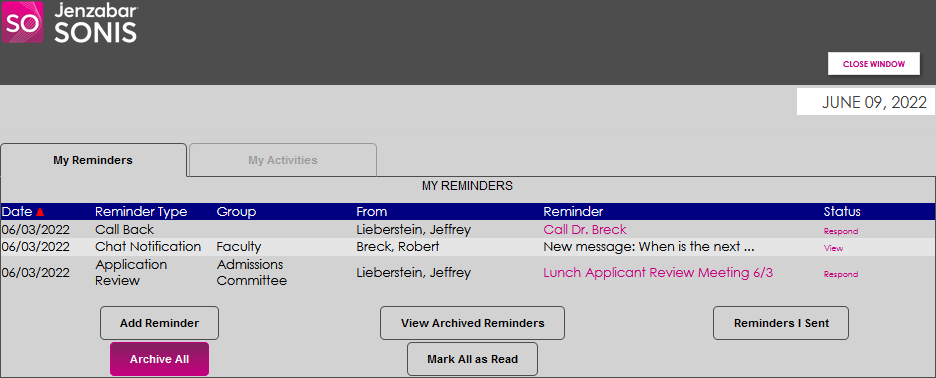
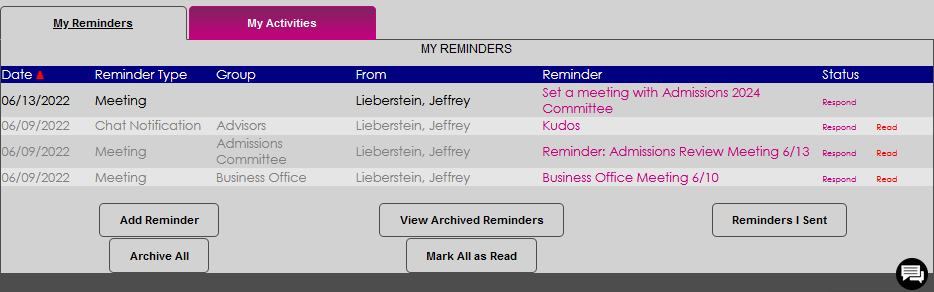
Click Reminder to view the My Reminders and My Activities tabs in a new window. The Date the activity occurred that created the notification is displayed and can be reverse-sorted by clicking the red triangle.
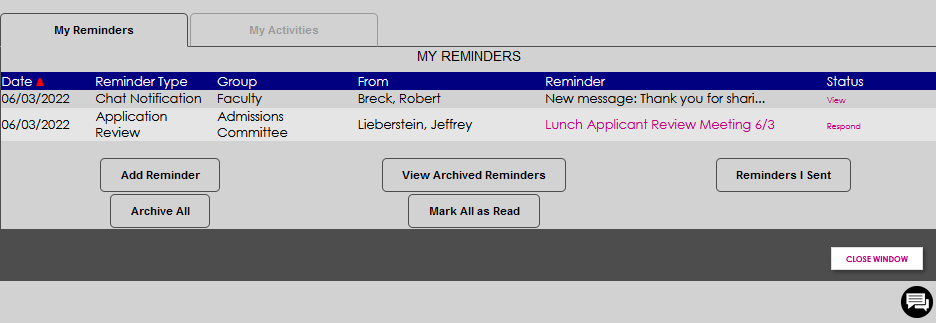

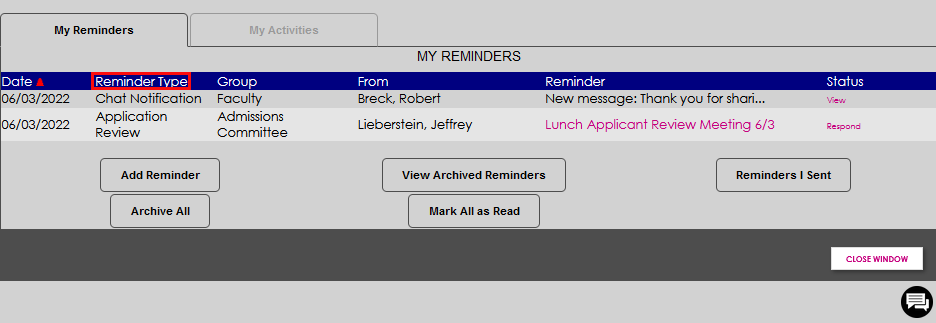
The Reminder Type indicates the category of notification. Reminder types are defined in Table Maintenance. The Group is the group of users the activity was sent or assigned to.
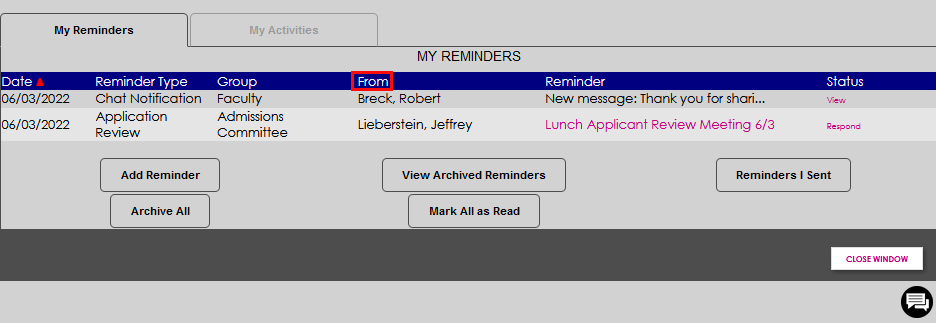
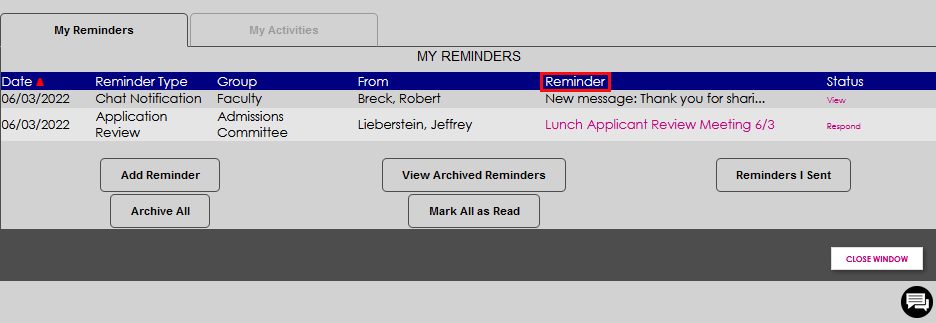
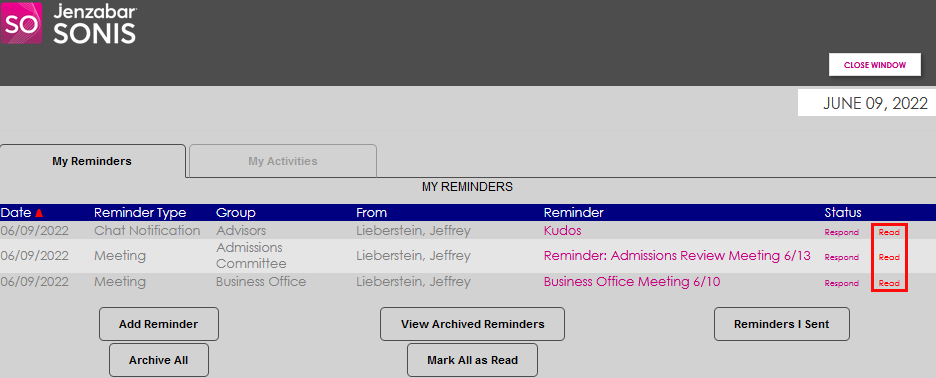
The user who sent the message or reminder is listed in the From column. The Reminder is previewed and can be selected by clicking on the wording if it is not a chat notification.
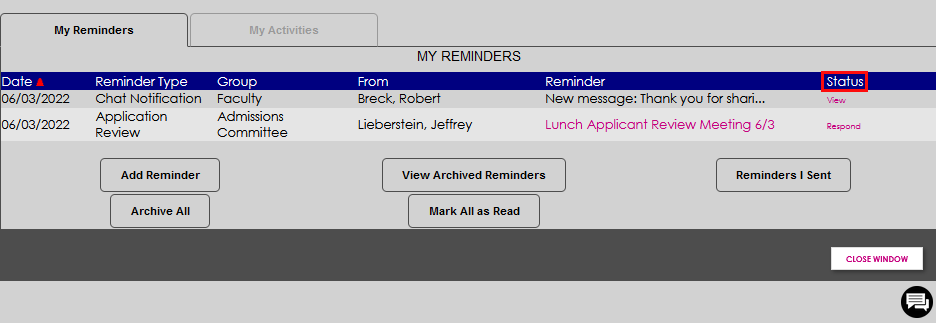
If it is a chat notification, the Status must be clicked to view the message. The status can also be clicked to respond to reminders or messages.
Adding a Reminder
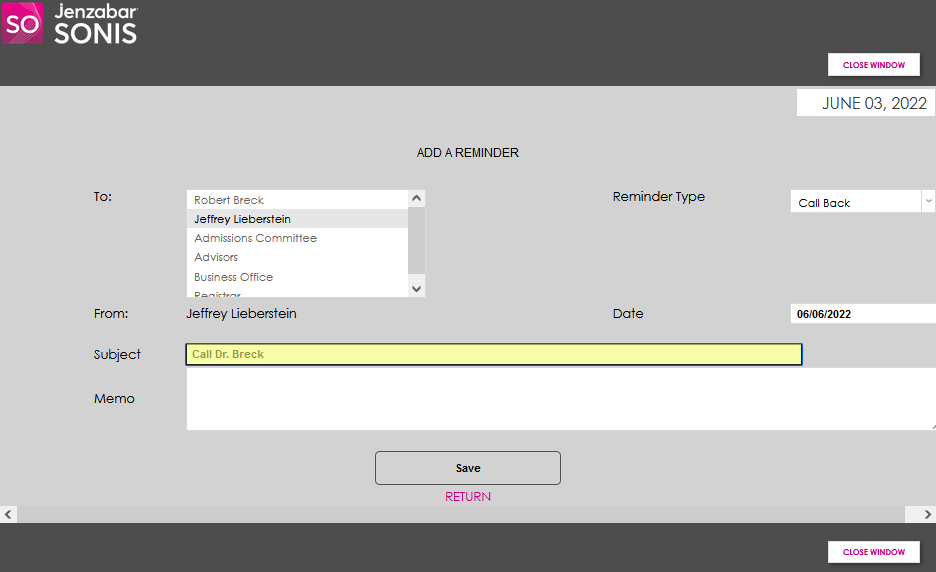
By clicking Add Reminder, a reminder can be added for oneself, the name currently selected using the Name Search, or a group. A new window will open. The To: menu is populated with the user's name, any name currently selected in the Name Search, and any institutional groups configured for use with Reminders that the user is a member of within SONIS. The menu is multi-select so that multiple users and/or groups may be selected and sent a reminder at once. Only groups that are enabled in SONIS AND that the user is a member of will display.

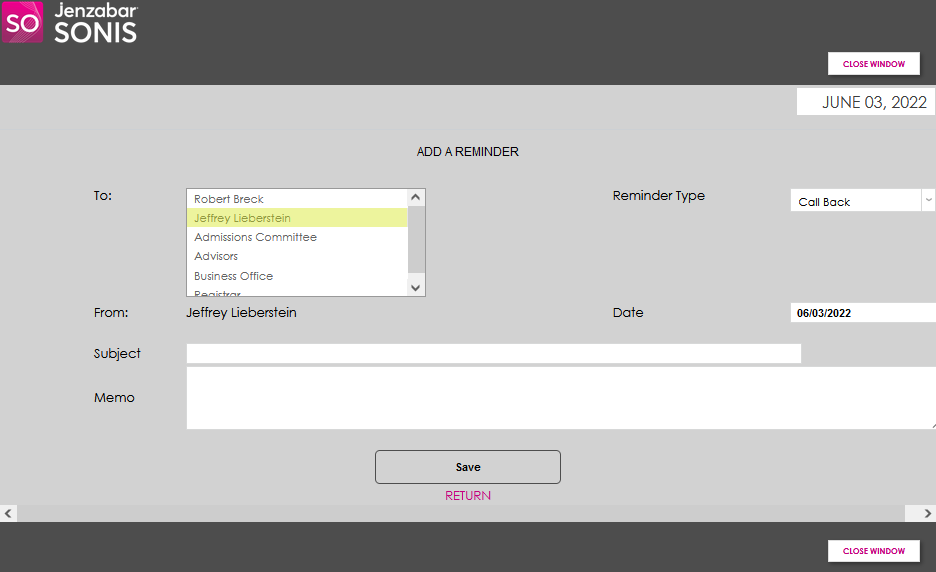
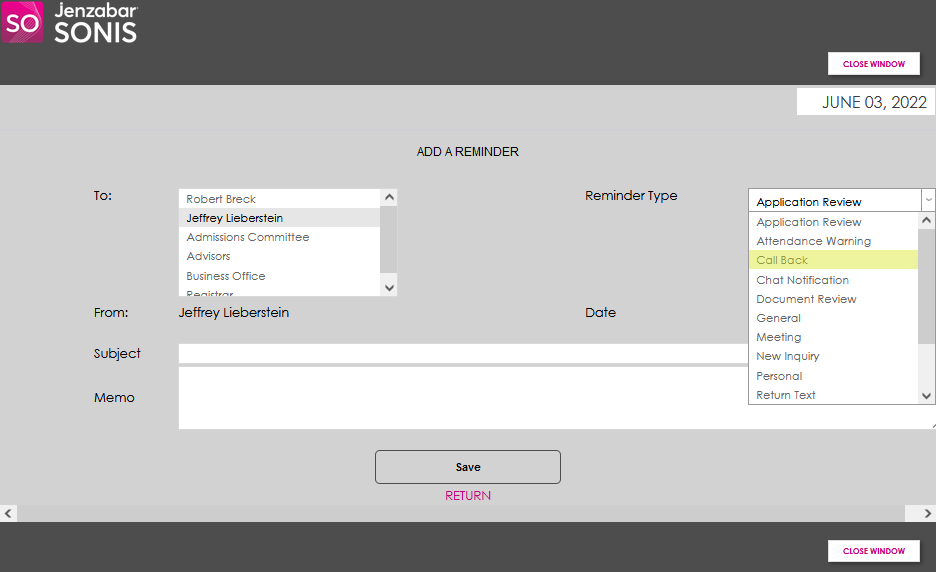
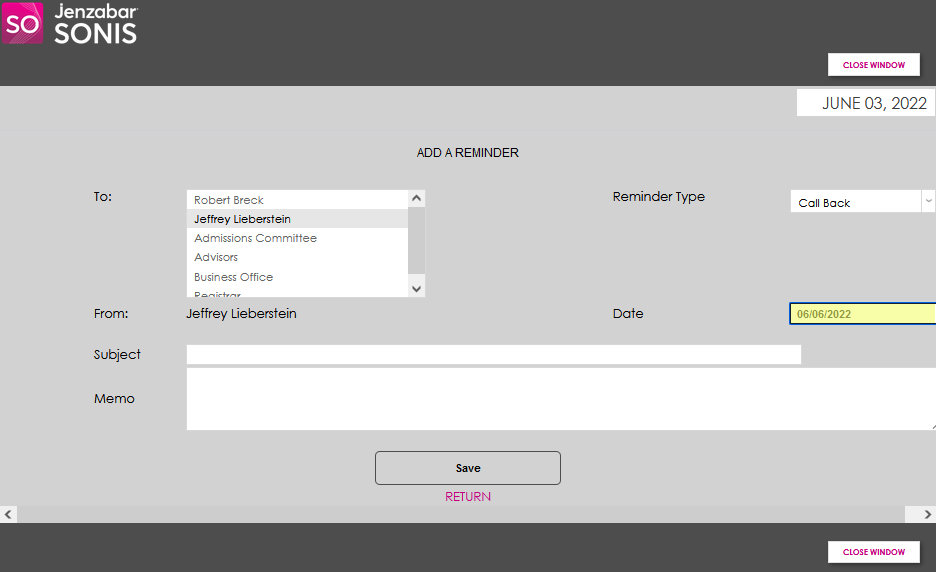
Select the Reminder Type from the dropdown and confirm the Date is the one desired. If the reminder should occur in the future, simply click in the Date field and update it.
In the Subject field, enter a heading for the reminder, much like an email subject line. Enter the details associated with the reminder in the Memo field.
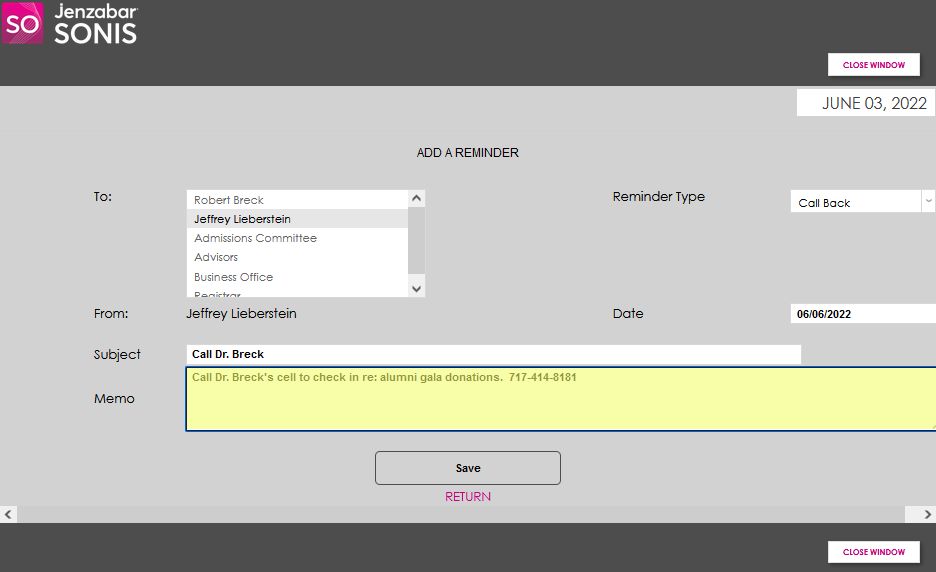
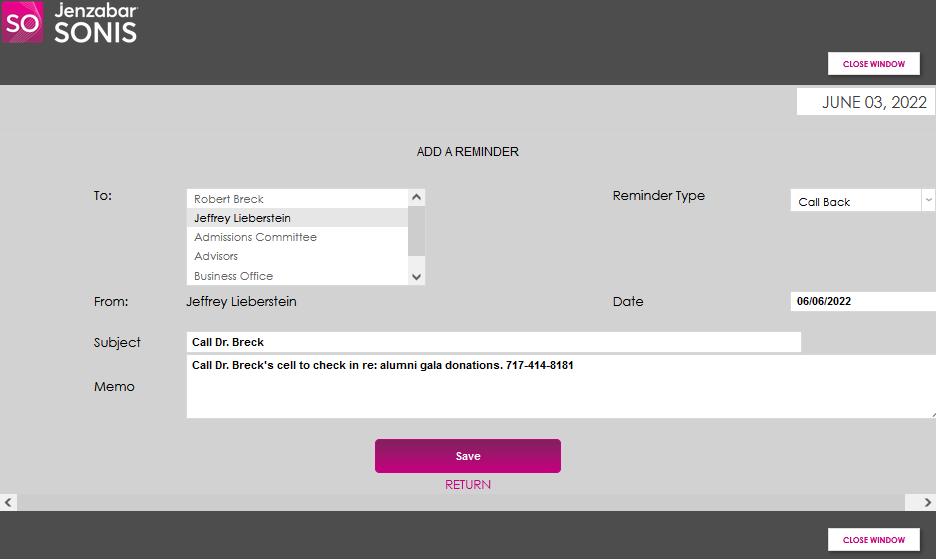
Click Save to add the reminder to the My Reminders tab queue.
Groups Displayed
Groups must be configured by setting the Reminders Group flag to 1 in the Groups Table to display in the To: menu. If the flag is set to 0 the group will not display, even if the user is a member of the group.
My Reminders Tab Options
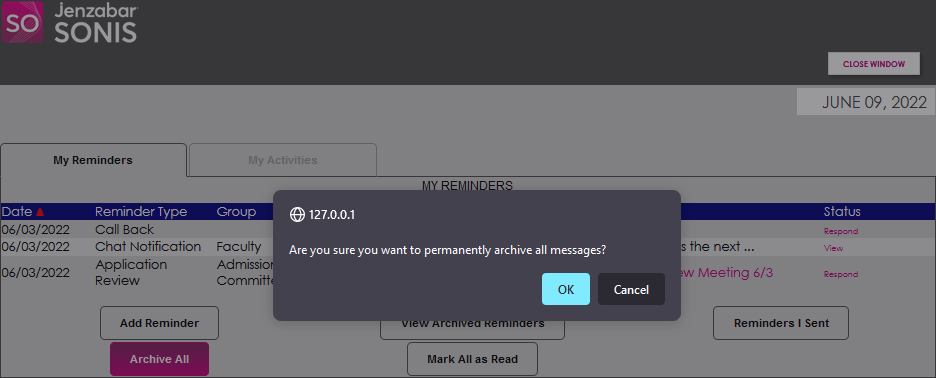
A number of options are provided for managing reminders. The Archive All button provides the ability to clear all existing reminders. After clicking Archive All, the user is asked to confirm whether or not the intent is to archive all reminder messages. Click OK to proceed; Cancel to revert back to the My Reminders tab without archiving.
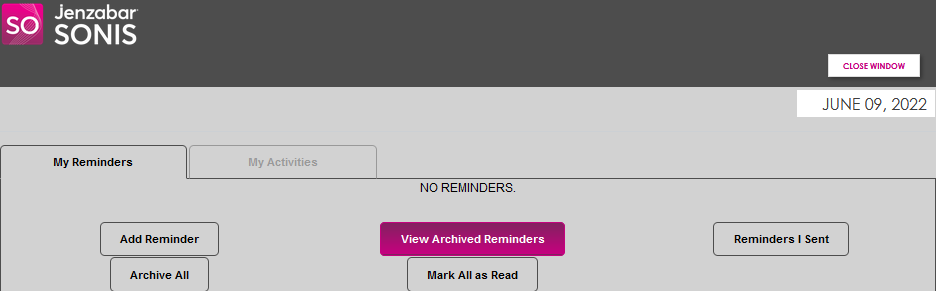
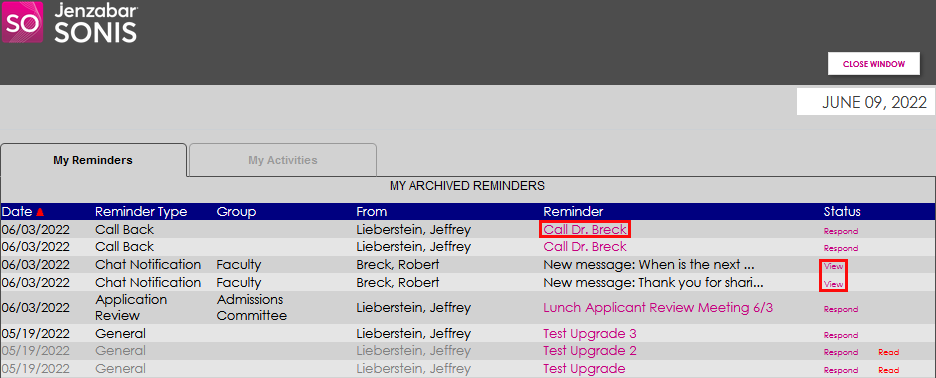
Selecting View Archived Reminders displays all reminders that have been archived, regardless of read status or date sent. Archived reminders can be read simply by clicking the name or View, depending on the type of reminder notification.
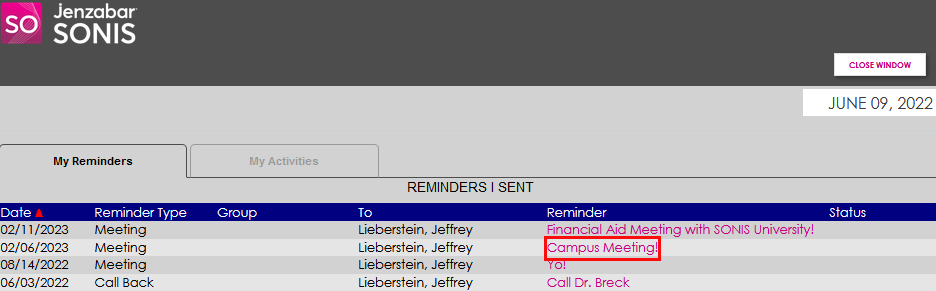
Selecting Reminders I Sent displays all reminders and chats that were sent by the logged-in user. Clicking the name of the reminder will display the contents.

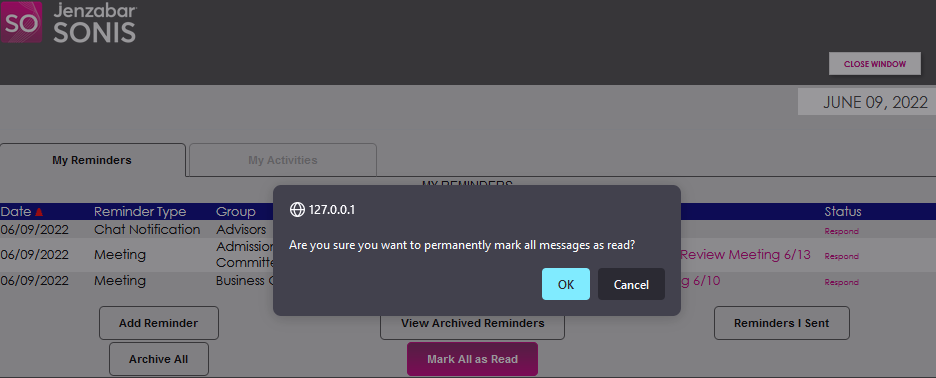
Selecting Mark All as Read designates all unread reminders and notifications as read and clears the notification icon from the Dashboard. Provide active confirmation by clicking OK.

My Activities Tab
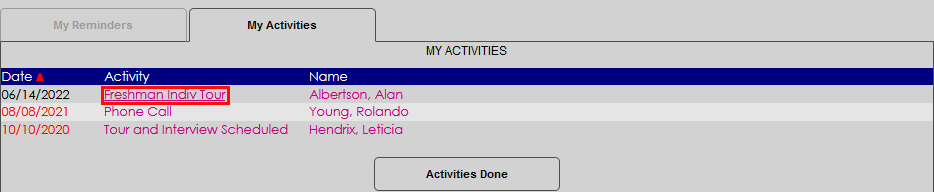
The My Activities tab displays upcoming recruiting activities that are assigned to the user by themselves or another. The activities are associated with prospects and other user records.
When Activities are assigned to a user and have not yet been completed, they can be viewed on the My Activities tab simply by clicking the Reminder icon and then the My Activities tab.
The Date column display can be reordered by clicking the red triangle.
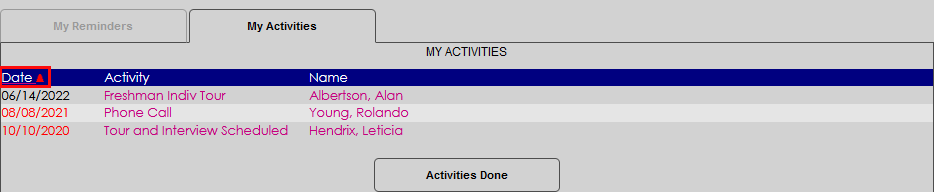
To view the details of an activity, click the name of the activity.
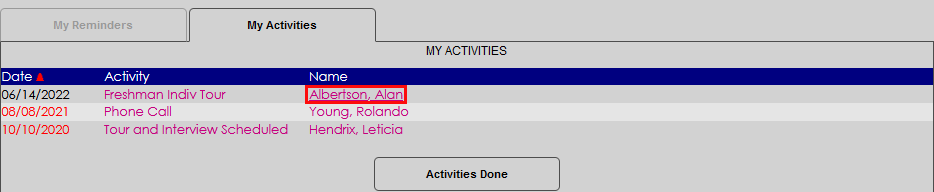
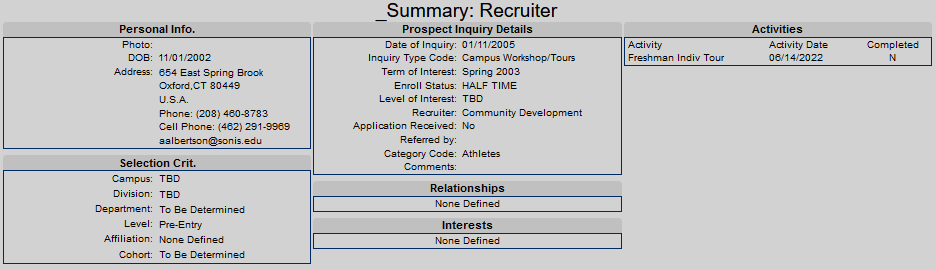
To view the summary of recruiting activities associated with the prospect, click the prospect Name.
Adding and Managing an Activity
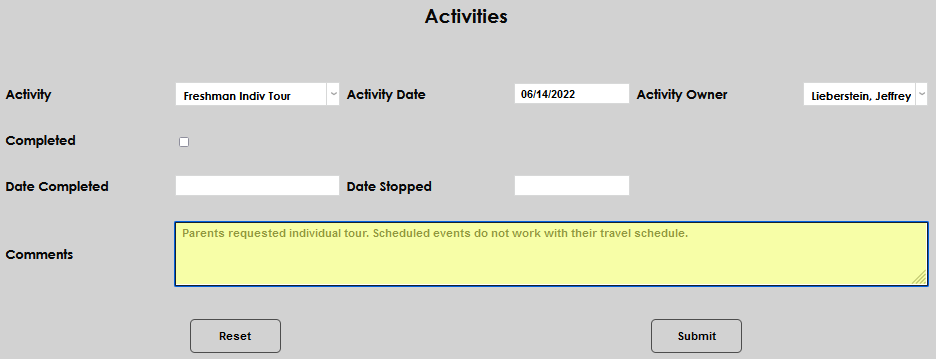
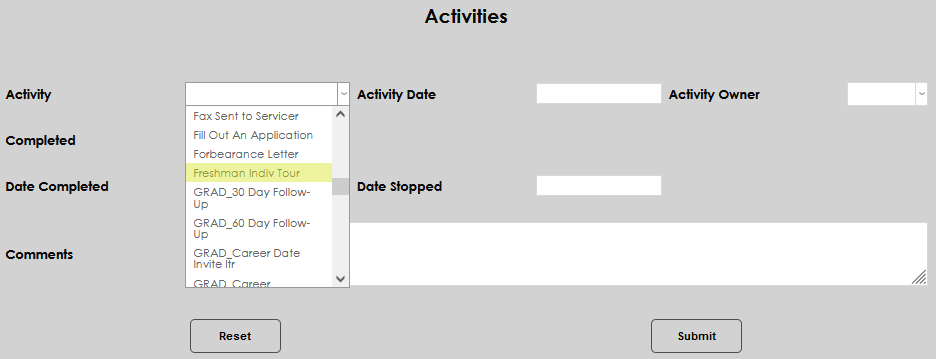
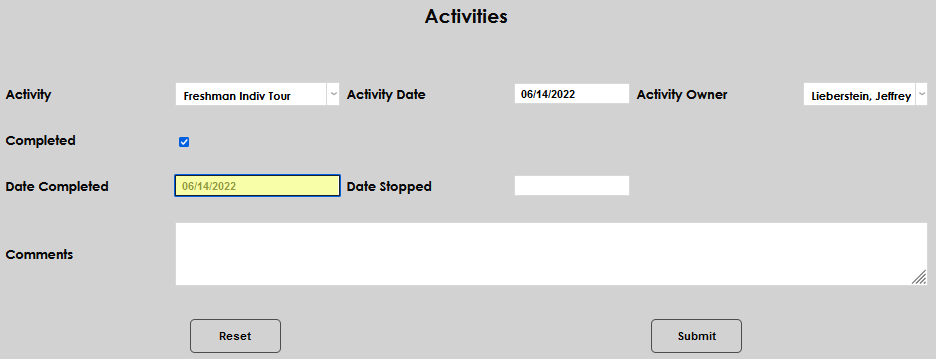
To add an activity that will display in the My Activities tab, enter the Activities tab from the prospect's Users hub menu. Click Add to begin.

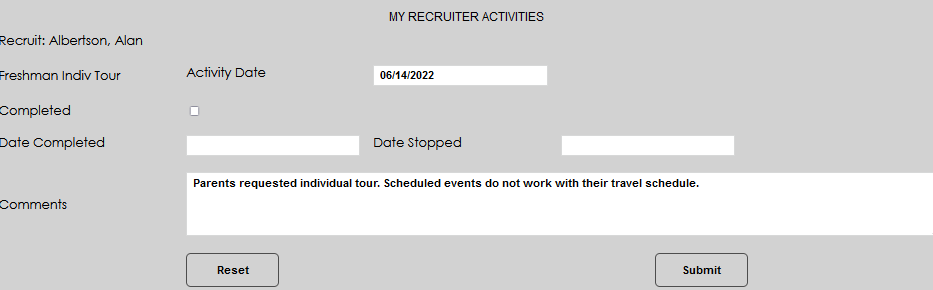
Select the appropriate Activity from the dropdown. This menu is populated by the Systems menu utility Activities.
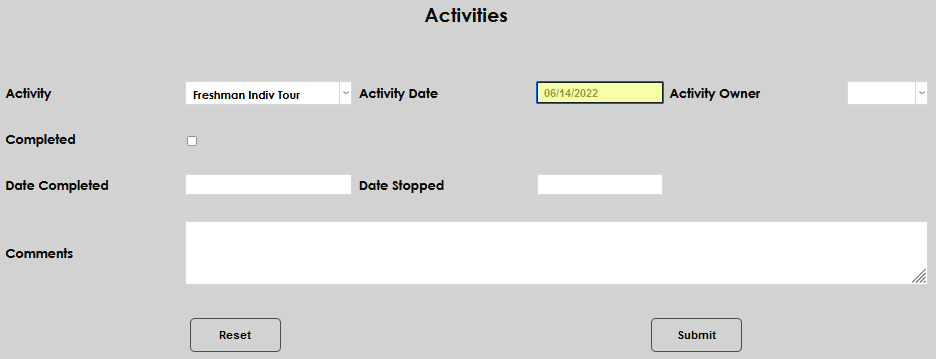
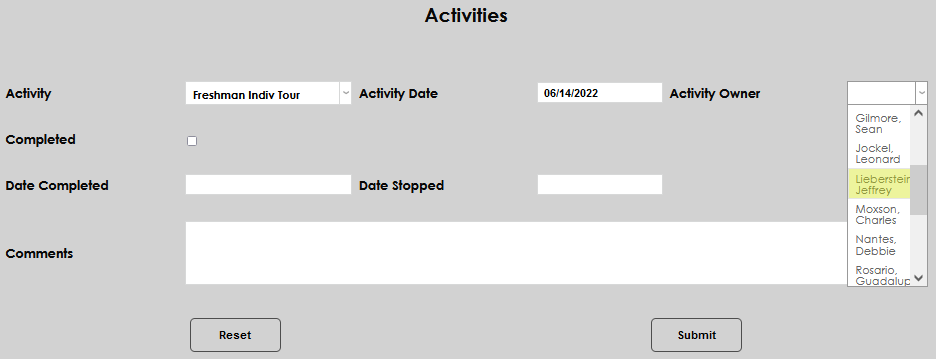
Enter the date the activity should occur or is assigned in the Activity Date field. Assign the activity to a user by selecting the user name from the Activity Owner menu. This menu is populated by users assigned a recruiting role in SONIS.
If the action already occurred, click the Completed checkbox. The Date Completed field will automatically fill with the current date. Simply click in the field to make any necessary adjustment to the date.
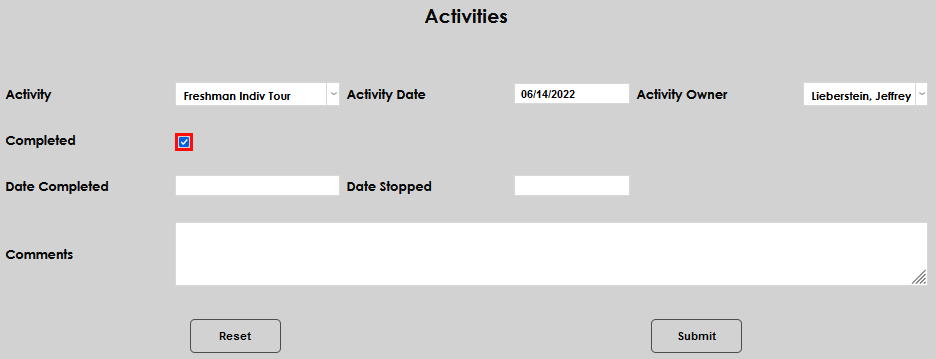
If the activity was not completed but is no longer applicable to the prospect or user, enter the Date Stopped, or the date the activity will no longer be pursued.
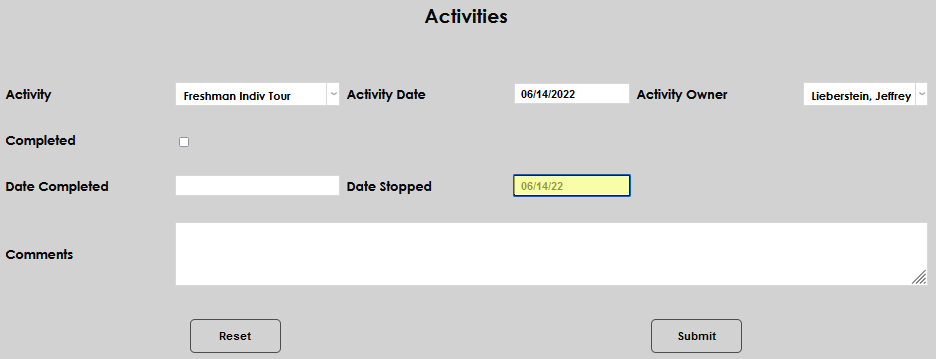
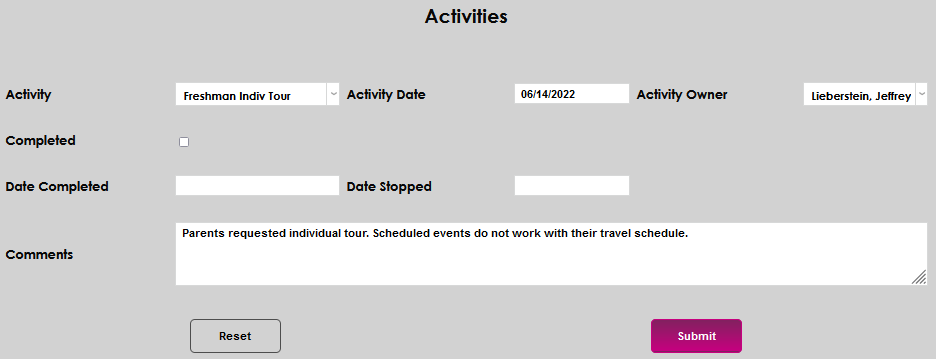
Enter any Comments associated with the activity assignment and click Submit to save the entry.