Registration Limits
Overview
Some institutions may wish to place a limit on the number of courses that a student can register for in a given semester or session based on academic difficulty or other issues. Limits are created using the Registration Limits utility under the Systems hub. Once created these limits can be assigned to individual students through the corresponding page in their Records menu or in bulk through the SAP utility.
Creating Limits
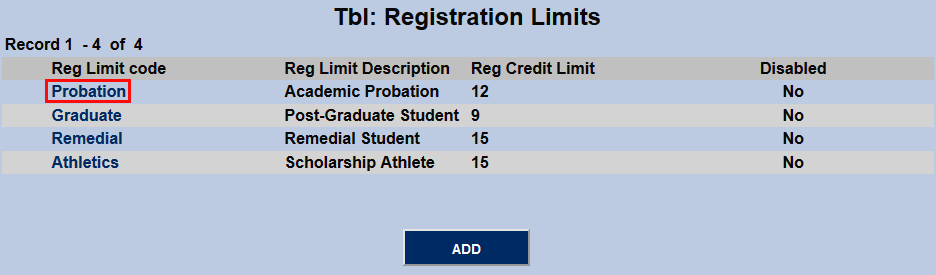
To create a registration limit, navigate to the Registration Limits utility under the Systems hub and click Add.

On the following page, create a longform description that summarizes the reason for the limit or the group of people it would apply to in the Reg Limit Description field along with an abbreviated version of that description to be used as the Reg Limit Code.
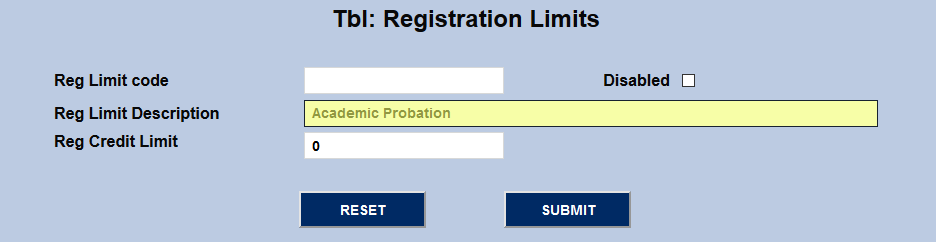
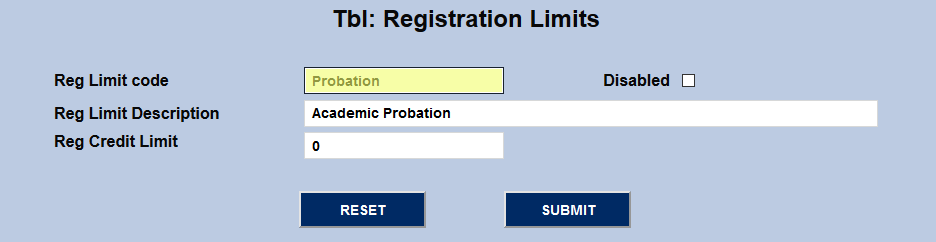
Finally, set the numerical credit limit itself in the Reg Credit Limit field and click Submit.
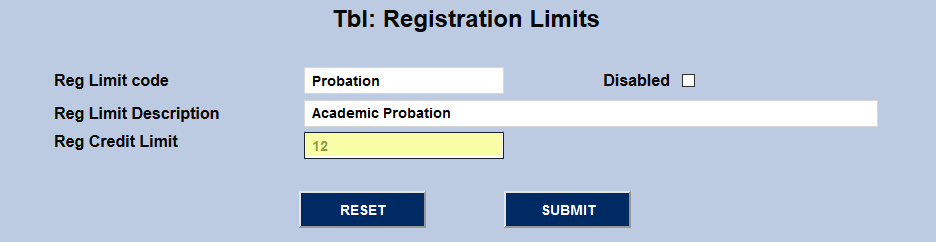
Once limits have been created, click on the Reg Limit Code to edit the code.
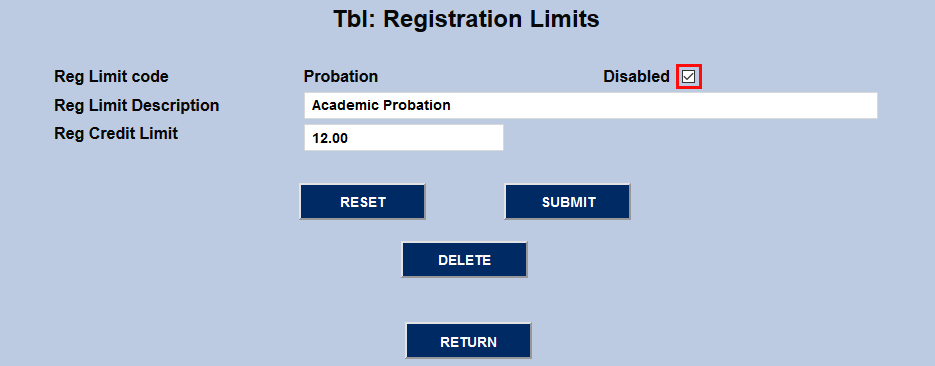
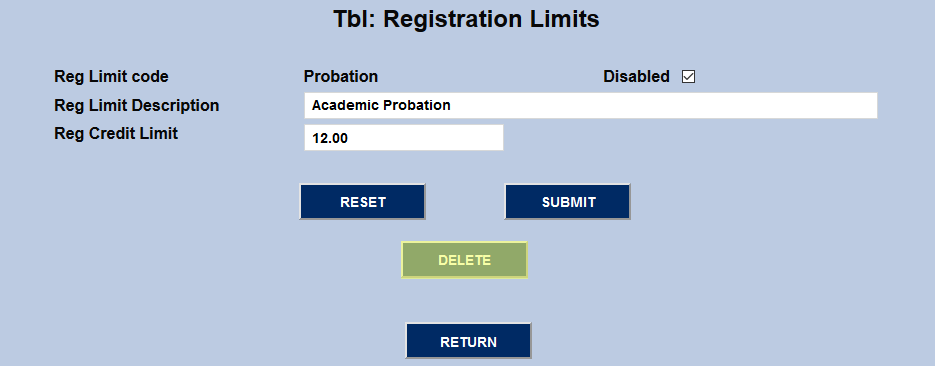
The description and credit limit can be changed from this page, but the code can not be edited. Additionally, the code can be disabled by checking the Disabled box or deleted by clicking the Delete button. Note that codes can not be deleted while they are assigned to a student.
Assigning Limits
Records
To assign a registration limit to a single student directly, select the student using the Name Search function and navigate to their Registration Limits page. Click Add to assign a new limit.

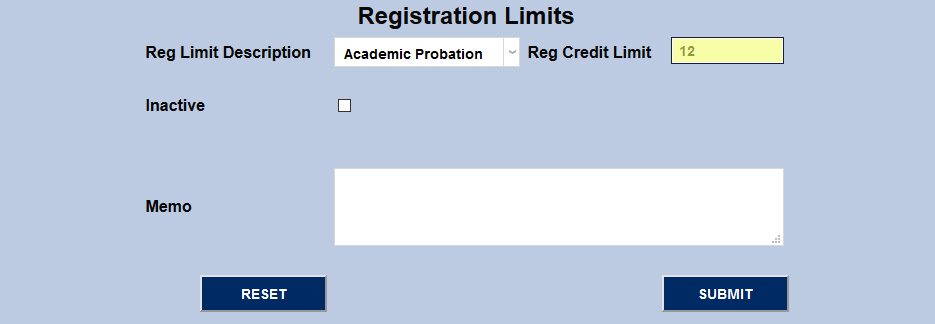
Select a limit from the Reg Limit Description dropdown. The numerical credit limit will be automatically filled in, but can be edited if necessary.
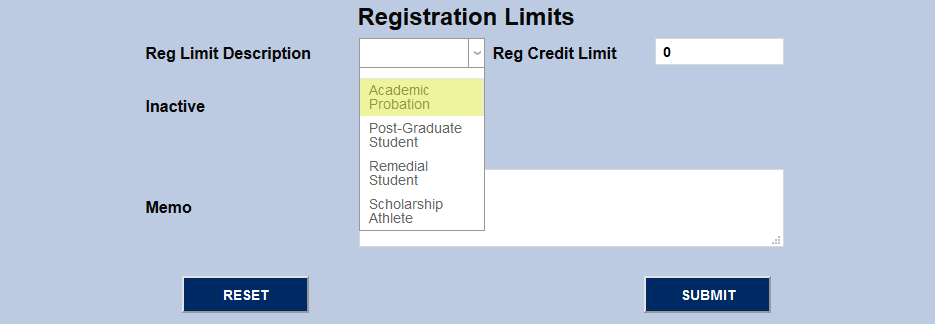
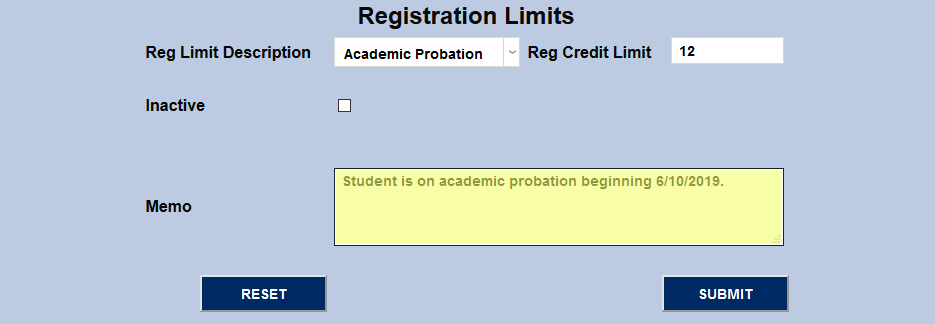
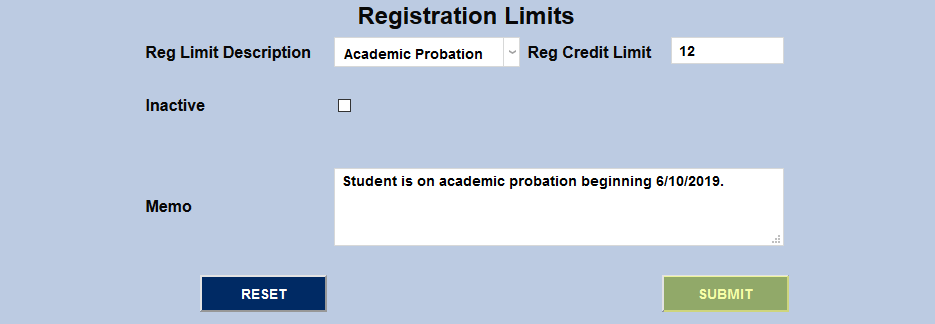
Append a Memo describing why the limit was assigned along with any other relevant information for other administrators who access the record later. Click the Submit button to save the changes.
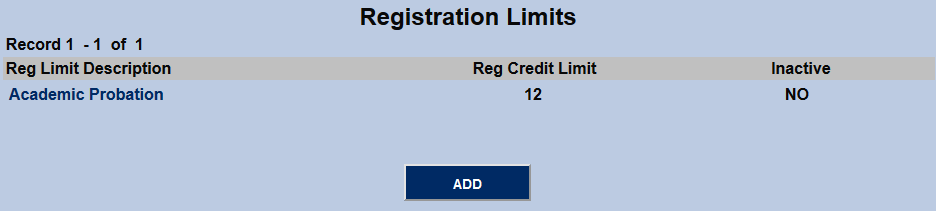
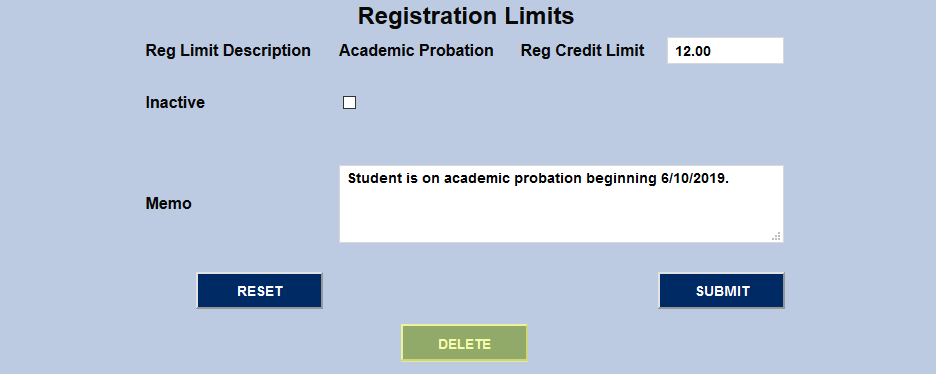
Existing limits can be edited by clicking on the Reg Limit Description.
The numerical credit limit can be changed and the memo can be edited. In addition, the registration limit can be deleted entirely, though most users will want to mark it inactive instead using the Inactive checkbox to preserve the record. Inactive limits do not affect registration in any way.

SAP
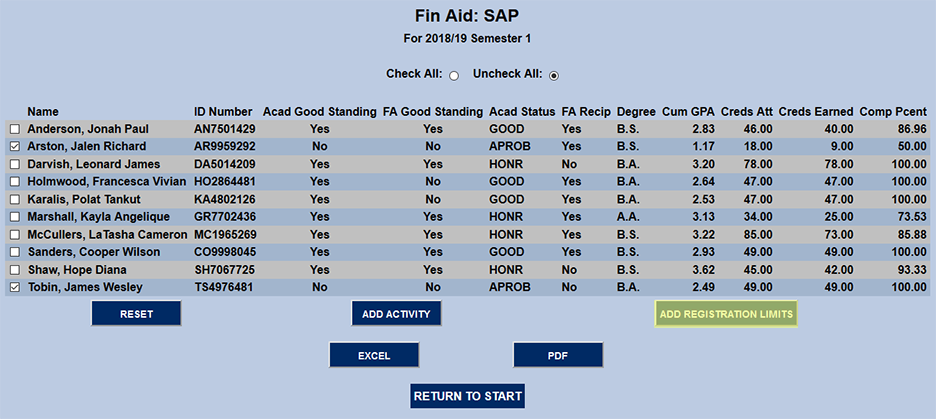
To make assigning registration limits easier, a button has been added to the Satisfactory Academic Progress utility that allows limits to be added to groups of students based on their SAP query results. Once a report has been run, check the boxes next to the students to be limited and click the Add Registration Limits button.
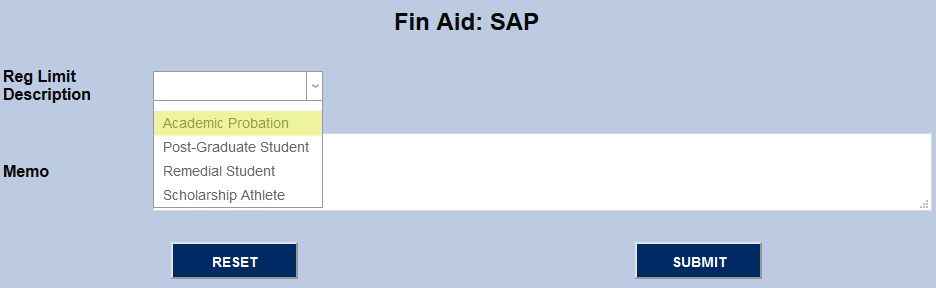
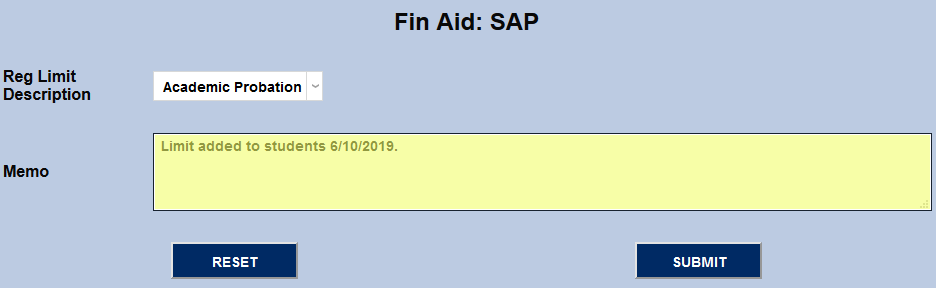
On the following page, select a registration limit, append a memo if necessary, and click the Submit button to place the selected registration limit on the selected students.

Query
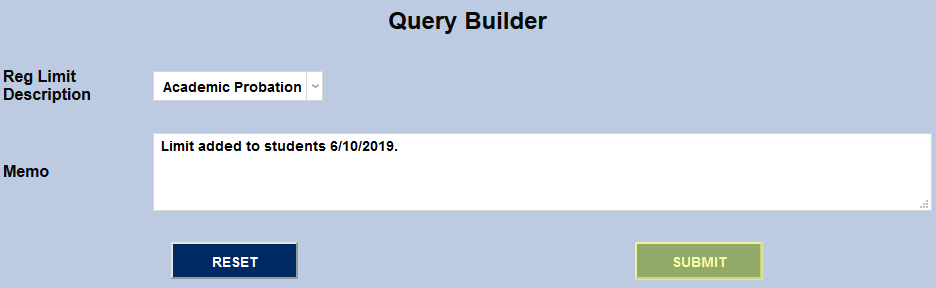
Administrators can also assign registration limits to students through Jenzabar SONIS Query Builder. Select the appropriate students and click the Add Registration Limits button.
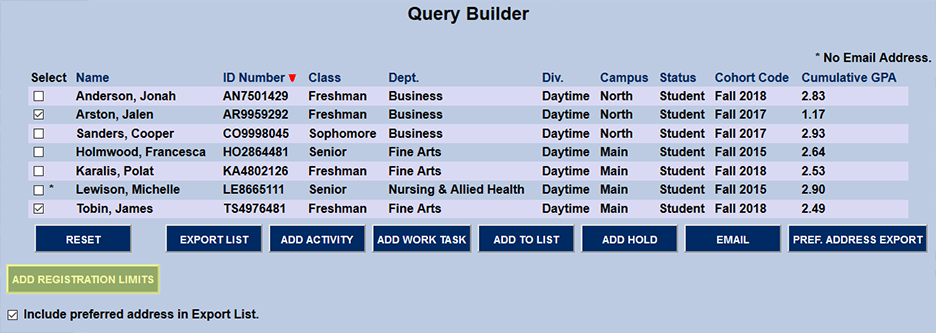
On the following page, select a registration limit, append a memo if necessary, and click the Submit button to place the selected registration limit on the selected students.