Registration Utility
Overview
The Jenzabar SONIS Registration Utility allows administrators to create custom registration settings that can then be applied automatically using the Timed Task Scheduler. Administrators can include which Campuses, Departments, Divisions, Levels, and Course Types to include in a registration session that begins on a certain date and time. Using this function, clients can ensure that the same exact registration circumstances are repeated from semester to semester and/or year to year and, if so desired, open registration at times when administrative staff is not on the clock. When the task is triggered, the settings on the Web Options page will be updated to match the specified settings in the Registration Utility.
Registration Settings
Creating Settings
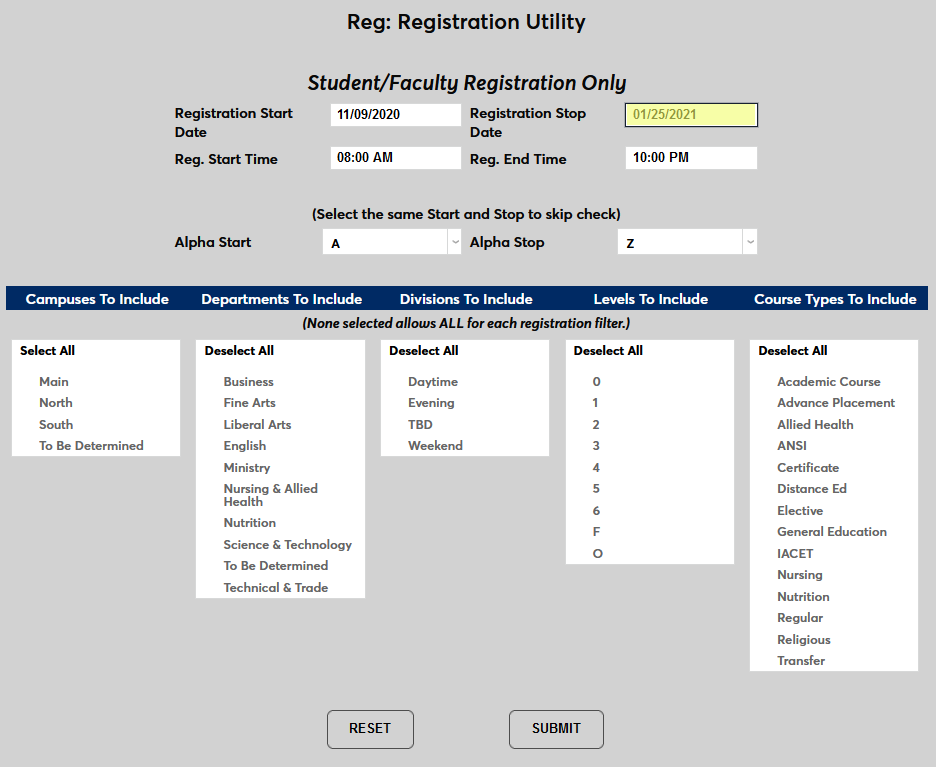
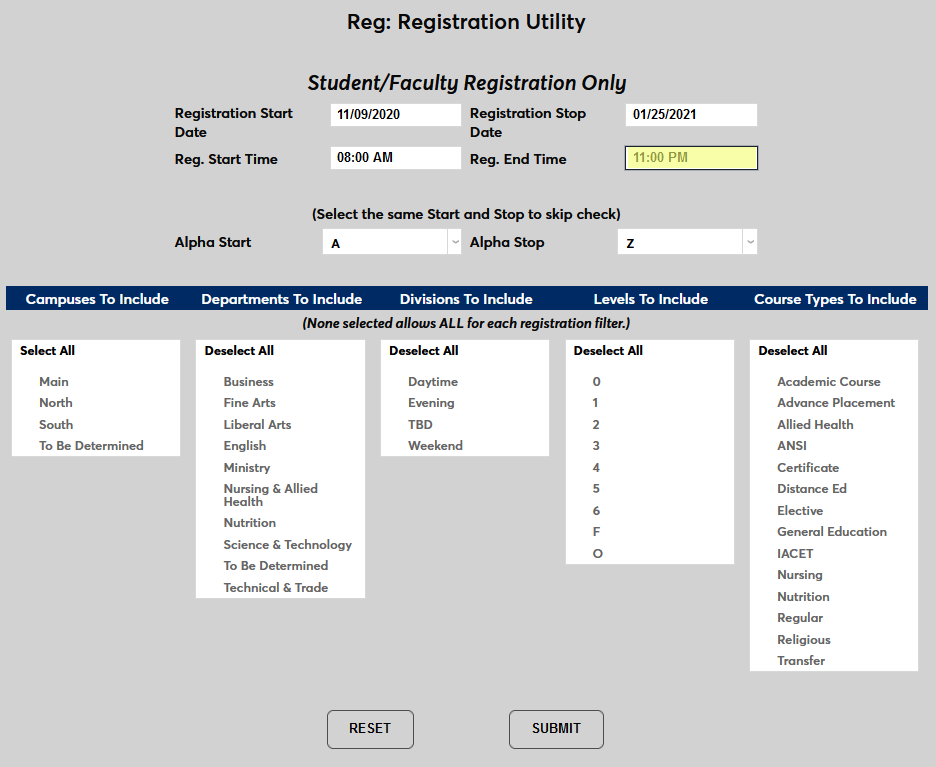
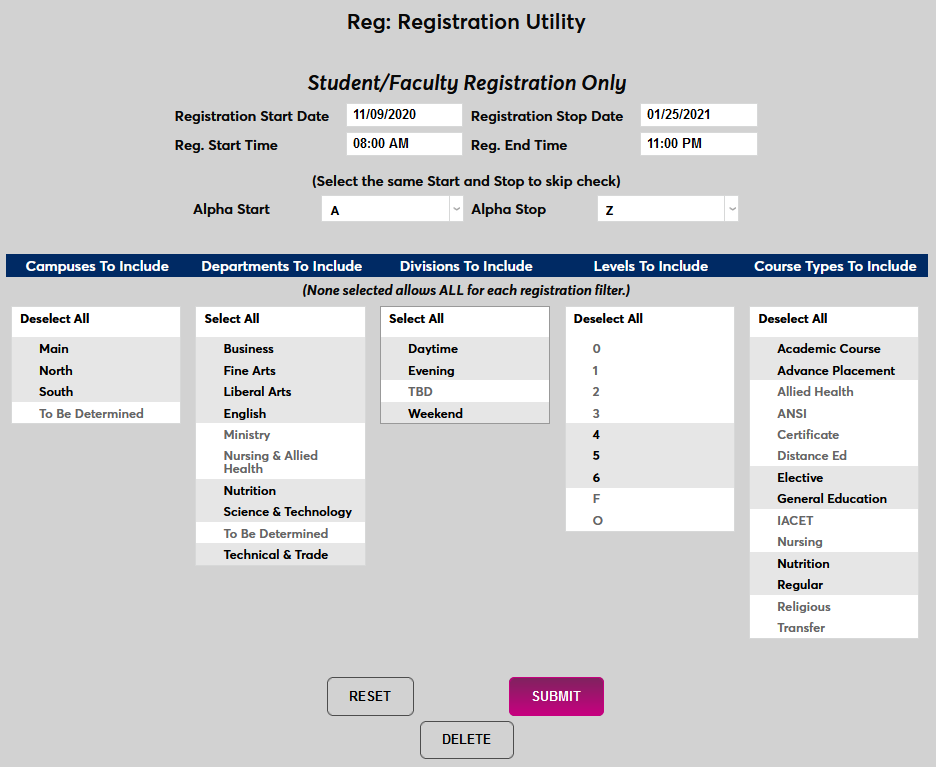
To create new registration settings, navigate to the Registration Utility under the Systems hub. Begin by entering a Start Date and a Stop Date for the registration session.
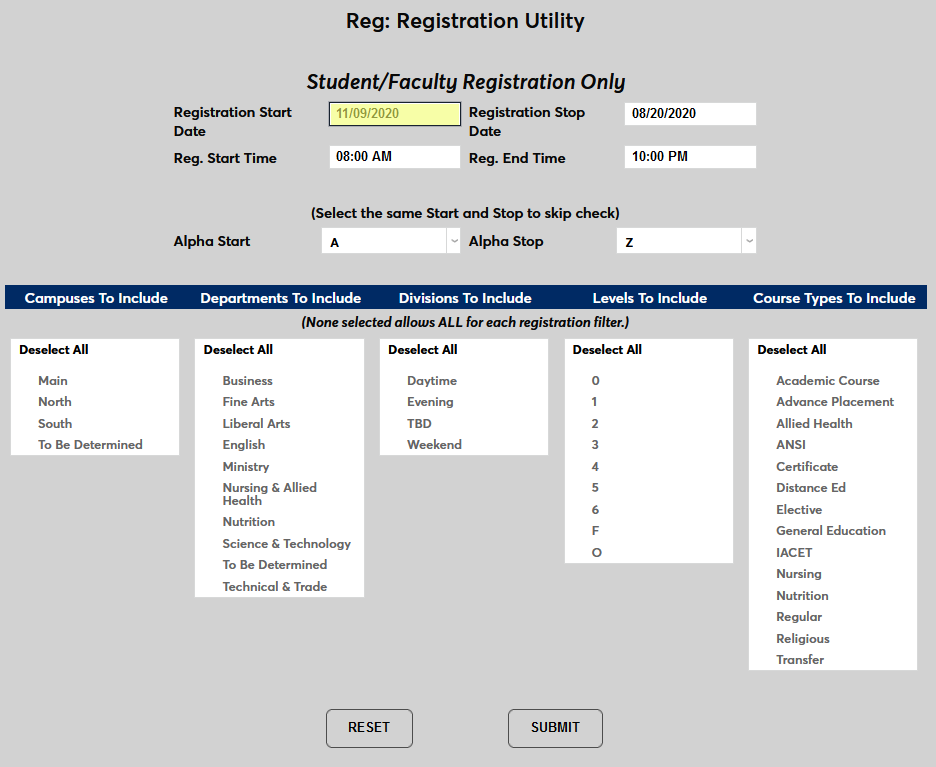
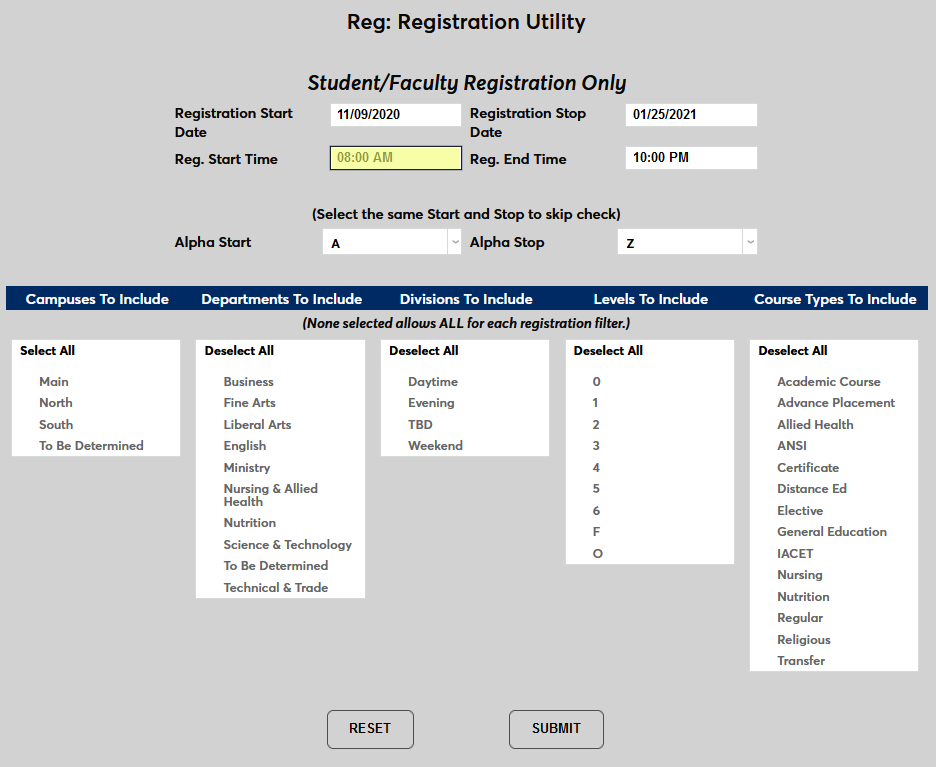
Next, set a Start Time and a Start Date for the session.
The menu allows multiple selections. The selections control which terms are available for users to select for registration and/or for display in the Faculty and Student portals.
Once the times and dates have been set, the administrator must choose which Jenzabar SONIS users and which courses will be included in the session. To start, choose an Alpha Start and Alpha Stop for the session. Only SONIS users with last names within the chosen range will be able to register in the session. This is a quick way to limit the total number of users registering at one time without using or in addition to the Campus, Level, and Division settings.
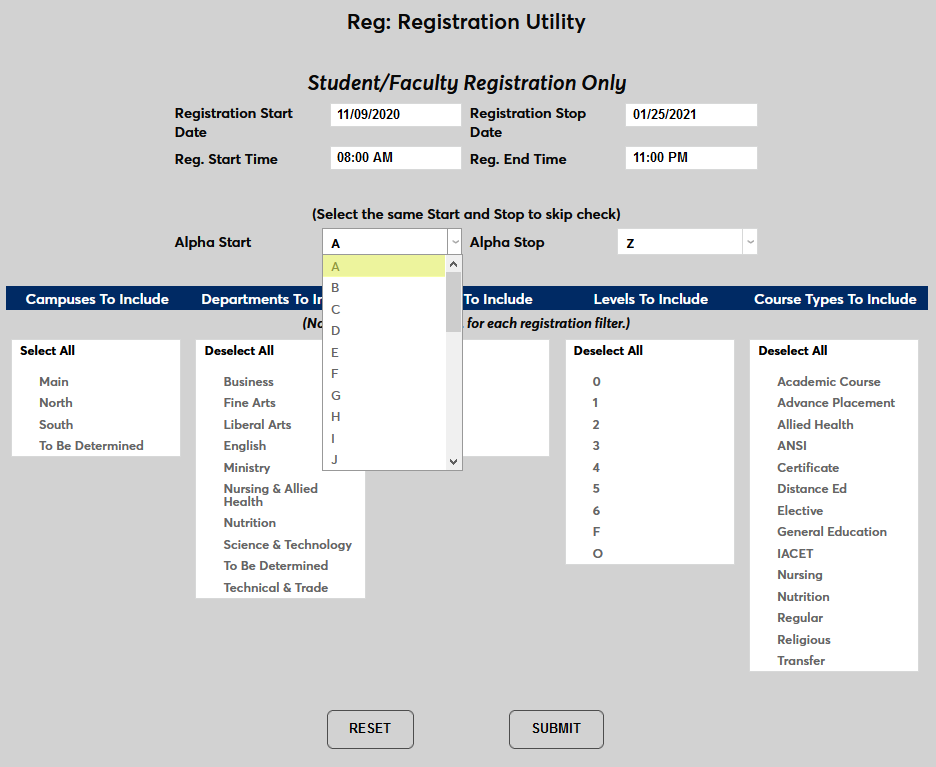
The downside of using the alphabet settings to limit registration is that it can cause students who are not part of the chosen group to miss out on courses through no fault of their own. It's recommended that clients who wish to use this feature ensure that the included courses have ample seats available to prevent accusations of bias from students.
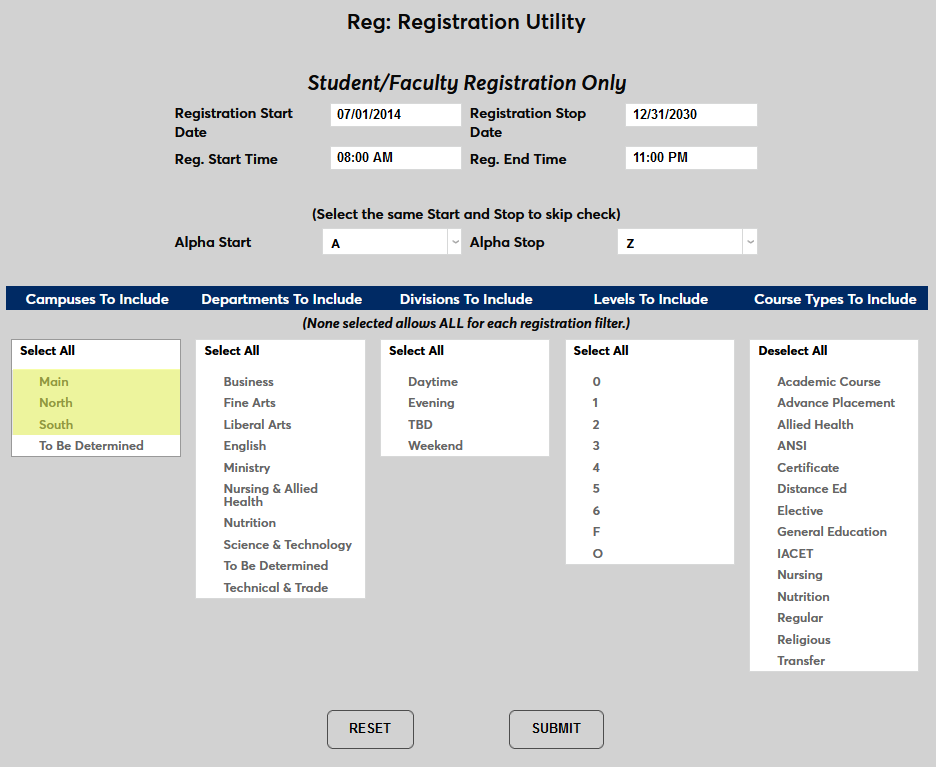
Continue choosing which students will be included by selecting the Campuses to included. Only students assigned to one of these campuses will be eligible to register.
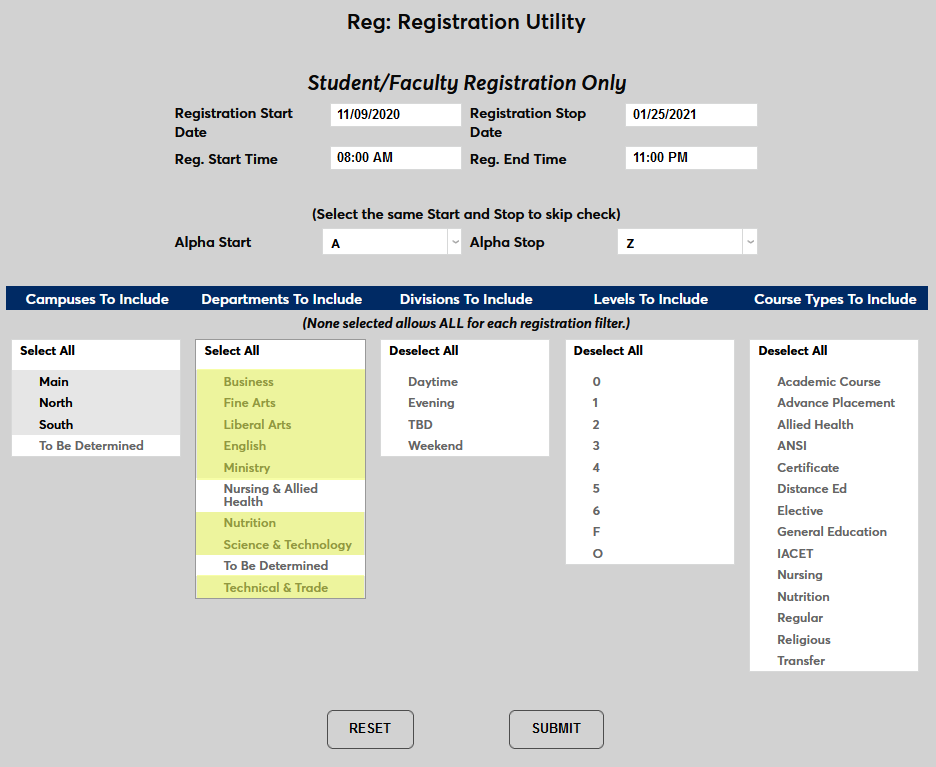
Choose the Departments to include. Only students assigned to one of these departments will be eligible to register.
Choose the Divisions to include. Only students assigned to one of these divisions will be eligible to register.
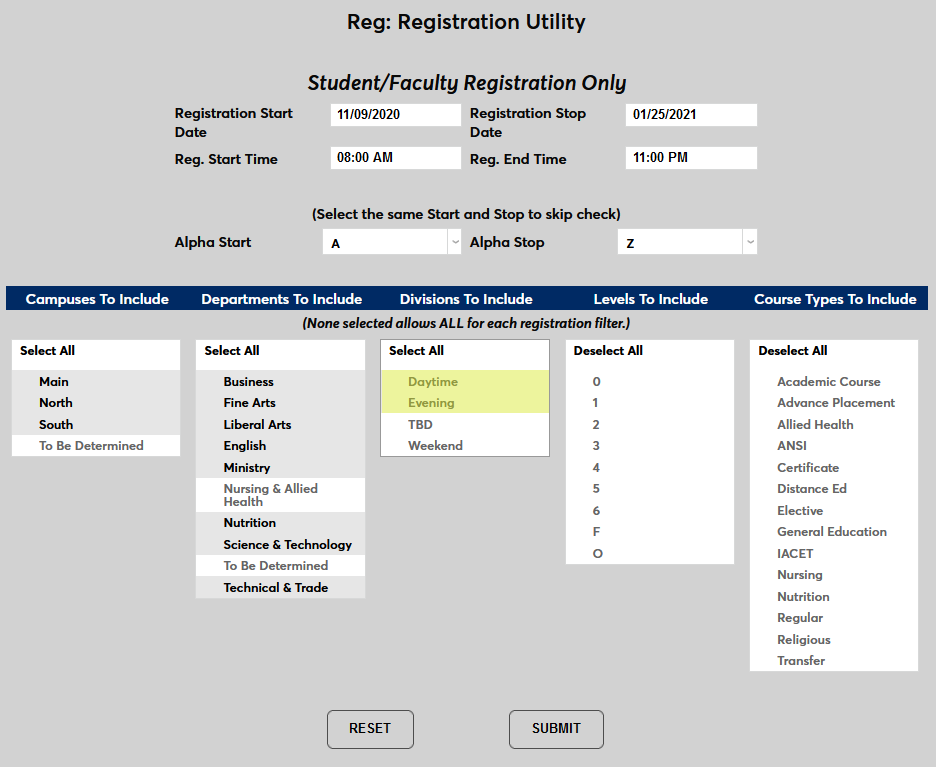
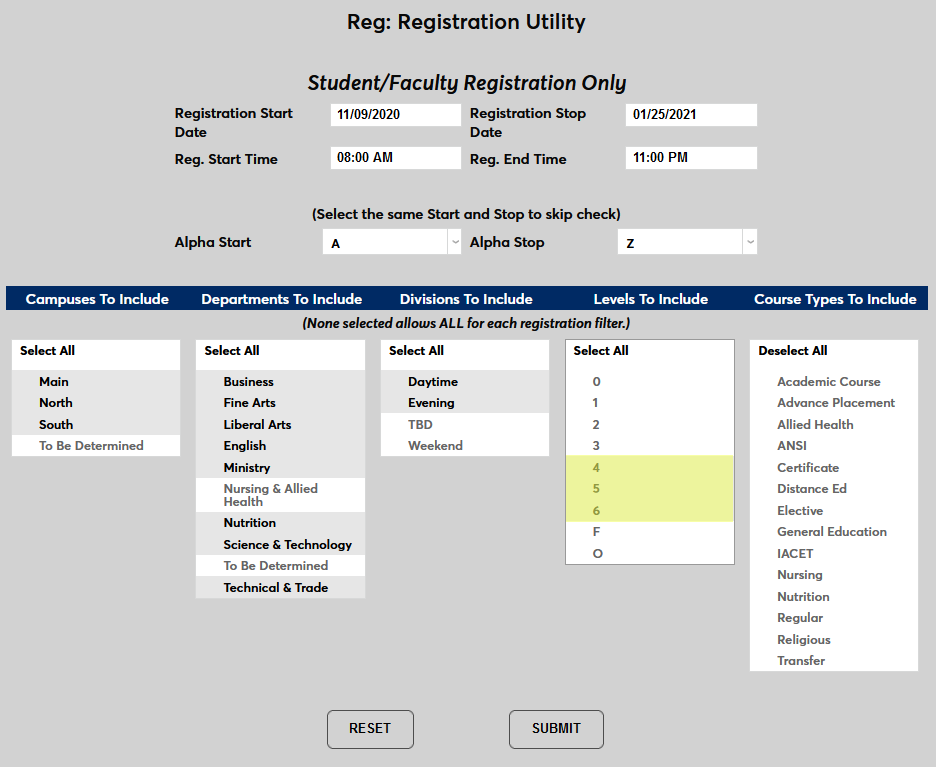
Choose the Levels to include. Only students in these levels will be eligible to register.
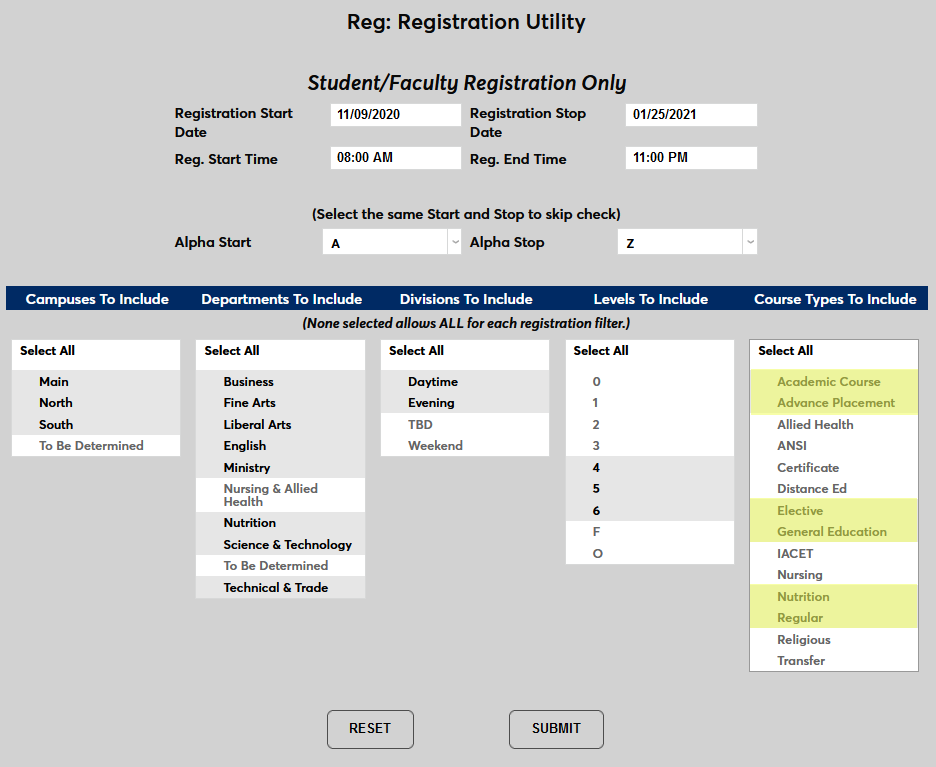
Finally, choose the Course Types to include. Only courses of these types will be open for registration.
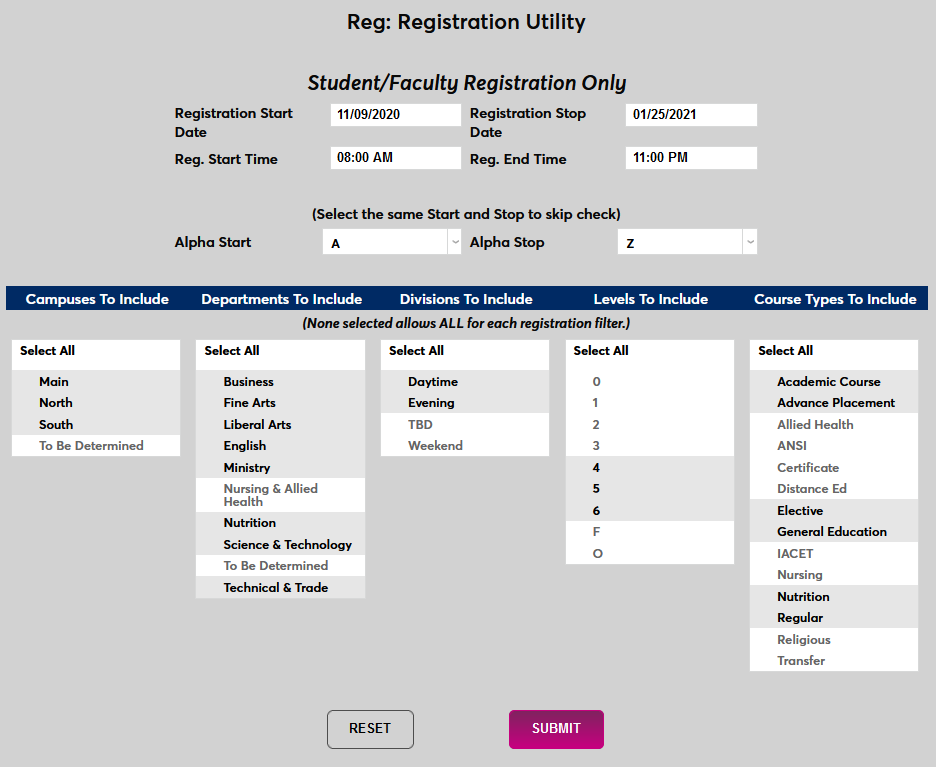
Click Submit to save the selected registration settings.
Editing Settings
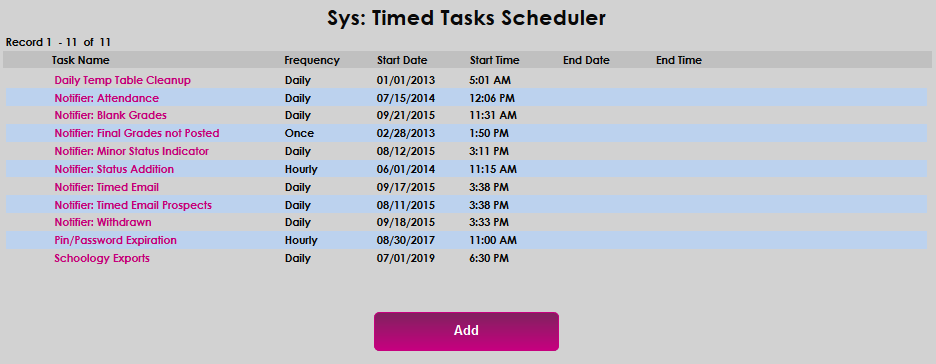
Once settings have been created, they will be listed at the bottom of the page under the Previously Created Registrations heading. To edit an existing registration session, click on the number to the left of the session.

On the following page, make the desired changes and click Submit to save the settings.
Timed Task
Once the various registration sessions that will be used through the course of a semester have been created, the SONIS Timed Task Scheduler can be used to automatically trigger an update from one to the next. When the task is run, the system will check the registration settings table for changes and apply any settings that are set to begin at the exact time that the task is set to run. At this point, the registration settings on the Web Options page will be replaced with the settings created in the Registration Utility, opening or closing registration based on the specified start and end times. This process should be nearly instantaneous.
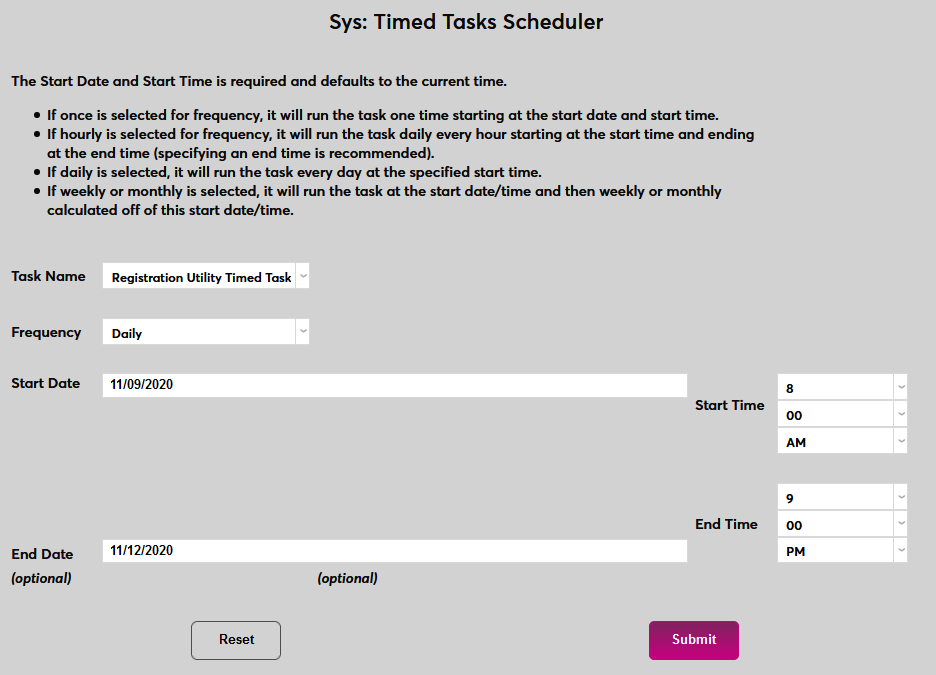
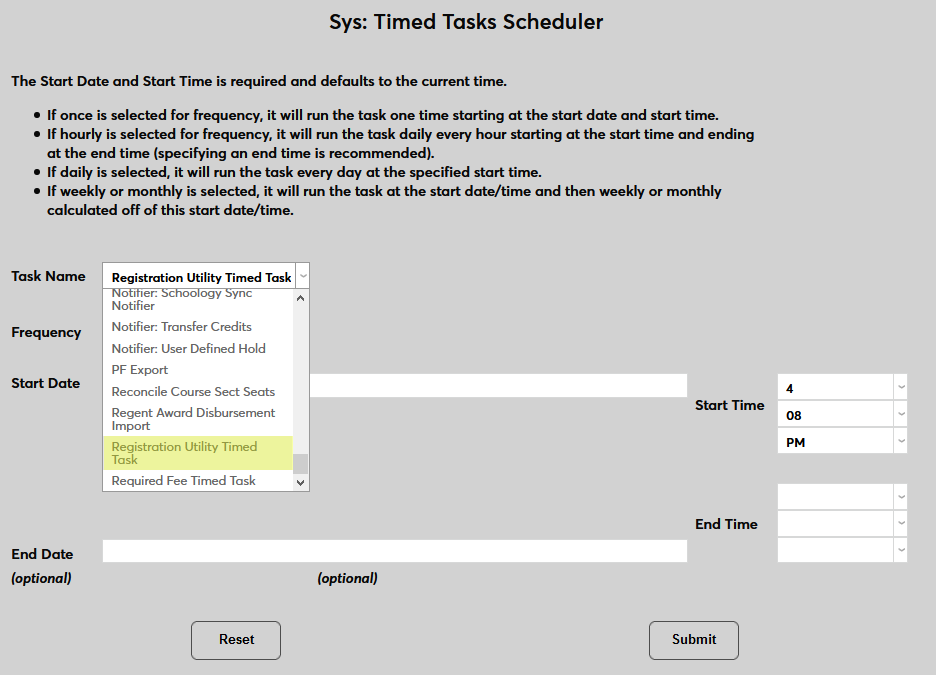
Navigate to the Timed Task Scheduler in the Systems hub. Click Add to begin.
Select Registration Utility Timed Task from the Task Name dropdown menu.
Next, select how often the task should run from the Frequency dropdown menu. This choice is going to vary depending on how the sessions were set up in the previous steps. If the one session changes to the next within the same day, the Hourly option can be chosen. If a new session begins each day or with more than one day in between them, the Daily option can be selected.
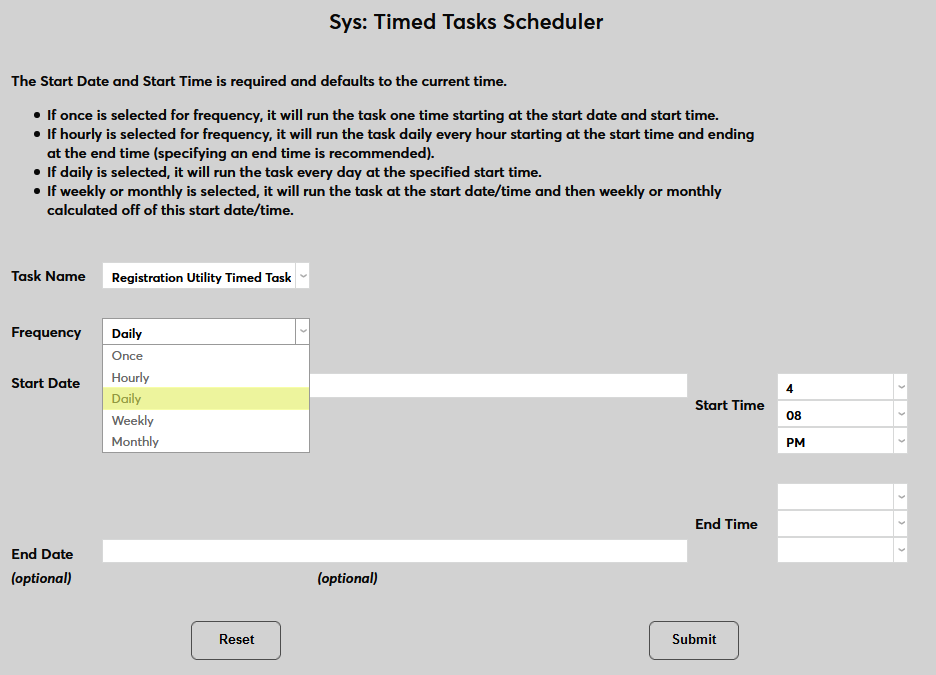
When setting the Start Date and Start Time for the task, keep in mind that the task must run exactly when each new settings change is set to go into effect or the settings will not change. The settings will only change when the start date and start time of the settings change matches the moment that the task is running. The task can safely run before and/or after the start time of the change and the system will be unaffected, but it be set to run at the correct minute and hour in order for the settings to take affect.
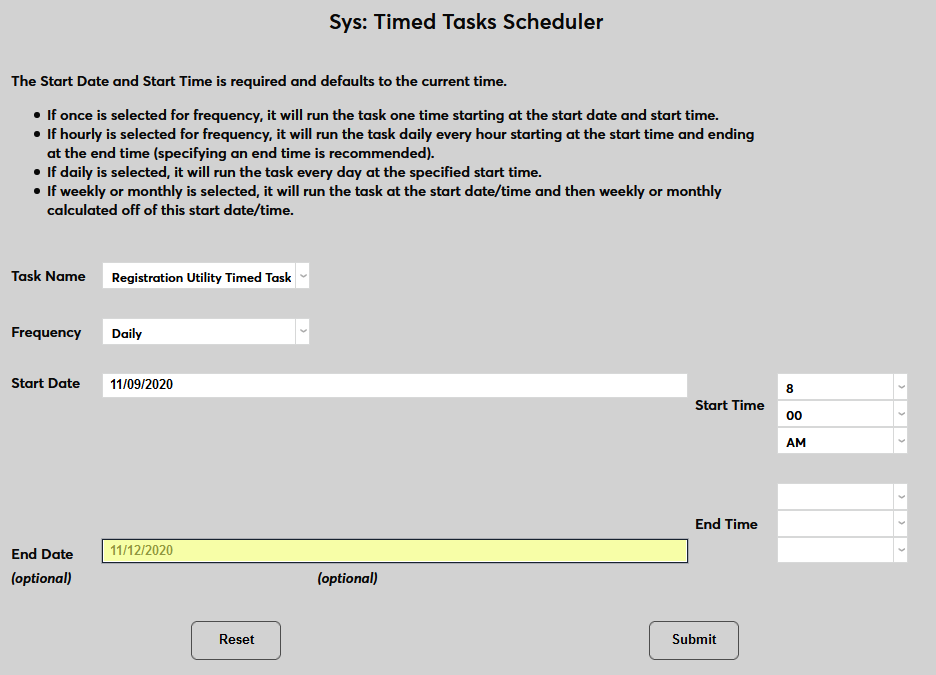
Set the Start Date for the task to begin running.
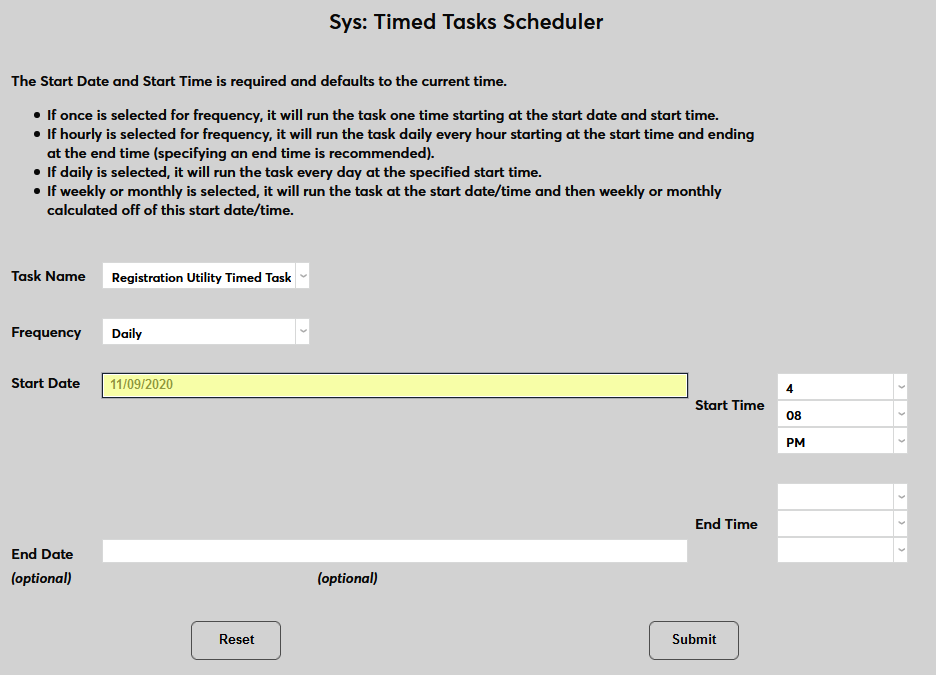
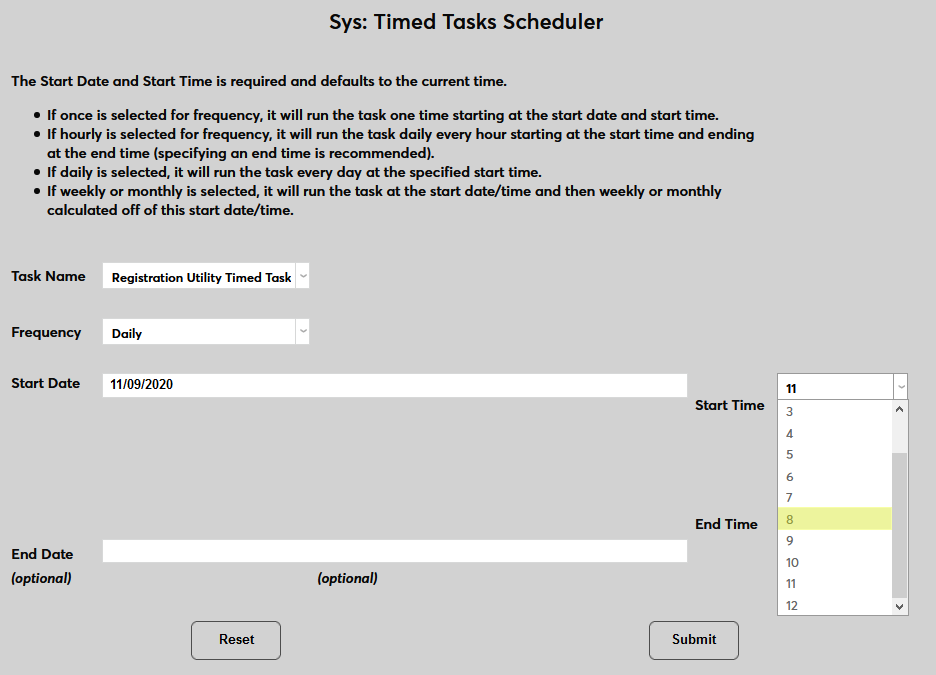
Set a Start Time for the task using the hour and minute and AM/PM dropdown menus. This must be the same time that's set in the Registration Utility or the task will not update Web Options.
The End Date and End Time are optional. Most clients set the task to begin as the registration period is starting and run it only during the days when changes to the settings will be made, ending the task at that point.
Click Submit to save the changes and set the task to run.