Pledge
Overview
When a constituent makes a financial commitment toward a fundraising or development activity at a Jenzabar SONIS member institution, it is recorded as a Pledge, unless it is a one-off Payment that is not categorized as a Pledge. In that case, it would be entered as a one-time payment on the Payments screen.
A list of development pages is available here.
Setting Up Fundraising Codes
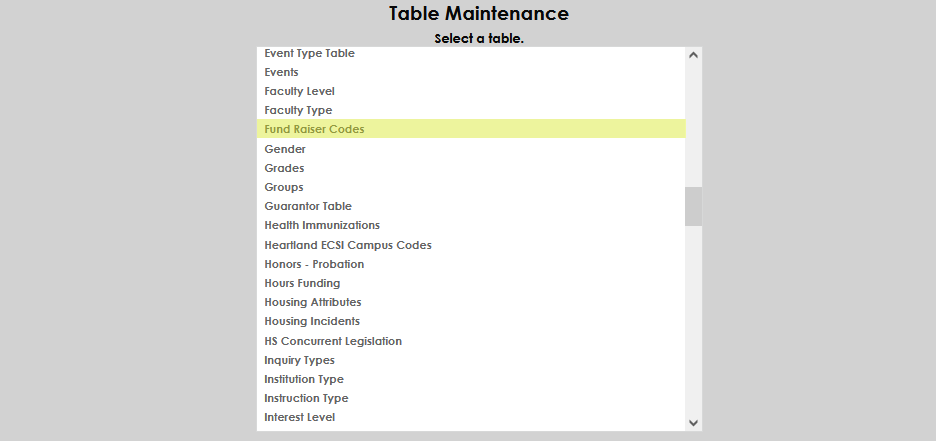
If the desired Code isn't available, it will need to be setup in the Fund Raiser Codes table in the Systems hub Table Maintenance page.
Select Add a New Record.
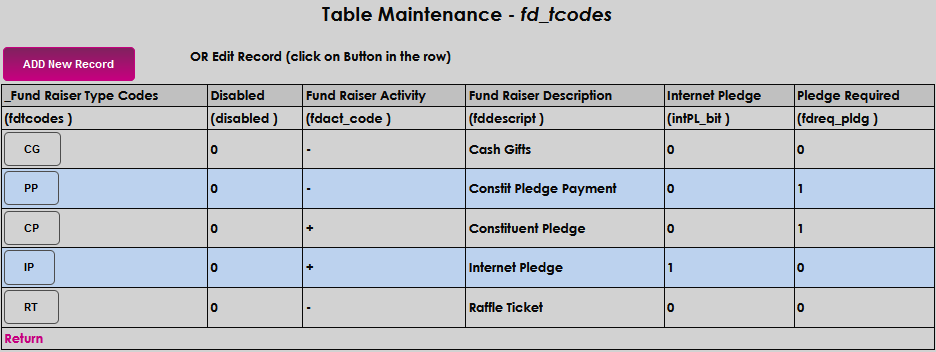
Create and enter a two-character alpha-numeric code for the type of fundraiser in the Fund Raiser Type Codes field.

In the Fund Raiser Activity field, enter a + if this activity should act as a credit or a - if this activity should act as a debit when applied.

Enter the name that should display in selection menus in the Fund Raiser Description field. The field accepts up to 22 alpha-numeric characters.

If an donor can make a pledge to this fundraiser on the internet, enter a 1 in the Internet Pledge field.

The Pledge Required field controls what kind of payments can be accepted toward this fundraiser. With a 1, a pledge must be selected when entering the payment. A 0 allows this code to be used for one-time payments.

Click Submit to save the entered information.

Editing Existing Fundraising Codes
To edit an existing fundraising code, simply click on the Fund Raiser Type Code.
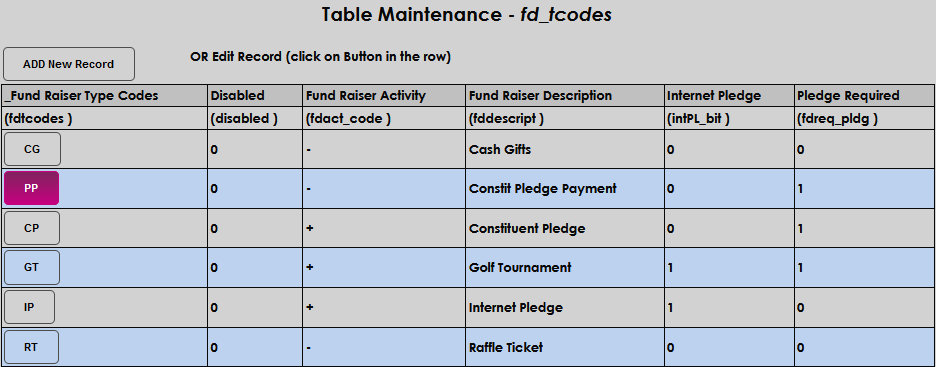
Make the desired information changes and select Submit to save the change(s).


Setting Up Events
From the Systems hub, select Table Maintenance, and Events.
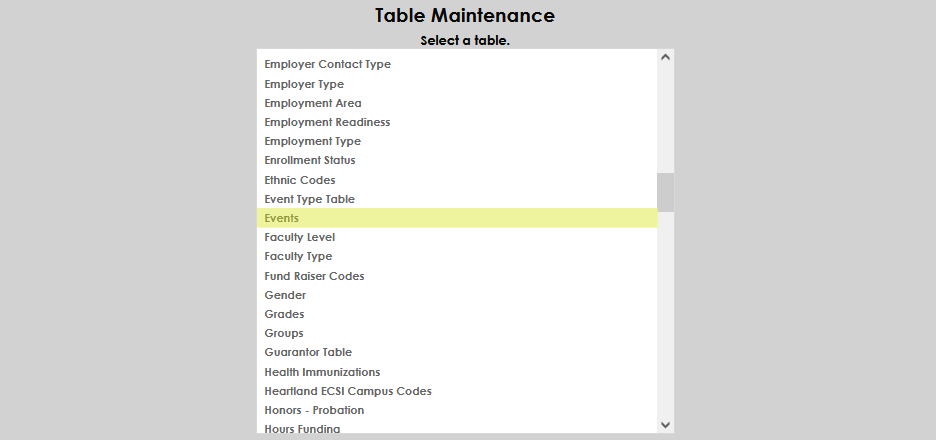
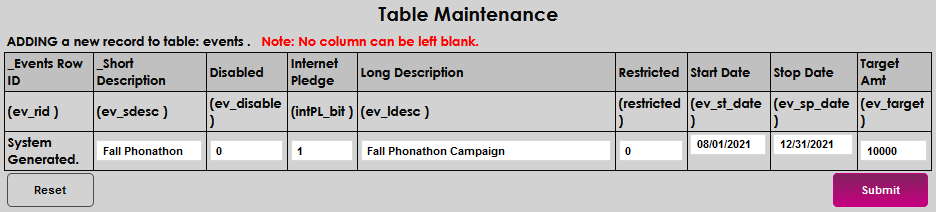
Select Add a New Record.

In the Short Description field, enter a description of the event. This field accepts up to 30 characters.

If a pledge can be made for this event on the internet, enter a 1 in the Internet Pledge field.

In the Long Description field, enter the description of the event that should display in selection dropdowns. This field accepts up to 50 characters.

If this event will not allow pledges and will only accept one-time payments, enter a 1 in the Restricted field. If both pledges and one-time payments are allowed, leave the 0.

Enter the date the Event begins. This is also the date that pledges and/or payments will may begin to be accepted toward it.

Enter the date that the Event ends. This is also the date that pledges and/or payments will no longer be accepted toward it.

Enter the goal fundraising amount in the Target Amount field.

Click Submit to save the entered information.
Editing Existing Events
To edit an existing event, click on the Events Row ID.
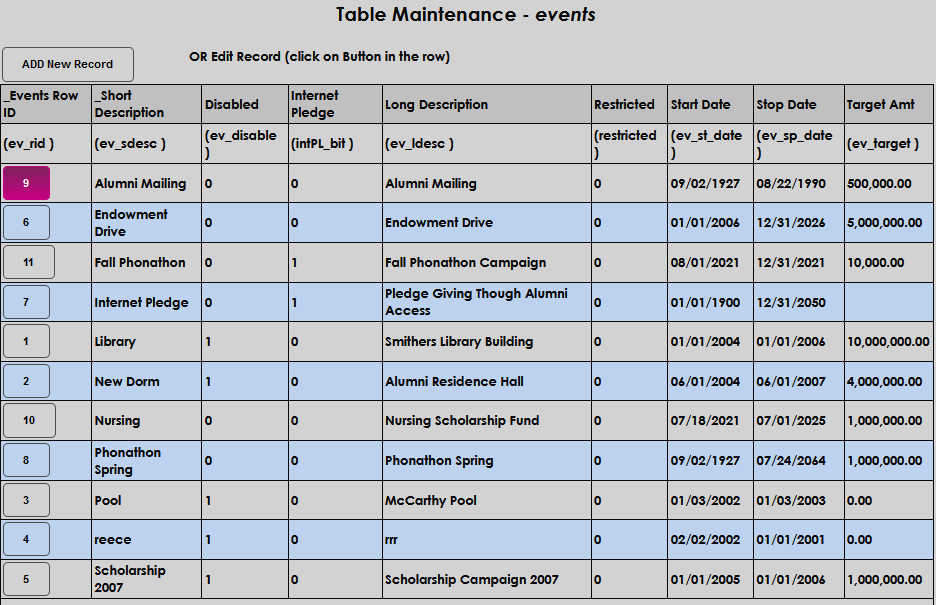
Edit the desired content. In this example, the Alumni Mailing is being reactivated by updating the Stop Date to a date in the future.

Select Submit to save the updates.

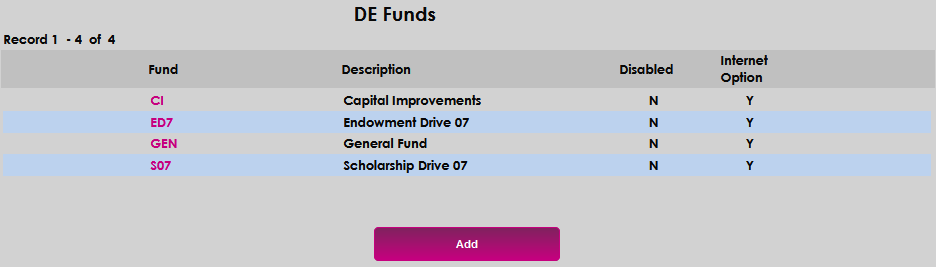
Setting Up Funds
To add development funds, navigate to DE Funds in the Systems hub. A list of current funds will display. Select Add to begin creating a new fund.
Enter a three-character code that will be used for the fund in the Fund field. This field accepts up to 3 characters of alphanumeric values.

Enter a descriptive name for the fund in the Description field. This field accepts up to 20 characters, including symbols. This name will display in fund menus.

If the fund should be available for internet pledges or payments, check the Internet Option box.

Select Submit to save the entries.

Editing Existing DE Funds
To modify an existing DE Fund, click on the Fund name.
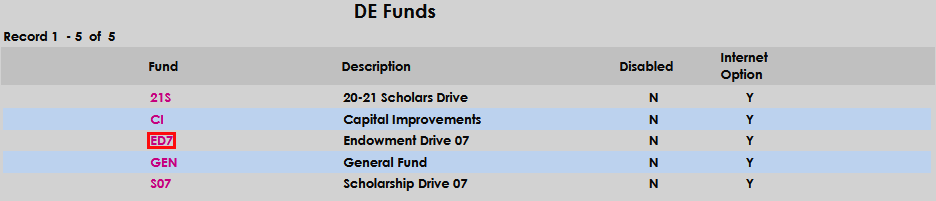
Make the desired updates. In this example, the fund is no longer in use, so it is being disabled or turned off.

Click Submit to save the change(s).
Recording a Pledge
Enter the Pledge screen from the constituent's Users hub. Select the Pledge Payment Option that applies to the pledge being entered. In this example, Monthly has been selected.

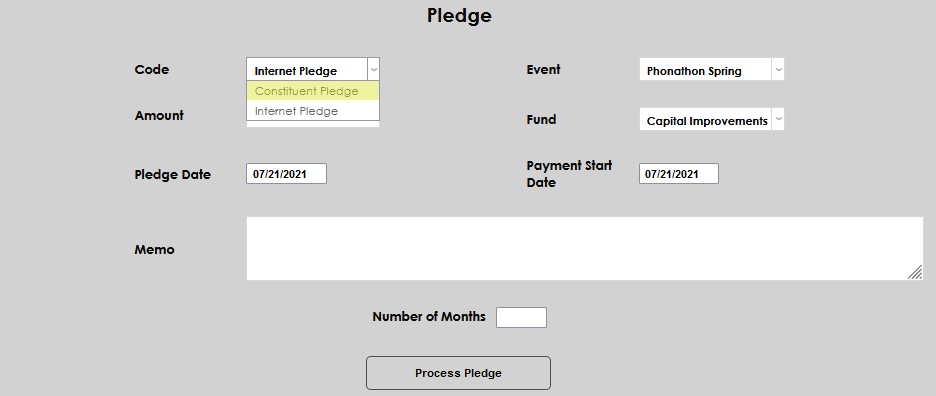
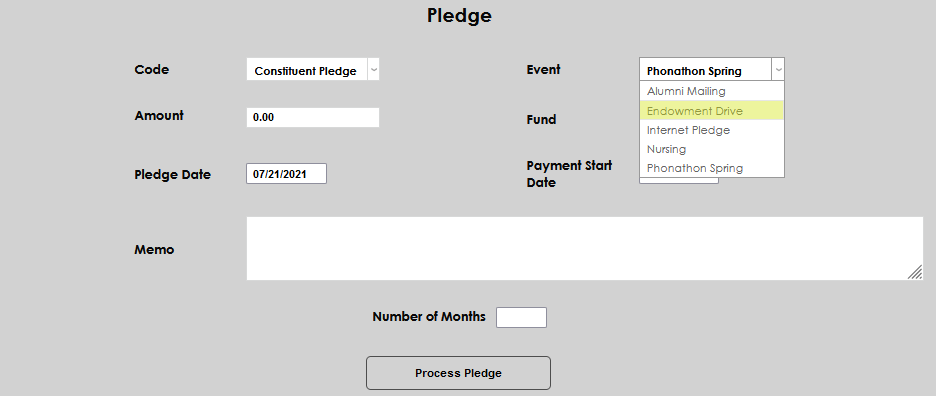
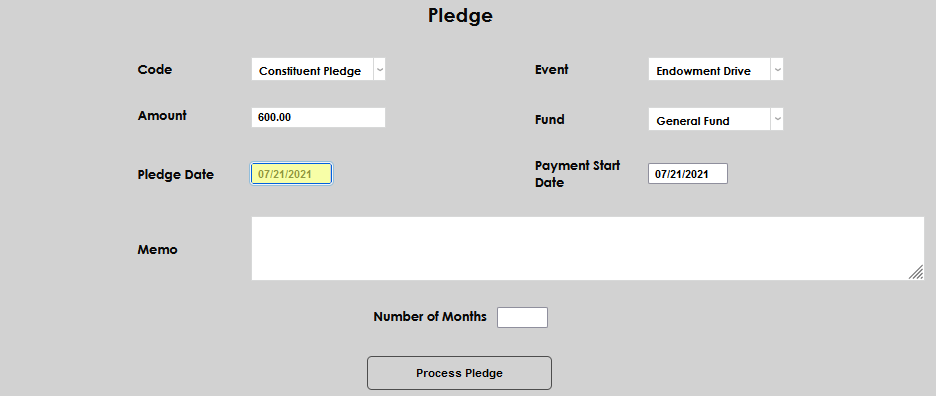
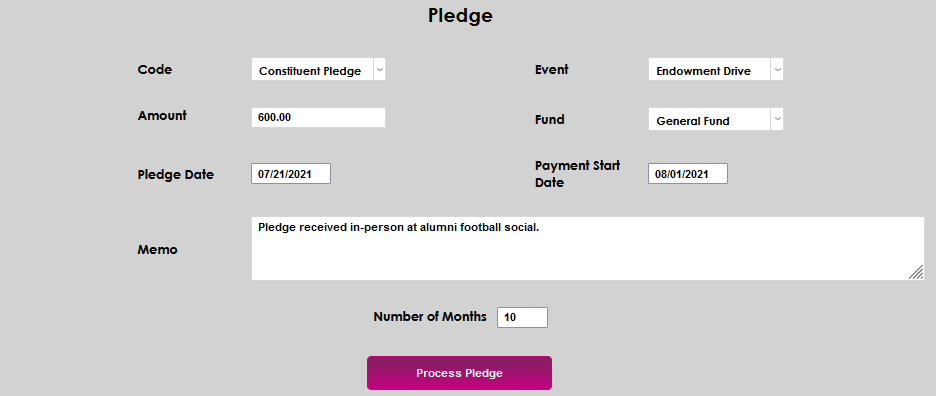
A new Pledge page will open, allowing the Pledge details to be entered. Select the Code and Event associated with the Pledge.
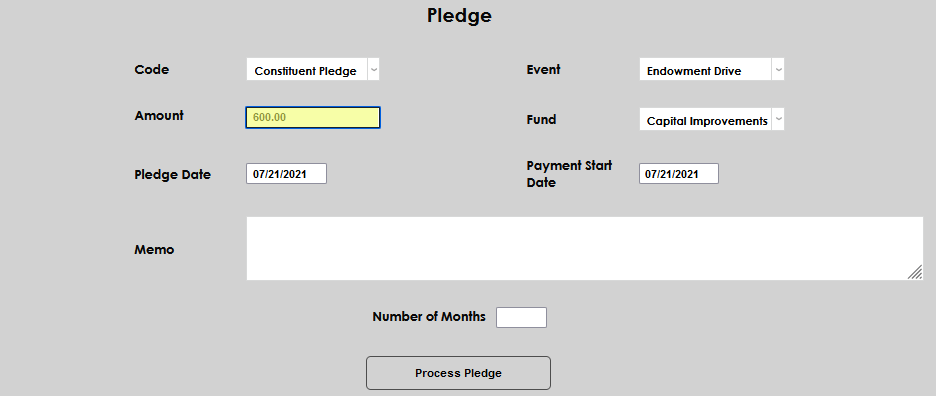
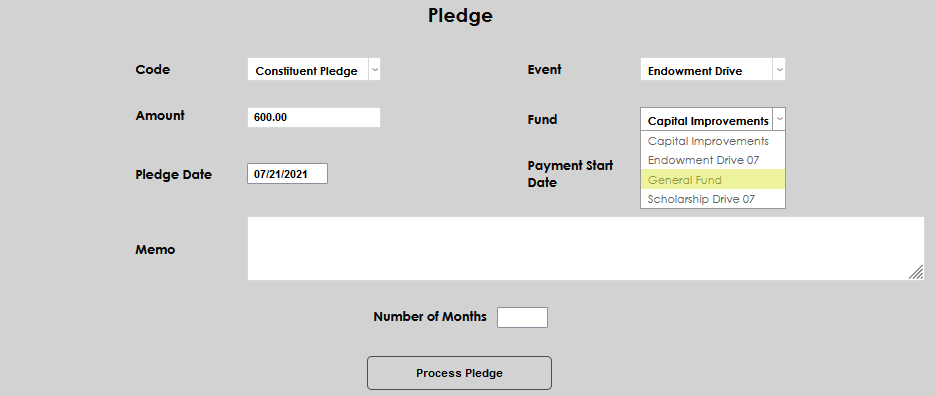
Enter the total amount pledged, not any divided or monthly amount, in the Amount field. Select the fund the pledge should be credited to in the Fund dropdown menu.
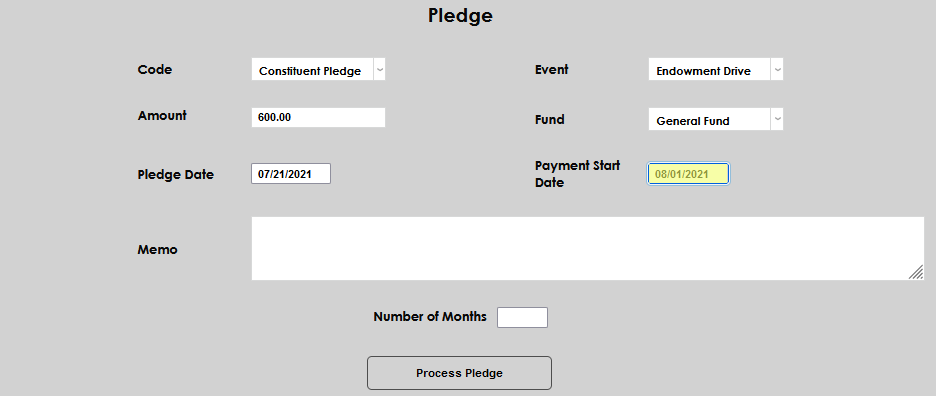
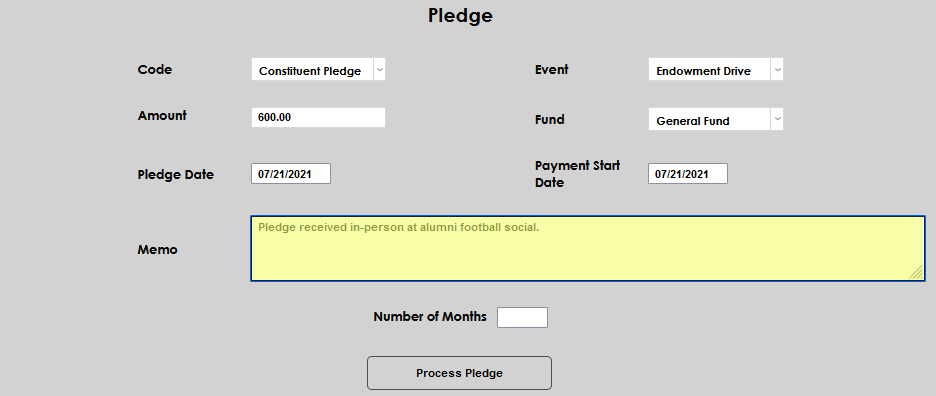
Enter the Pledge Date and the Payment Start Date. If any details need to be added to clarify the pledge details, enter them in the Memo field.
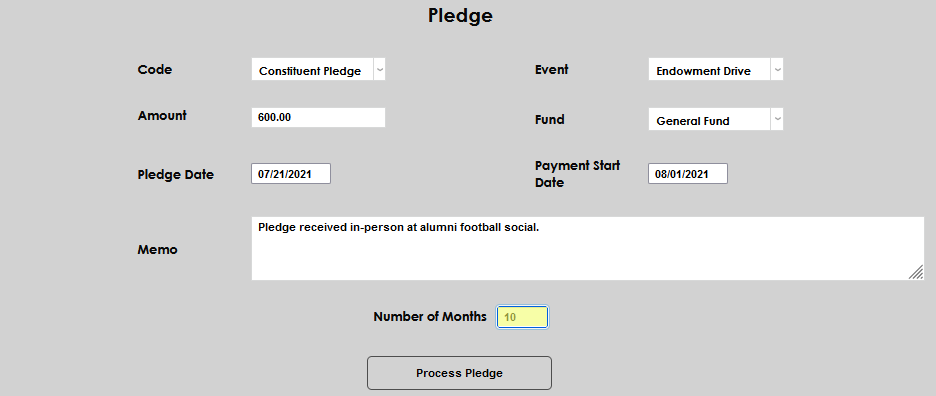
Enter the Number of Months the pledge will be split over. For example, if the pledge is for $60.00 a month, up to $600.00, the number 10 would be used as the Number of Months. Click Process Pledge to save the entries and calculate the individual payment amounts and dates.
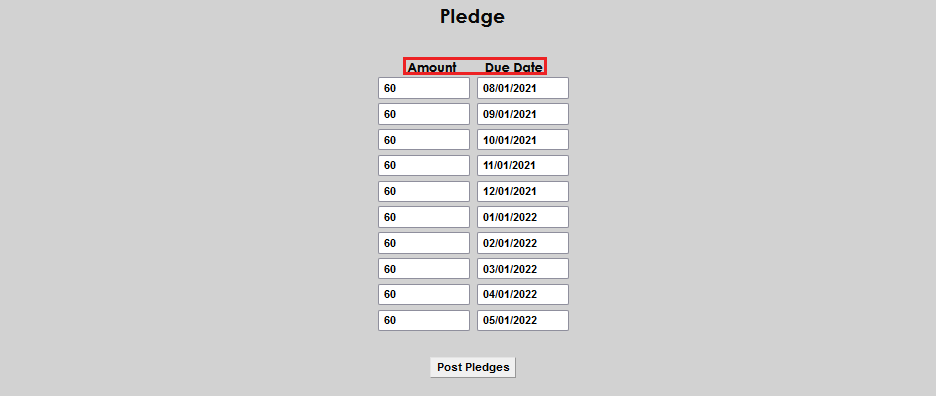
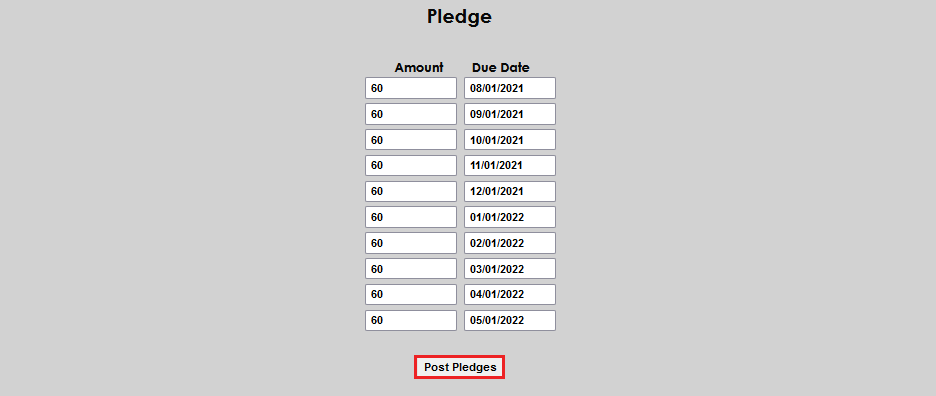
Confirm that the calculated values in Amount and Due Date are correct. If any amount or date is incorrect, simply type over the entry to correct it. Select Post Pledges to record the pledge, payments, and due dates.
The pledge will now display on the Balances screen. If multiple pledges toward the same Event and Fund have been made, the Payments Scheduled and Pledges will display as a total of payments for all pledges.
