At-Risk Alerts
Overview
The Jenzabar SONIS At-Risk alert system allows administrators to keep track of students that may be having academic difficulty for the purposes of retention. When the utility has been activated, every SONIS user will have a color-coded score that shows their level of risk on a 100 point scale. Risk can be measured based on grades and/or attendance. In addition, the score can be adjusted using Activities and Notes. Since notes and activities are not directly tied to student performance, they can be used as a means to track the interest of applicants and other potential students a well. When the system is activated, every SONIS user will begin with a score of 100. Historical grades and attendance are not considered.
Setup
To set up the At-Risk Alerts feature and define markers as well as statuses, navigate to the At-Risk Alert Setup utility in the Systems hub.
At-Risk Markers
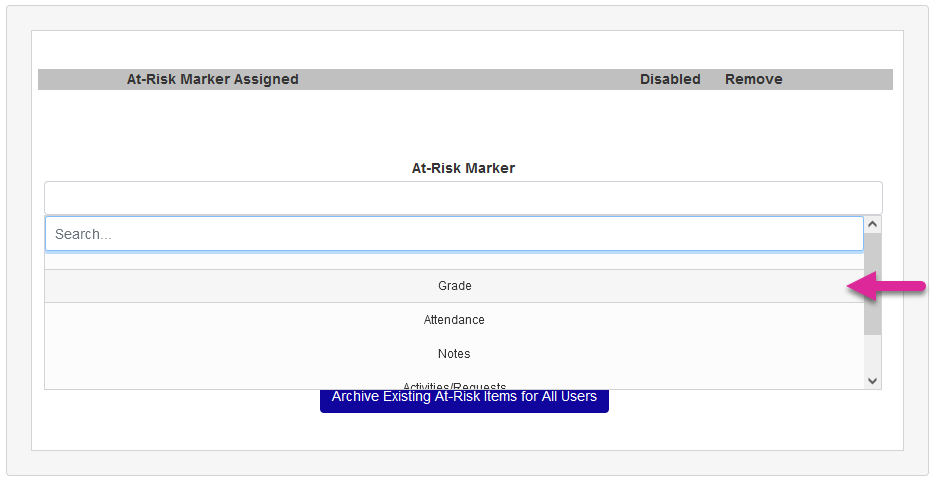
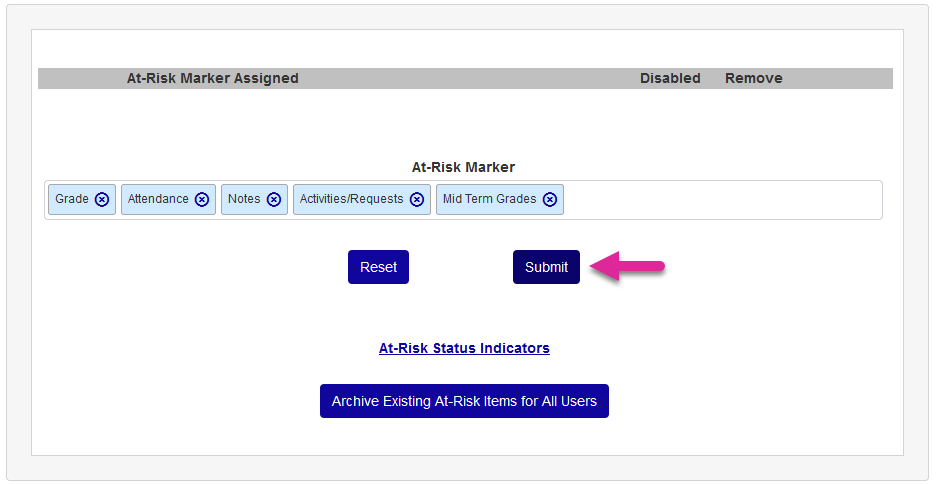
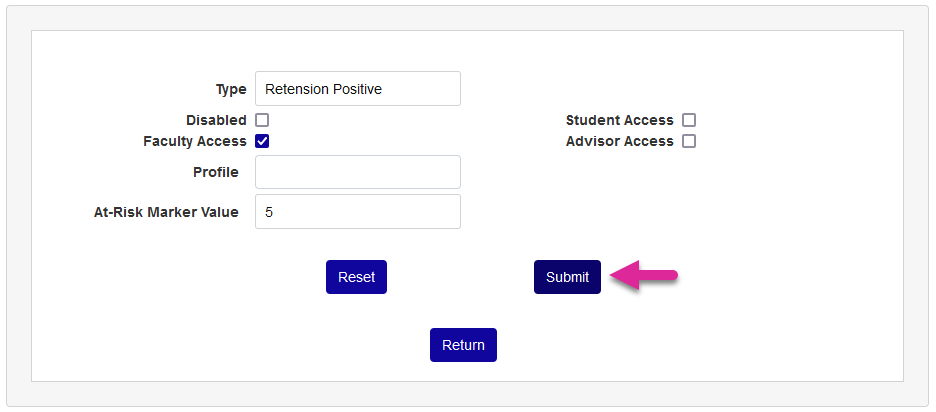
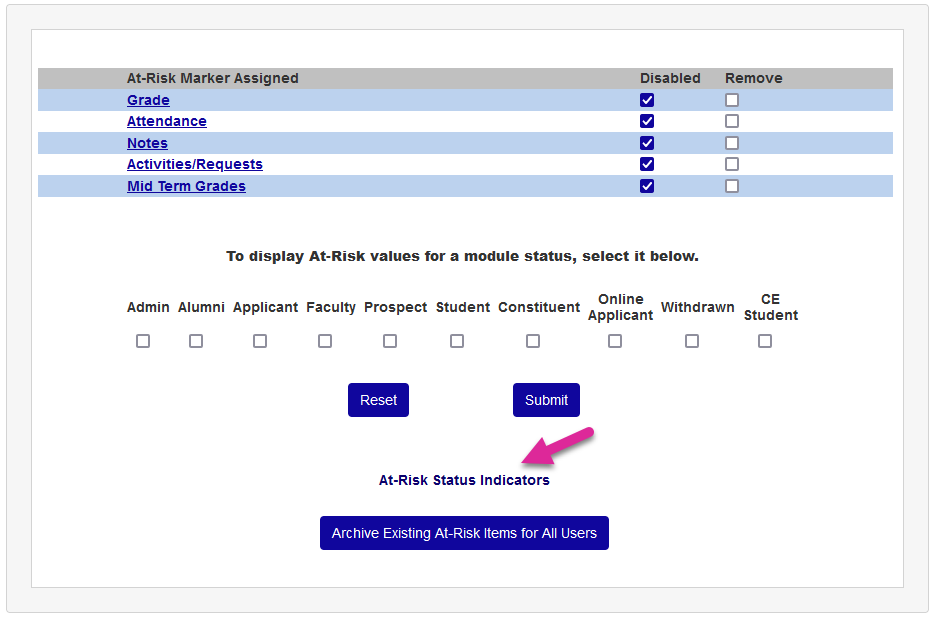
First, choose the markers that will be used to determine a user's at-risk status. Select an At-Risk Marker and click Submit to add it. Each marker defaults to disabled when added.
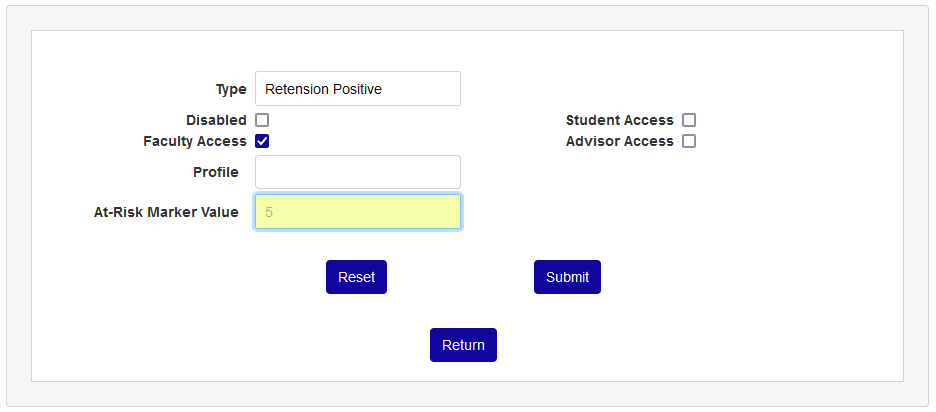
Next, click on the name of the marker to set up how the marker will be used.

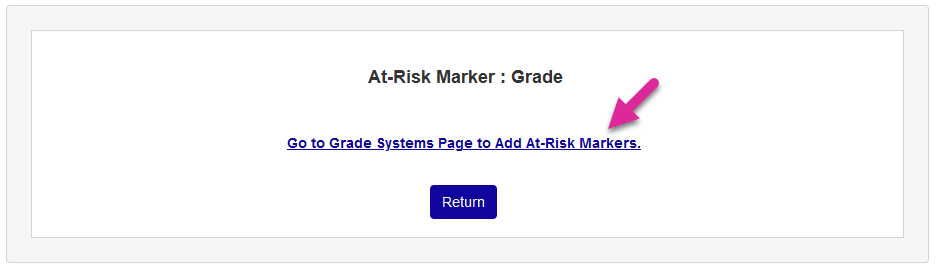
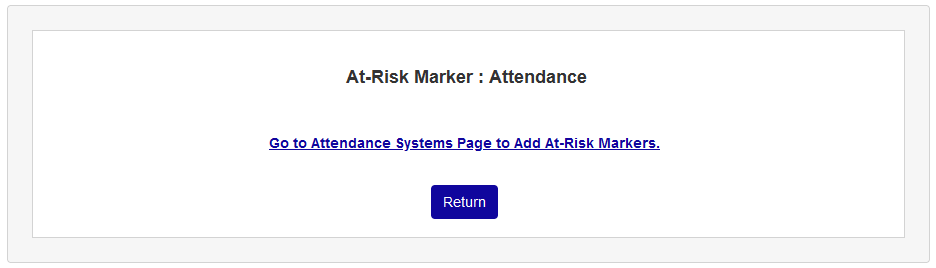
Each individual marker must be set up from the page where the setup for that function normally occurs. Click the link to navigate to the setup page to continue.
Grades
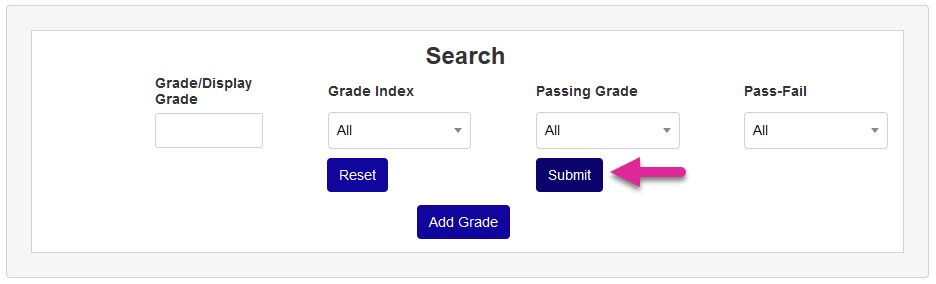
On the Grade Utility landing page, click Submit to pull up the full list of grades.
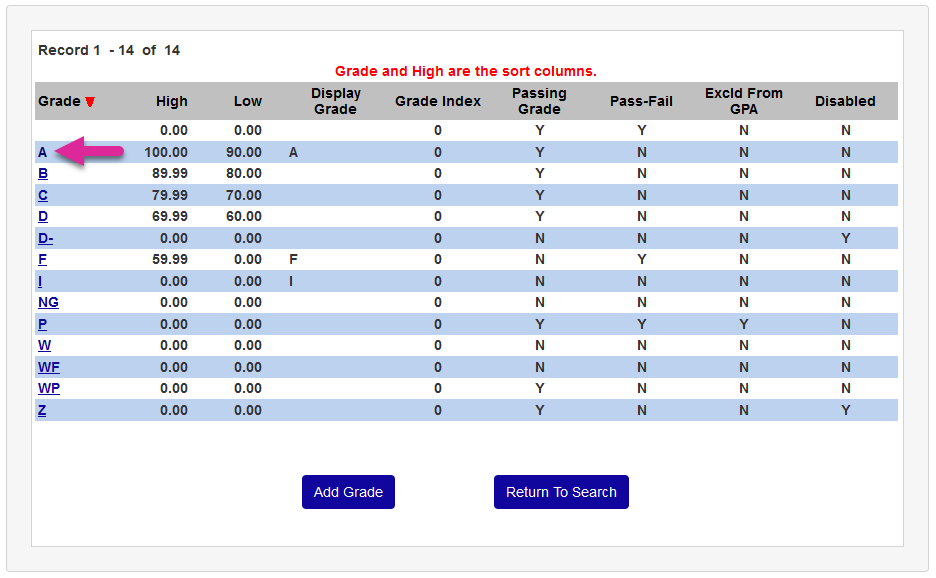
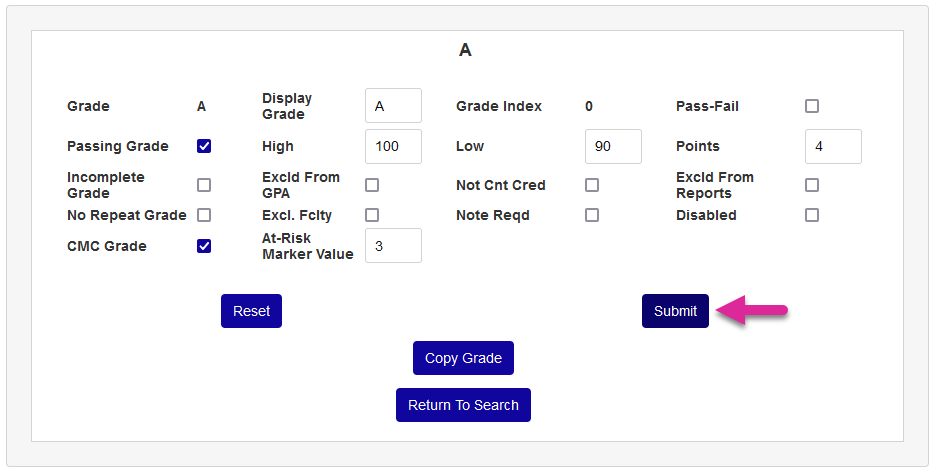
Once the list is displayed, click on a grade to add a marker to that grade.
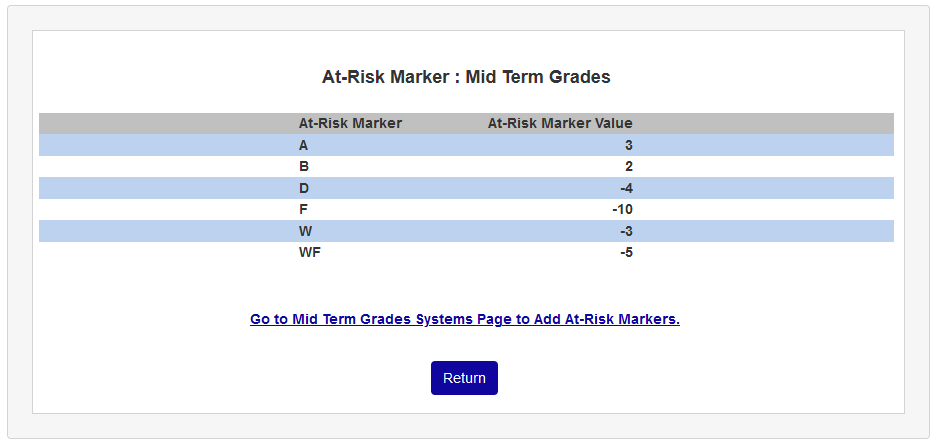
On the grade page, set the At-Risk Marker Value. This is the positive value that will be added to the user's score or the negative value that will be subtracted from it based on the user receiving the grade in question. These values can be set higher or lower than the examples based on institutional preferences. However, keep in mind that the marker is based on a 100 point scale and a user cannot exceed 100 or go below 0. The field can accept decimal places.
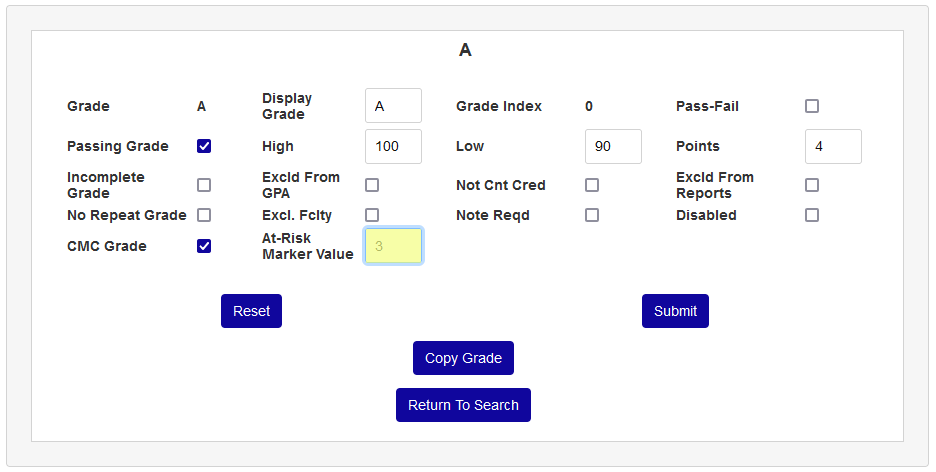
Click Submit to save the change and repeat the process until all grades that will be markers have been set up.
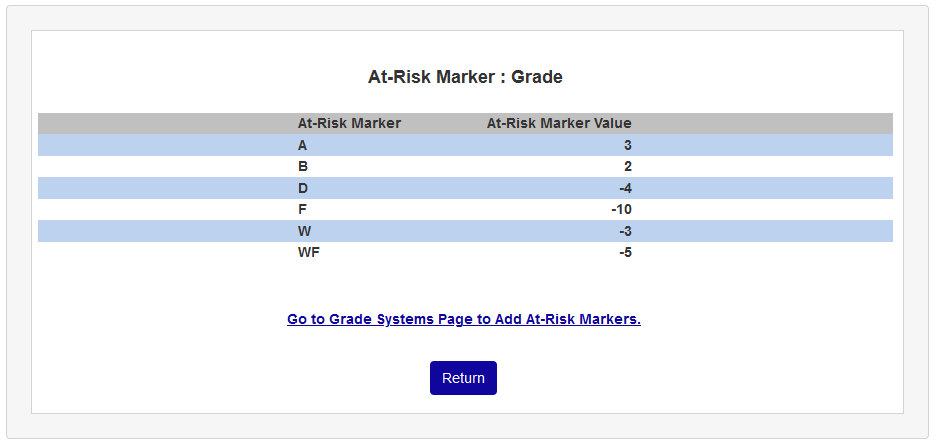
Return to the At-Risk Alert Setup page to view the full list of grade markers.
Attendance
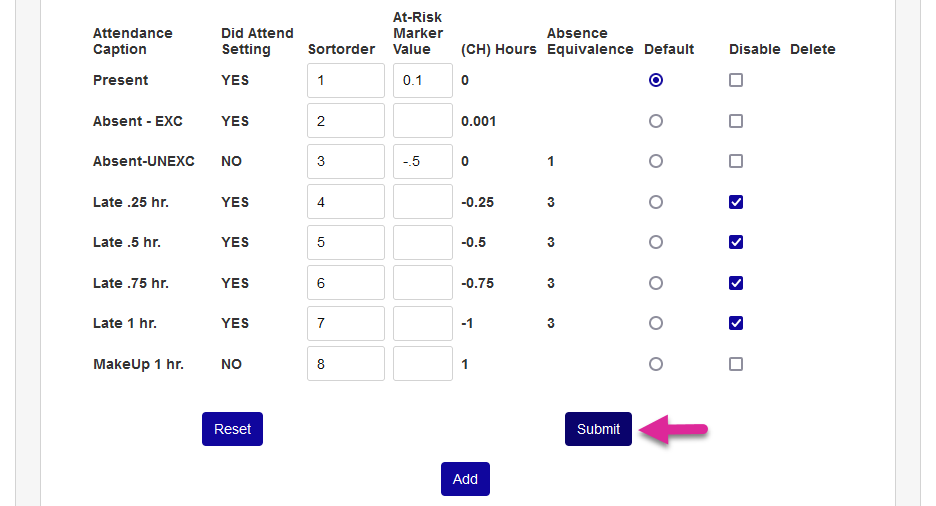
On the Attendance Captions summary page, use the At-Risk Marker Value field to set the proper markers for any attendance caption that should influence a user's score.
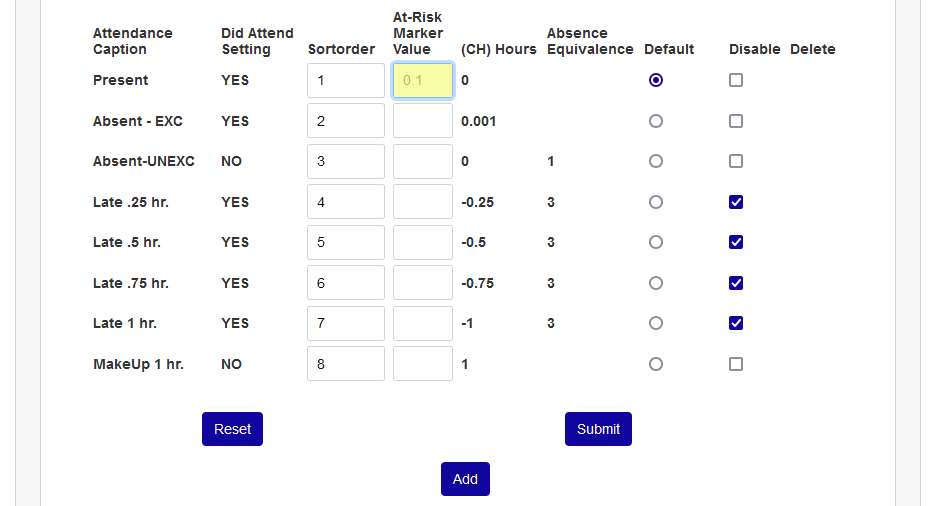
Click Submit to save the changes.
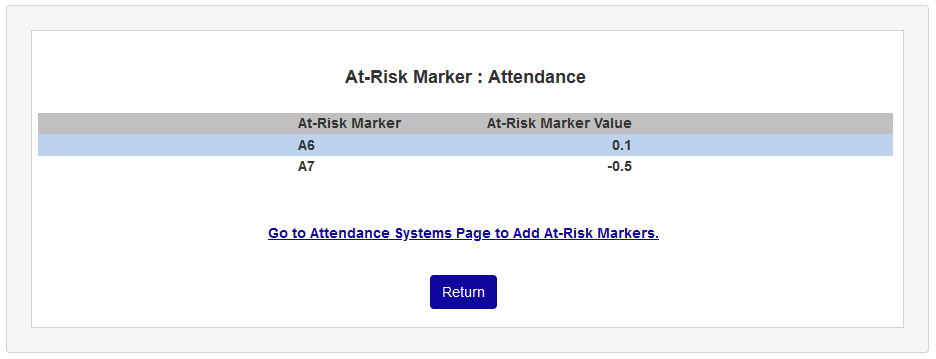
Return to the At-Risk Alert Setup page to view the full list of attendance markers.
Notes
Whereas the ways in which grades and attendance will affect a student's potential retention are obvious, notes are intended to be used more to adjust scores based on additional information known by administration. Though each institution can use them as they see fit.
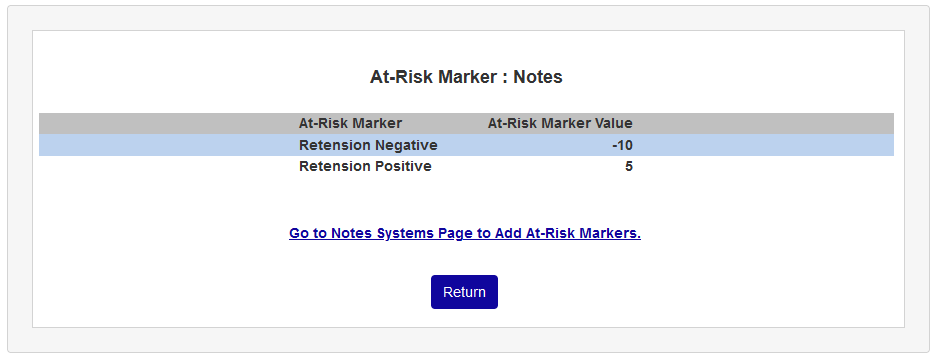
On the Notes summary page, either click on the name of an existing note or click Add to create a new note that will be used as a marker that should influence a user's score.
Whether creating a new note specifically to be used in terms of at-risk alerts or adding at-risk markers to an existing note, place a numerical value in the At-Risk Marker value field. Keep in mind that the marker is based on a 100 point scale and a user cannot exceed 100 or go below 0. The field can accept decimal places.
Click Submit to save the change.
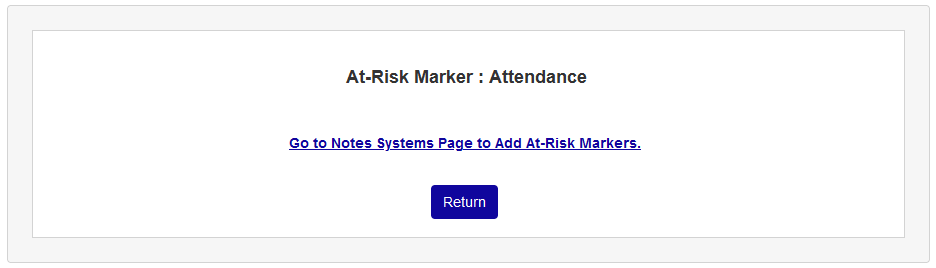
Return to the At-Risk Alert Setup page to view the full list of note markers.
Activities/Requests
Like notes, activities can be used to lower or raise a student's at-risk score based on outside factors. For example, if an at-risk student meets with an advisor or visits an on-campus learning center or works with a tutor, administrators may want to raise the student's score based on those events.
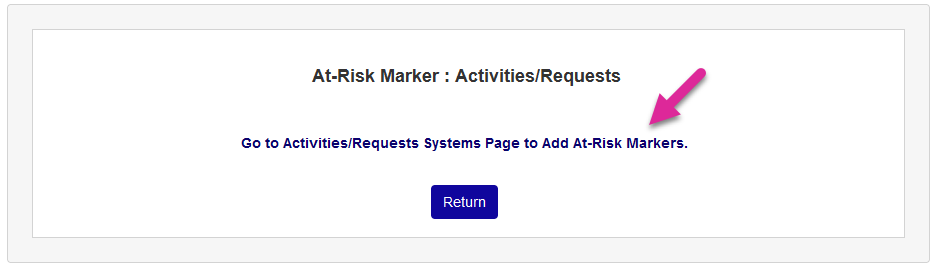
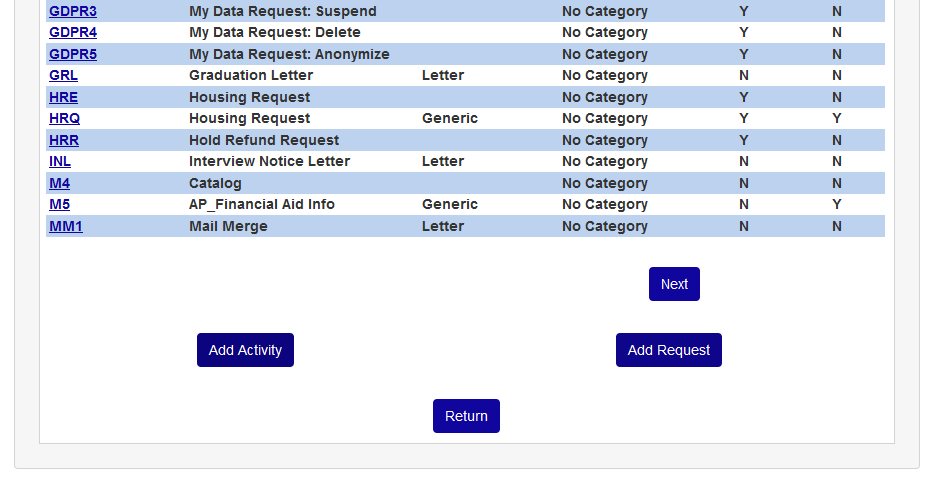
On the Activities summary page, either click on the name of an existing activity or click Add Activity to create a new activity that will be used as a marker that should influence a user's score.
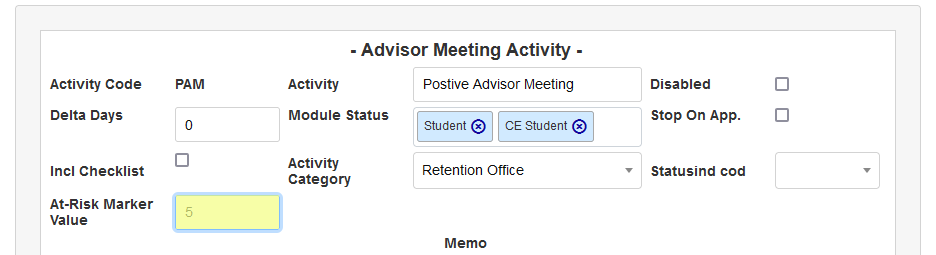
The At-Risk Marker Value field is not available when creating a new activity, but appears when an activity is being edited. Place a numerical value in the field. Keep in mind that the marker is based on a 100 point scale and a user cannot exceed 100 or go below 0. The field can accept decimal places.
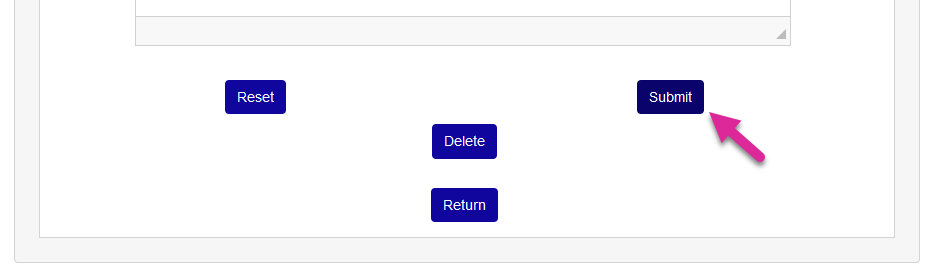
Click Submit to save the change.
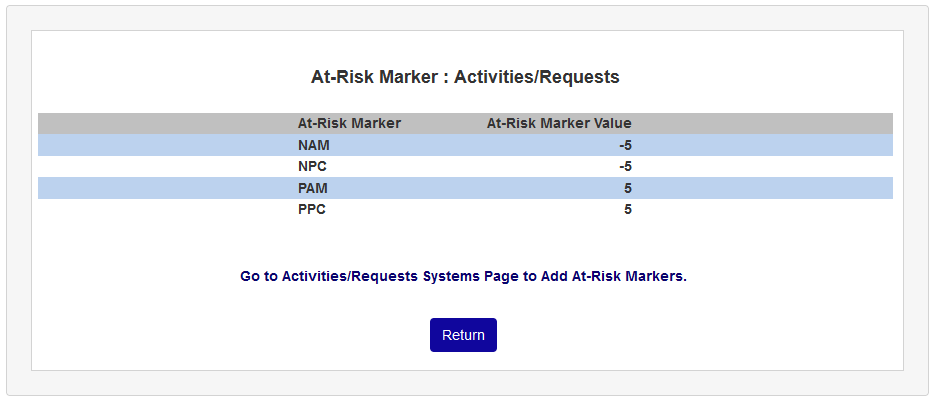
The same process can be used to add markers to requests as well. Return to the At-Risk Alert Setup page to view the full list of activity/request markers.
Midterm Grades
In additional to final term grades, midterm grades can also be used to influence the at-risk value. The same grade markers are used, so there is no additional setup required unless there are grades that are only given at the midterm point and not as a final grade that need to be included.
At-Risk Status Indicators
Once markers have been created, return to the At-Risk Alert Setup launch page click the At-Risk Status Indicators link to setup the way that at-risk scores will be displayed.
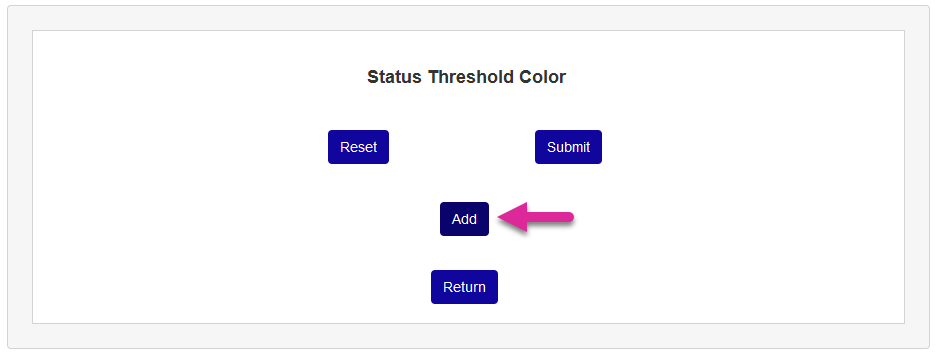
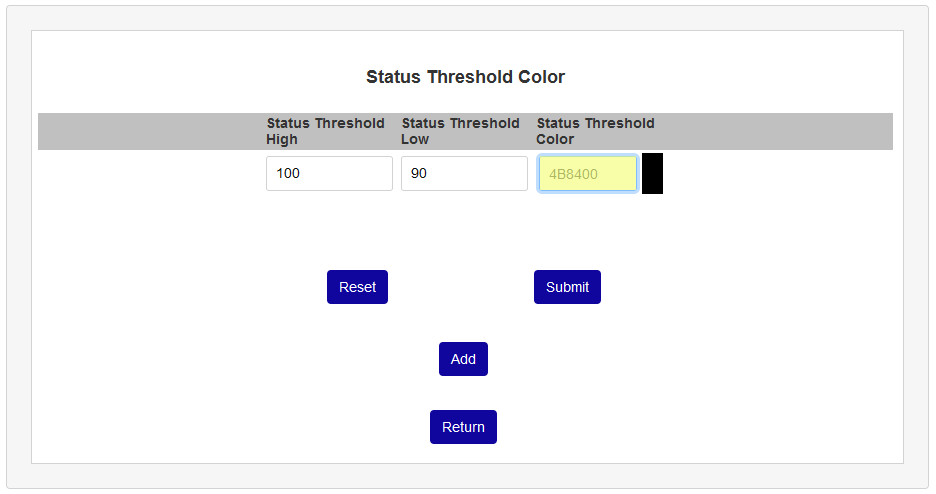
On the following page, click Add to begin setting up status thresholds. Thresholds are a way to see how at-risk a student is at a glance using color coding.
Enter a High Threshold and a Low Threshold, the numbers where the threshold begins and ends. These numbers should be based on the point values used when creating markers.
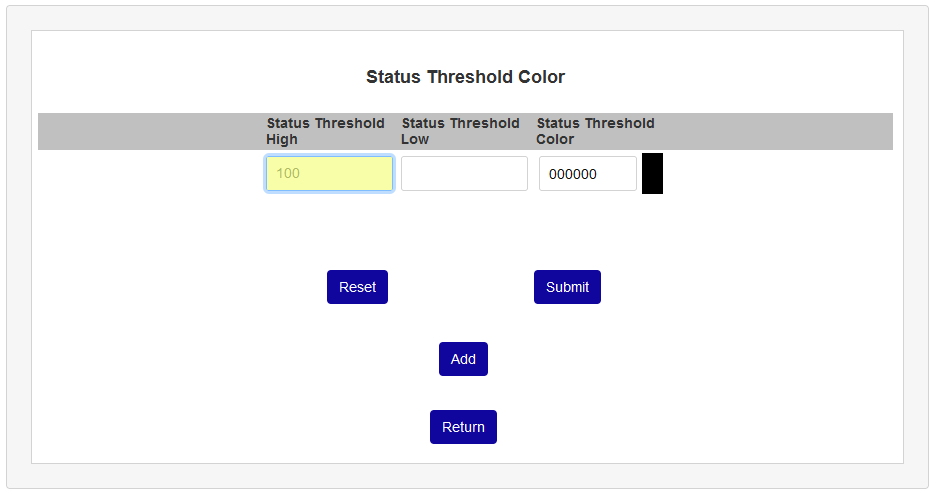

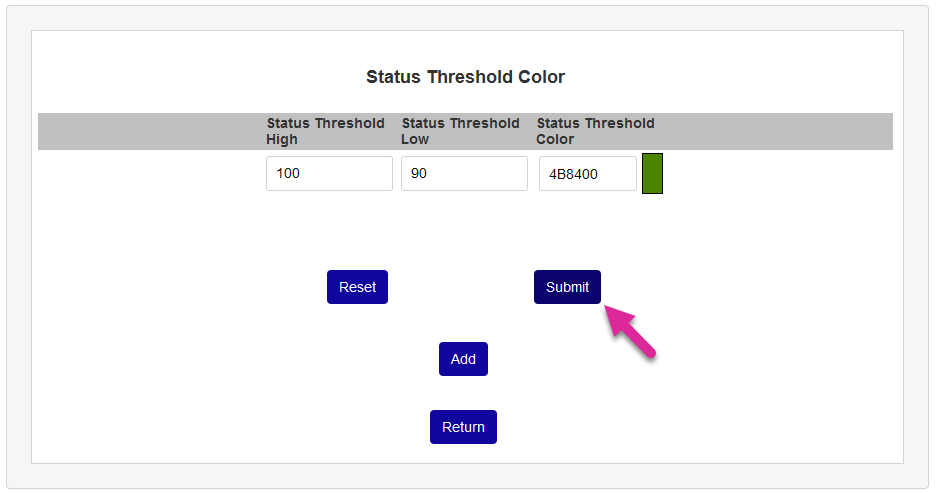
Next, enter a hexadecimal color code into the Threshold Color Code field to set the threshold color.
Click Submit to save the changes.
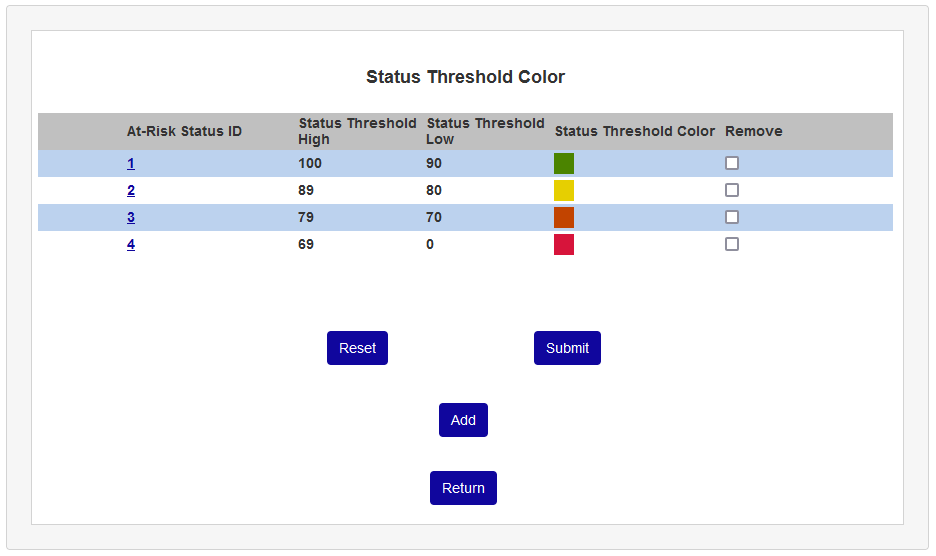
Some schools may choose to set up just two or three thresholds while others may choose to create more to allow for greater specificity.
Activating
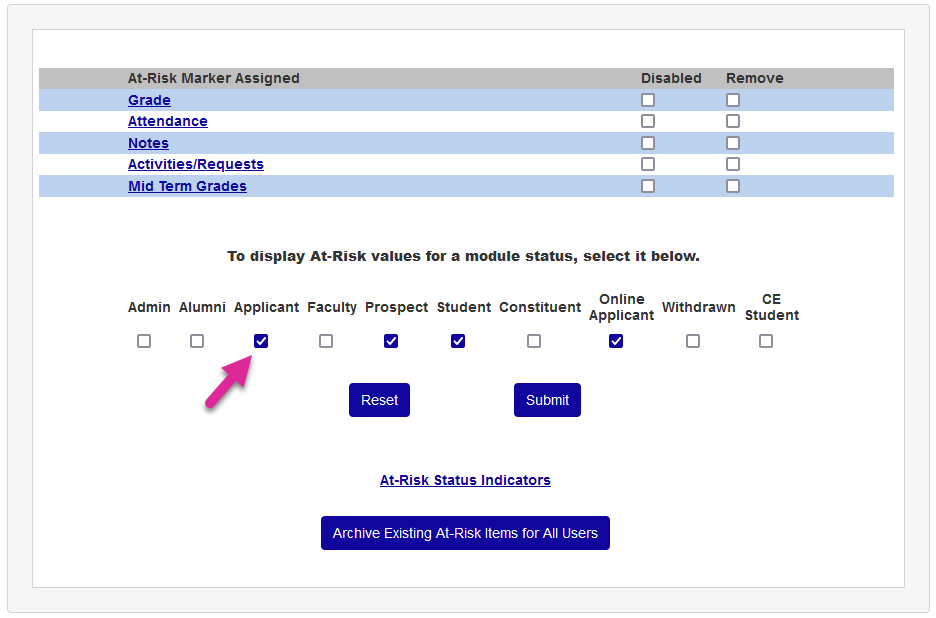
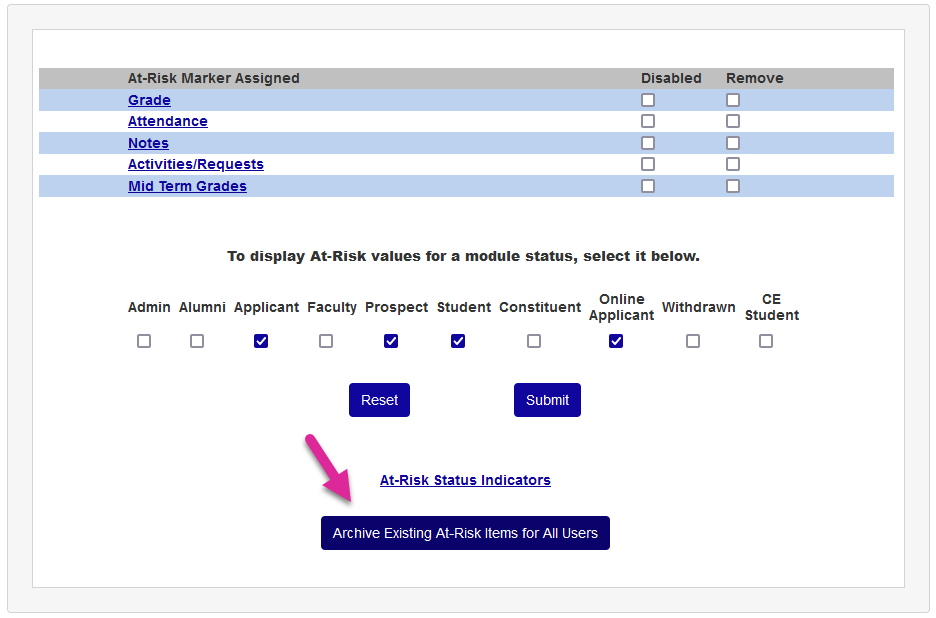
After setting the thresholds, return to the launch page. Uncheck the Disabled box(es) and click submit to activate the at-risk markers.
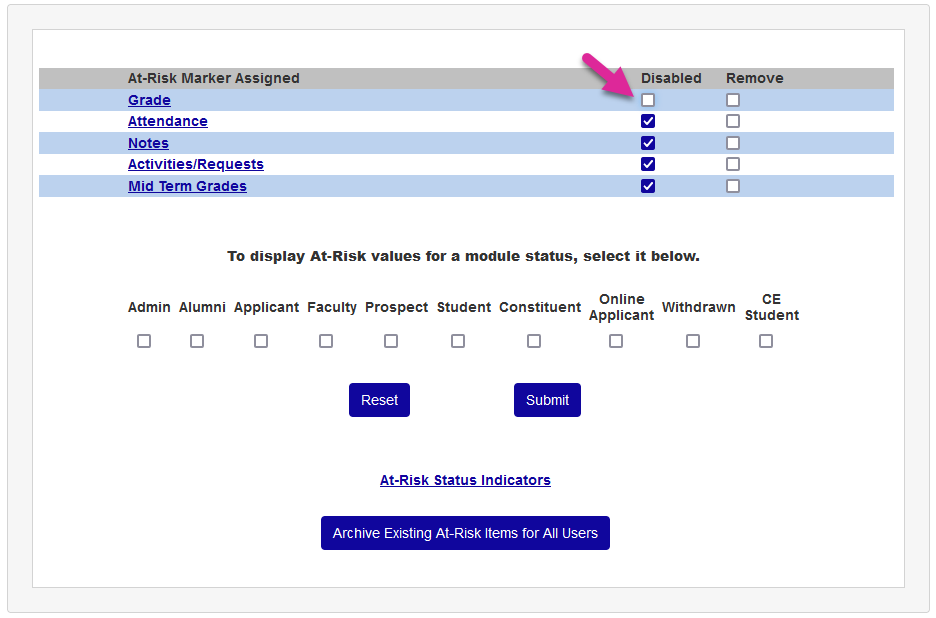
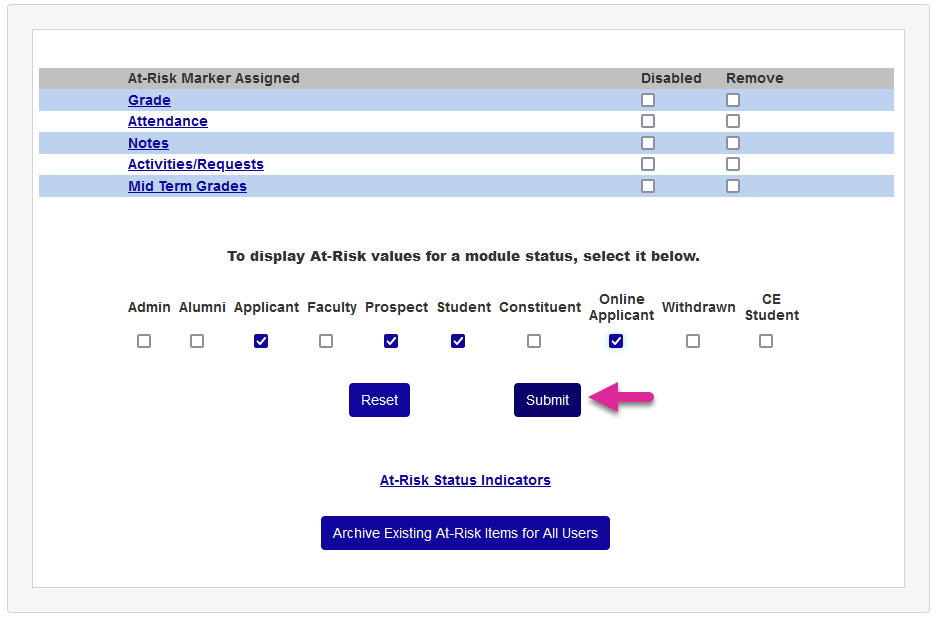
Then check each module status that should be tracked with at-risk alerts. Some institutions may choose to use the alerts for students only while others may use them for additional statuses.
Click Submit to save the changes and activate the alerts.
Viewing Alerts
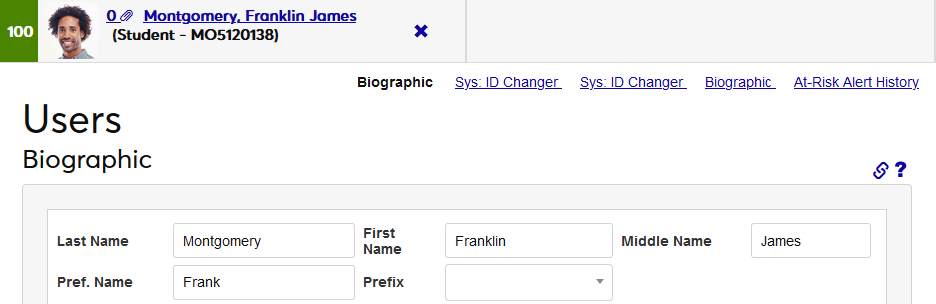
Once the markers have been activated, every user in the SONIS system will have an at-risk score displayed the in the name select bar at the top of the page.
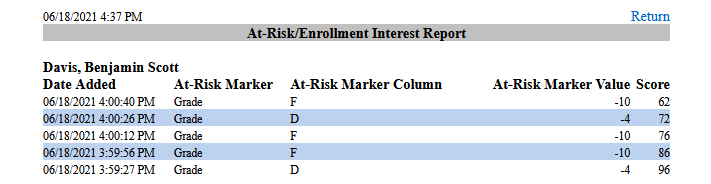
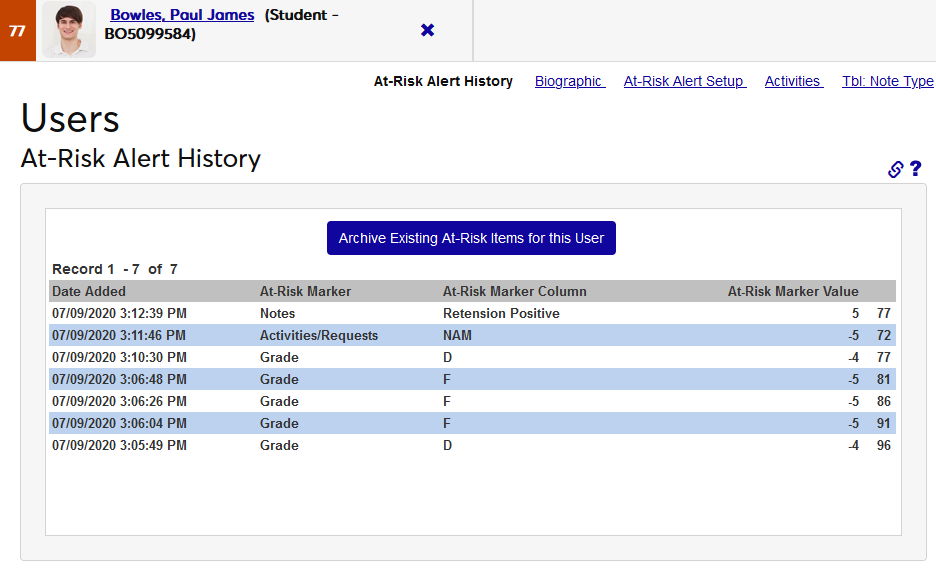
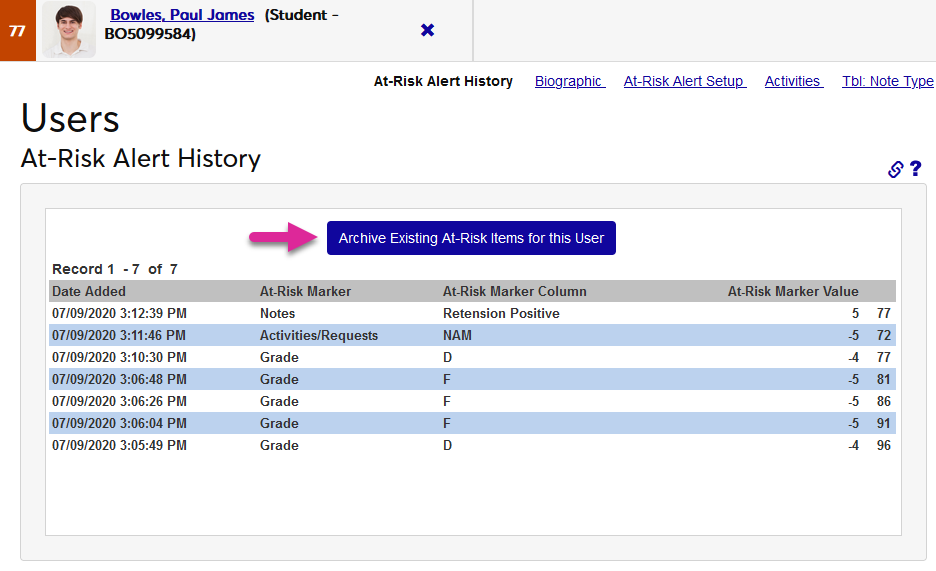
Administrators can view the different markers that are being used to calculate a user's score by navigating to the At-Risk Alert History under a student's records.
Faculty/Advisor Portal Access
Some institutions may choose to give faculty and/or advisors access to view student at-risk alerts within the portal. To activate this option, navigate to Web Options in the Systems hub. Check the At-Risk Alerts in Faculty Access to allow instructors to see at-risk alerts for students they are teaching. Check the At-Risk Alerts in Advisor Access box to allow advisors to see at-risk alerts for their advisees. Click Submit to save the changes.

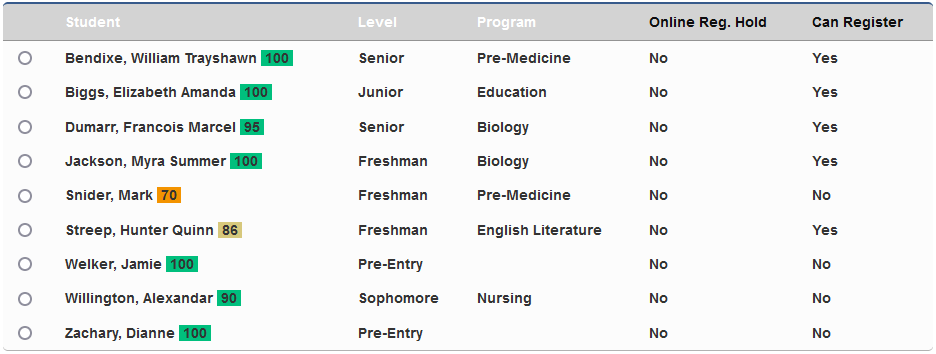
Once faculty members have been given access to view at-risk alerts, instructors will be able to see them on every Course roster page.
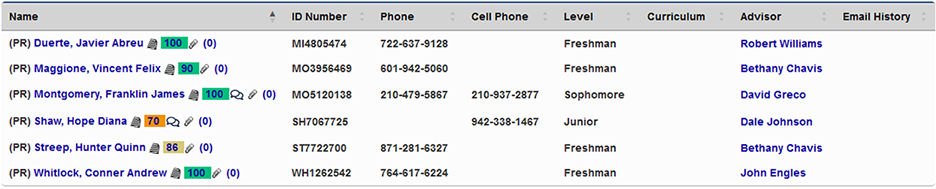
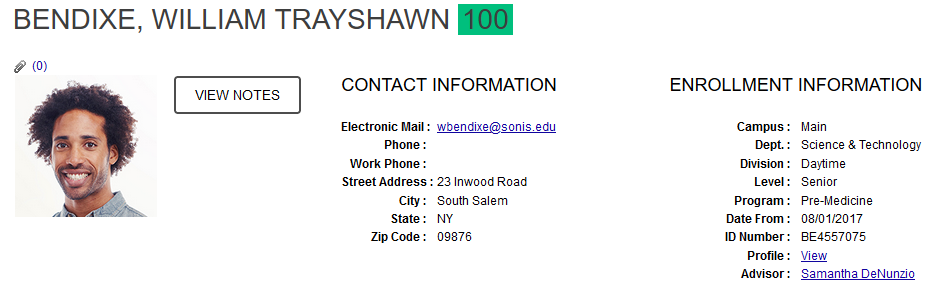
Advisors will be able to see them on the Advisee Listing page and again after selecting the student and viewing their records.
Archiving Scores
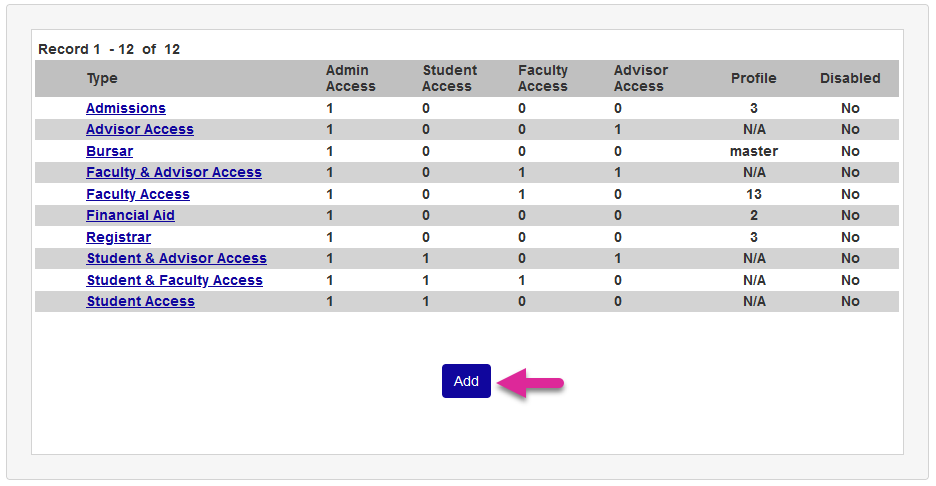
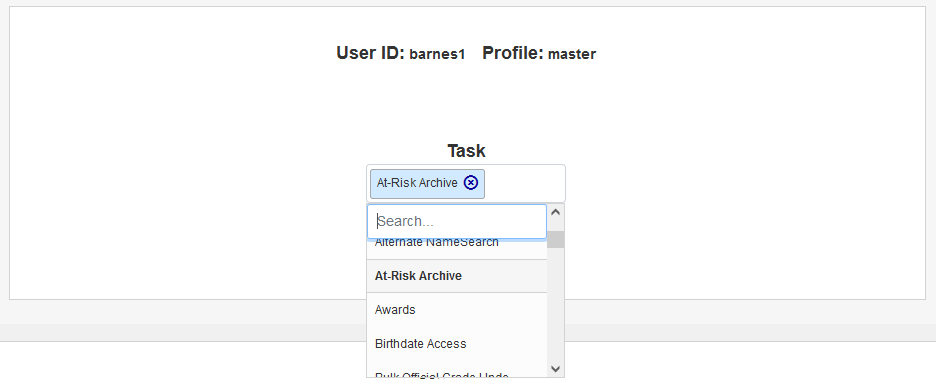
Before an administrator can archive an at-risk score either globally or on an individual level, they must be granted the At-Risk Archive permission. To give an administrator this permission, navigate to their User Security profile and select At-Risk Archive under the Additional Privileges option.
At-risk markers can be archived at any time to return user scores to 100. This may be done at the end of the school year, the end of a semester, or another designated point. To reset all users, navigate to the At-Risk Alert Setup and click Archive the Existing At-Risk Items for All Users button. Then click Confirm Archive to complete the process.
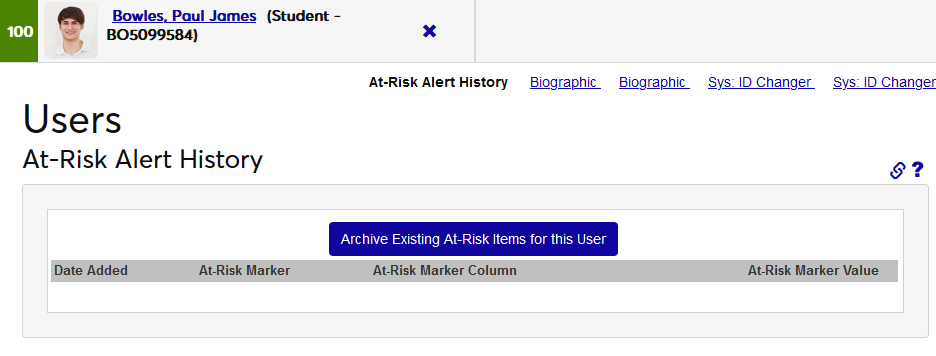
To archive the alert items for a single user, navigate to that user's At Risk Alert History Records page and click the Archive Existing At-Risk Items for this User button. Then click Confirm Archive to complete the process.
Notification Assignment
SONIS also offers a notifier that will alert administrators when a user drops below a certain threshold. It can also be used to notify administrators of all threshold changes, though that report could be very long and less useful.
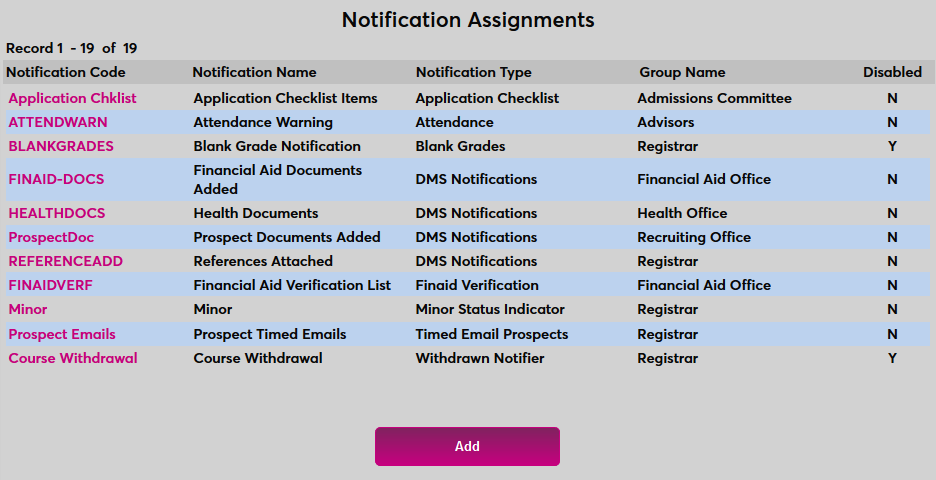
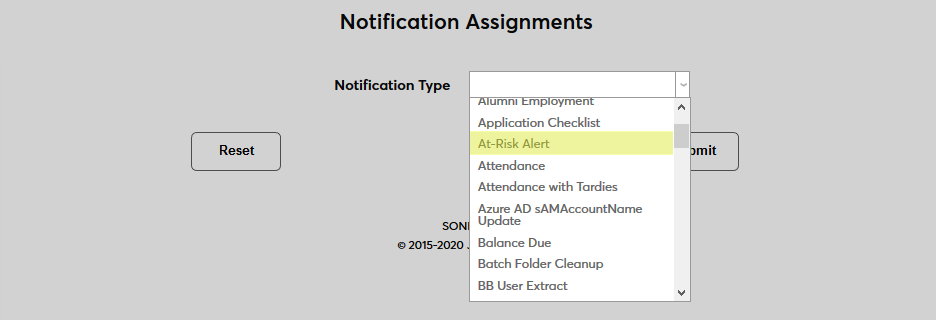
To begin, navigate to the Notification Assignments page under the Systems menu and click Add to create a new notifier.
Select At-Risk Alert from the Notification Type dropdown menu and click Submit.

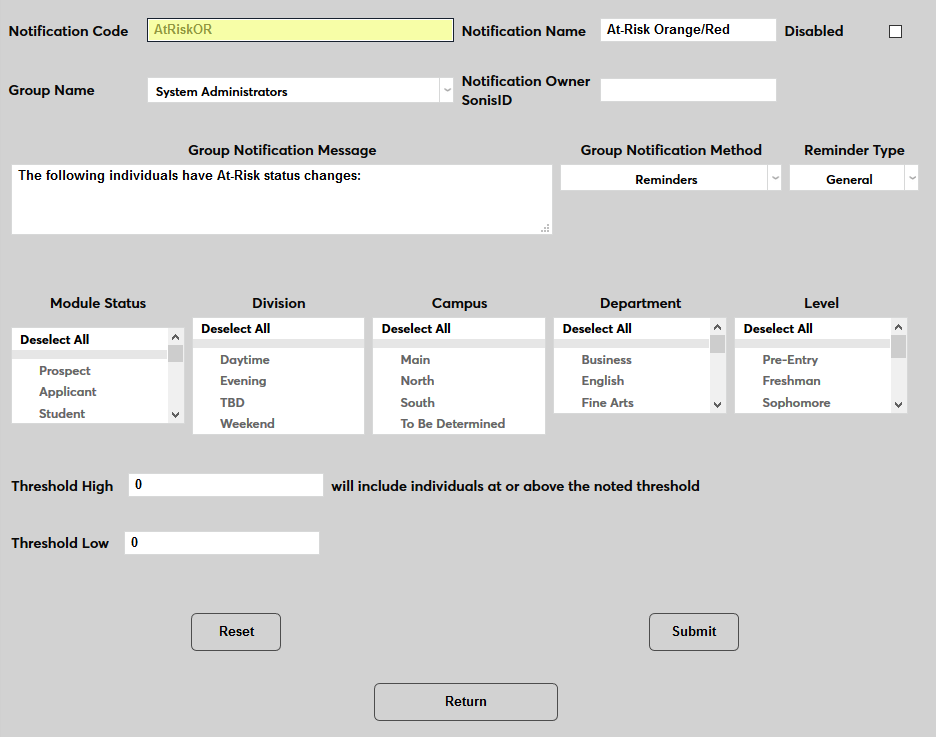
Next, create a Notification Name, a descriptor of the notifier's purpose with a 50 character limit, and a Notification Code, a shorter version of this name with a 20 character limit that the SONIS system will use internally to identify the notifier.
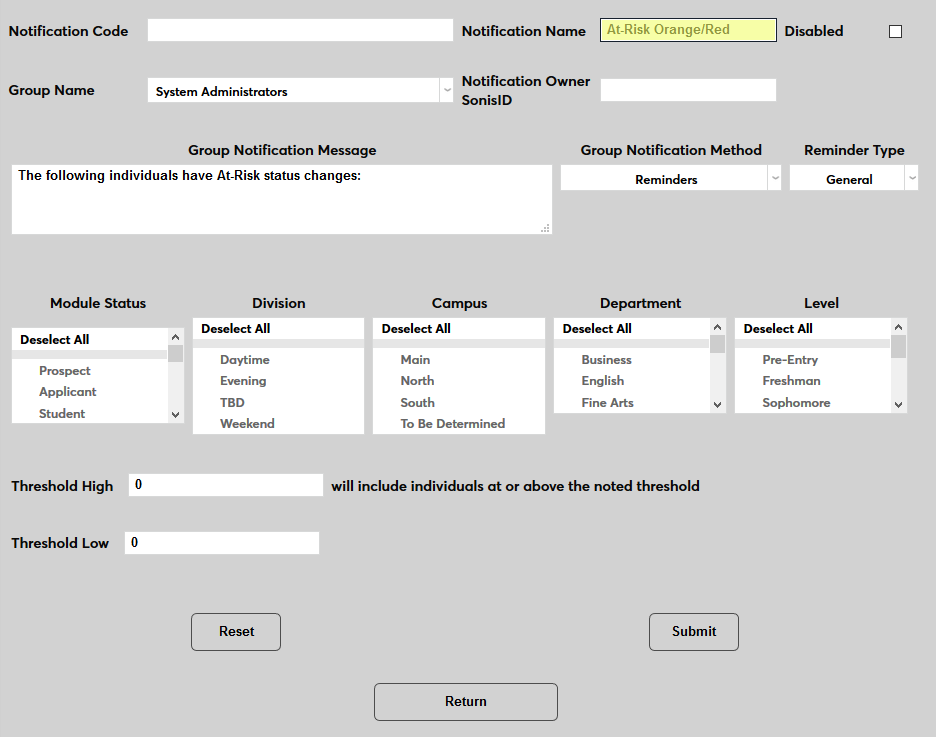
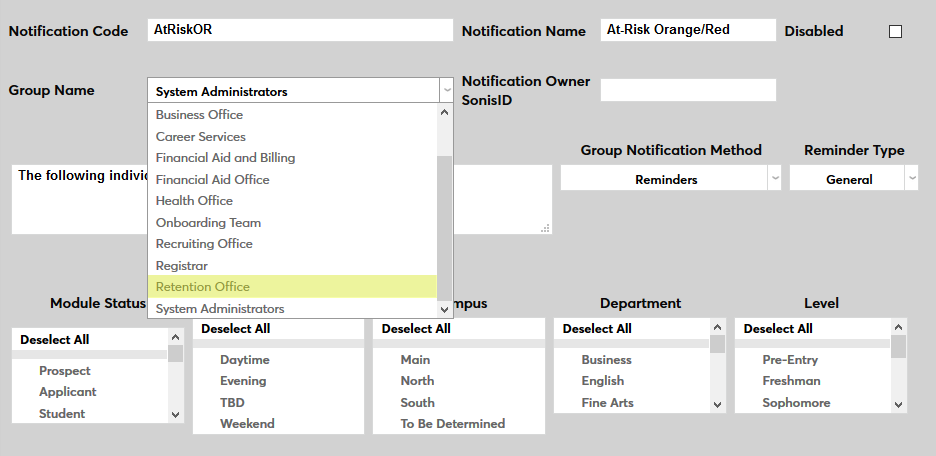
Select a group of staff members to receive the notification from the Group Name dropdown menu. Groups can be added and edited through the Table Maintenance utility.
Enter the ID of the staff or faculty member who will be managing this notification in the Notification Owner SONIS ID field.
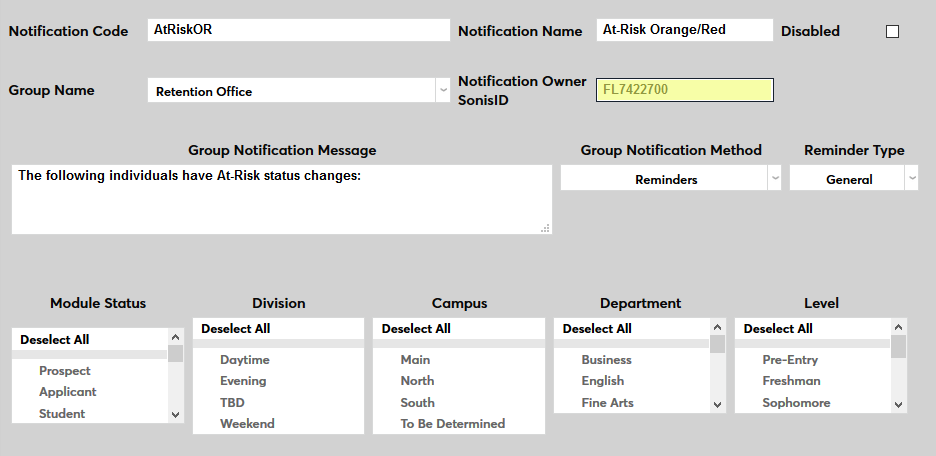
Create a Group Notification Message that will be sent to the group members when the task takes place.
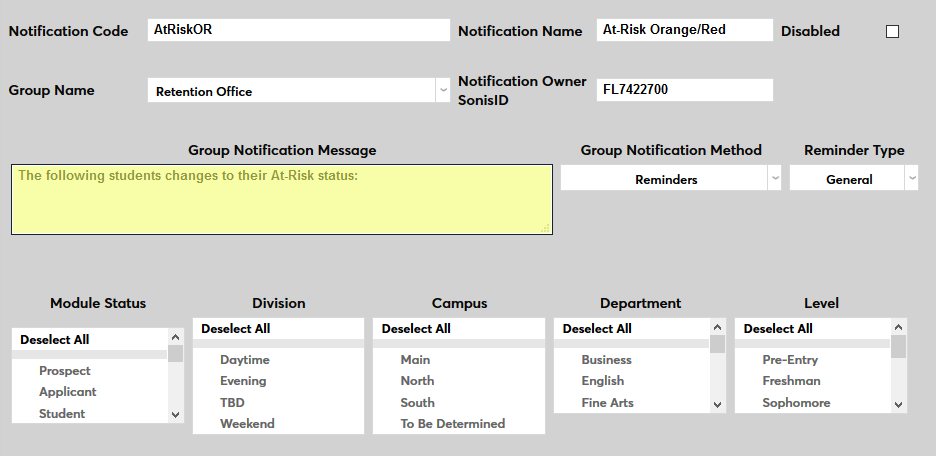
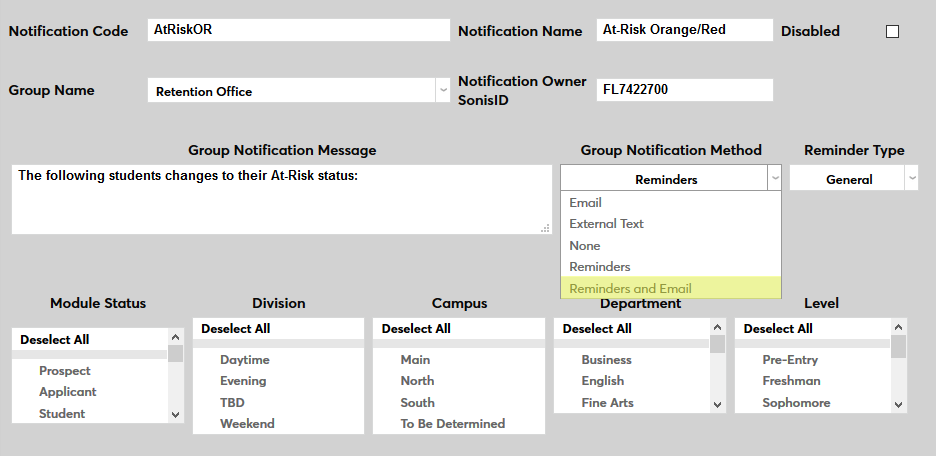
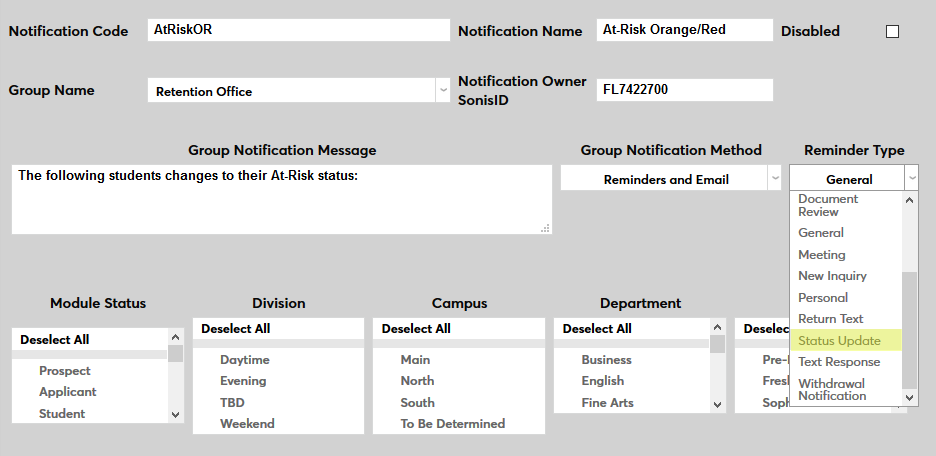
The Group Notification Method dropdown menu designates whether the group and individual users will receive an in-system reminder, an email, a text, or no notification when the process is triggered. The Reminder Type dropdown can change how the in-system reminder displays. This list can be created and edited via the Table Maintenance utility.
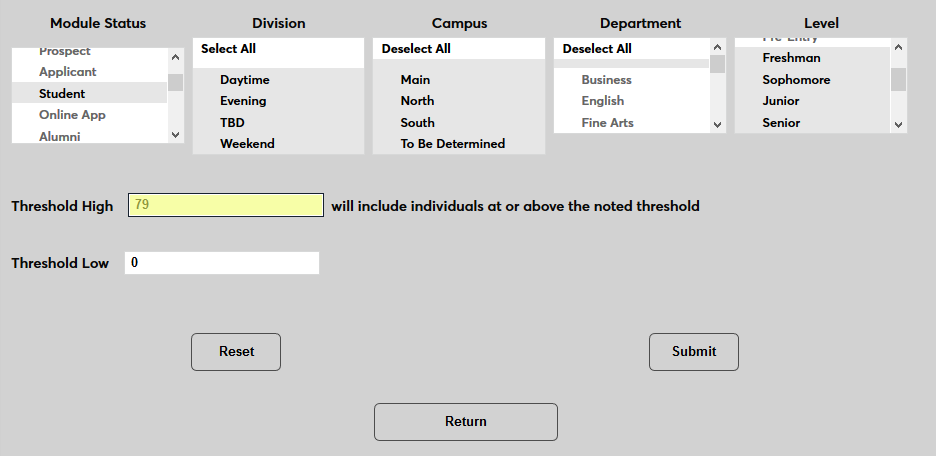
The Module Status, Division, Campus, Department, and Level menus can be used to narrow down the list of users whose status change will be included in the alert.

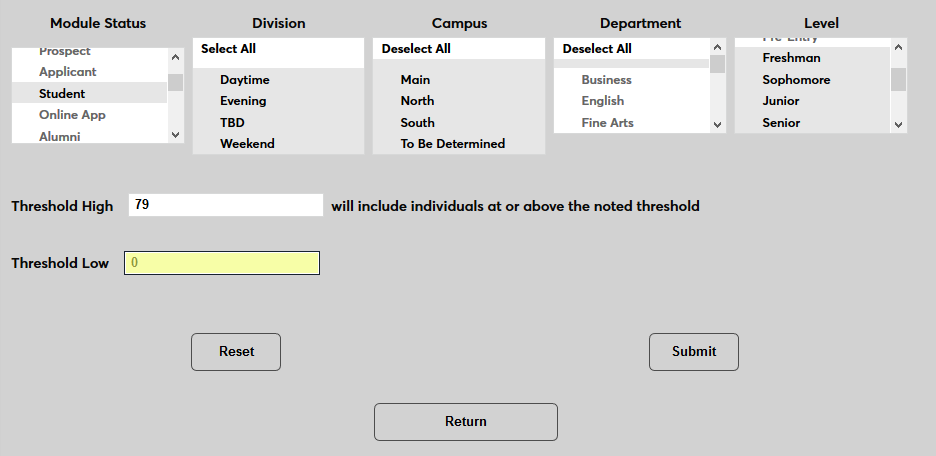
Use the Threshold High and Threshold Low fields to set an at-risk threshold to be included in the notification or leave those fields blank to include all at-risk changes.
Click Submit to save the changes and create the notifier.
Timed Task
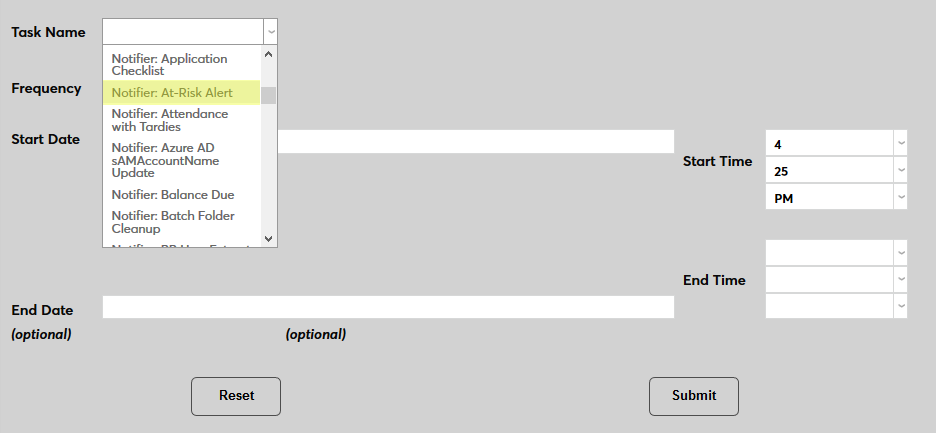
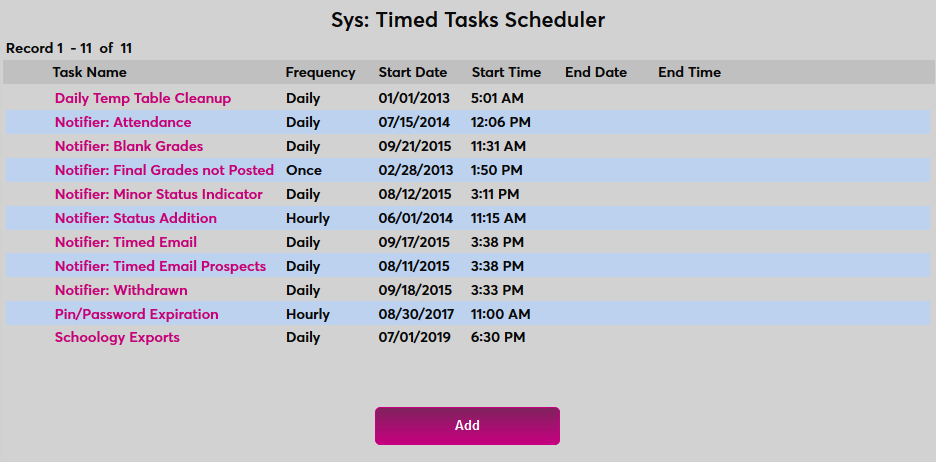
In order for the notifier to run, a timed task must be set up. Navigate to the Timed Task Scheduler under the Systems menu and click Add to create a new task.
Select Notifier: At-Risk Alert from the Task Name dropdown menu.
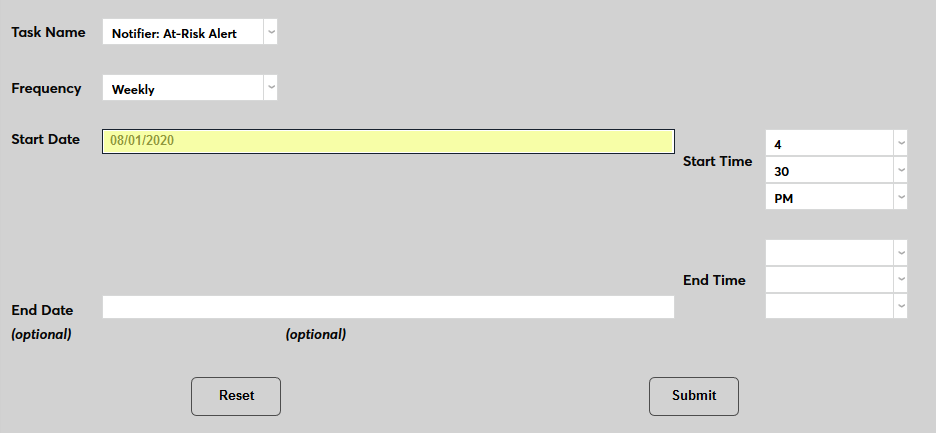
Select how often the task should occur with the Frequency dropdown. Some schools with frequent changes based on notes or activities may wish to run the task daily while others who are primarily basing changes on grades and/or attendance may prefer to run it weekly or monthly.
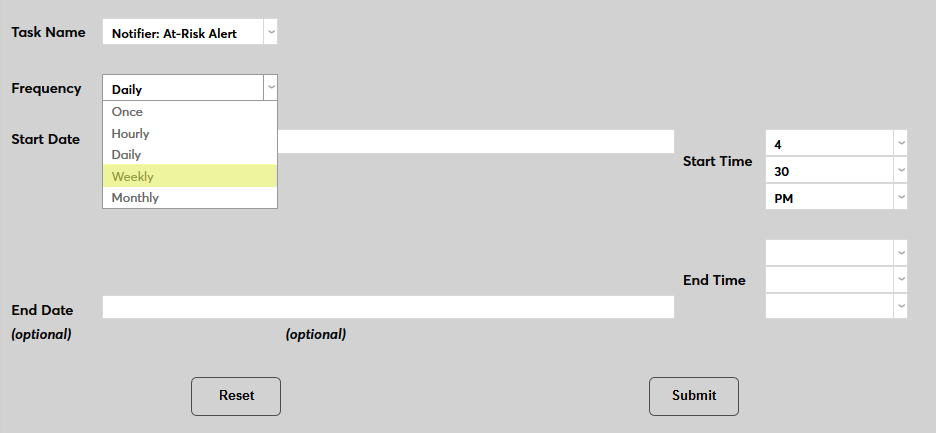
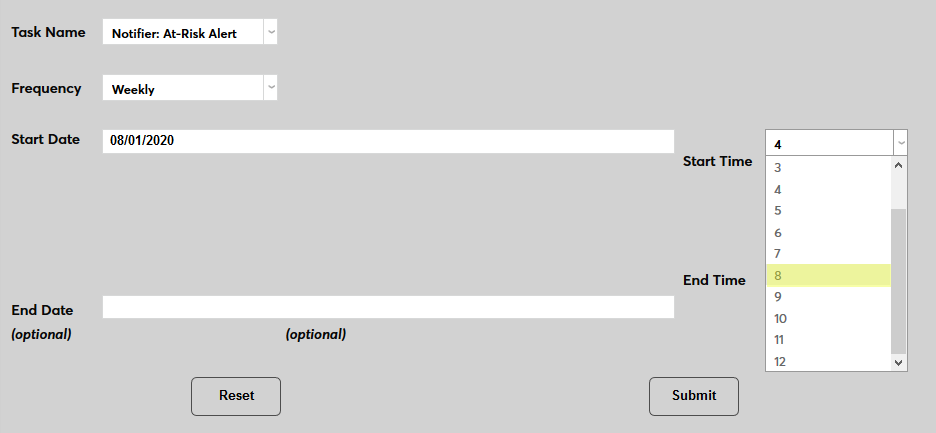
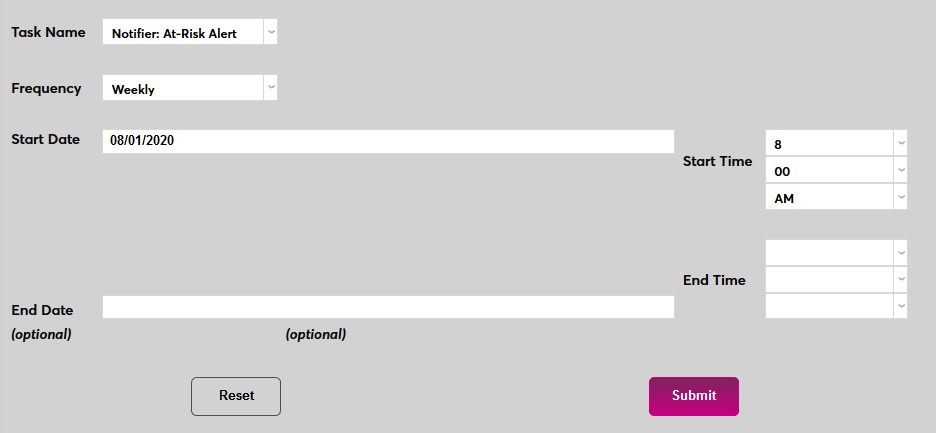
The Start Date and Start Time will automatically be set to the current date and time but can be changed to suit individual preferences. The End Date and End Time are optional.
Click Submit to save the changes and activate the timed task.
Report
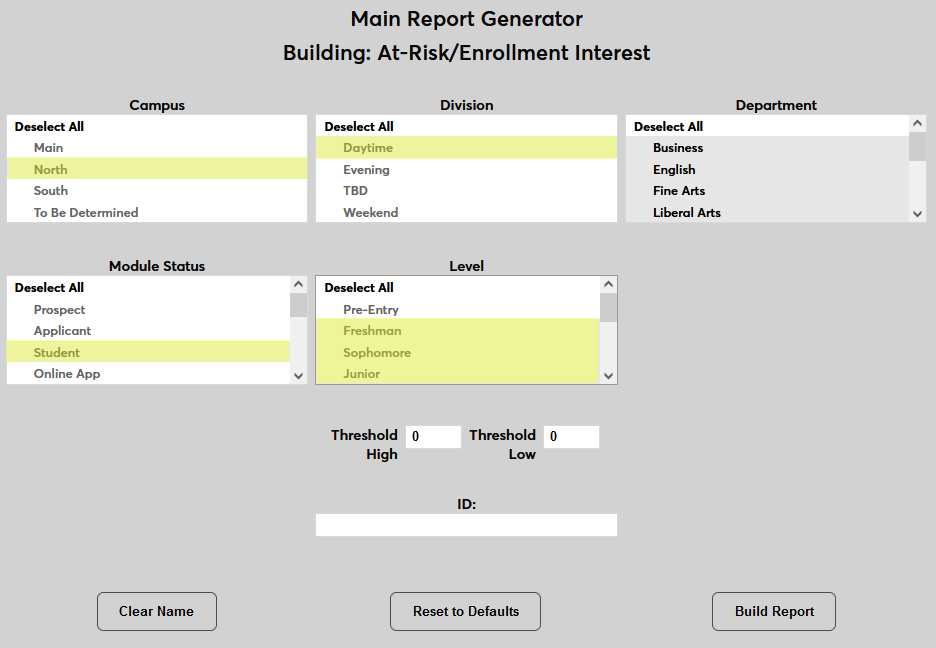
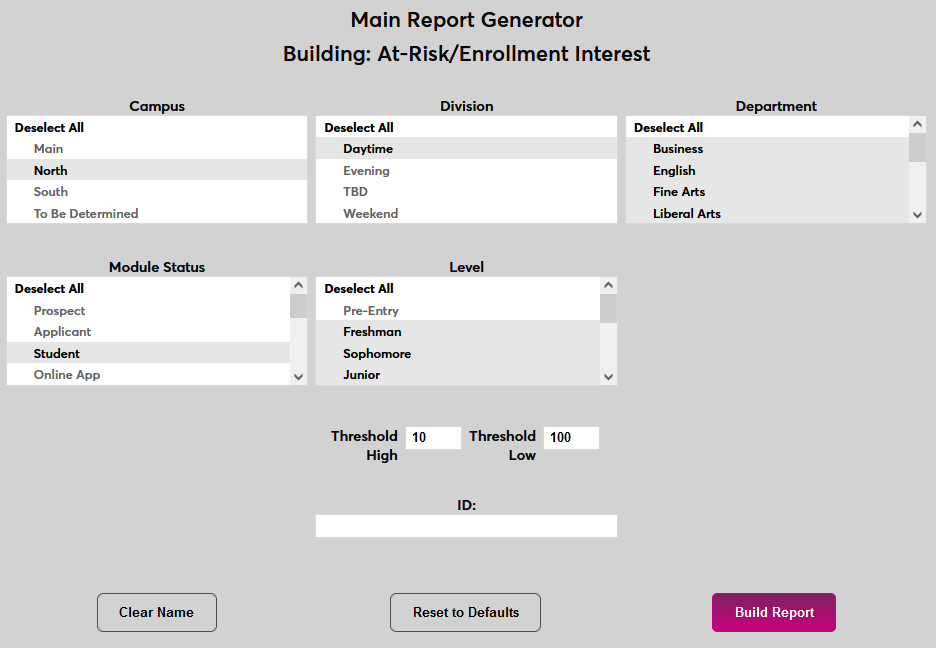
Jenzabar SONIS also offers a report that can be used to see where students and prospects stand. Navigate to the At-Risk/Enrollment Interest report under the Reports menu. The report can be narrowed down by Campus, Division, Department, and Level. The Student Module Status is selected by default, but other statuses can be selected.
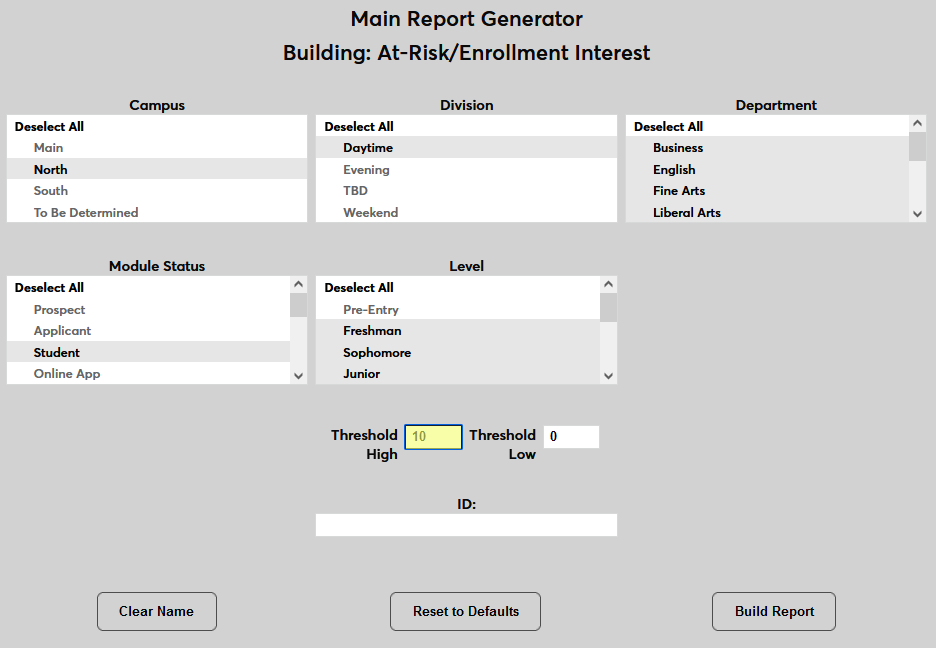
Use the Threshold High field to set the bottom of the threshold. Only numbers higher than this threshold will be displayed.
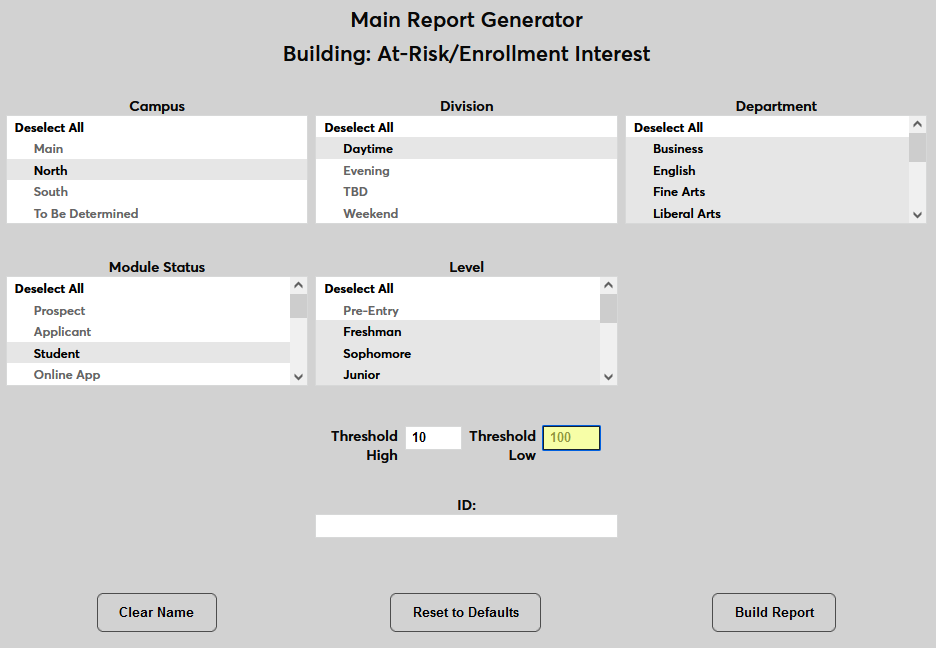
Use the Threshold Low field to set the top of the threshold. Only numbers lower than this threshold will be displayed.
An optional ID field is available to view an individual user's score.
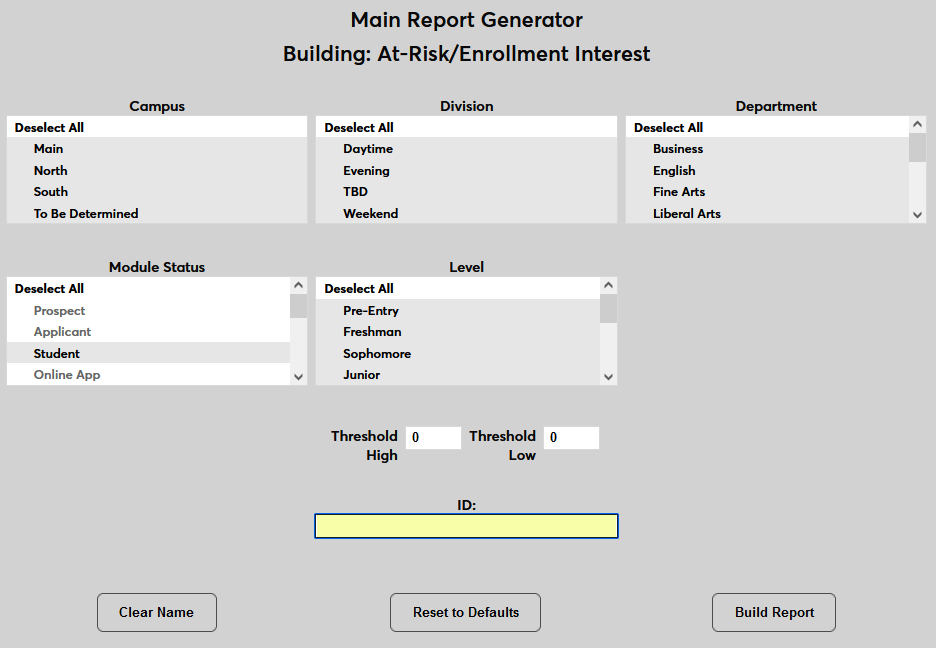
Once the correct sorting data is in place, click the Build Report button.
On the next page, click the Preview Report button. The report will open in a new window.

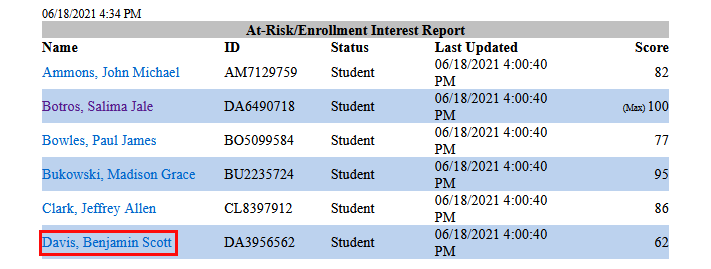
The report displays the user's Name, ID, Status, and Score along with the date and time that their score was Last Updated. Click on a name to drill down and see the various factors that make up the score.