Lists Management Utility
Overview
The Lists Management Utility allows Jenzabar SONIS administrators to group users based on a characteristic and use these lists to make bulk changes such as assigning Holds.
Creating List Types
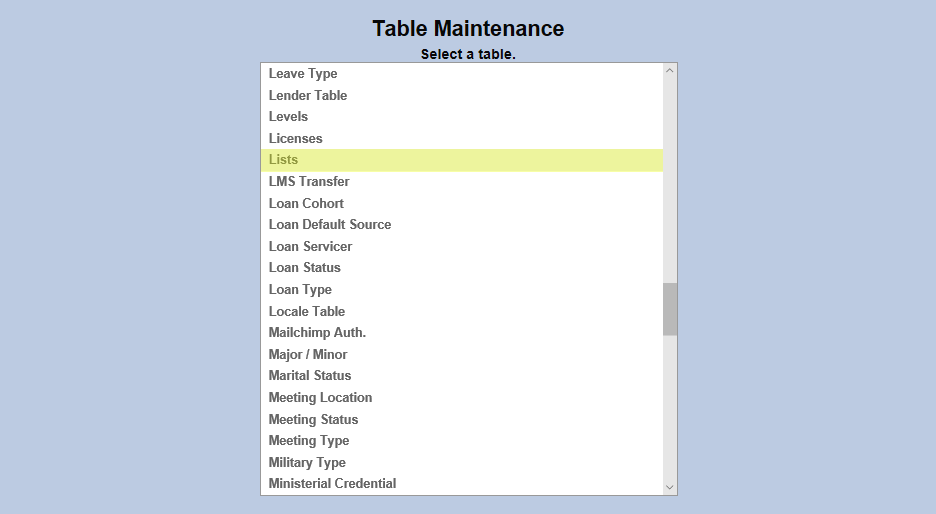
To create and edit list types, navigate to the Lists table under Table Maintenance in the Systems hub.
Click Add New Record to create a new list or click on the List ID to edit an existing list. As with other tables, placing 1 in a field turns that bit on while placing a 0 in the field turns the bit off.
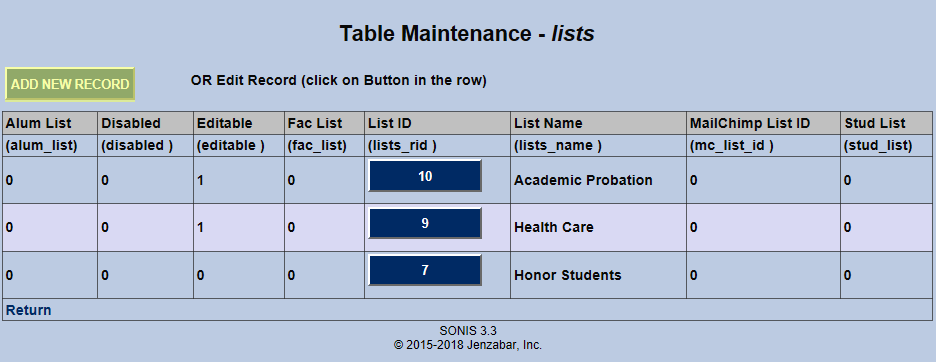
Placing a 1 in the Alumni List, Faculty List, or Student List boxes will make the list only available to those types of SONIS accounts.
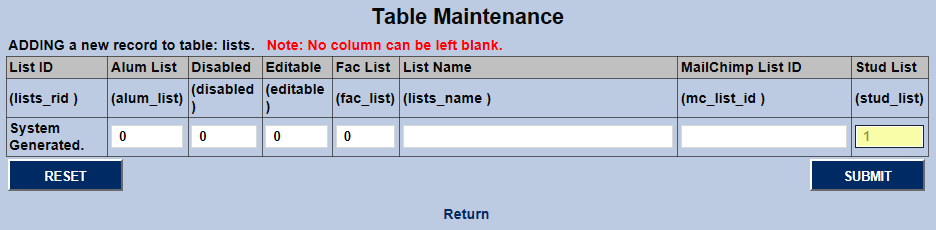
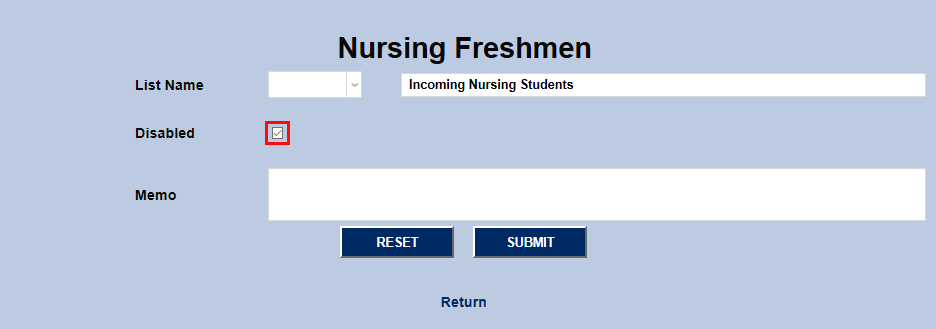
Put a 1 in the Editable field to allow other administrators to change which uses are part of the list. A 1 in the Disabled field will disable the list and prevent it from being used.
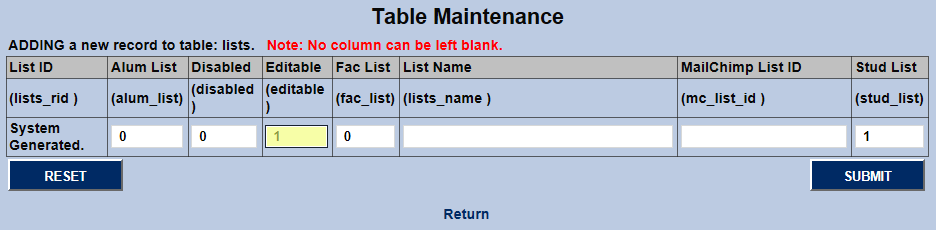

To integrate with MailChimp email marketing, place the MailChimp List ID for this group of SONIS users in the MailChimp List ID field.
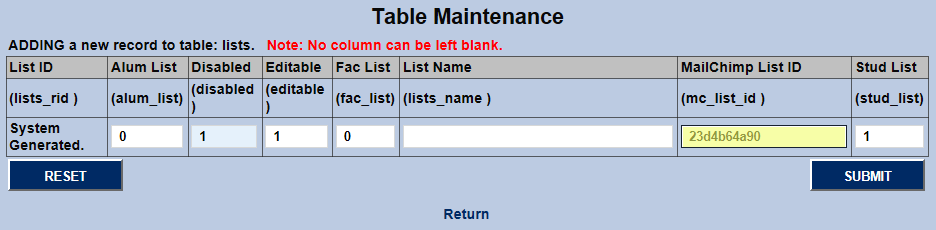
Create a brief description of the list in the List Name field. This field has a 100 character limit, so there's room to be specific.
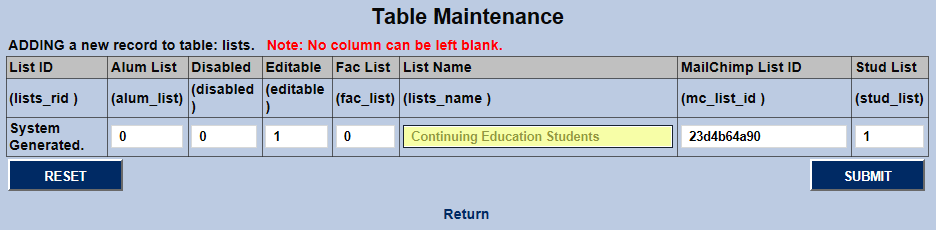
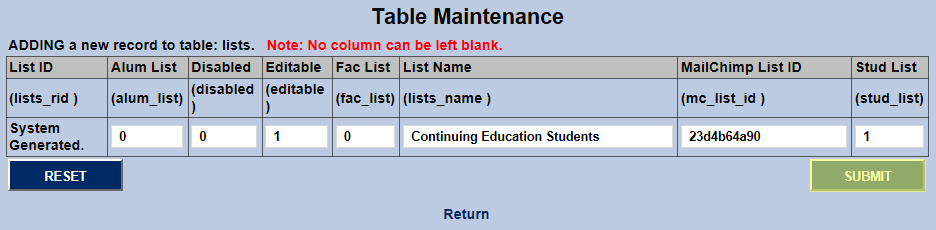
Click Submit to save changes and create the list or finish the editing process.
Adding Members
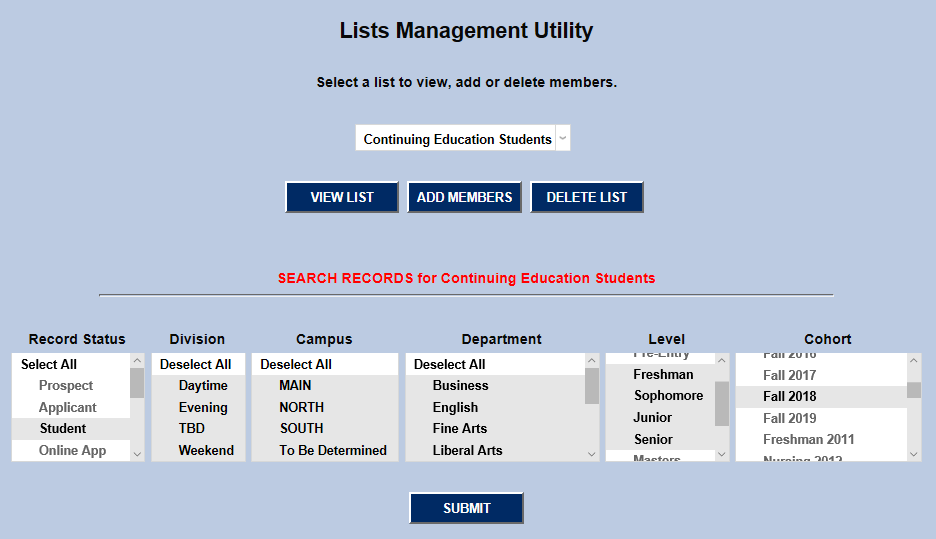
To add members to a list, navigate to the Lists Management Utility in the Systems hub and select the list from the dropdown menu. Only lists that have been designated as Editable will be available.

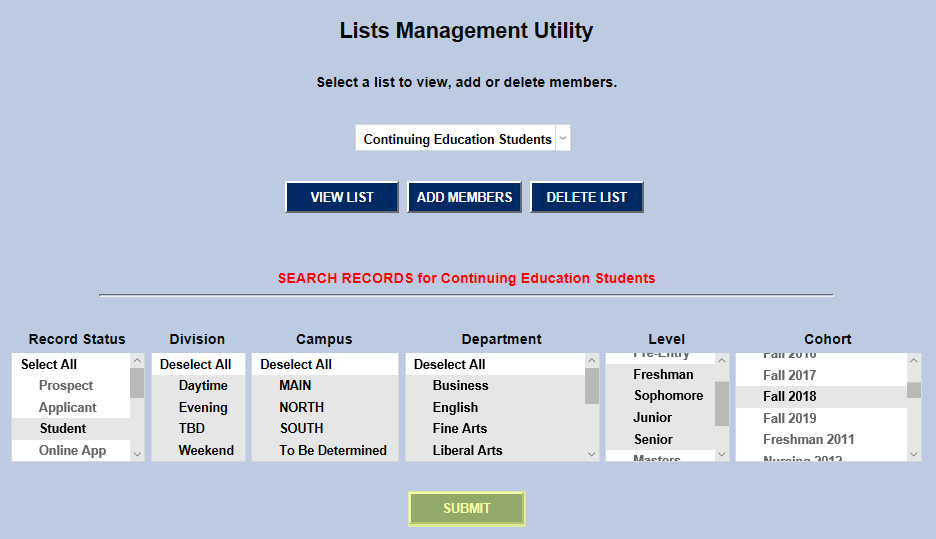
Click Add Members and narrow the list of available students down by choosing one or more options in the following categories: Record Status, Division, Campus, Department, Level, and Cohort. Click Submit to continue.

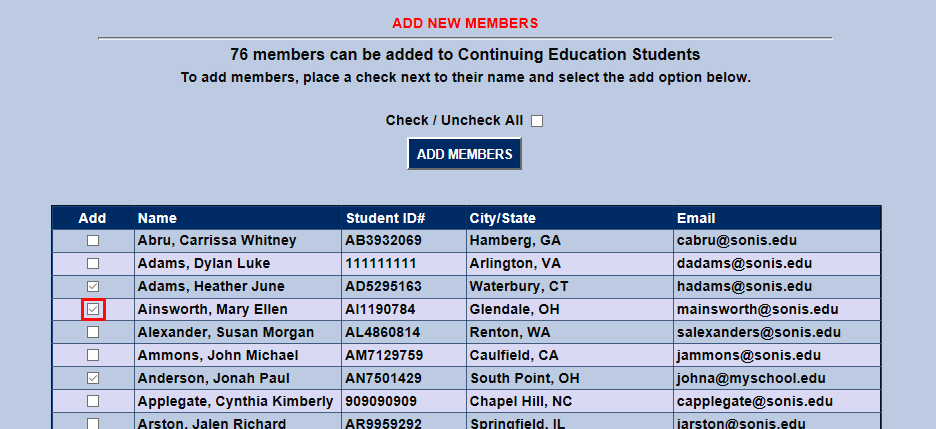
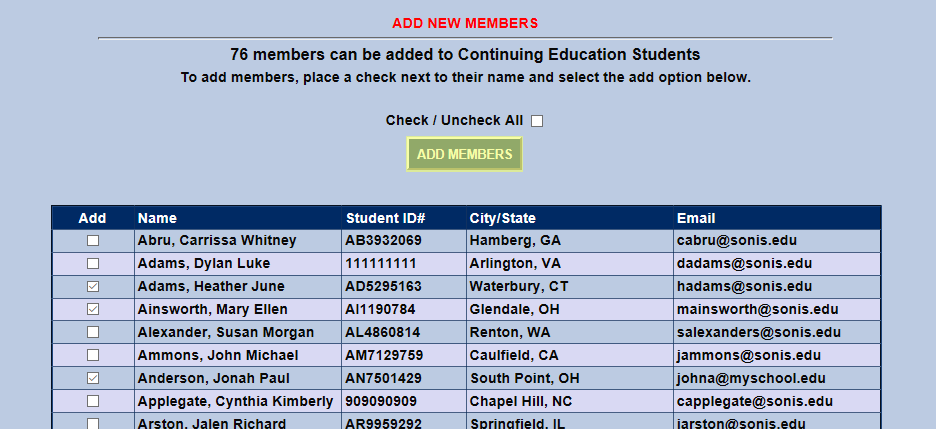
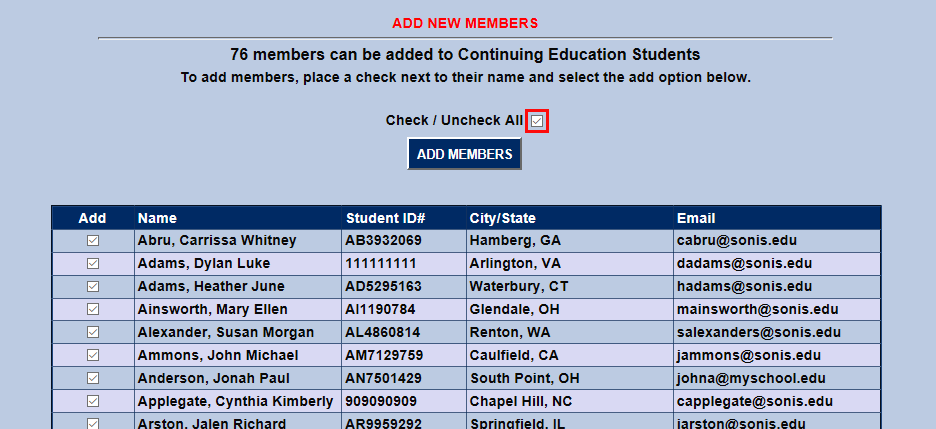
Check the box in the Add column next to each student that should be added and click Add Members to continue. A Check/Uncheck All box is included to speed up the process.
Deleting Members
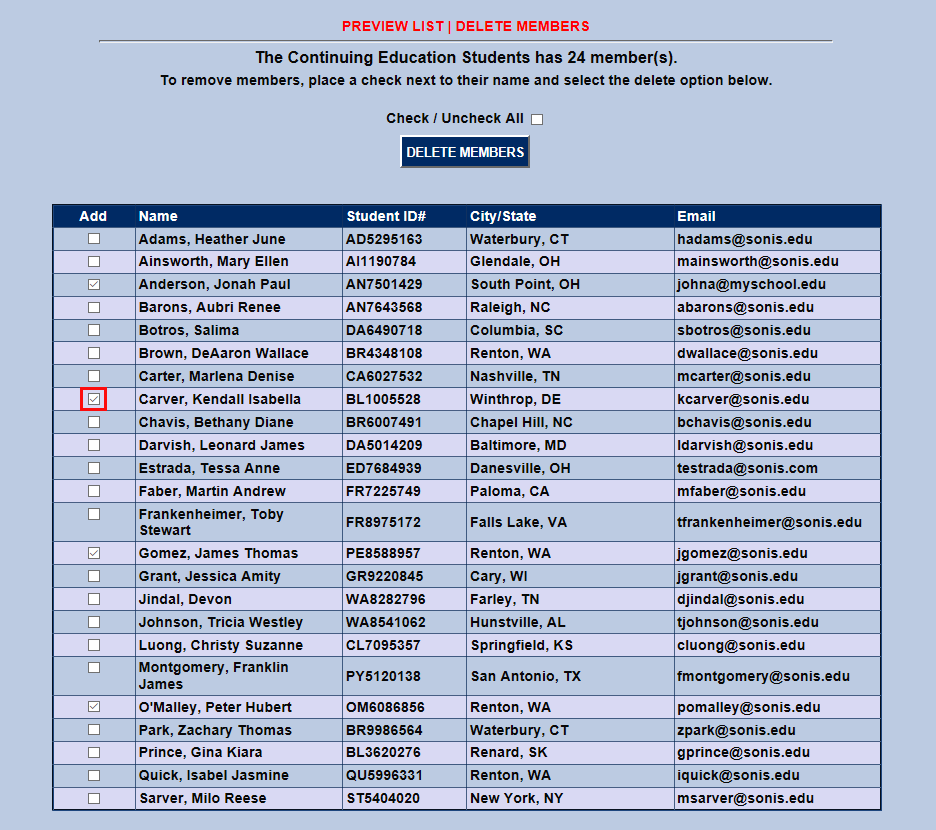
To delete members, select a list and click the View List button.

Select each member of the list that should be deleted by checking the box next to their name in the Add column. Click Delete to delete the selected members.
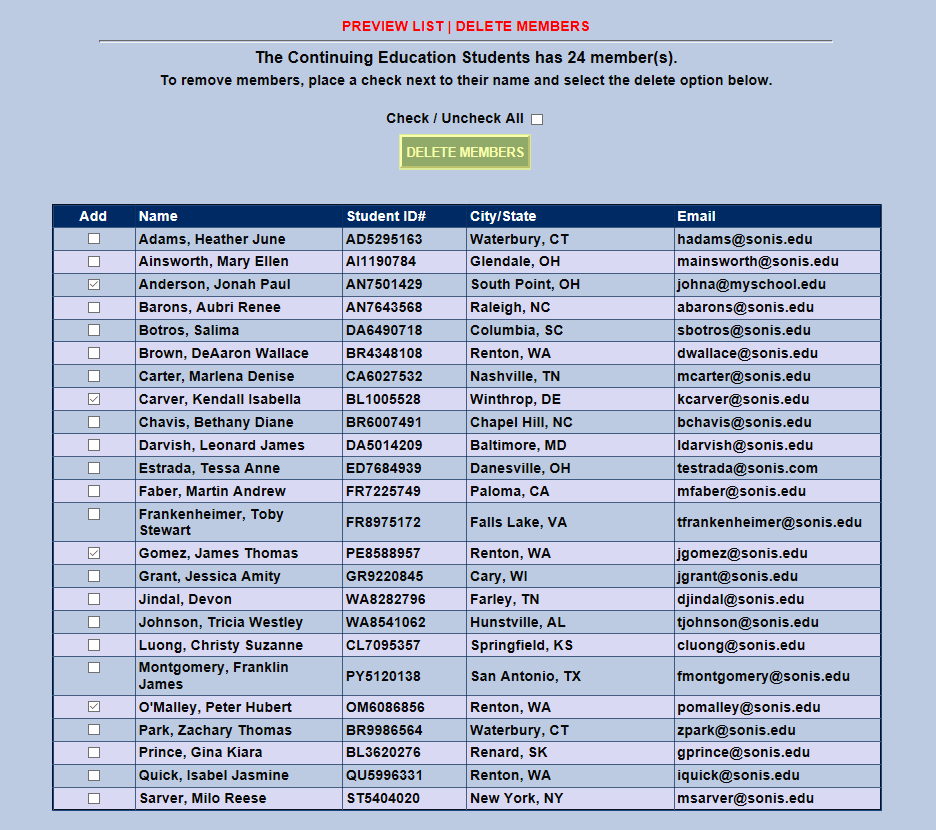
To delete the entire list in bulk, select the list from the dropdown and click the Delete List button.

Query Builder
In addition to the methods listed above, SONIS administrators can create ad-hoc lists and add users to existing lists using the Query Builder Reports utility under the Reports tab. To begin, open a previously created report by clicking on the Query Name. The Focus Area must be Names.

The following page will allow for additional filtering if necessary. Click View Report to continue.

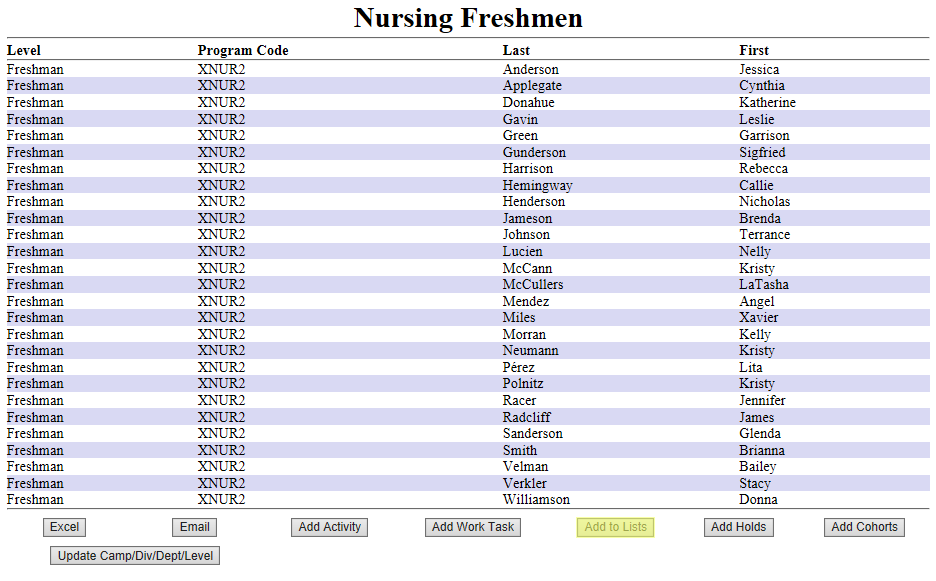
The report will open in a new window. Click Add to Lists to add the students in the report to a list.
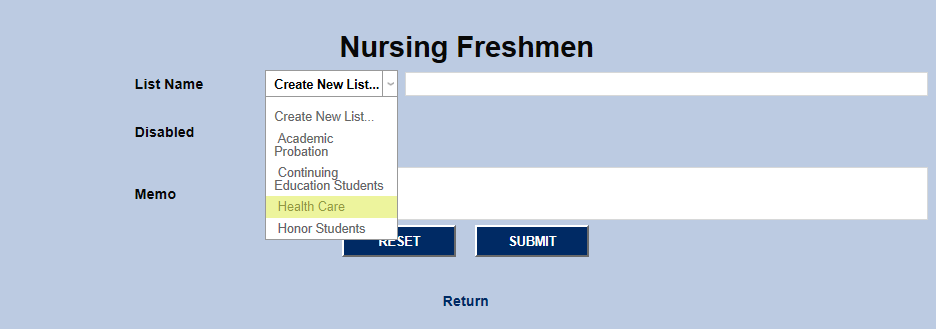
Select a pre-existing list from the dropdown menu or select Create New List and give it a name.
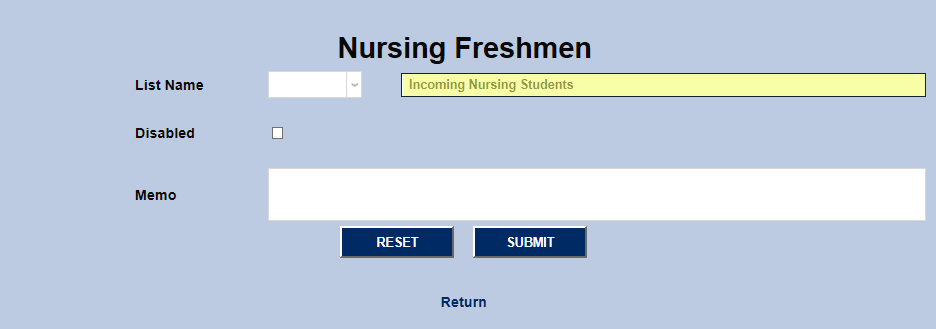
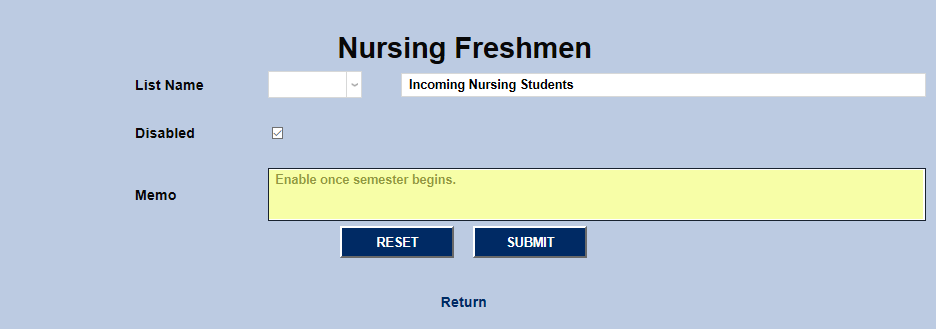
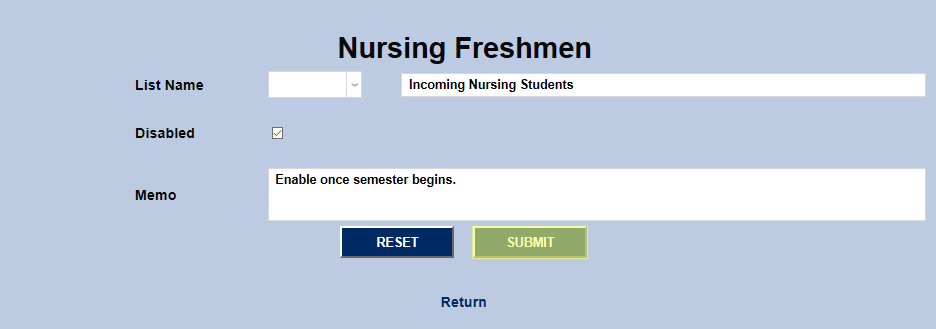
Check the Disabled box if the list should remain unused for the present. Add a Memo if needed and click Submit to save the changes.