Dispositions for Applicants
Overview
Prior to an applicant becoming a student, their application may go through a variety of processing stages or milestones. In Jenzabar SONIS, these are called dispositions. Dispositions are created and edited through the Dispositions for Applicants utility. Once dispositions are defined, they can be assigned and reviewed through the Dispositions page in a user's Records hub. Applicants can see the current and past dispositions for each program they've applied to through the Bio page in the Applicant portal.
Creating Dispositions
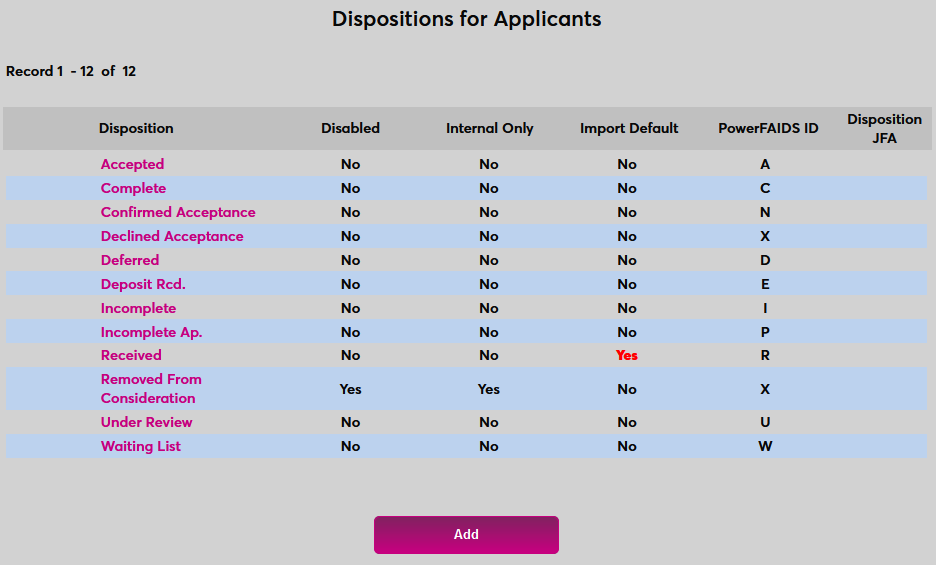
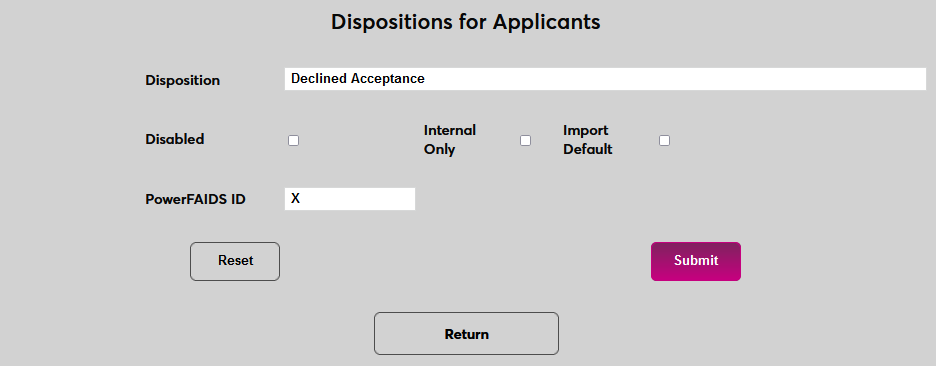
To create a new disposition, navigate to Dispositions for Applicants under the Systems menu and click Add.
Create a descriptive name for the disposition using the Disposition field. This field has a 30-character limit.
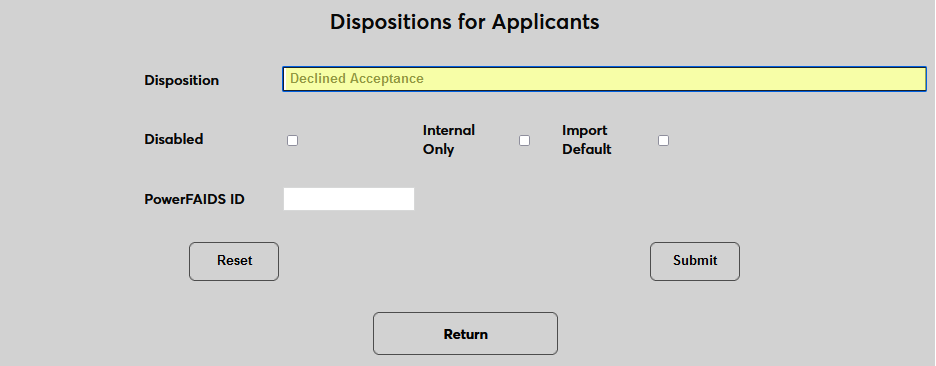
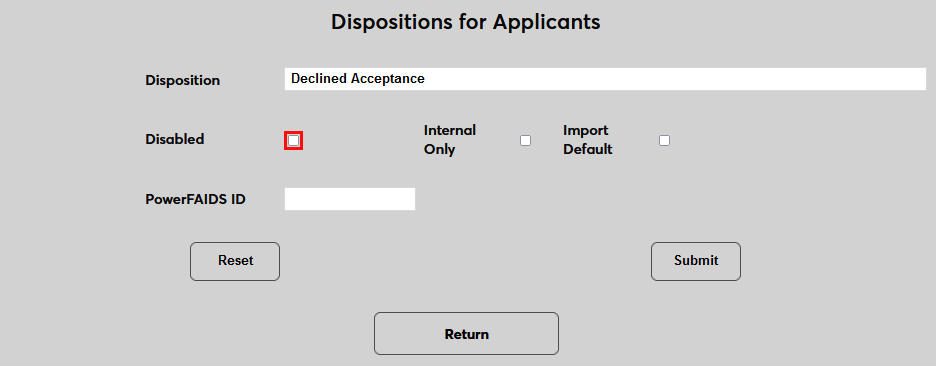
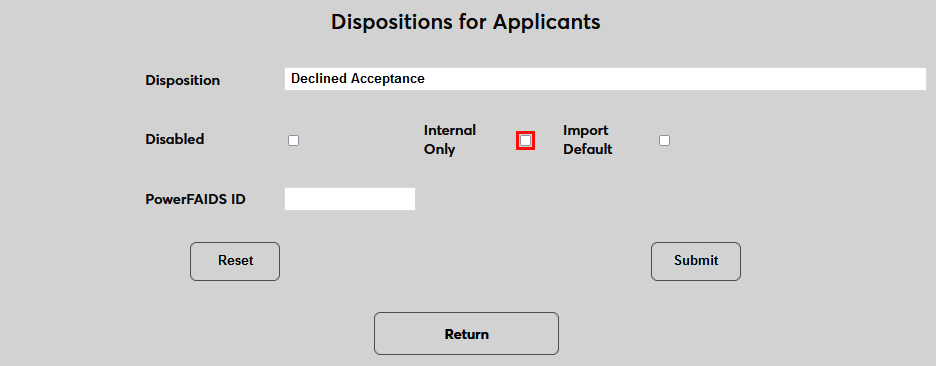
Check the Disabled box to disable the disposition and prevent it from being used or leave it unchecked to make the disposition active.
Check the Internal Only box to make the disposition only viewable by administrators. If the box is unchecked, applicants will be able to see this disposition on their Bio page.
Check the Import Default box to make this disposition the default when an application is imported to the SONIS system through Import Functions or through a third party application. Only one disposition should be marked as the import default.
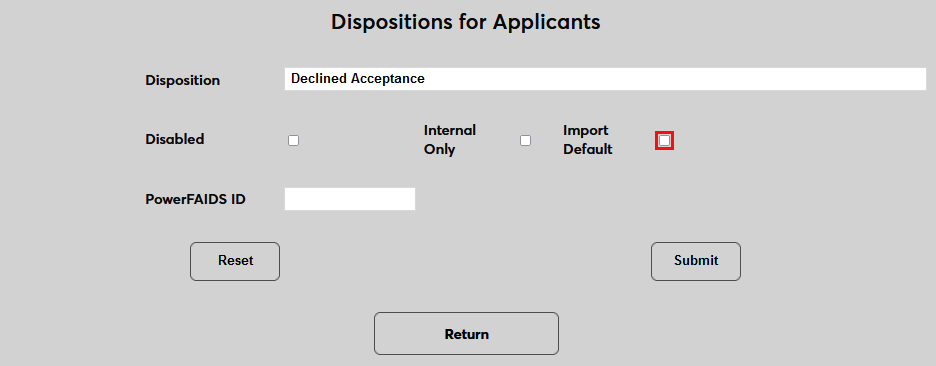
Once an import default has been set, check the Add Default Disposition button in Import Functions to ensure that it gets added as part of the import process. No further action is needed when importing through third party applications.
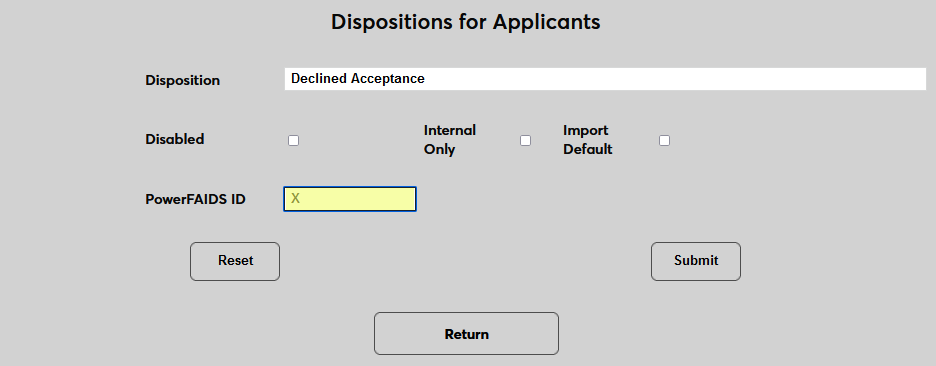
The PowerFAIDS ID field can be used by PowerFAIDS customers to set a single-character value that will be used to identify the disposition in PowerFAIDS. Institutions that do not use PowerFAIDS can ignore this field. Additionally, some dispositions may not map to PowerFAIDS.
Click Submit to save the changes and create the disposition.
JFA Disposition
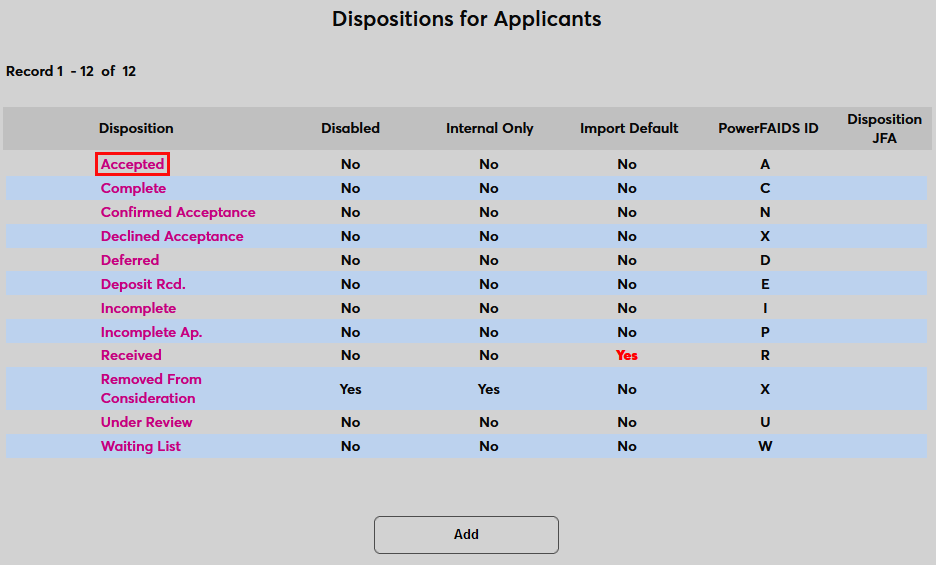
Clients who use the JFA User Export can limit the applicants exported based on their disposition. To add dispositions to this filter, click on an existing disposition to make changes.
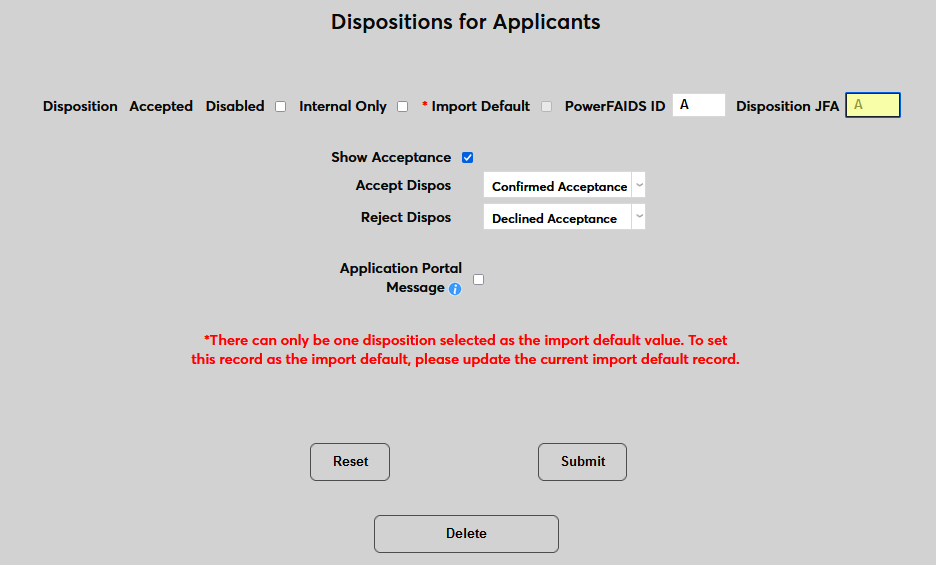
Create a single-character identifier for the disposition that will be used in the JFA table. This identifier must be unique for each disposition that will be included in the JFA transfer. Submit the page and repeat the process on all dispositions whose associated applicants should be sent to JFA at any time.
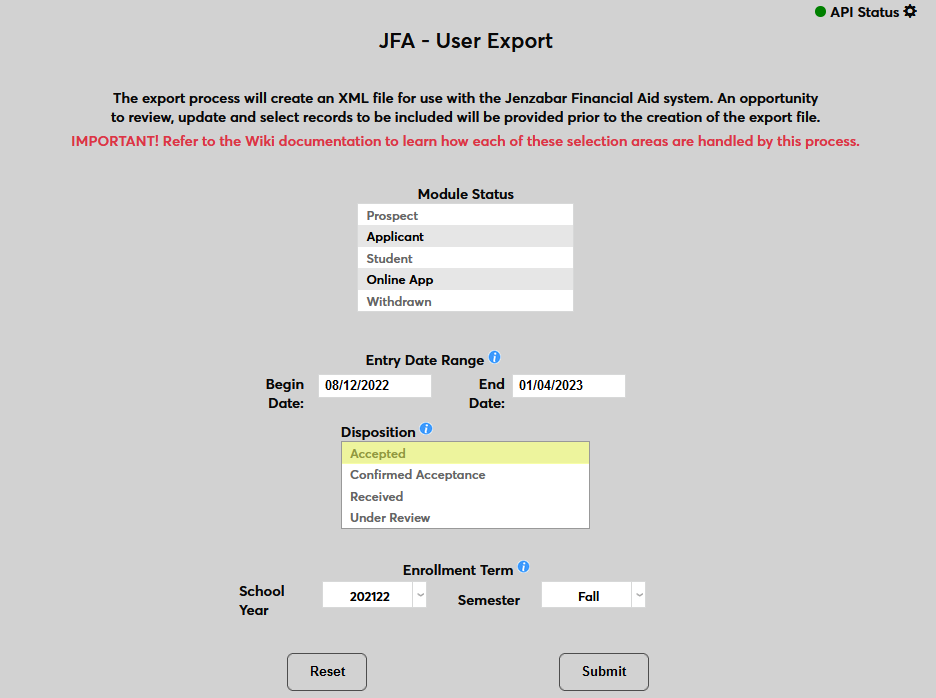
These values are used to populate the Disposition menu in the JFA User Export Only applicants with the selected disposition or dispositions will be included in the export.
Applicant Acceptance
If a Jenzabar SONIS member institution desires, they may require students to confirm they are planning to attend by accepting their admission offer.
Activation
Activation
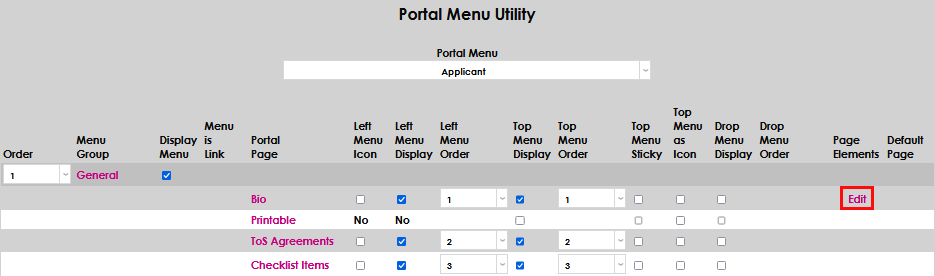
To activate Applicant Acceptance, navigate to Portal Menu Utility from the Systems hub and select the Applicant portal.

Select Edit on the Bio Portal Page line under the Page Elements column.
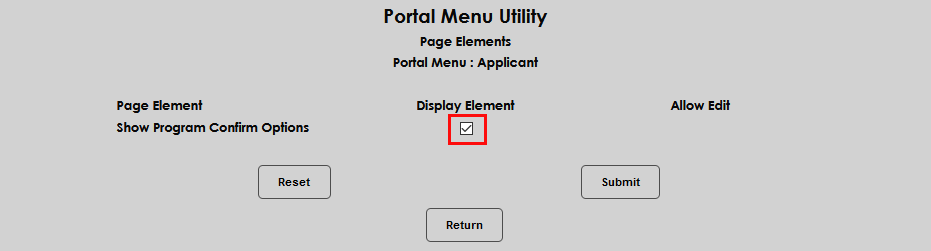
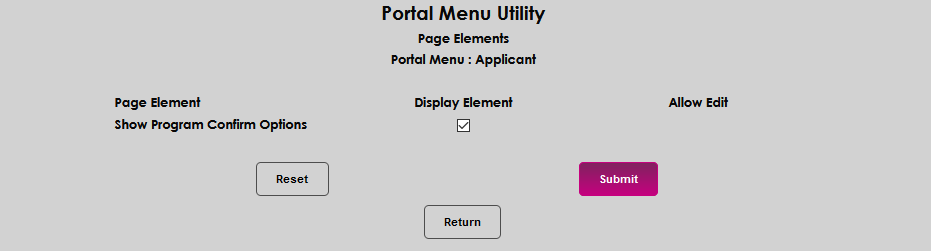
Check the Display Element checkbox and click Submit.
Disposition Setup
Navigate to the Dispositions for Applicants page from the Systems hub and determine the Disposition an applicant must be in to be prompted to accept their admission offer. For most schools, this would be Accepted or the equivalent. Click on the appropriate Disposition name.
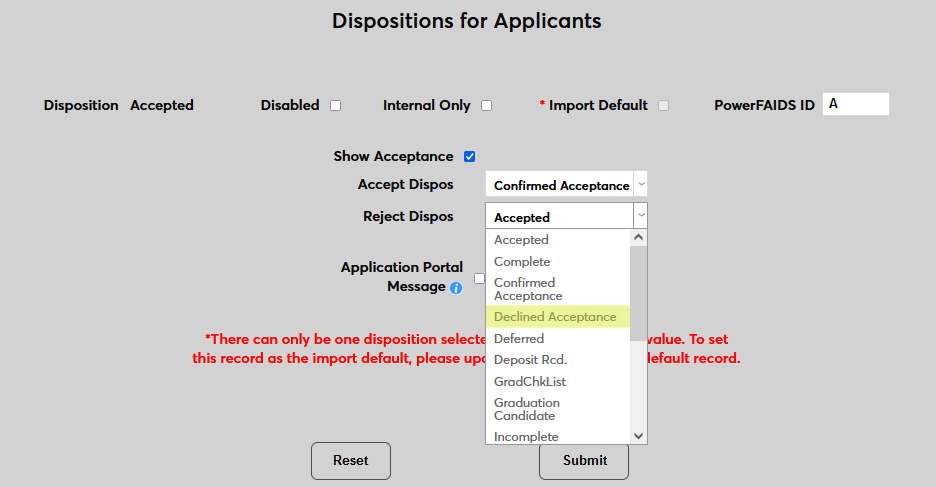
To enable the applicant to see their acceptance status in the portal and have the opportunity to Accept or Decline the offer, check the Show Acceptance box.
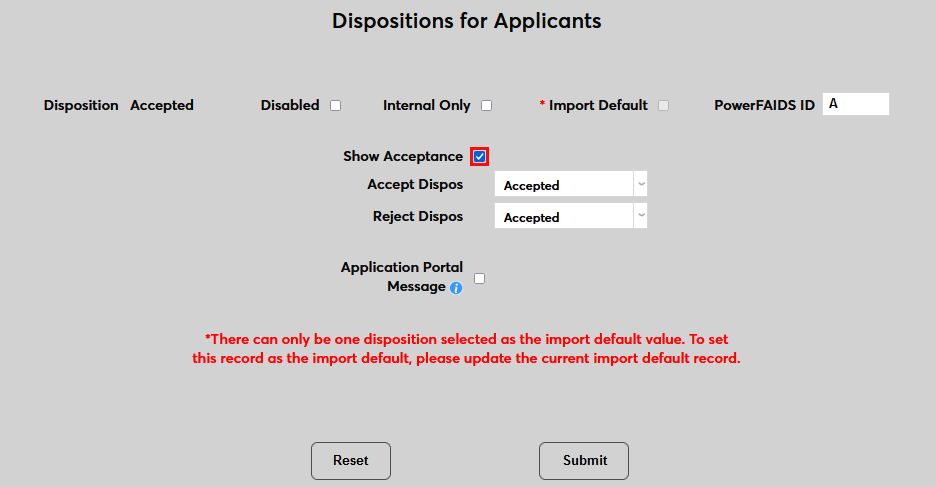
In the Accept Dispos dropdown, select Confirmed Acceptance or an equivalent disposition. Note that the disposition that the applicant is moved to once they confirm their acceptance cannot be the same disposition that triggers the confirmation button.
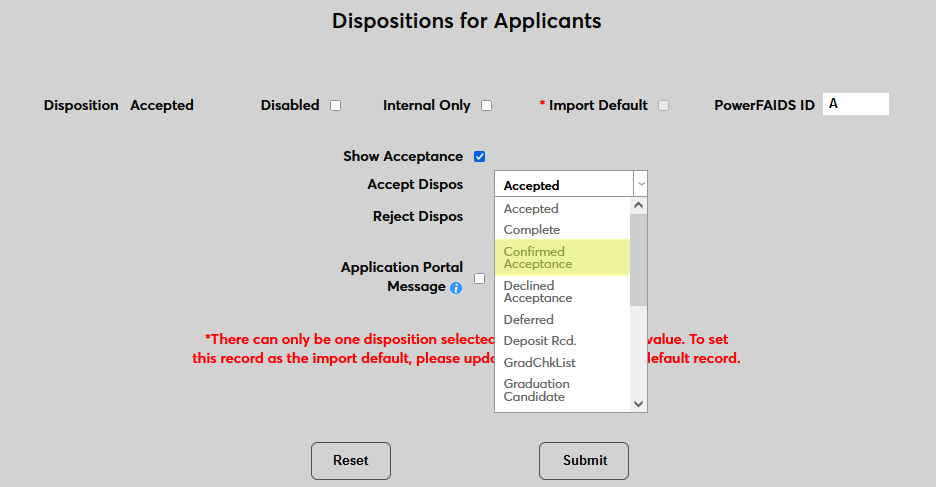
In the Reject Dispos dropdown, select Declined Acceptance or an equivalent disposition.
To add an acceptance letter that the student can view from their portal, check the Application Portal Message box. Students will only see this letter when they've been assigned this status.

Once the box has been checked, new fields will appear. Enter the number of Delta Days that the student has to respond to the acceptance. The delta date is calculated by adding the specified number of days to the date when the student is assigned the status.
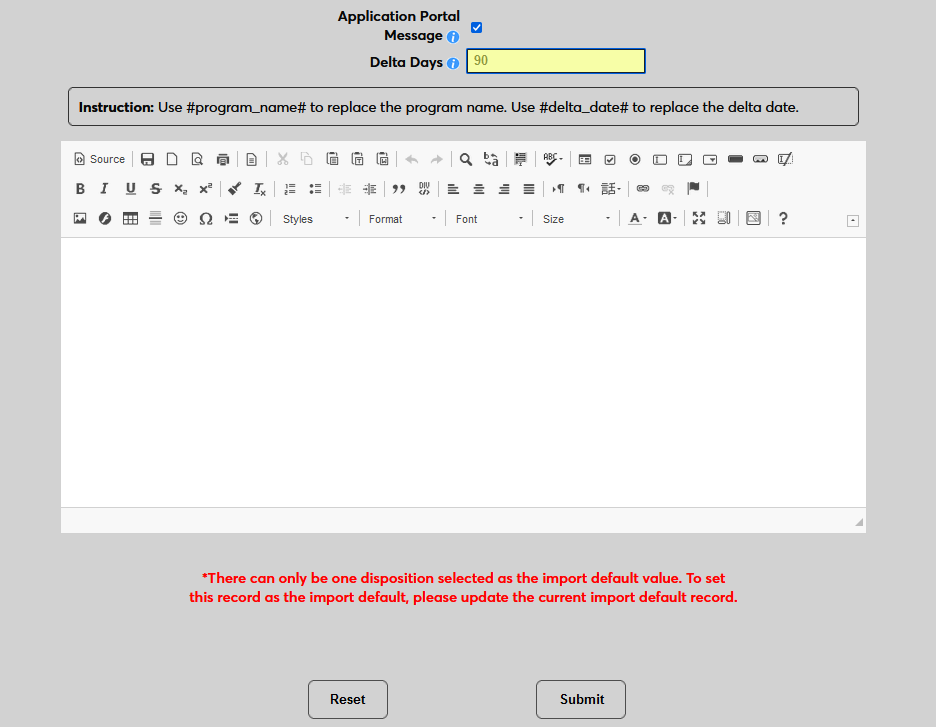
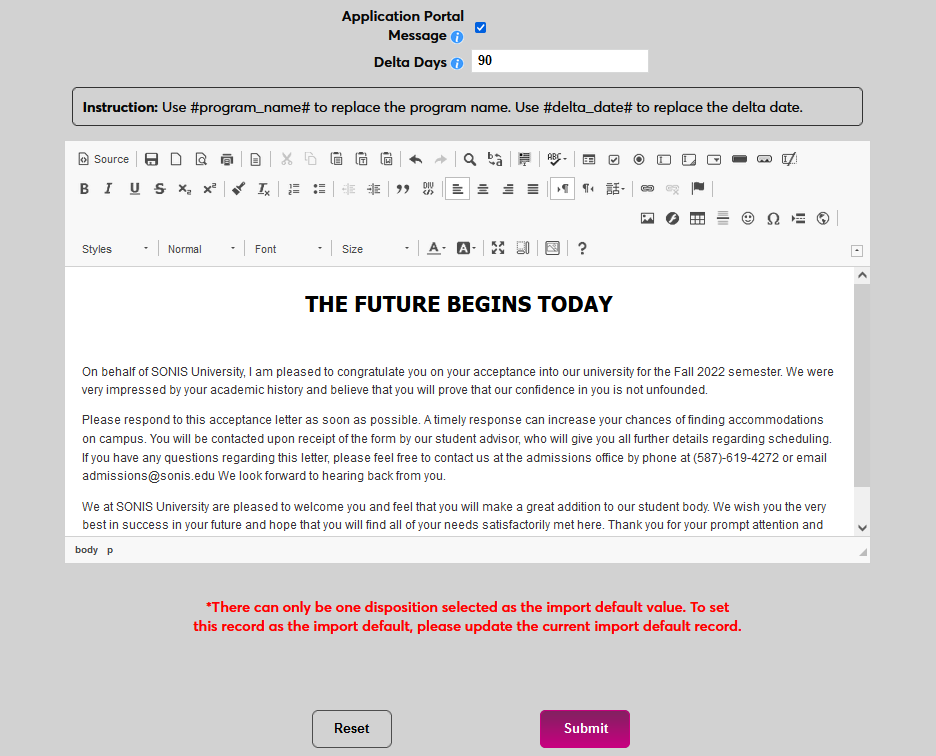
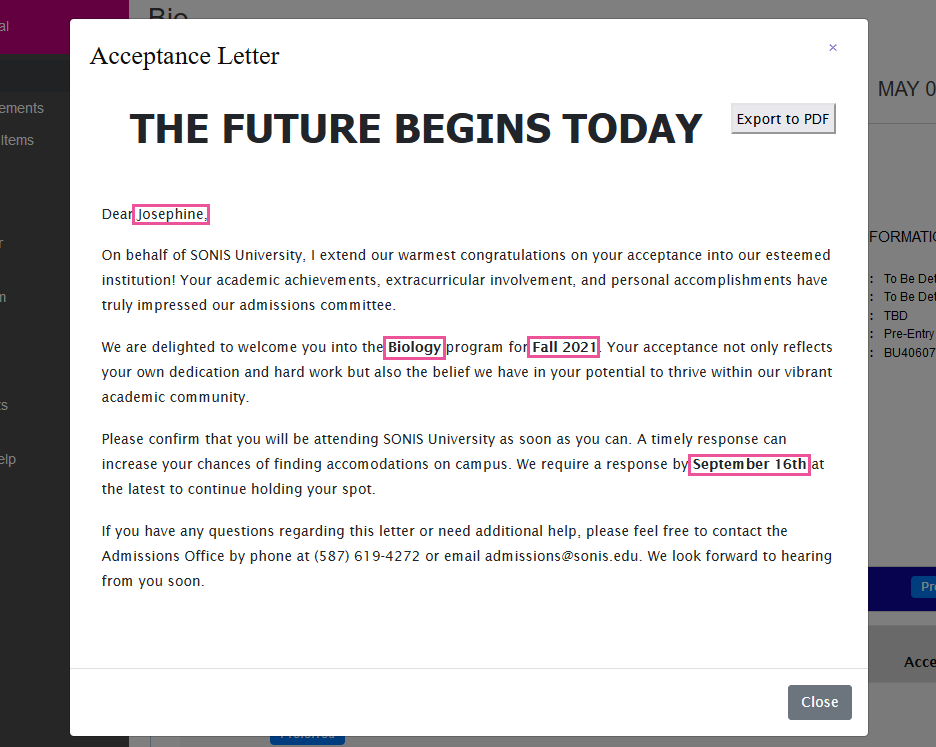
Next, create the letter itself using the WISWYG editor. The following email variables can be used and will be automatically replaced by text specific to the applicant:
#first_name - the applicant's first name based on their Biographic page
#program_name# - the applicant's accepted program name based on the Display Program field in the Program table
#app_term# - the applicant's Term of Interest
delta_date# - the date by which the applicant must respond, based on the Delta Days set above
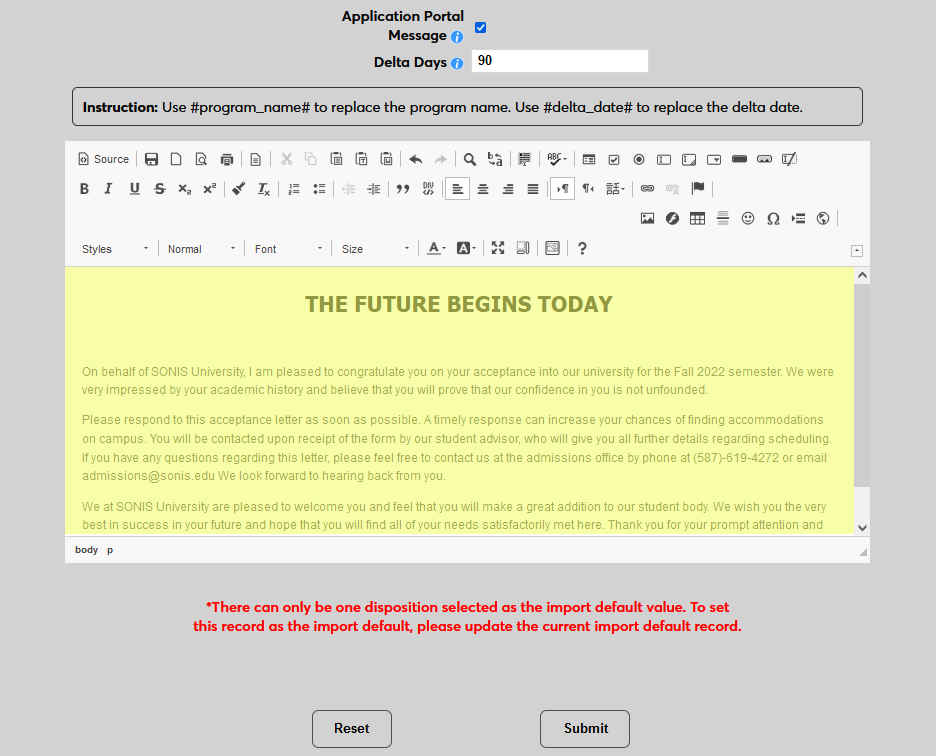
Click Submit to save the changes.
Applicant Portal
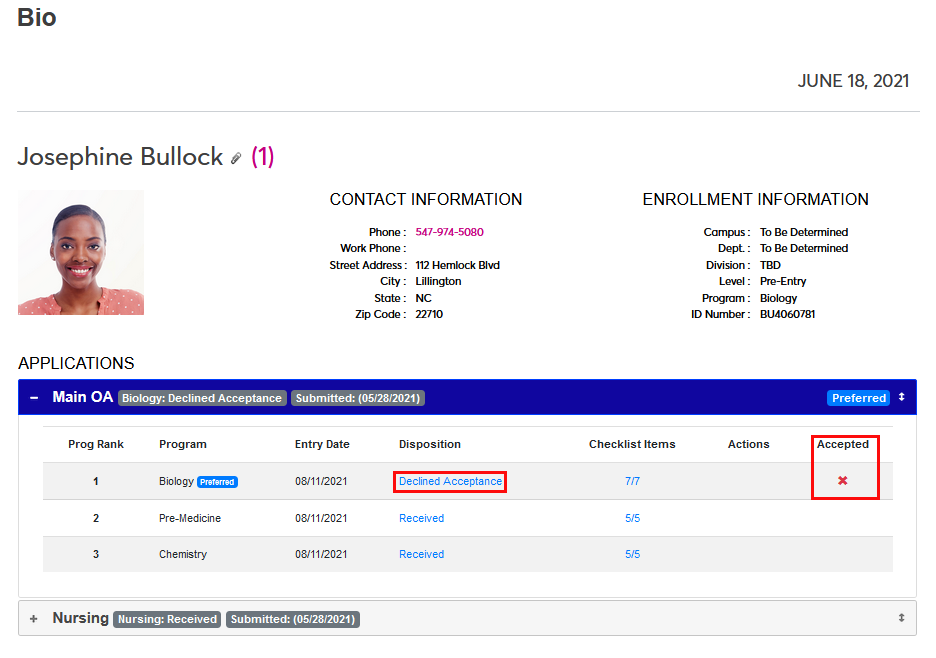
If the Applicant Portal Message is active, once an applicant has been moved into whichever disposition was set to trigger the message, a View Letter link will appear next to their Accepted designation on the Applicant Bio page. The applicant can click the link to view the letter in a pop-up window. If the #first_name#, #program_name# , #app_term#, and/or #delta_date# tags were used, they will be replaced with the proper text.
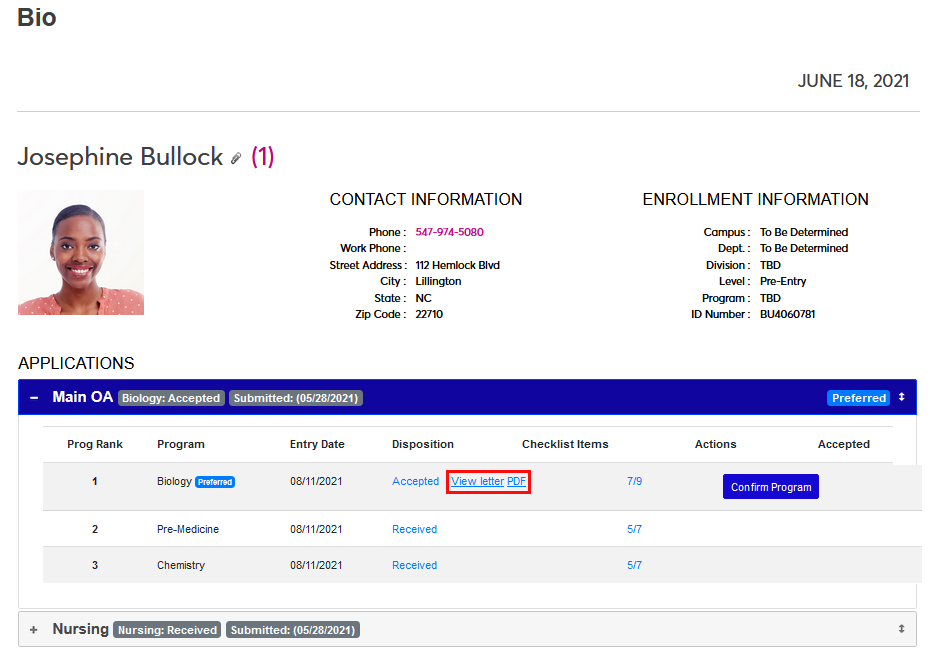
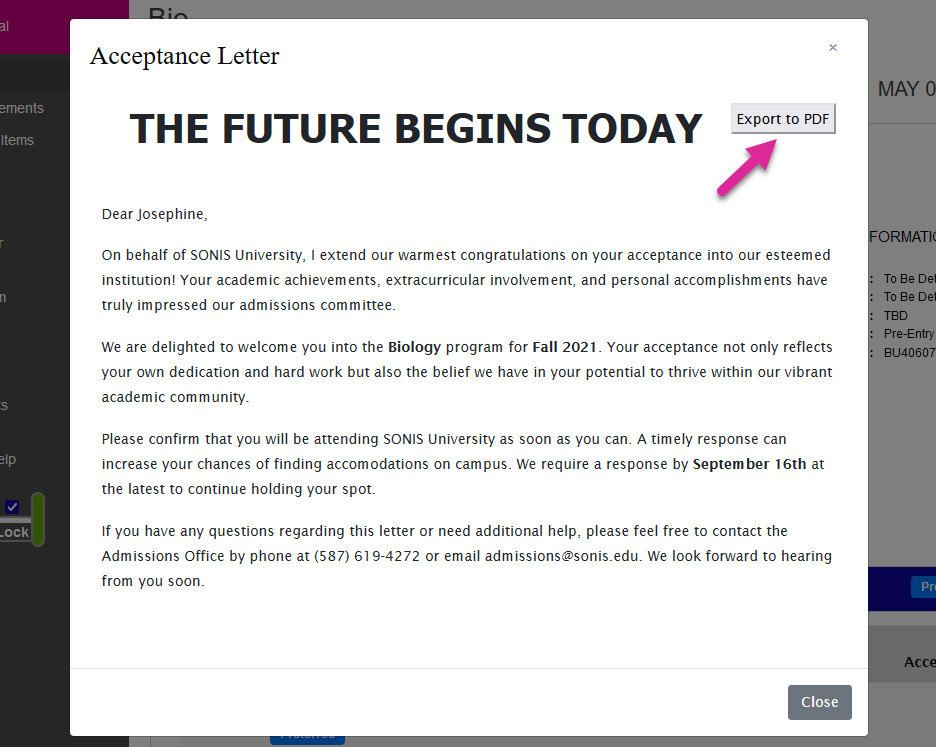
The applicant can also download the letter as a PDF either from the link next to the View Letter link or from the letter itself using the Export to PDF button.
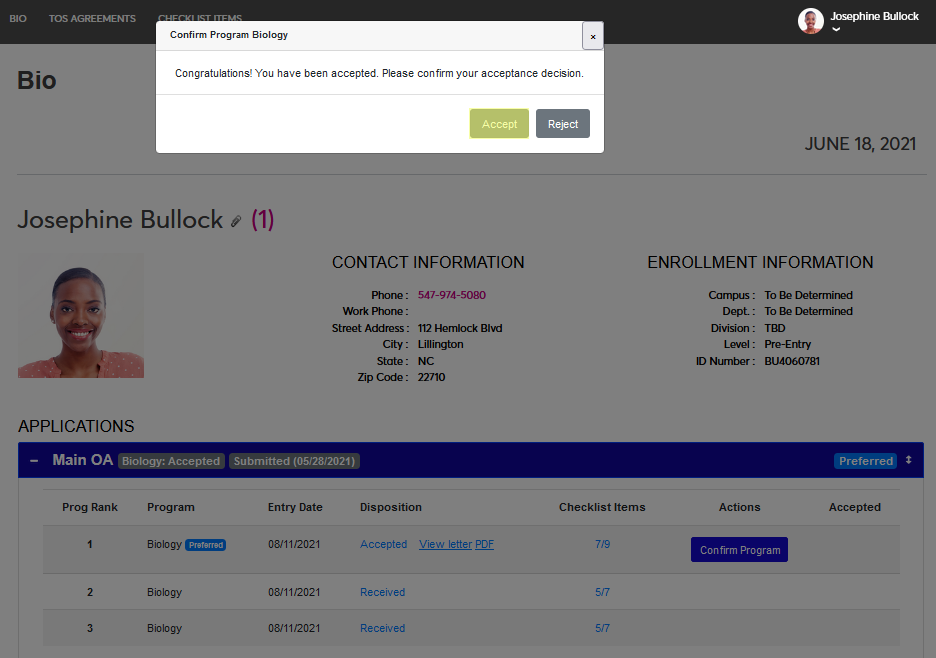
If the Show Acceptance option was activated, a Confirm Program button will also appear. The applicant can click the Confirm Program button to respond to the acceptance.
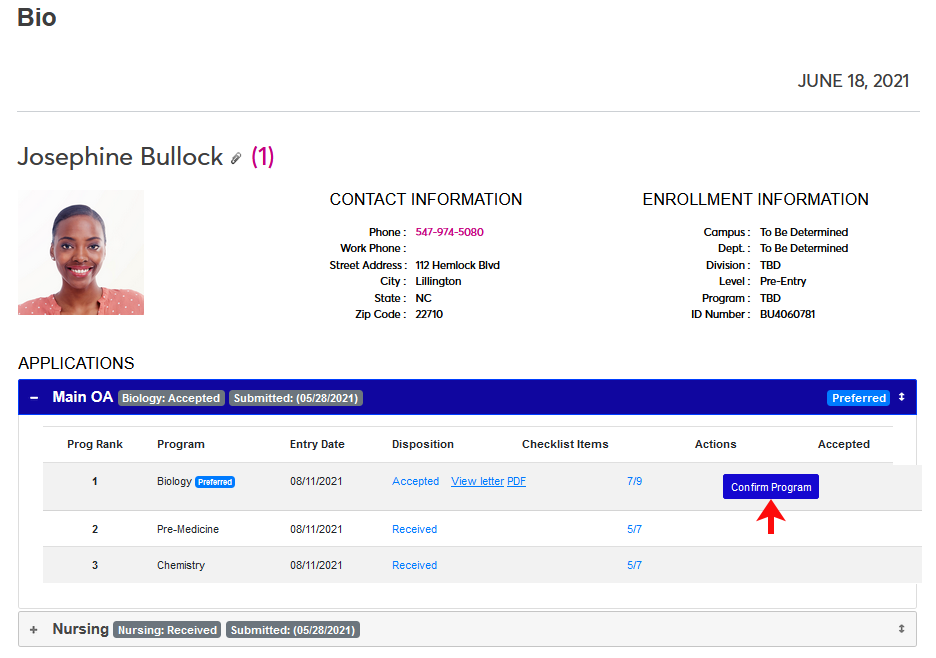
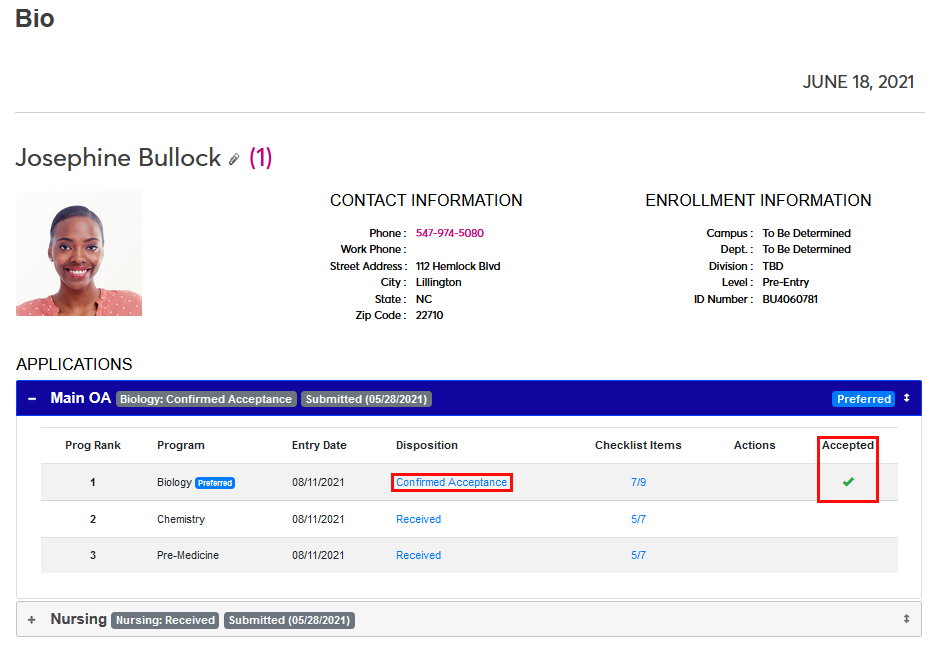
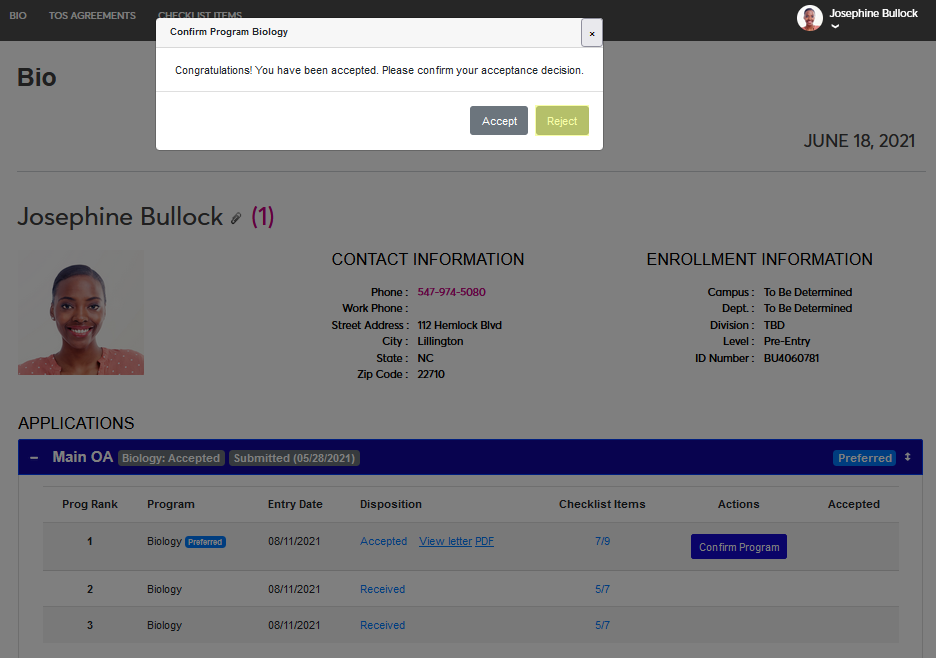
A prompt will appear asking the applicant to either Accept or Reject the acceptance. If the applicant clicks the accept button, the program will be marked with a green check and the applicant will be moved to the disposition that has been designated as confirmed acceptance.
If the applicant clicks the reject button, the program will be marked with a red X and the applicant will be moved to the disposition that has been designated as rejected acceptance.
Note that there is no way for an applicant to rescind their choice. Though an administrator can return the applicant to the Accepted disposition to reset the process and let them choose again or manually move the applicant to the confirmed acceptance or rejected disposition if the applicant has confirmed acceptance or rejected the offer outside of the SONIS platform.
Records
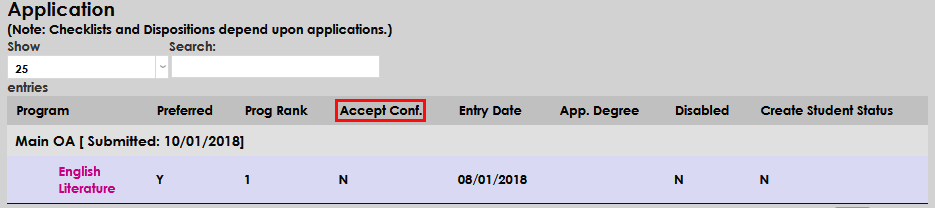
Application records will now display the Accept Conf. column and the appropriate status for each application submitted.
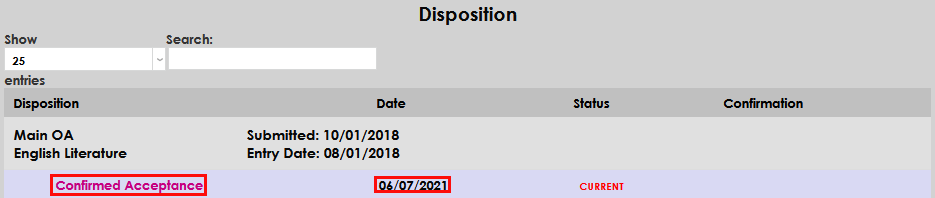
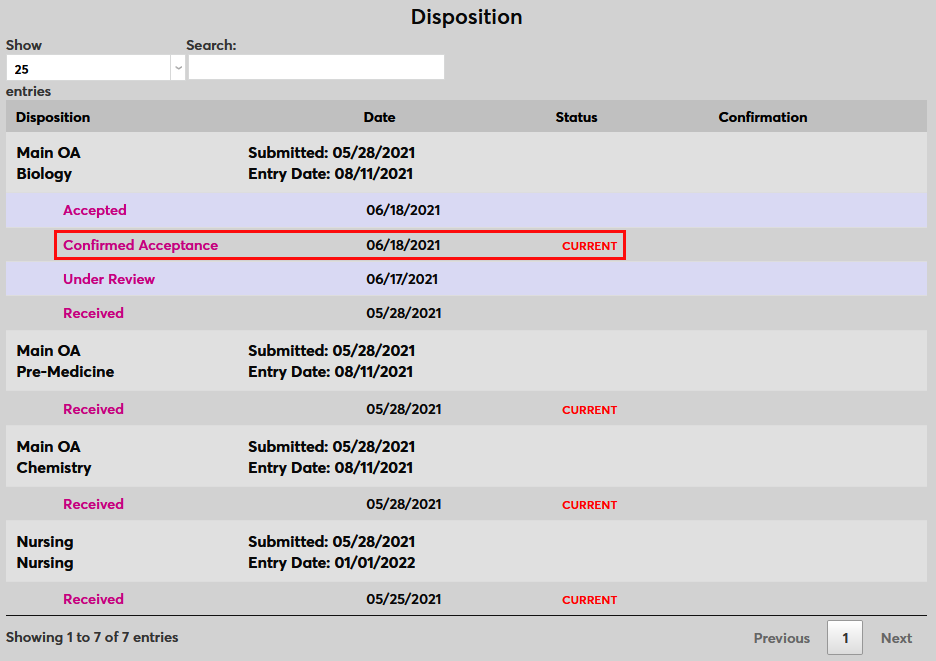
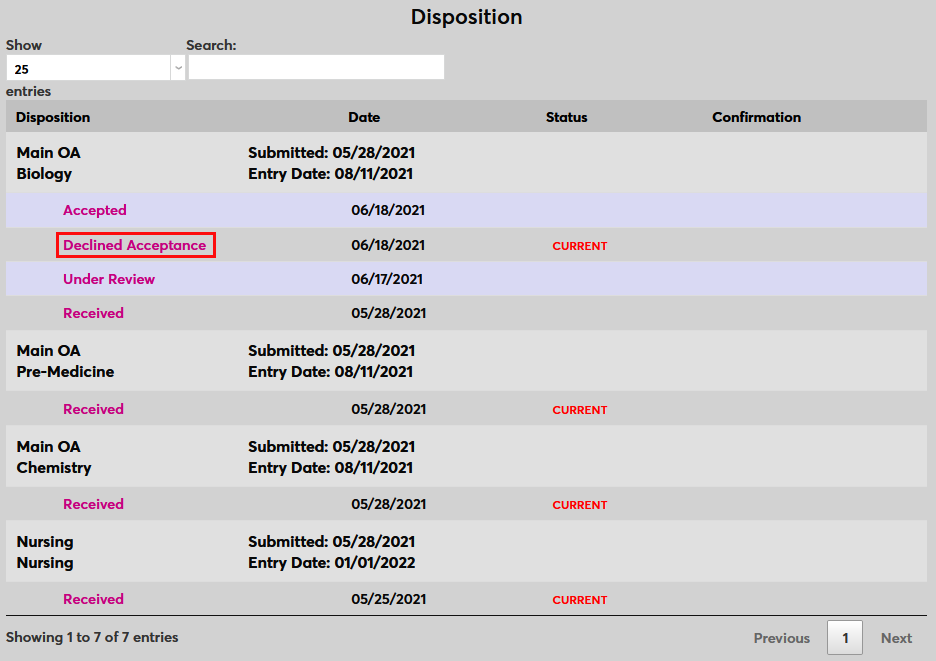
Additionally, the Disposition page will display the confirmation status and the date confirmation was received, if applicable.