User Creation Wizard
Overview
The Create New User wizard provides a quick and consistent way to add a new user to Jenzabar SONIS. It has three steps and provides administrators the opportunity to edit the content of each step, to make the content requested consistent with institutional practices. Users can be added of the following types, using this wizard: student (ST), a faculty member (FA), an applicant (AP), Online Applicant (OA), an alumna or alumnus (AL), a staff member (SF), a prospective student (PS), Withdrawn Student (WD), continuing education student (CE) or a constituent (CO).
Accessing the Wizard
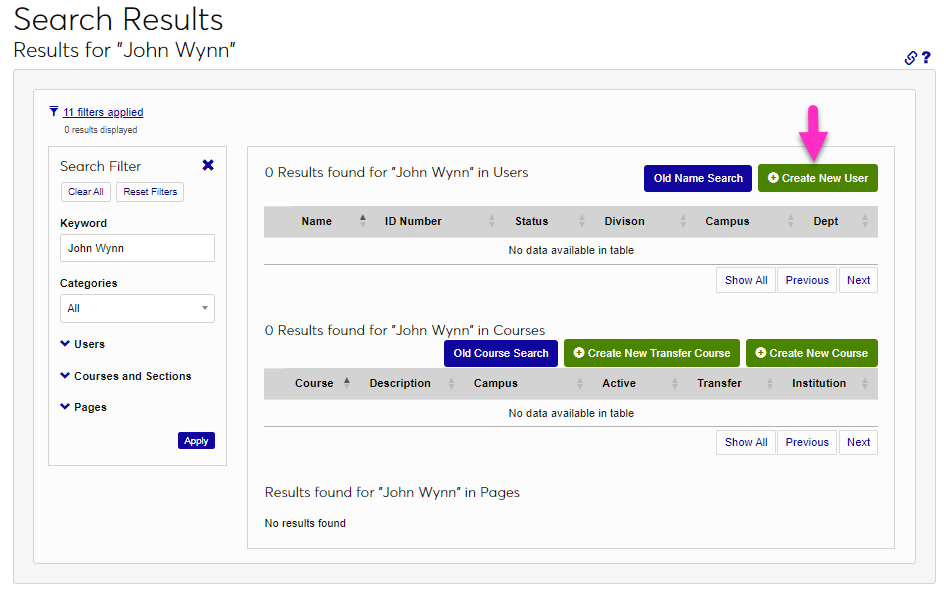
After searching for a user within SONIS to ensure a duplicate user is not being created, click Create New User on the Search Results page, or from the Users hub.

Editing the Wizard
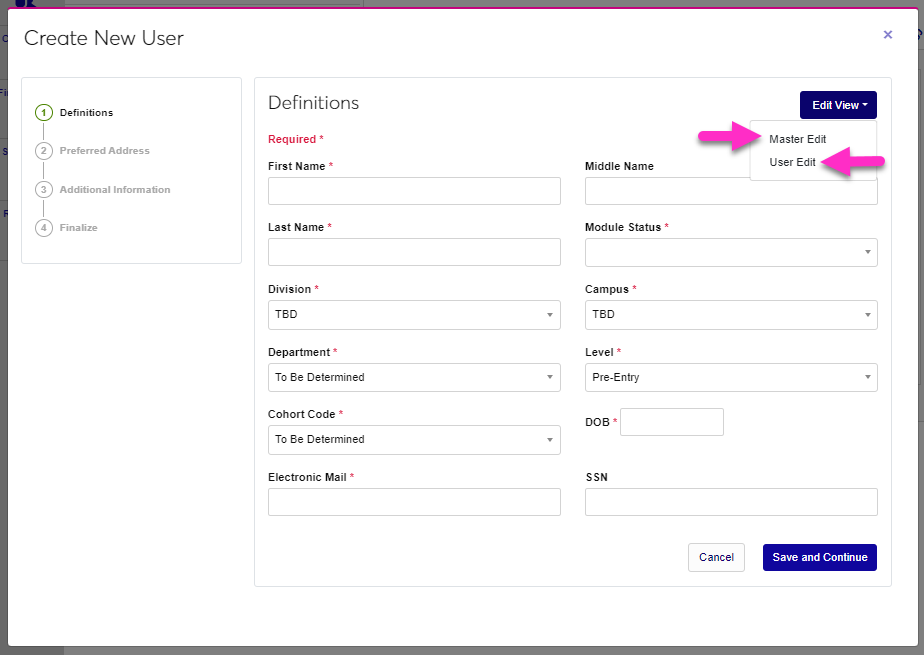
If the fields included by default on the wizard are not consistent with institutional practices, or should be reordered, administrators can use the Edit View button, then Master Edit to modify the wizard for all users or User Edit to modify the wizard for only the logged in user.
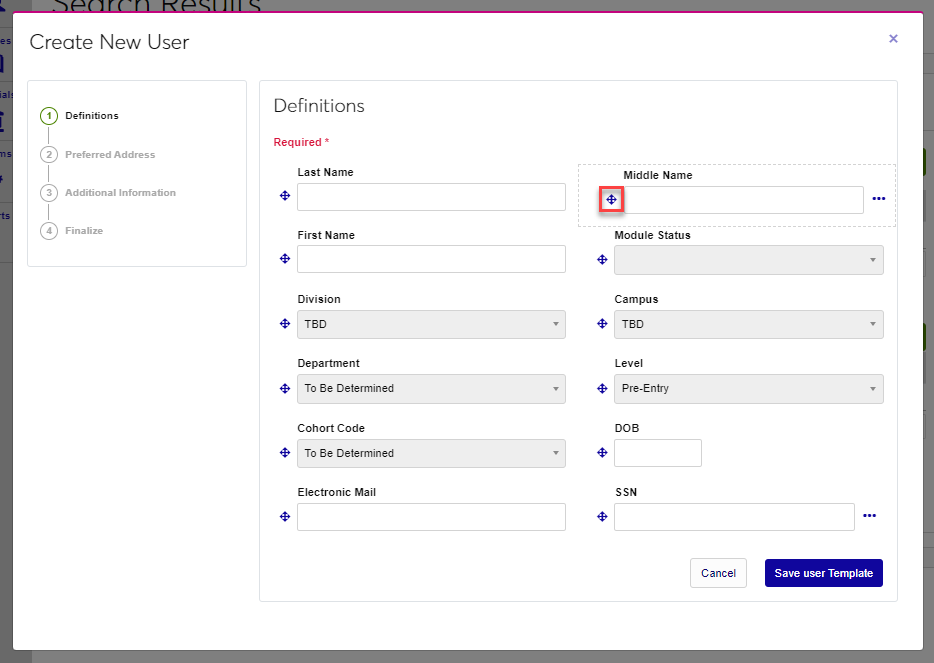
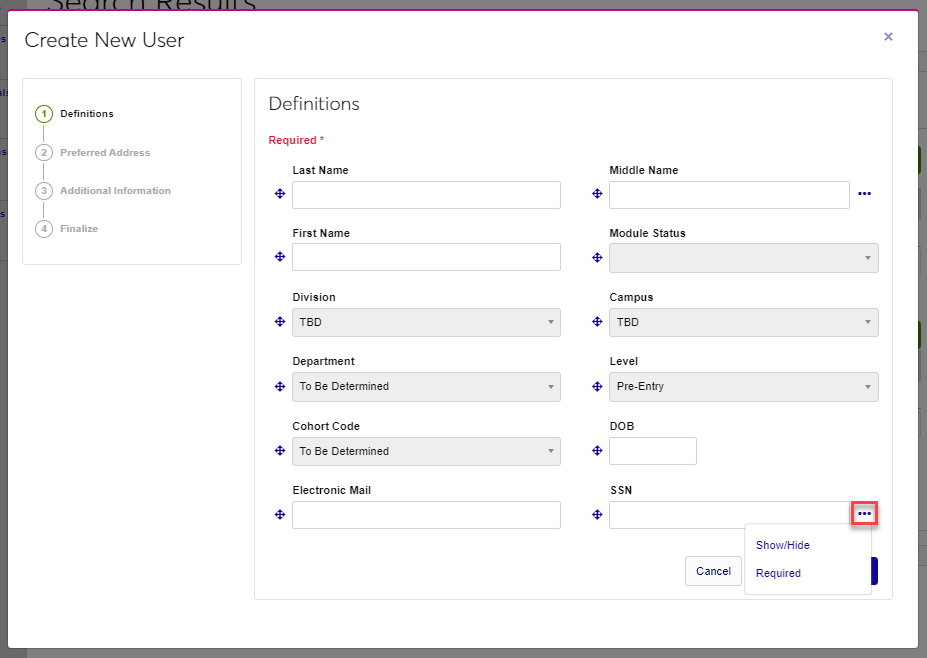
The arrow icon can be clicked and held to move an element around on the page. Release the mouse button to drop the element where desired. The page will automatically reorder the other elements when one is moved. If an ellipsis displays after an element, it is one that can be removed from view, made required, or renamed. Click the ellipsis to toggle the show/hide, required, and rename options and click the desired option to make the change.
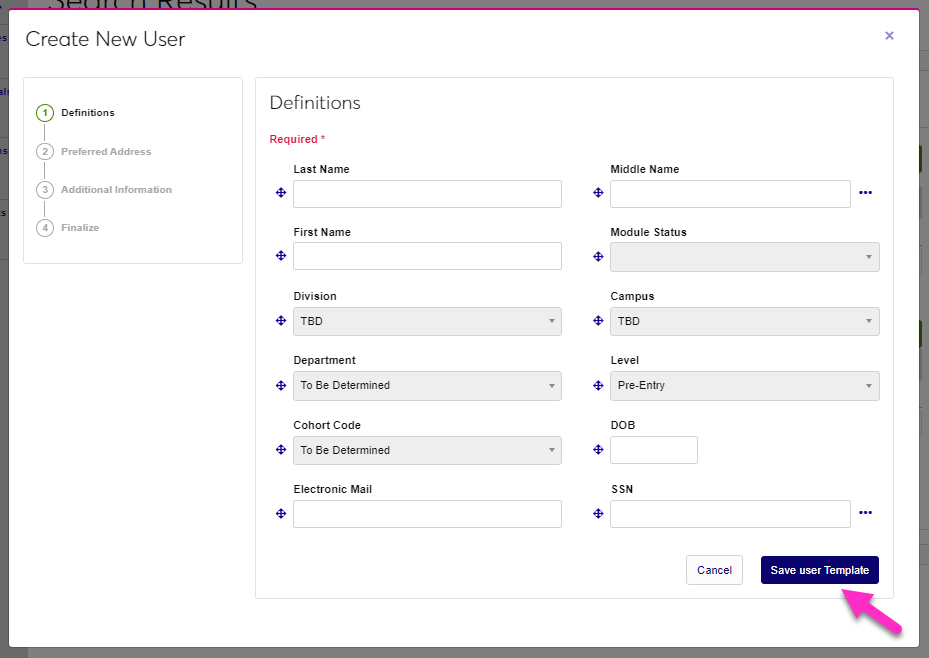
Repeat these steps for each step of the wizard, as desired, and click Save User Template or Save Master Template to save the changes.
Creating a New User
In this article, the default fields are covered. Based on institutional choices, the fields that display may be different
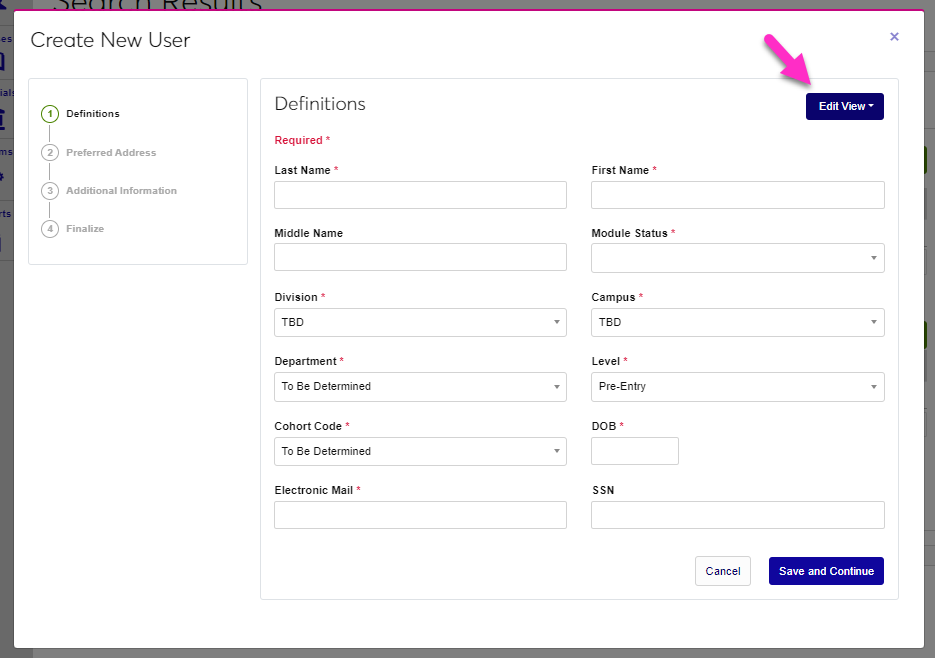
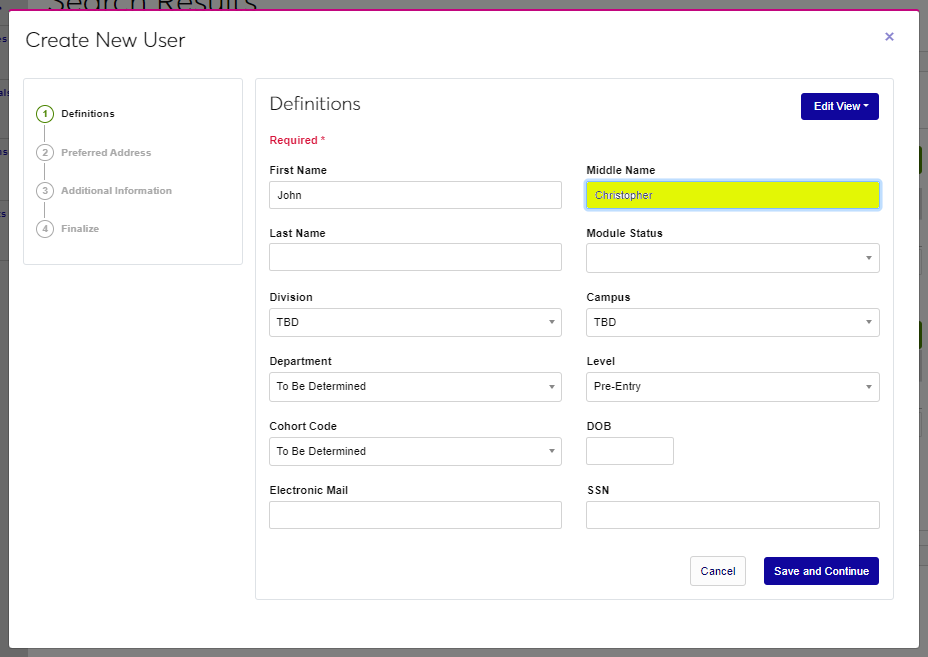
Definitions
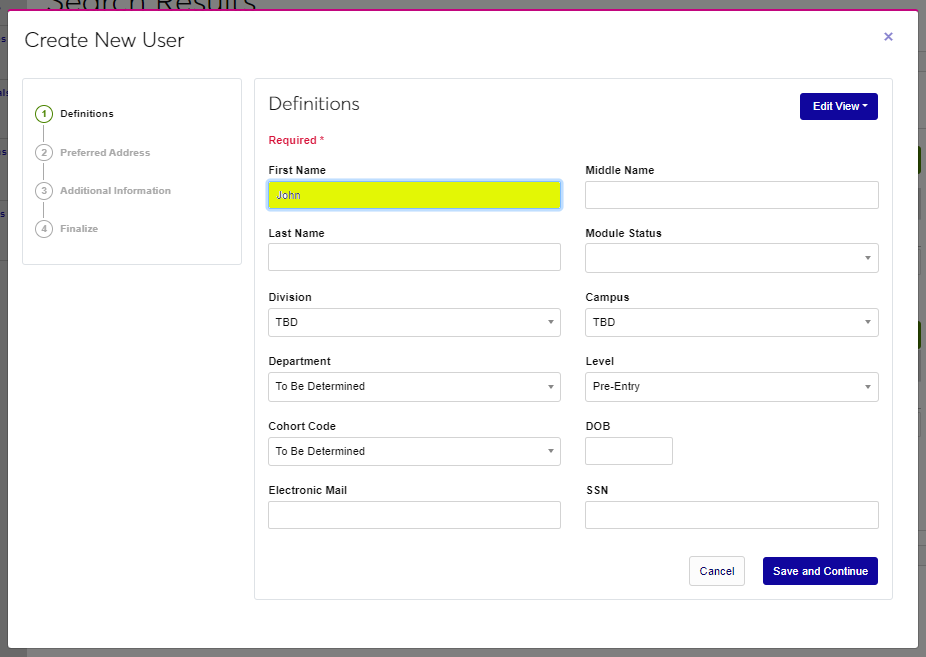
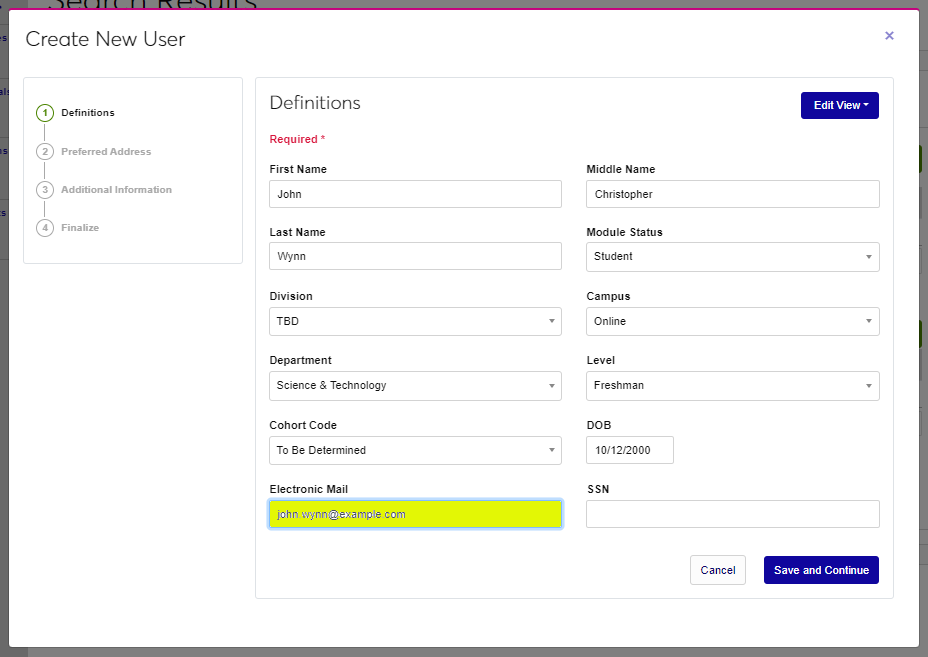
Begin creating a new user by entering the user's First and Middle names.
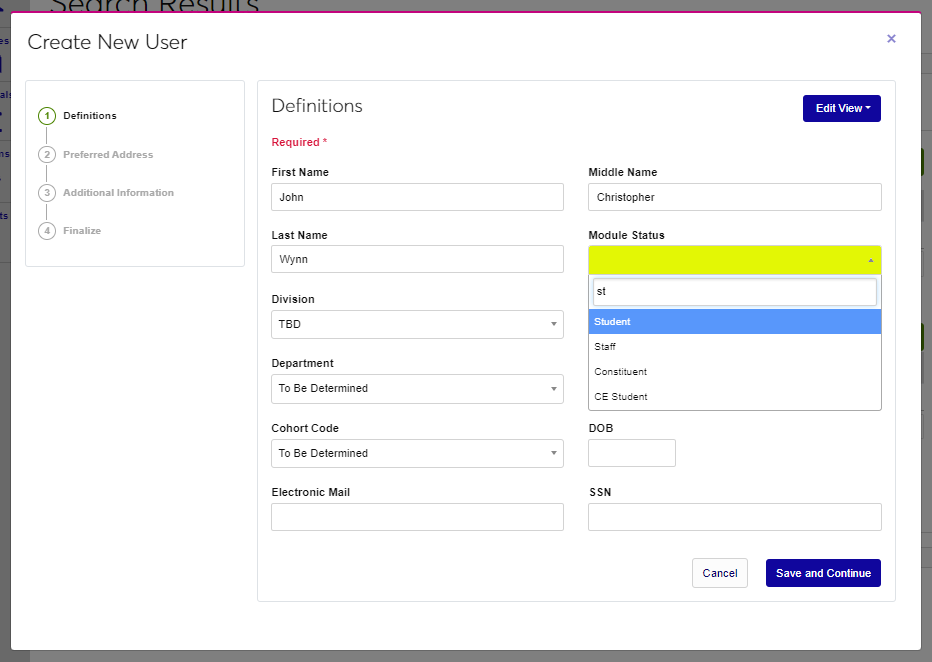
Enter the Last Name and select a Module Status from the dropdown menu.

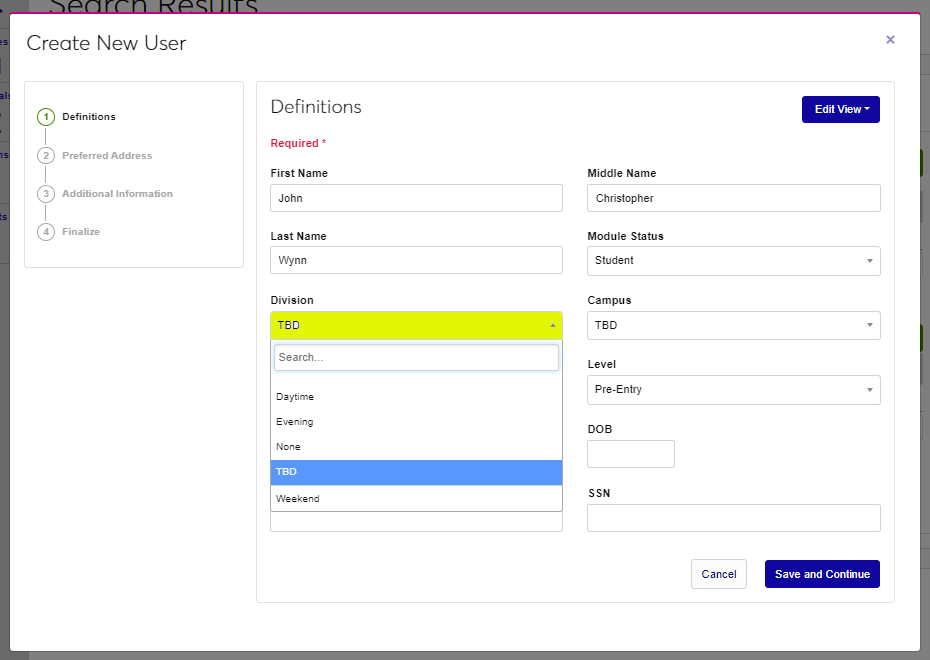
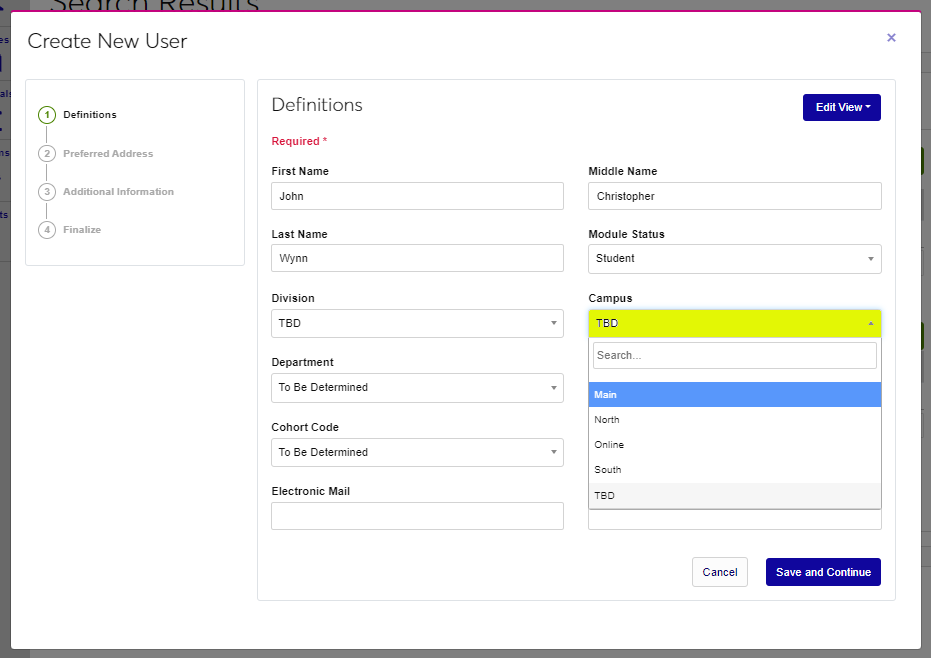
If the Division and Campus are known, select these from the dropdown menus.
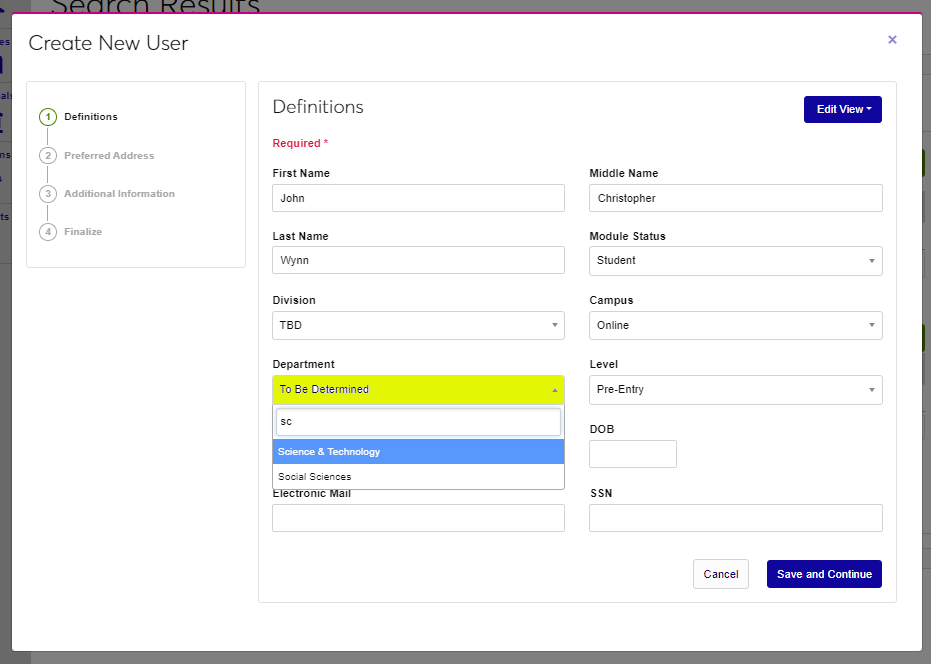
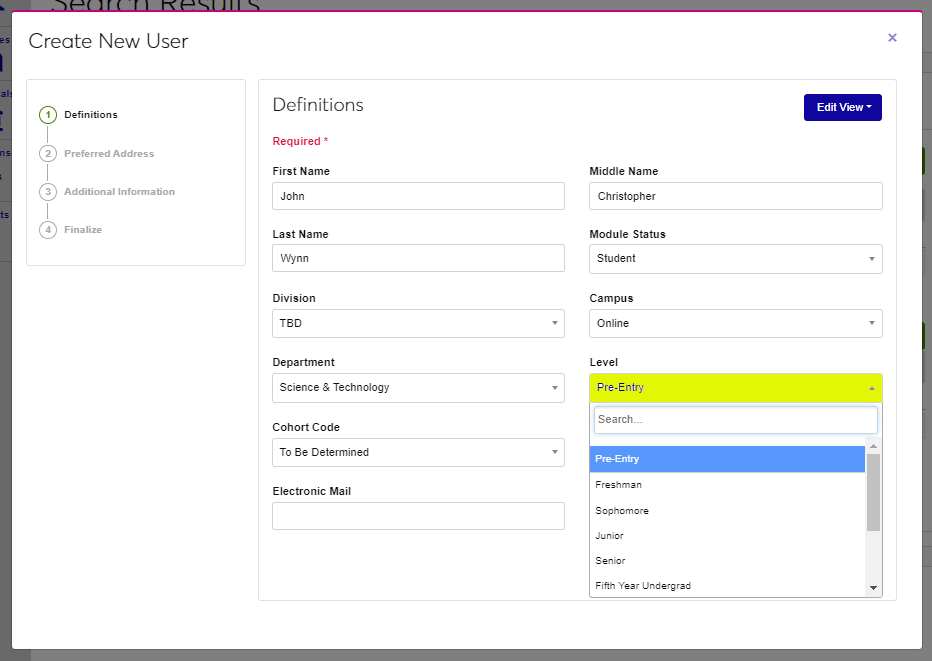
Select the Department and Level, if appropriate to the user being created.
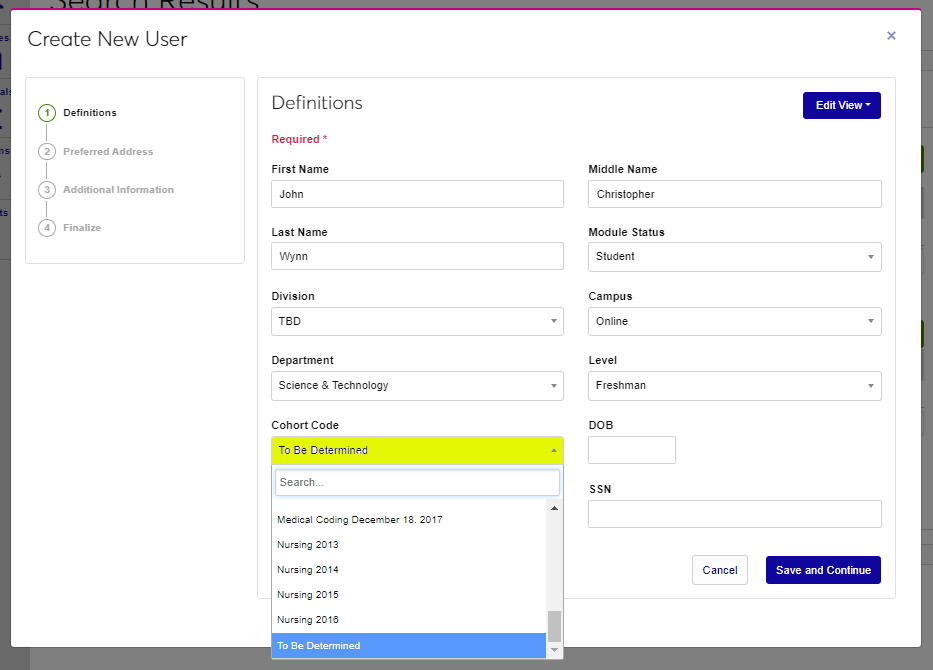
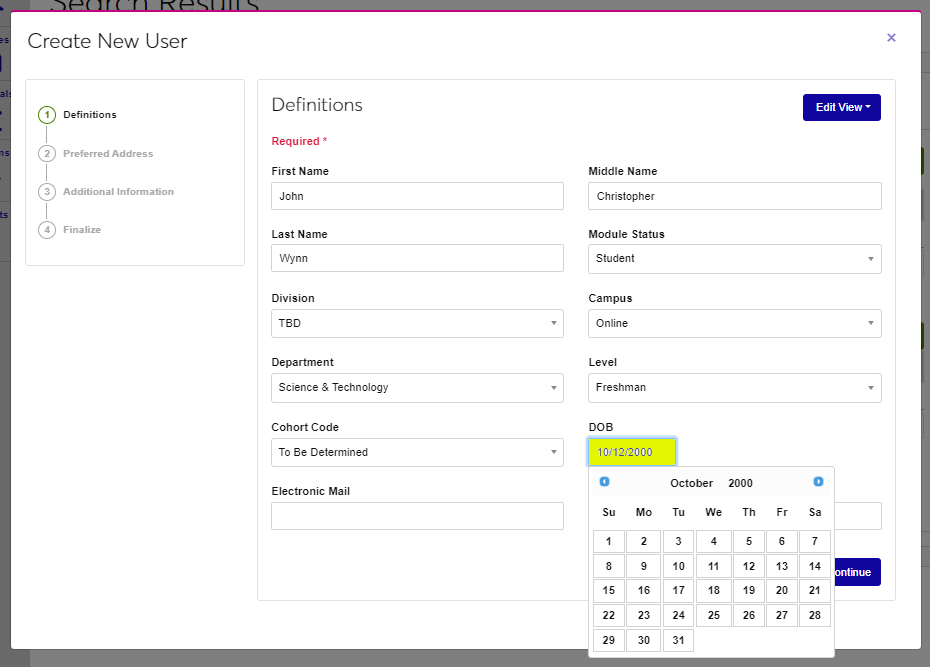
If desired, select a Cohort Code and then enter the user's date of birth in the DOB field. The backslashes will be added by default if only numerals are typed in. If the field is clicked in, a calendar widget will display and the date can be selected from it.
Enter the user's preferred email address in the Electronic Mail field and their social security number without dashes in the SSN field.
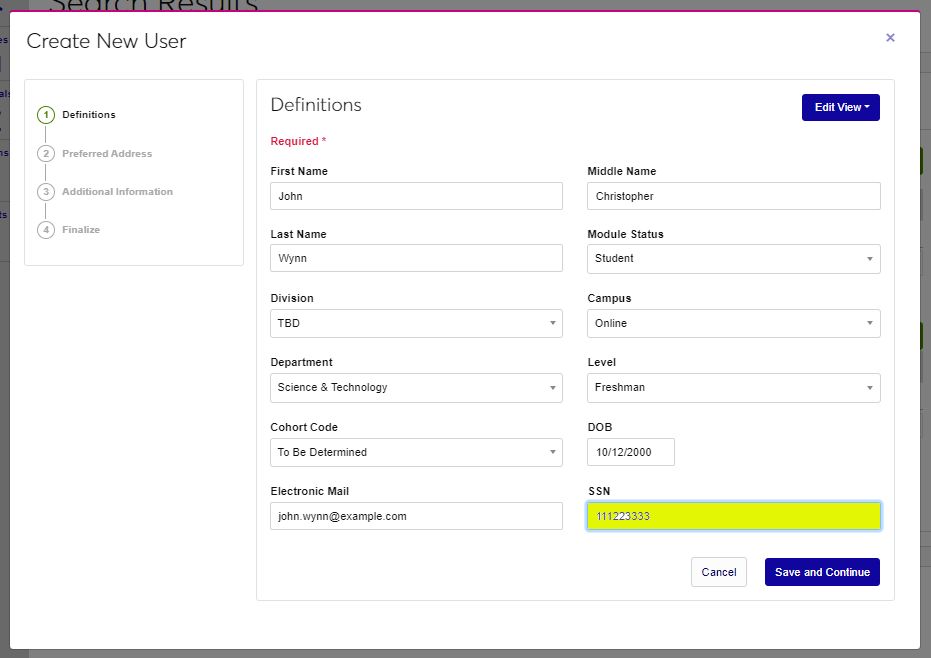
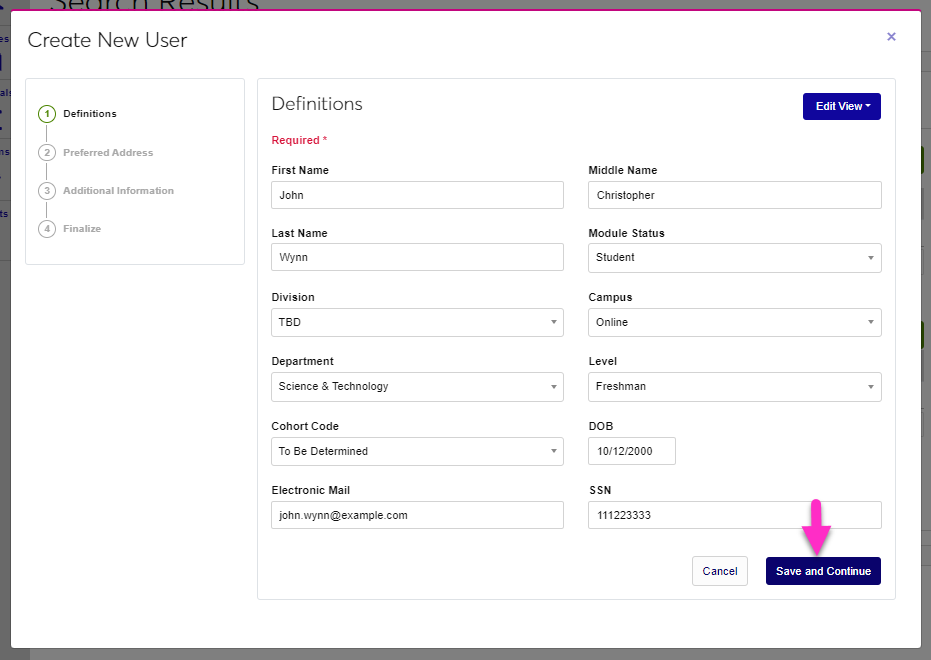
Click Save and Continue to save the entered information and move to the next step of the wizard.
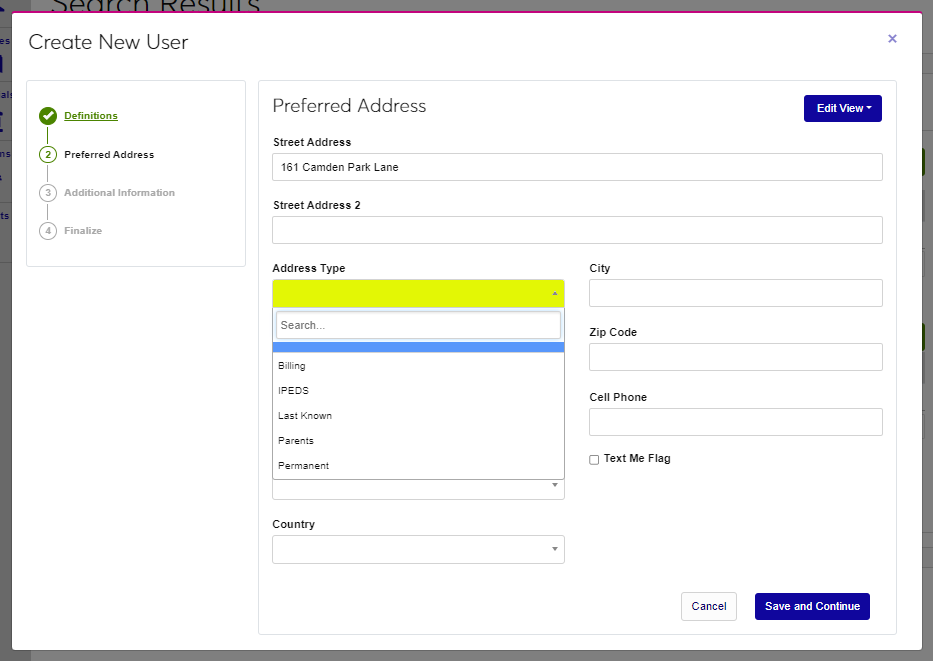
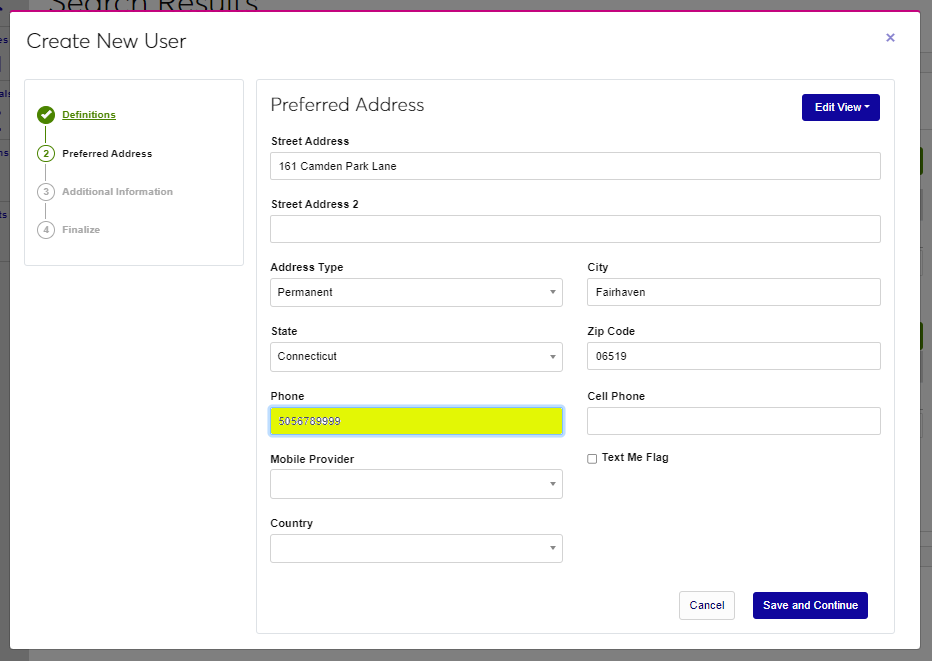
Preferred Address
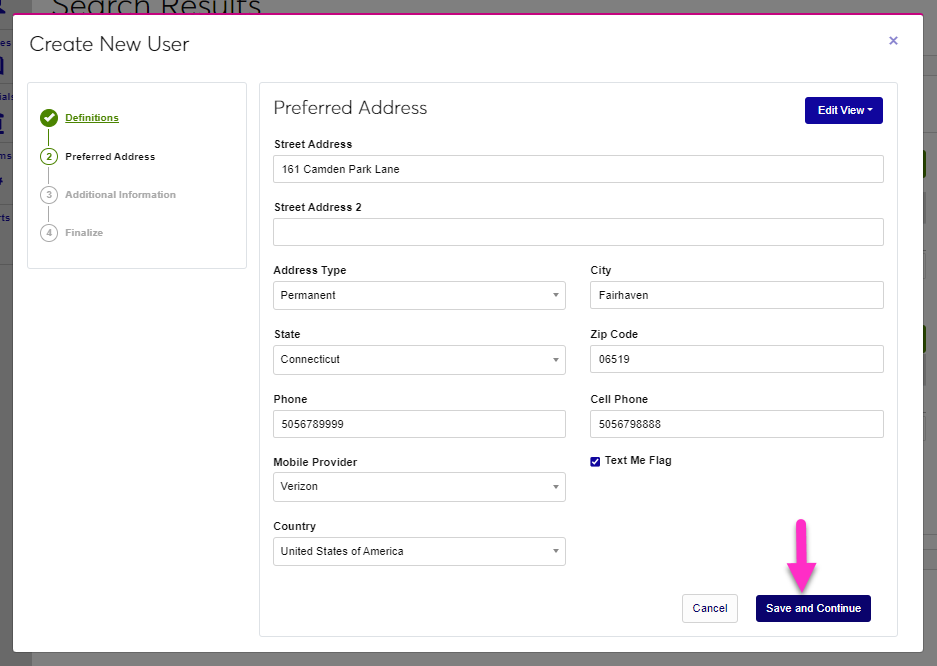
Enter the user's preferred Street Address. An additional line is provided in case more room is needed.

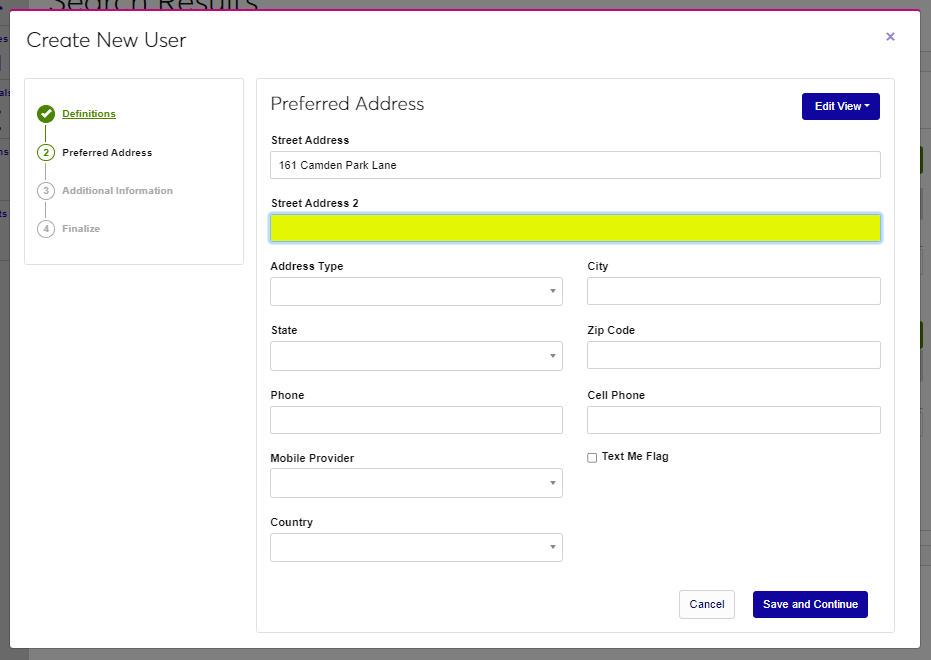
Select the Address Type and enter the City.
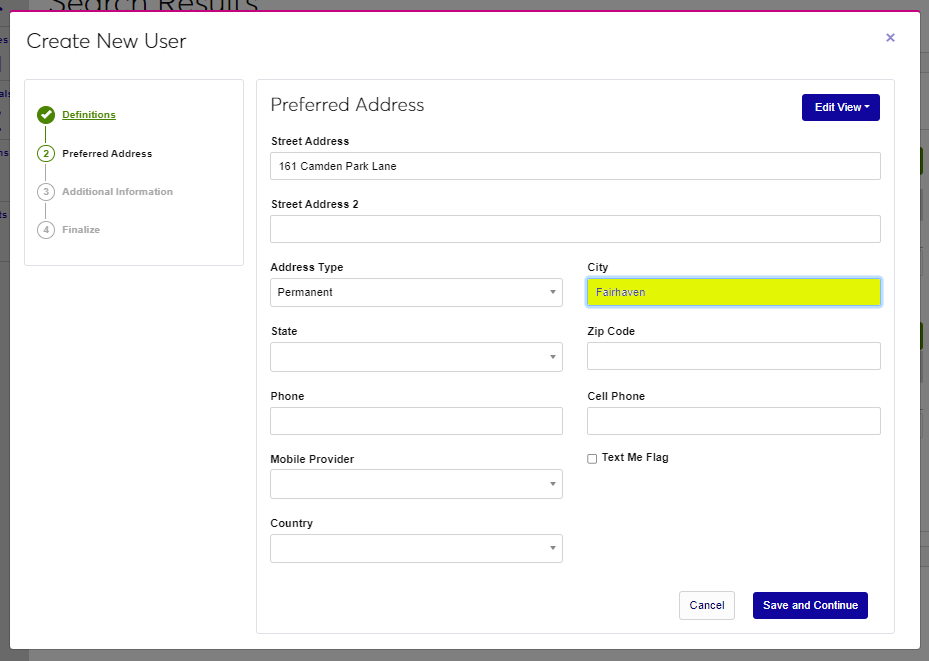
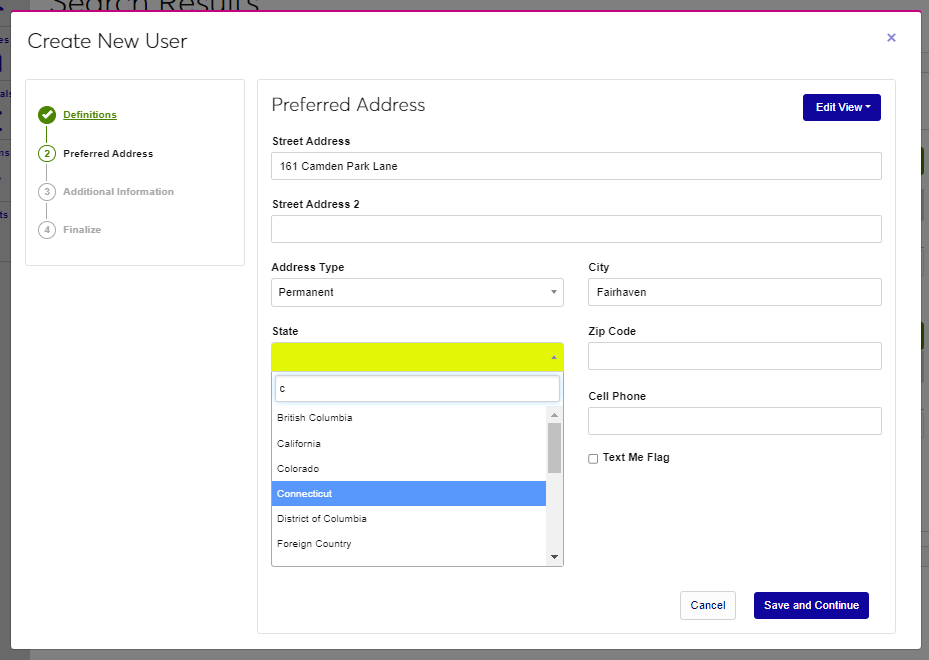
Select the State from the dropdown menu and enter the Zip Code.
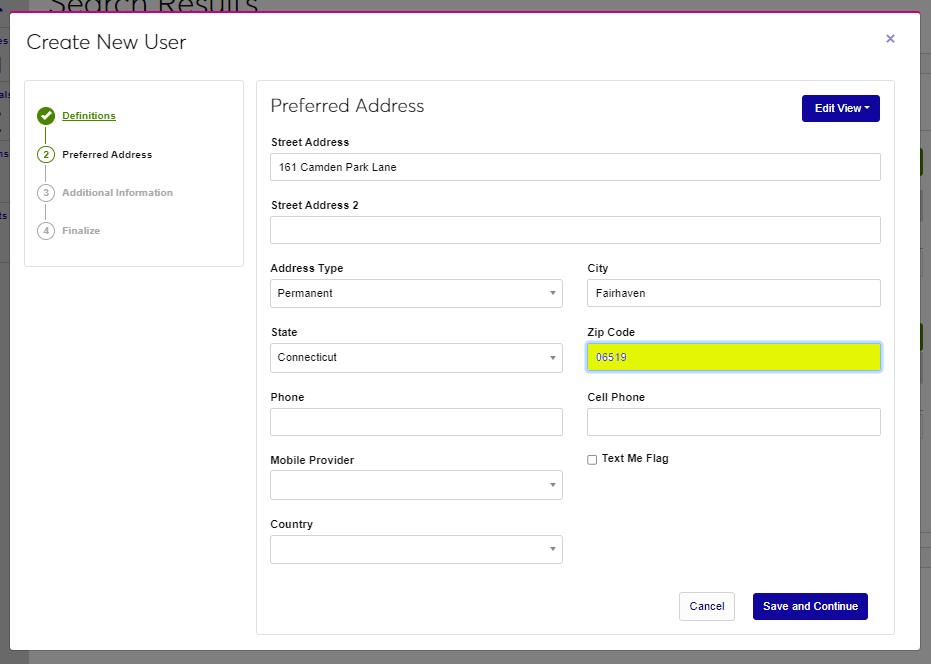
Enter the user's phone number without dashes in the Phone field and enter the Cell Phone number.
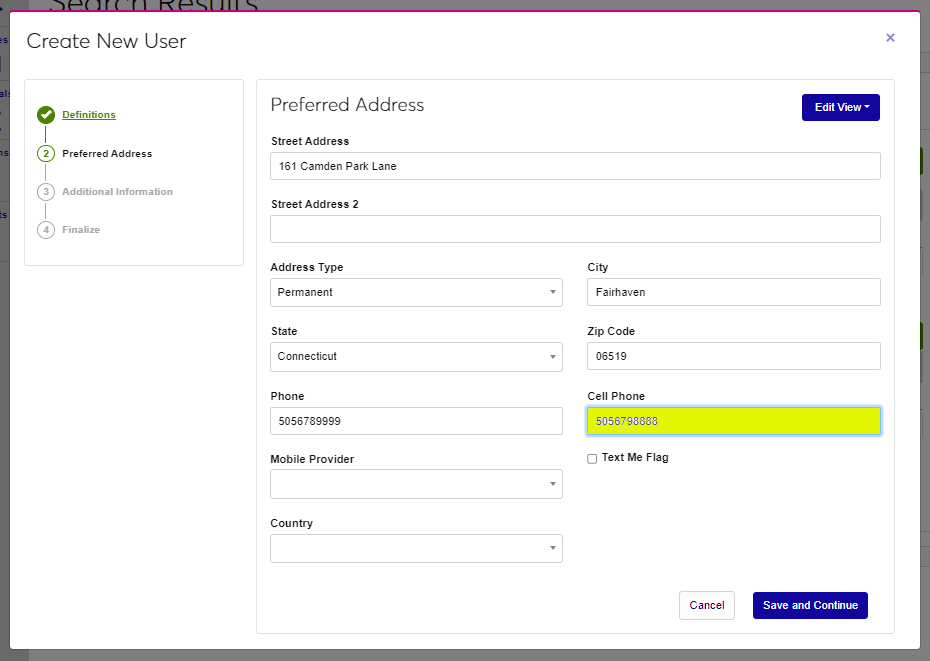
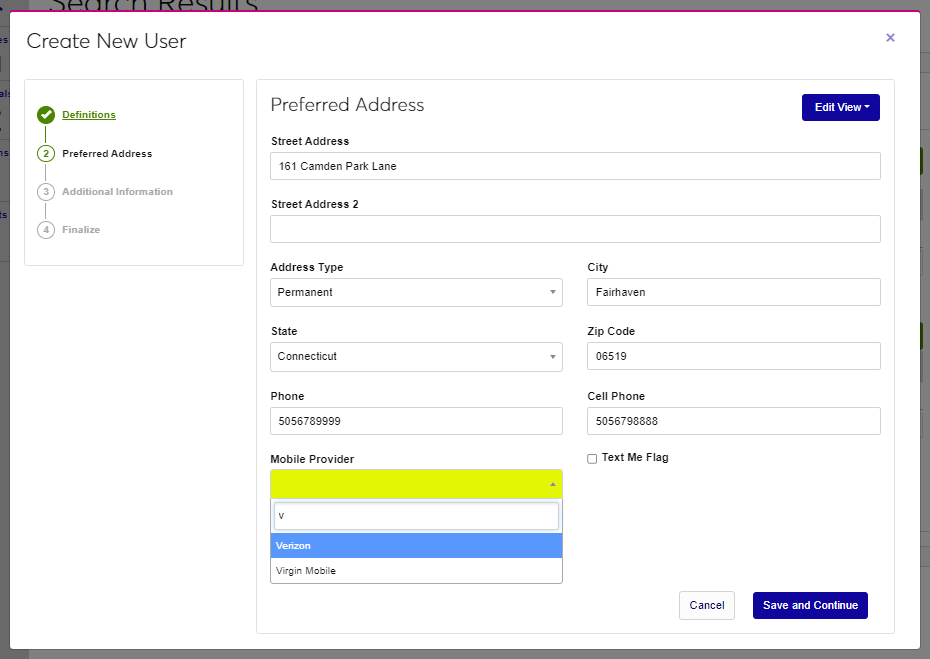
Select the Mobile Provider from the dropdown and if the user consents to receiving text messages from the institution, check the Text Me Flag box.

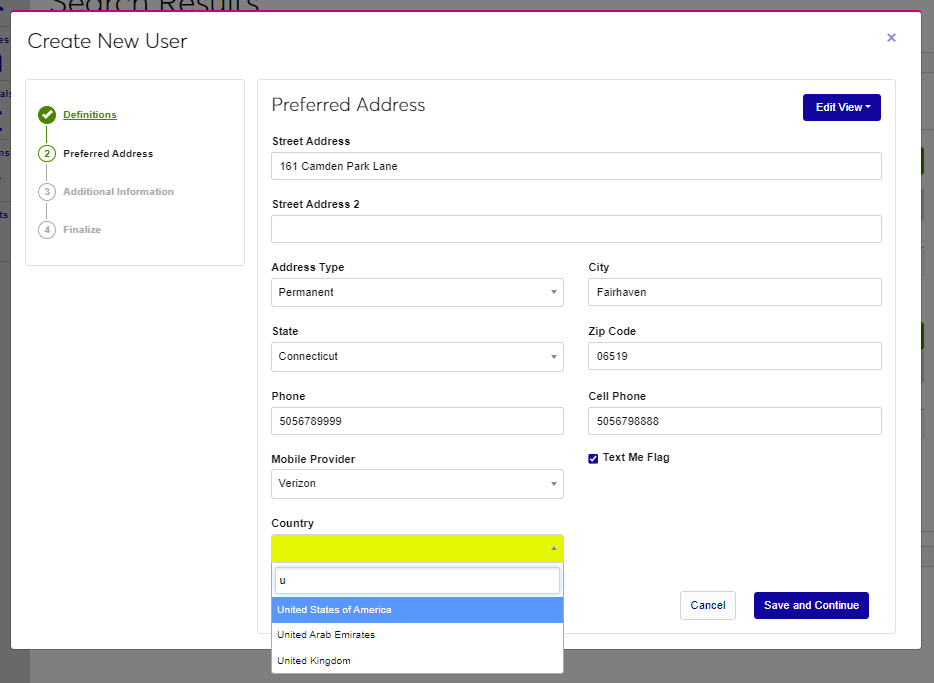
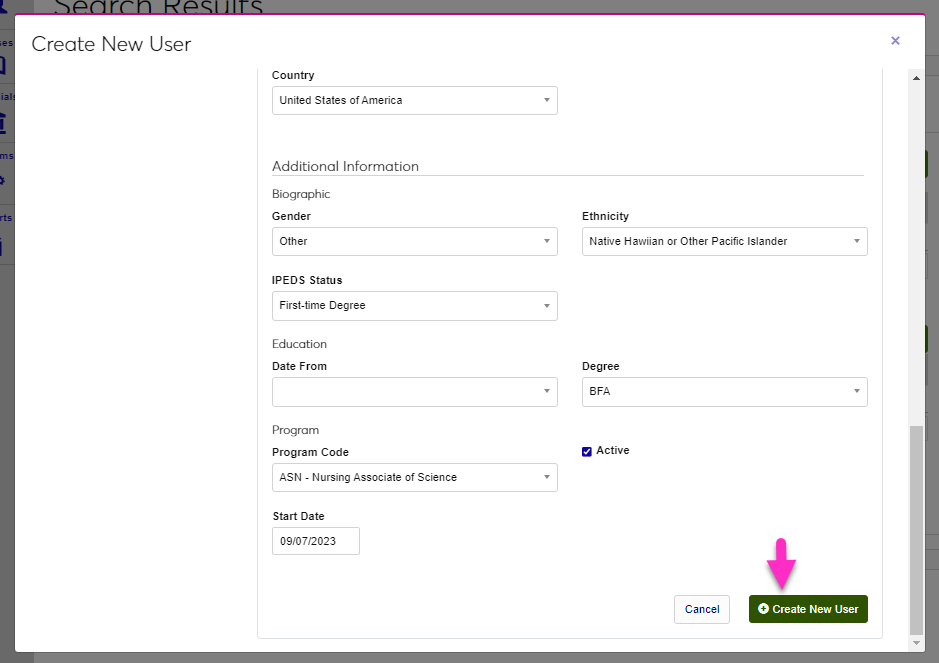
Select the Country associated with the address and click Save and Continue to move to the next step of the wizard.
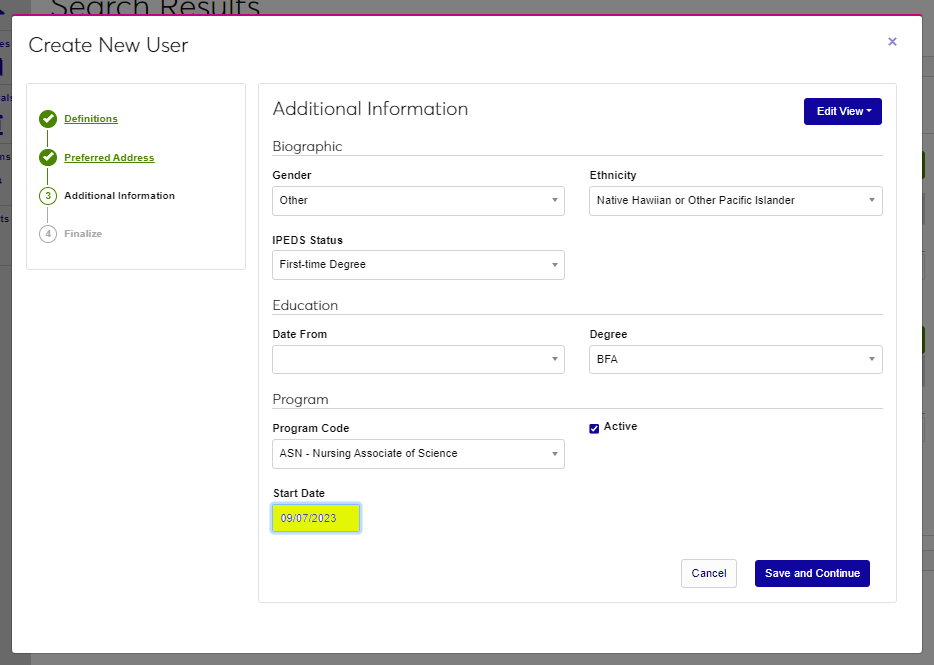
Additional Information
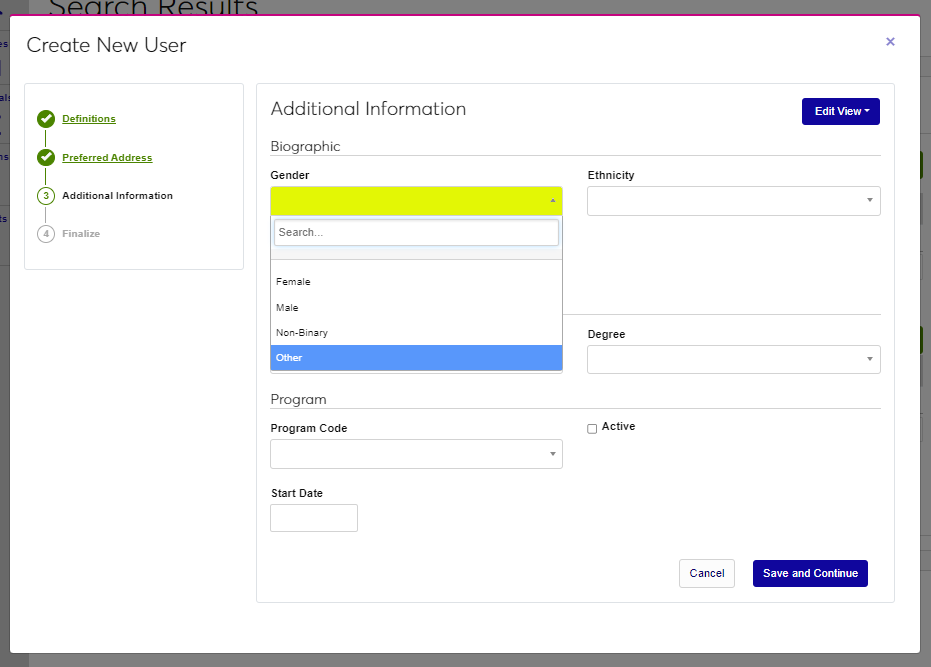
Select the user's Gender and Ethnicity from the corresponding dropdowns.
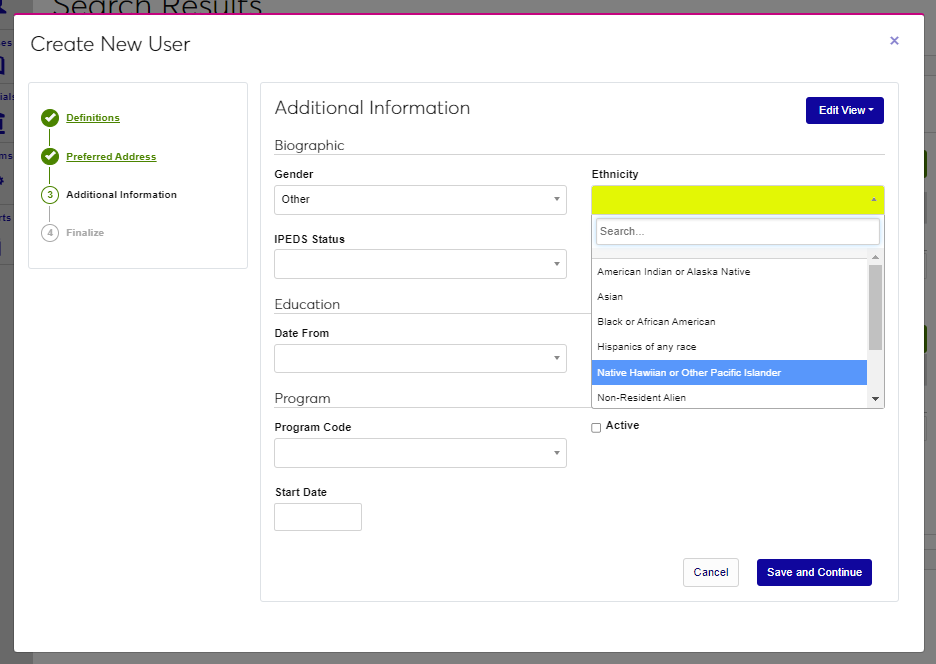
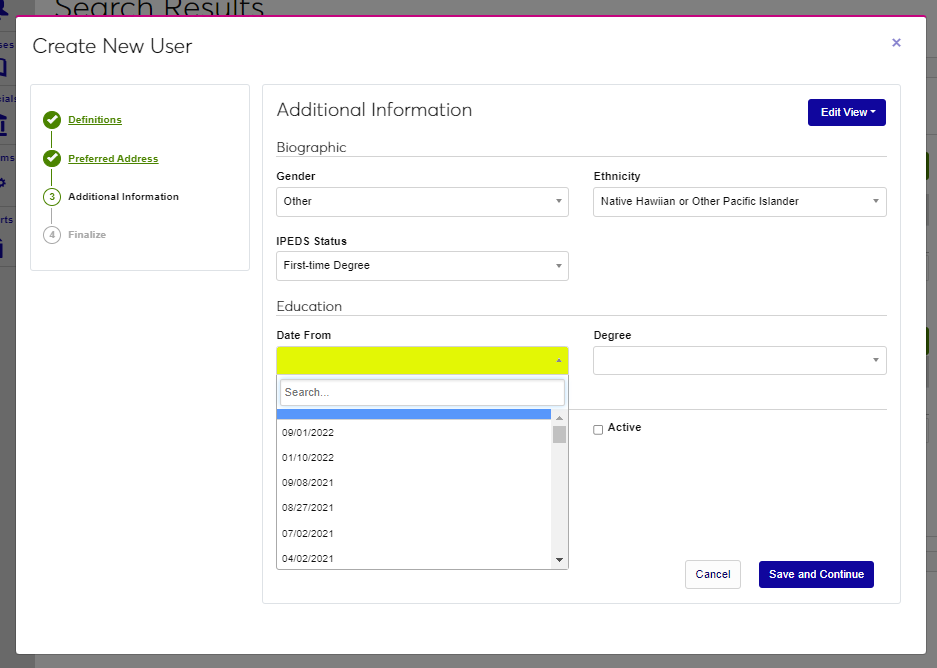
Select the user's IPEDS Status from the menu and move to the Education section to enter previous education, if appropriate. Select the beginning date of the previous education.
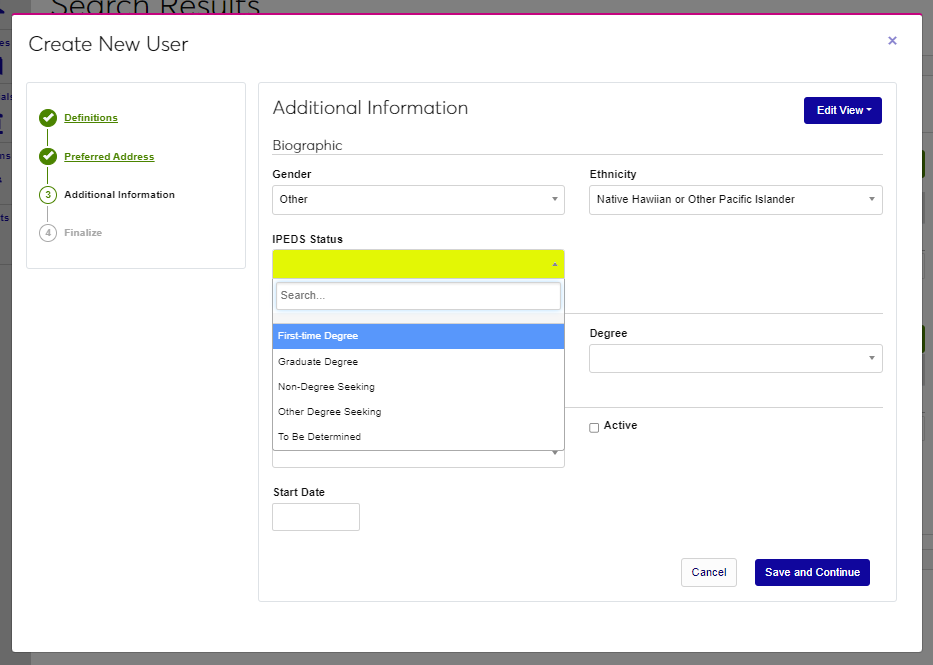
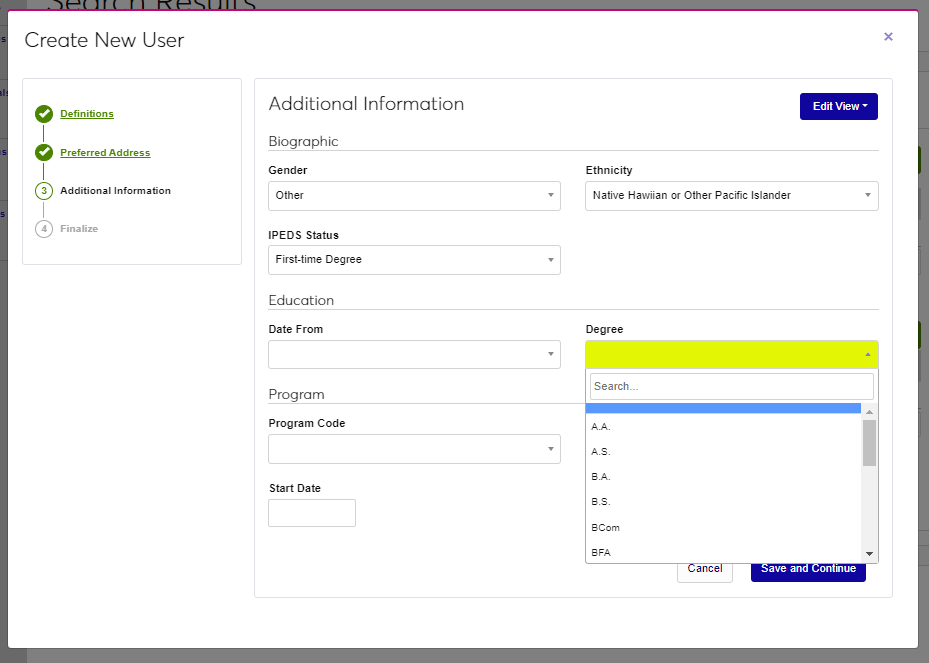
Select the Degree type from the menu and proceed to the Program section. In the program section, the program the user will be pursuing will be entered. If the user isn't pursuing a program, this can be skipped.
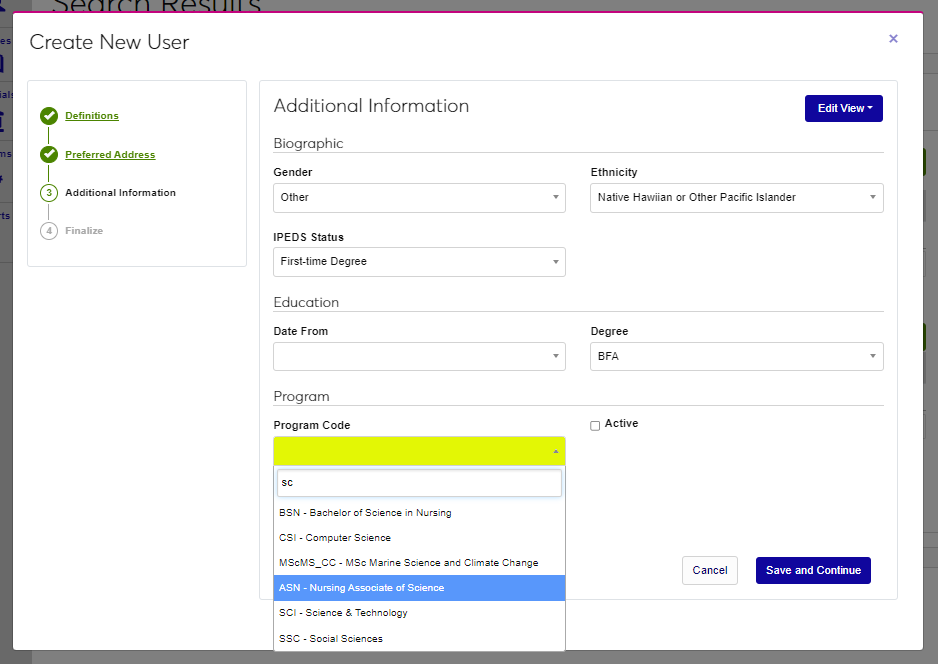
Select the Program Code from the dropdown menu and set the Active flag if the user should be created with this program as their active program.
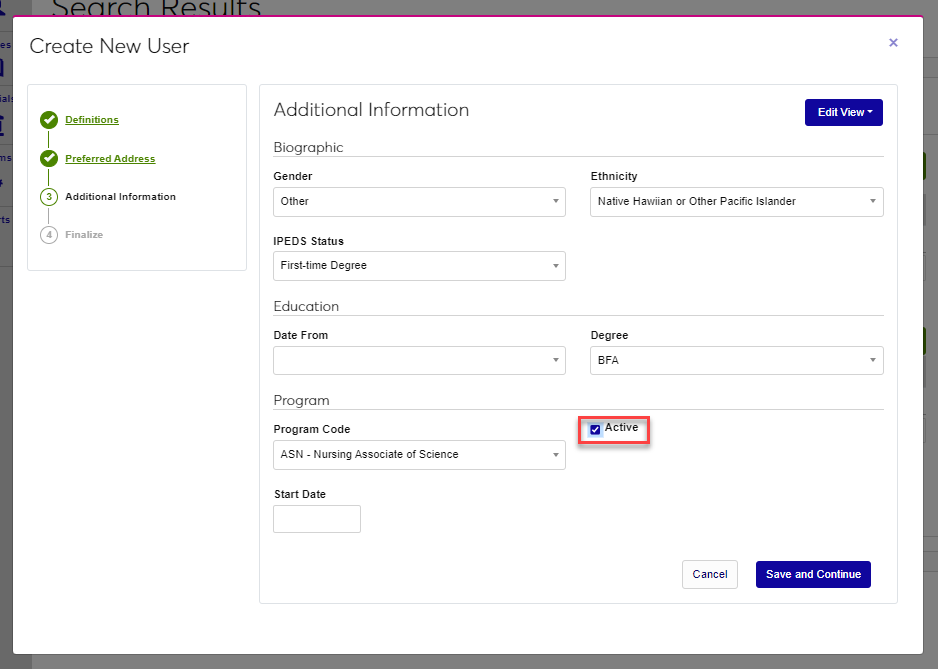
Enter the date the user will start the program in the Start Date and click Save and Continue to save the entries and move to the final step of the wizard.

Finalize
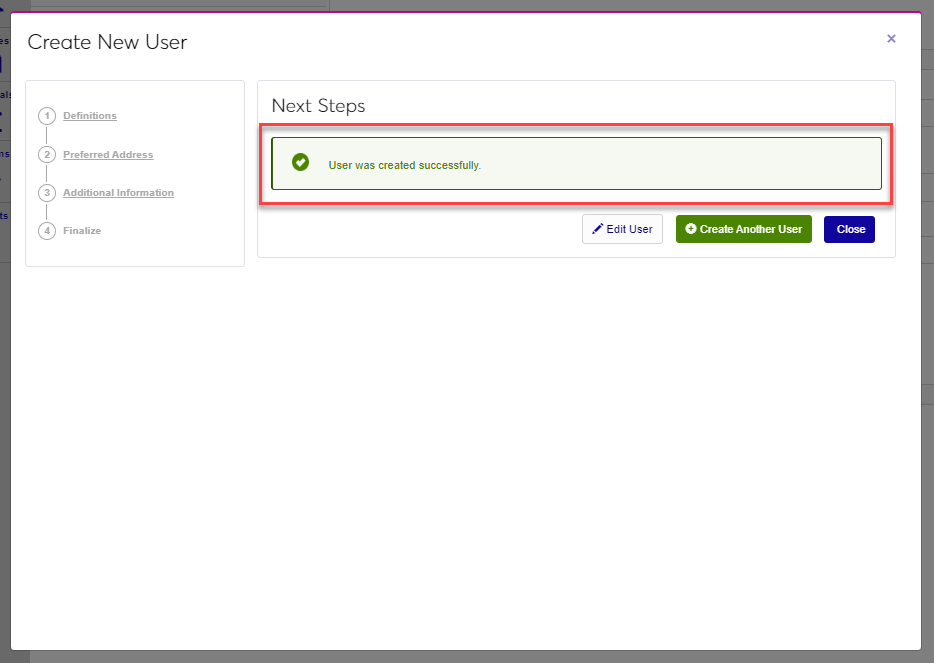
In the Finalize step, the information entered can be reviewed for accuracy and updated, if necessary. After reviewing, click Create New User to create the user within SONIS.
A confirmation page displays, and offers the opportunity to edit the just created user, created another user, or exit the wizard.