Update Bio
Overview
When enabled, the Update Information page allows alumni to update their contact information, text preferences, PIN, profile information, and photo. They may also set their directory search preferences.
Updating Information
Note
Any updates made here will be made in the corresponding Biographic areas within the Jenzabar SONIS administrative portal.
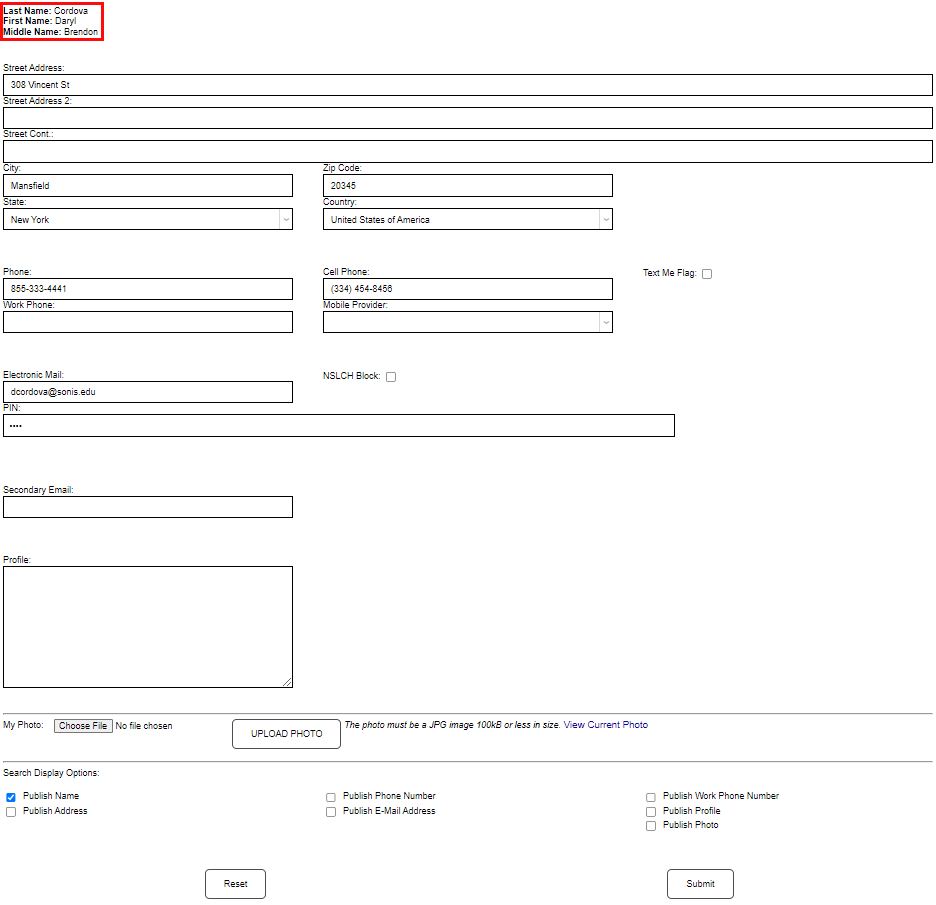
The student's Last, First, and Middle names display in the upper left corner of the page. They cannot be updated here; that must be done by within the administrative portal.
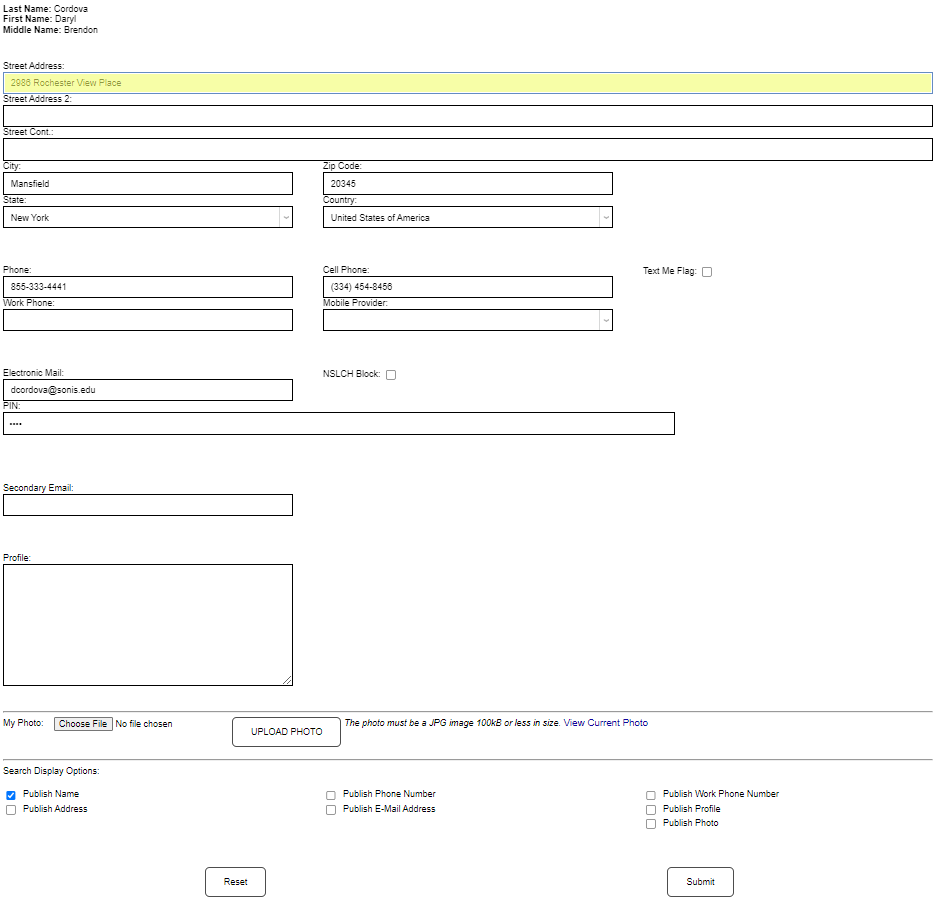
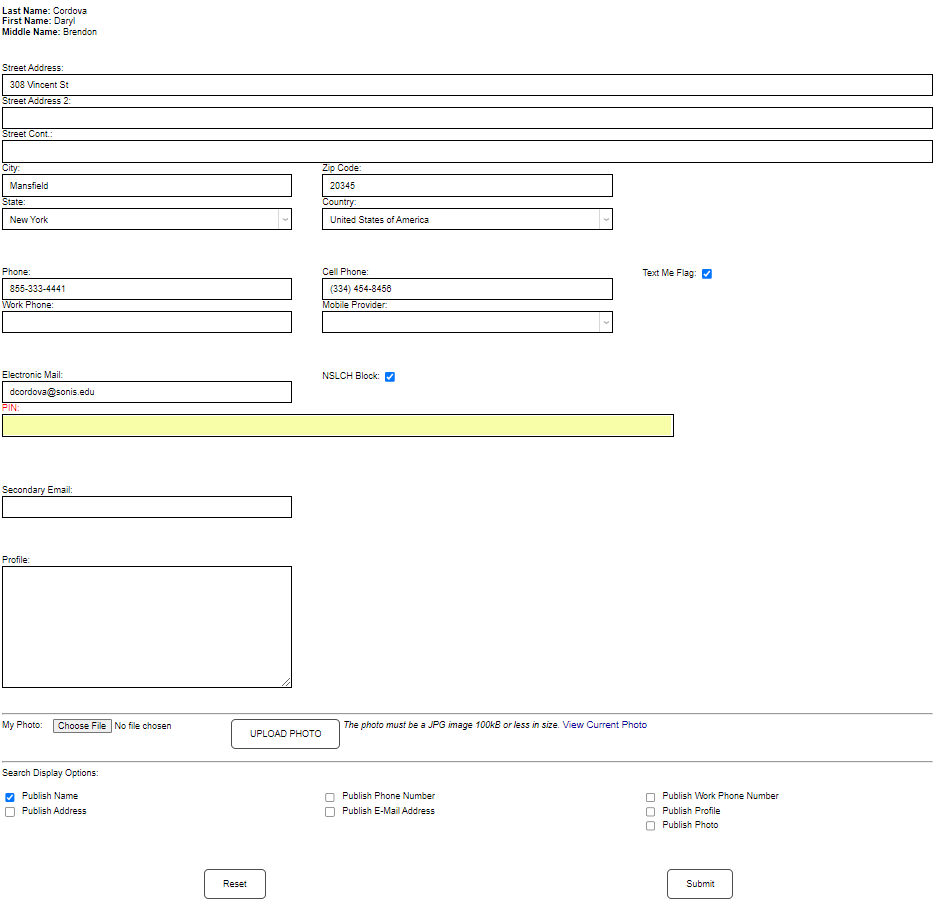
To update any of the address, phone, or email fields, simply enter the field and make the needed update. After the update, click Submit to save the update and communicate the change to the administrative portal.

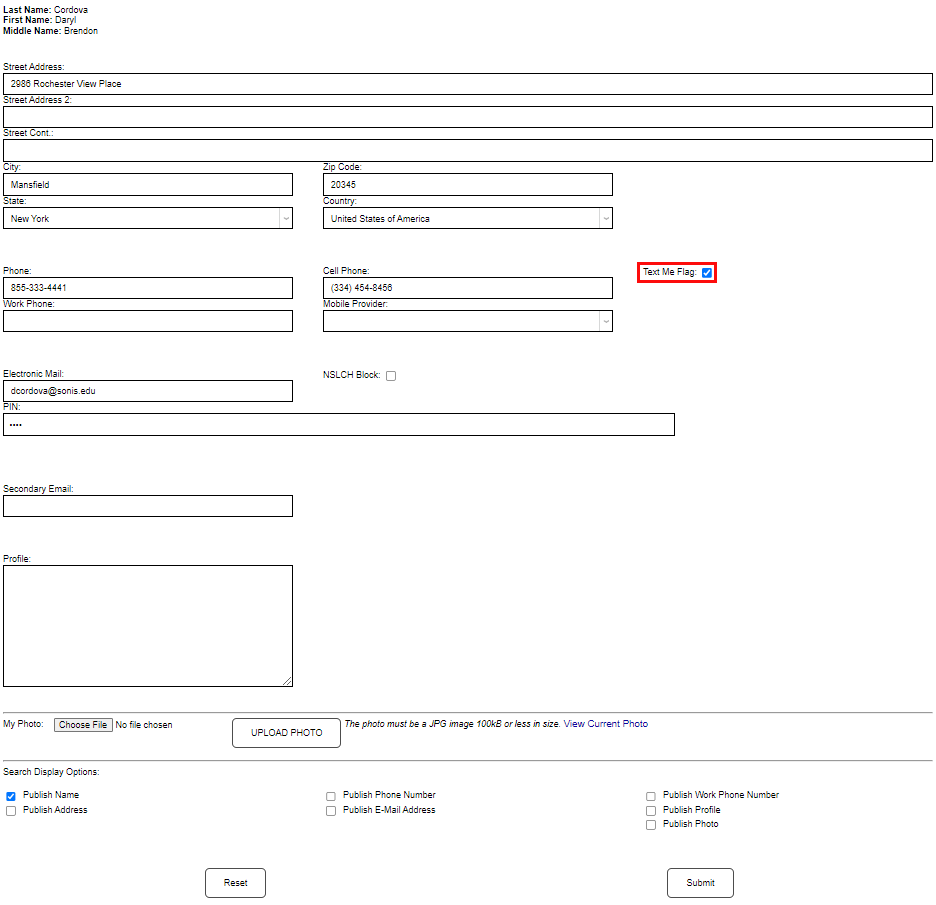
Clicking the Text Me Flag box indicates consent to receive text messages at the provided Cell Phone number. Clicking the NSLCH Block excludes the student's name and attendance dates from being included in the Clearinghouse Directory. As with other areas on this page, making an update requires the Submit button be clicked for the update to be recorded.
See: Text Processes box and Clearinghouse for more information.
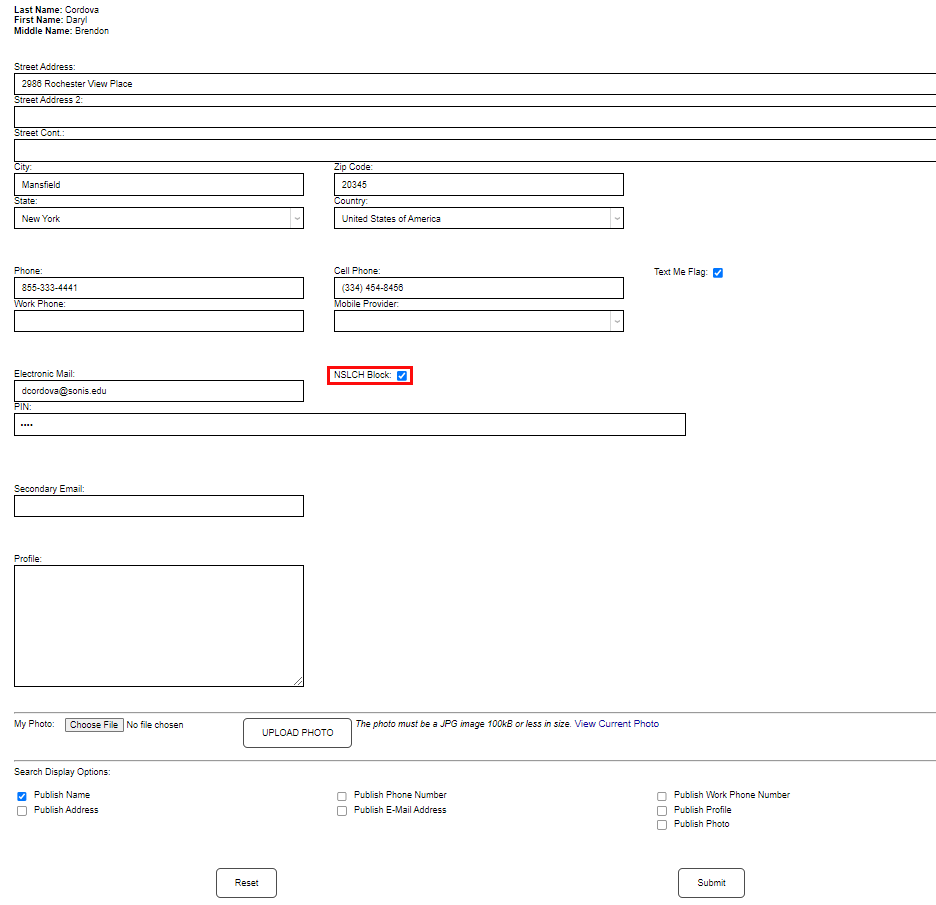
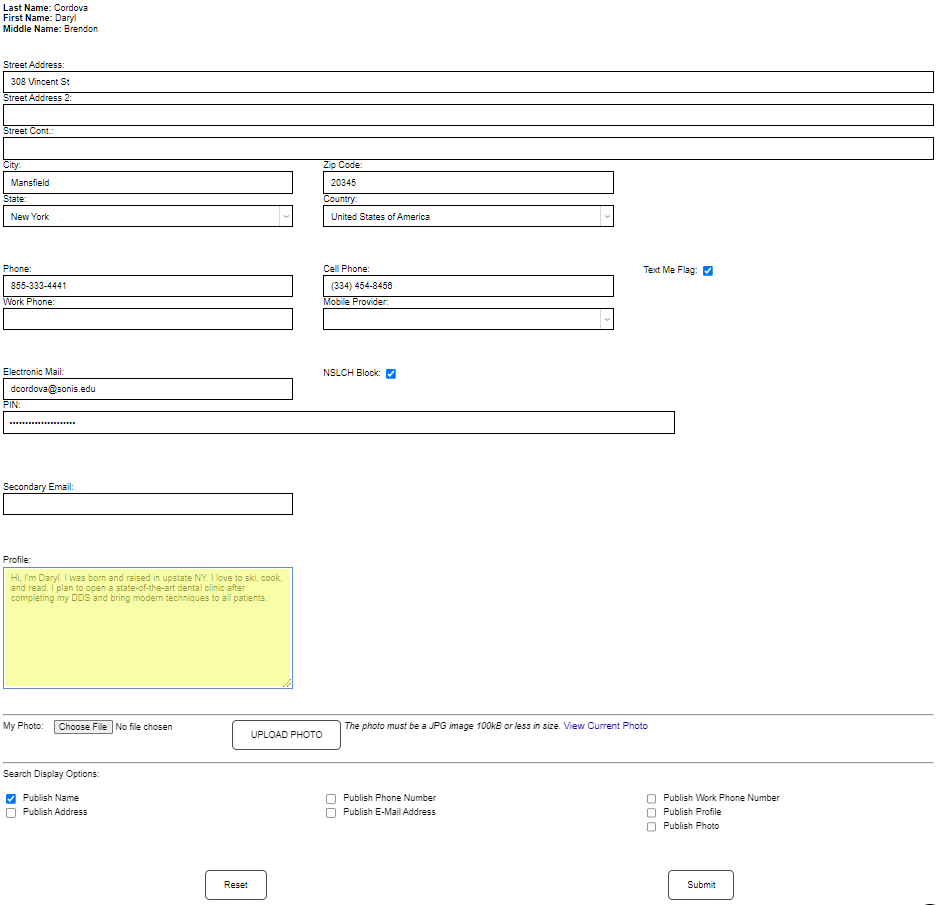
Users have the option to change their PIN. To do so, click in the PIN field, enter a PIN that meets institutional requirements, and click Submit. If the PIN requirements and/or length are not met, a warning message displays.
Visit the Password & PIN Utility documentation for more on how PIN codes work in SONIS.

The Profile field allows students to write and maintain a short biography of themselves. This profile is displayed to instructors and on the Biographic page in the SONIS administrative portal, and if Publish Profile is checked, it can be viewed by others at the institution in the portals. To create a profile, click in the box and enter the desired information. Click Submit to save the entered information.
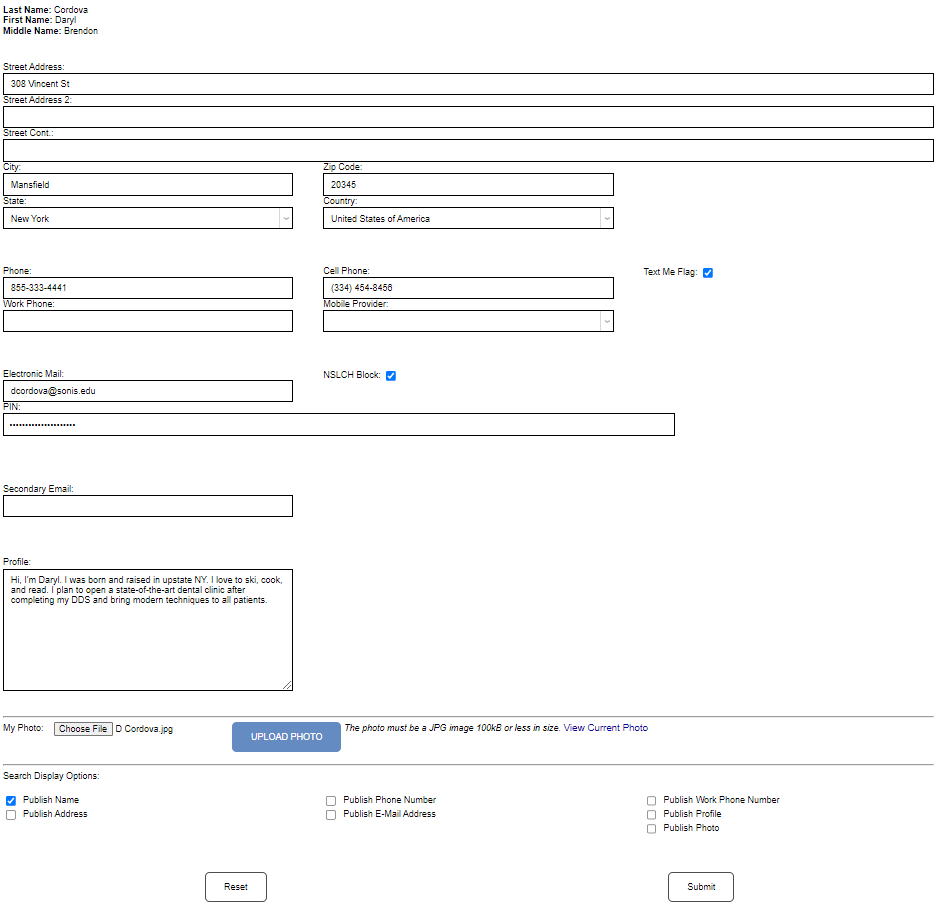
The My Photo section allows users to upload their own photo. The photo must be a .jpg image of 100KB or less in size. If the user is not sure what their current photo is, or would like to confirm the new photo updated, the View Current Photo can be clicked to view the current photo.
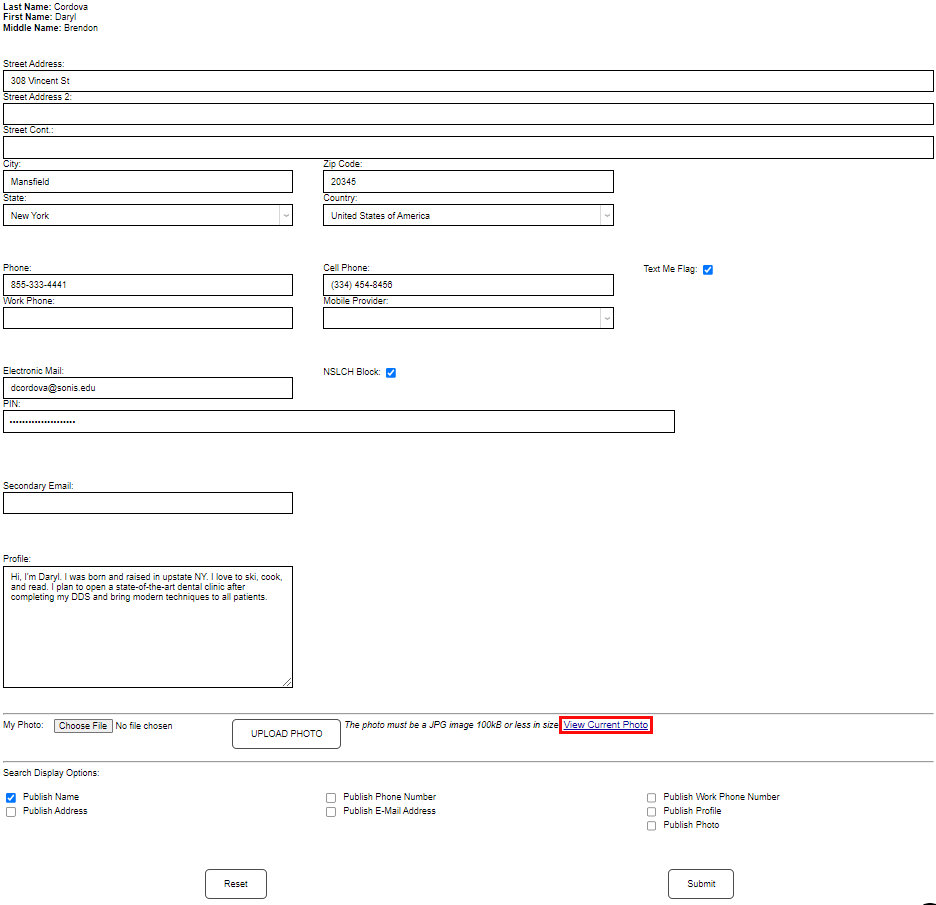
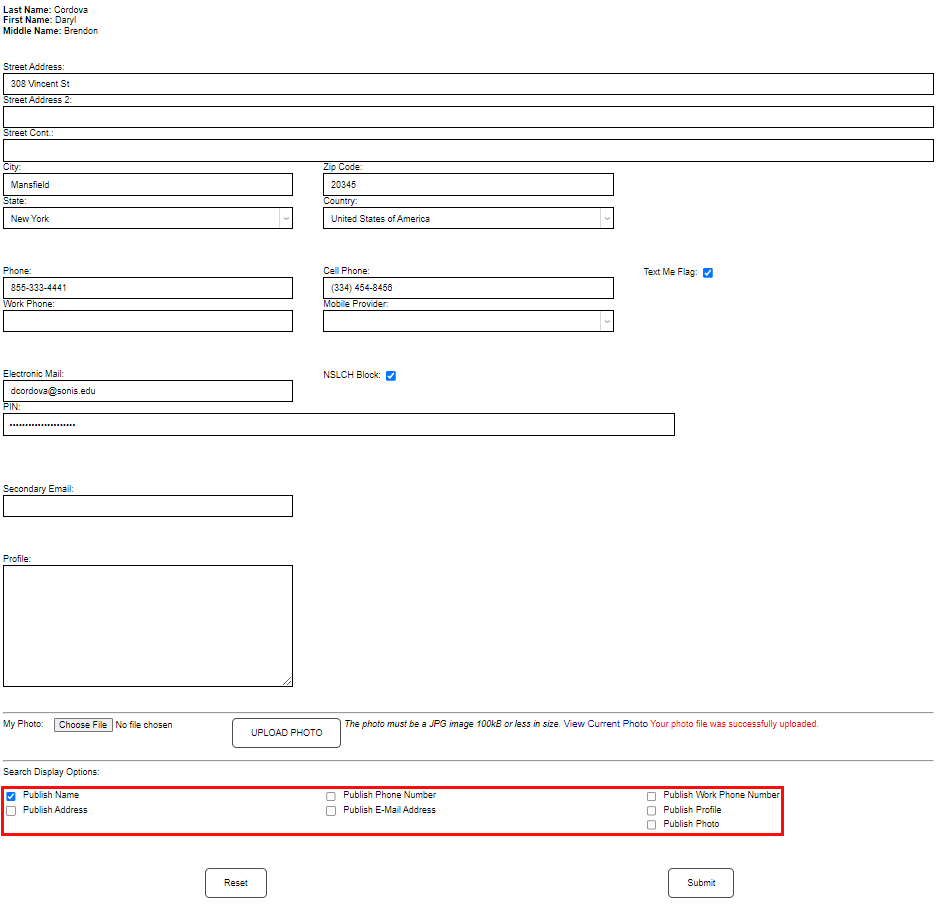
The last section of the page provides the user the opportunity to determine which information will be available to others who are conducting searches within portals other than the administrative portal. For example, if a student or instructor is searching for someone's name and phone number, but the user did not select Publish Phone Number, the phone number will not be displayed in the search results. The publishing options are:
Publish Name - checking this box allows the user's full name to be found in searches.
Publish Address - checking this box allows the user's full address to display in searches and course rosters.
Publish Phone Number - checking this box allows the user's phone number to display in searches and course rosters.
Publish E-Mail Address - checking this box allows the user's email address to display in searches and course rosters.
Publish Work Phone Number - checking this box allows the user's work phone number to display in searches and course rosters.
Publish Profile - checking this box allows the user's profile to display in searches and course rosters.
Publish Photo - checking this box allows the user's photo to display searches and course rosters.