D2L Brightspace Integration
Overview
Brightspace by D2L is a cloud-based learning management system software designed to facilitate online and blended classroom learning. Jenzabar SONIS provides integration with Brightspace through an XML export file that can then be imported by Brightspace.
Exported Data
The following fields are sent from Jenzabar SONIS to D2L Brightspace in the export file:
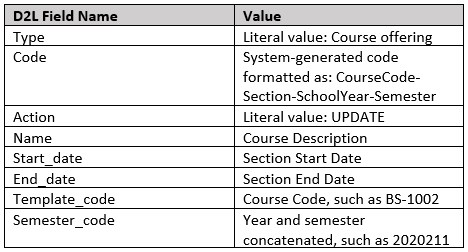
Course Offering
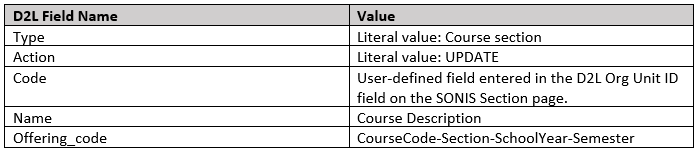
Course Section
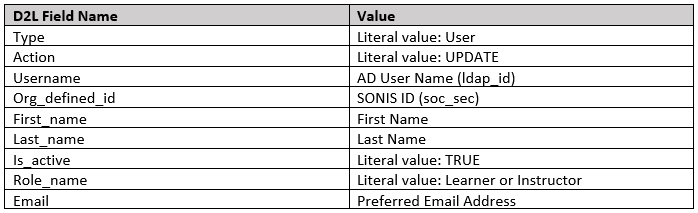
Users
Enrollments

LMS Setup
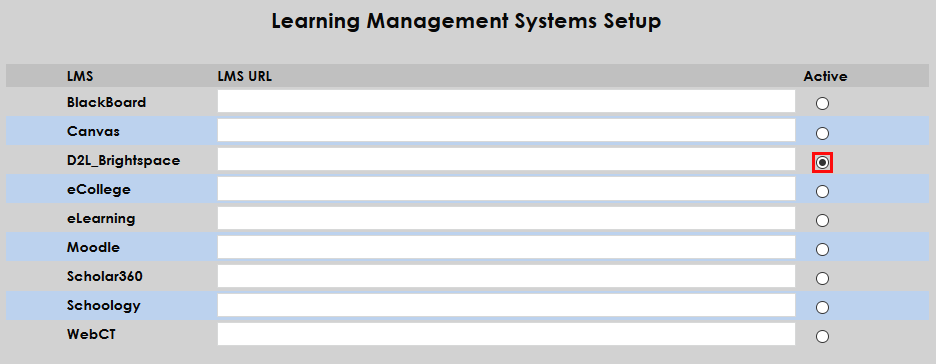
To designate Brightspace as the institution's LMS and, if needed, change some basic settings, navigate to the Learning Management Systems Setup page in the Systems hub. Begin by selecting D2L Brightspace as the Active system.
Once Brightspace has been activated, scroll down to the For D2L Brightspace section of the page. Choose whether to send data from the school's Current School Year/Semester or the Registration School Year/Semester if they differ.

If only courses with the On-Line designation in Course Setup should be included in the export set the Select Only Online Courses option to Yes. If continuing education courses should be included, set the Include CE Enrollment option to Yes.


Click the Submit button to save the changes to the page and activate Brightspace.

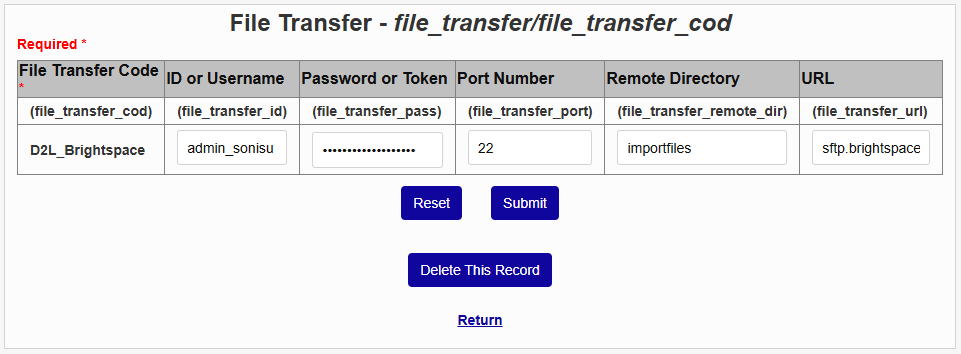
File Transfer Table
In order for Jenzabar SONIS to send export files to the D2L Brightspace SFTP server, the row in the File Transfer table in Table Maintenance with the File Transfer Code D2L_Brightspace must be updated with the SFTP server connection information. Clients should work with Jenzabar SONIS Support and D2L to acquire this information. This is an optional feature.
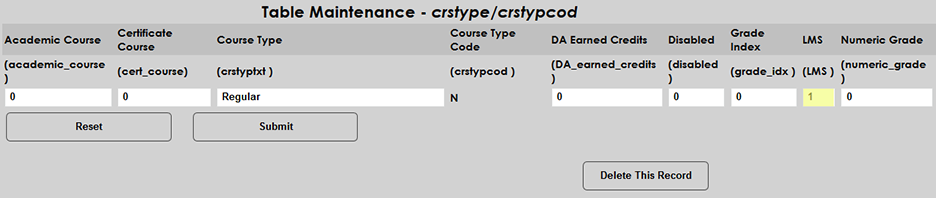
Course Setup
As part of setting up the Brightspace integration, schools should ensure that their courses are properly configured to pass data to LMS systems. Navigate to the Course Type table in Table Maintenance in the Systems hub and ensure that any course types that may use Brightspace or another LMS have a 1 in the LMS field.
Additionally, each individual course section that will be accessed through Brightspace should have the On-Line box checked on the Course Section page. If the Select Only Online Courses option was activated during the LMS setup process, a course must have a section type that’s LMS enabled and have the On-Line box checked or it will not be exported to Brightspace.
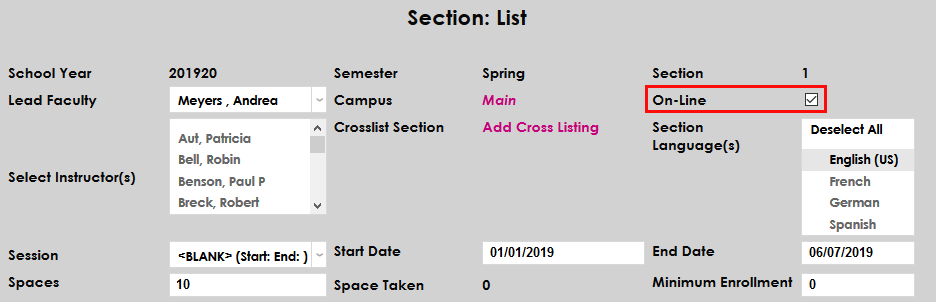
Once Brightspace has been set as the institution's LMS, a new section will appear on each course section page allowing schools to designate an Org Unit Code ID and a D2L Org Unit Code. These values are used by Brightspace and must be entered for all Brightspace courses before exporting any data. For more about how to create these codes, visit the D2L help guide.


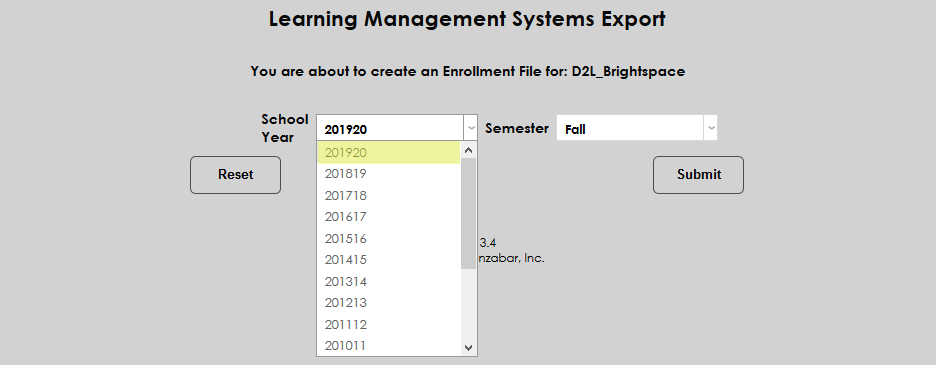
Export
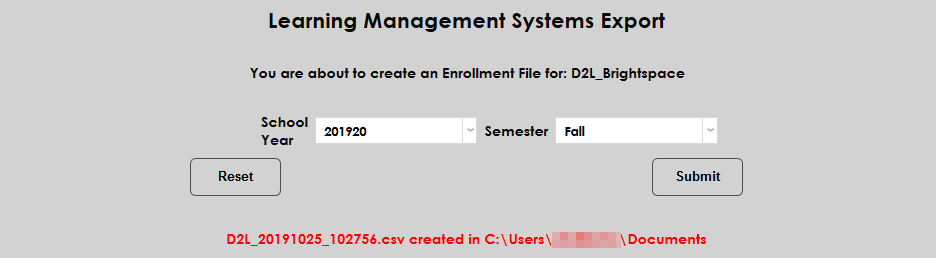
To create a Brightspace export file, navigate to the Learning Management System Export utility. Select the appropriate School Year and Semester. Click Submit to continue.


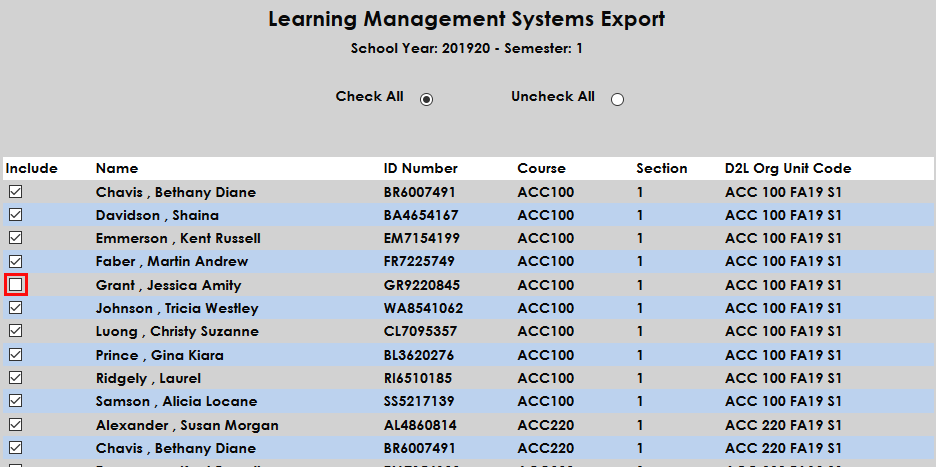
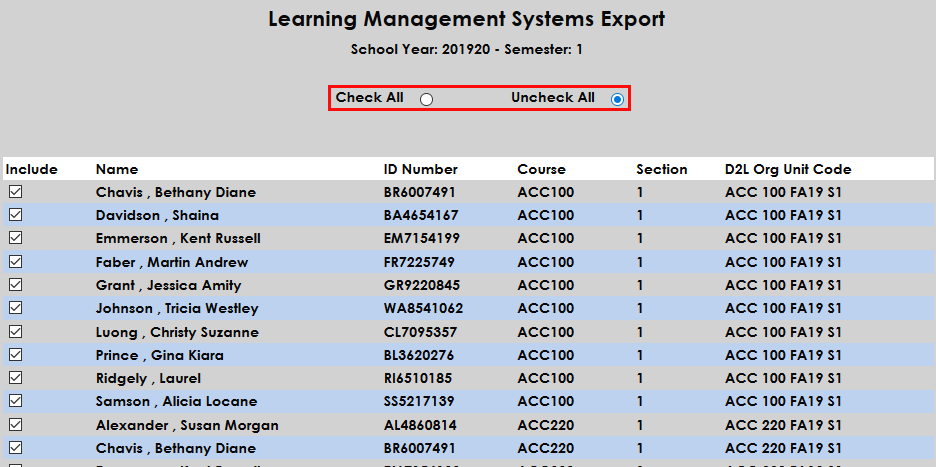
The following page lists all the records to be exported. Uncheck the Include box to remove any records from the export file. Check All and Uncheck All buttons are included for mass changes.
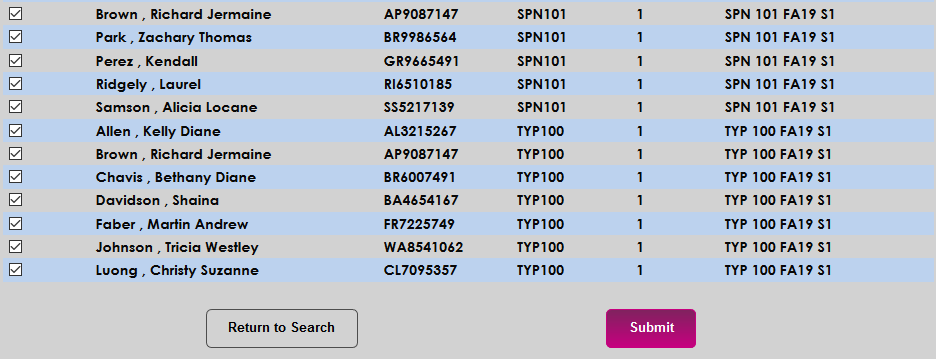
Once the records that should be excluded have been unchecked, click Submit to create the file. The file will be saved to the batch folder set in Web Options where it can be uploaded to Brightspace.
Notifier & Timed Task
Before the notification assignment can be used, the LMS Transfer table data mentioned above must be in place.
The notifier for the D2L Brightspace export will use either the current semester and school year selected in System Variables, or the registration semester and school year selected in Web Options depending on the setting selected in Learning Management System Setup, as mentioned above. The notifier will always export all data types—Course Offerings, Course Sections, Users, and Enrollments. It will also always only include changed data.
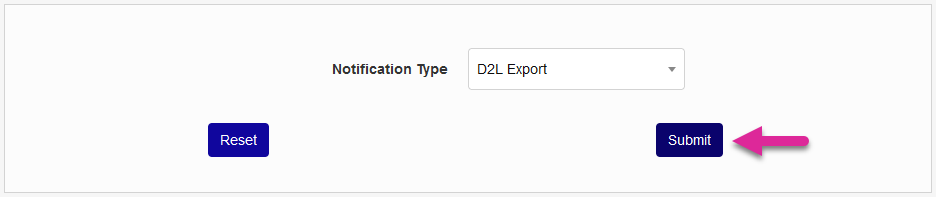
To begin setting up the Notifier, navigate to the Notification Assignments utility in the Systems hub. Click Add to add a new notifier and then select D2L Export and click Submit on the following page.
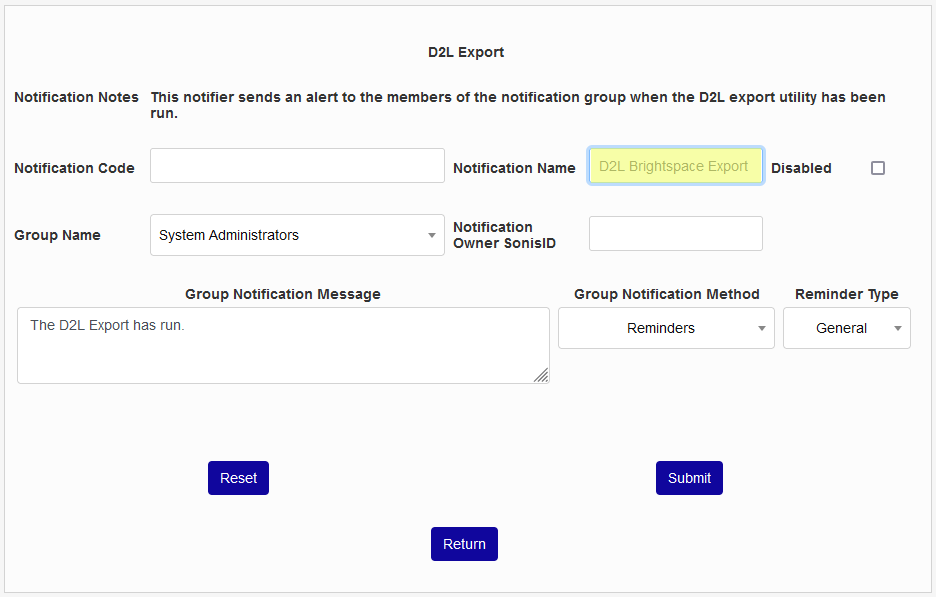
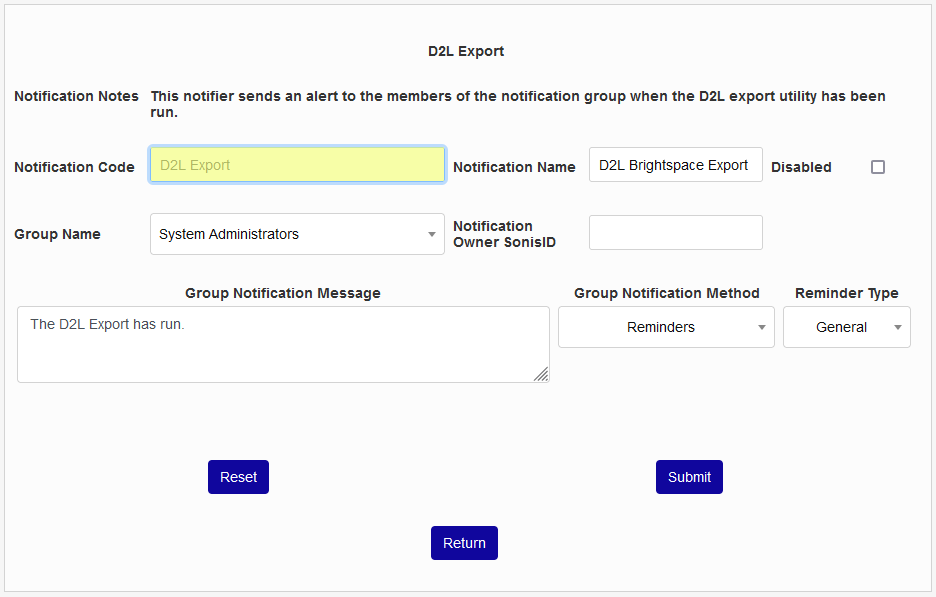
Next, create a Notification Name, a descriptor of the notifier's purpose with a 50 character limit, and a Notification Code, a shorter version of this name with a 20 character limit that the SONIS system will use internally to identify the notifier.
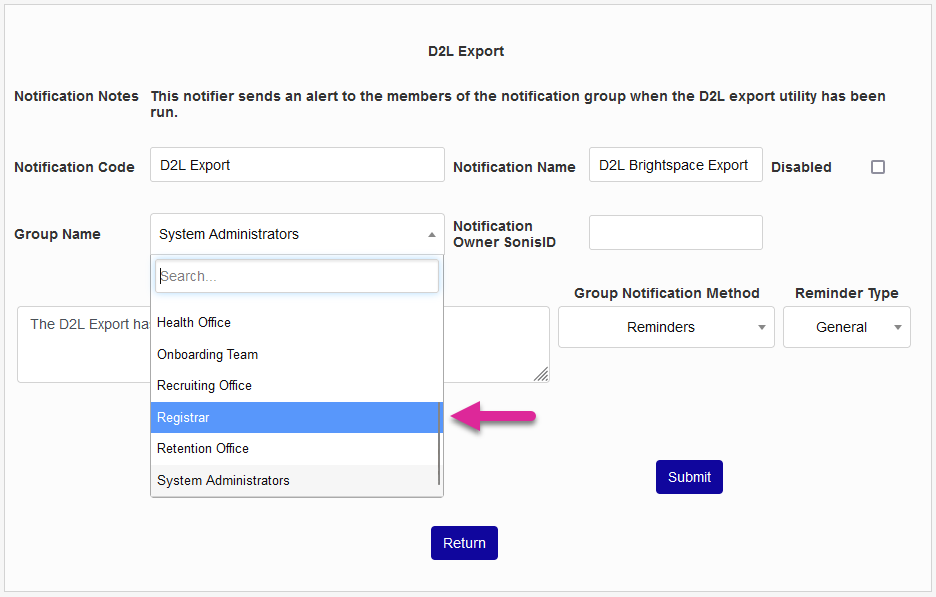
Select a group of staff members to receive the notification from the Group Name dropdown menu. Groups can be added and edited through the Table Maintenance utility.
Enter the ID of the staff or faculty member who will be managing this notification in the Notification Owner SONIS ID field.
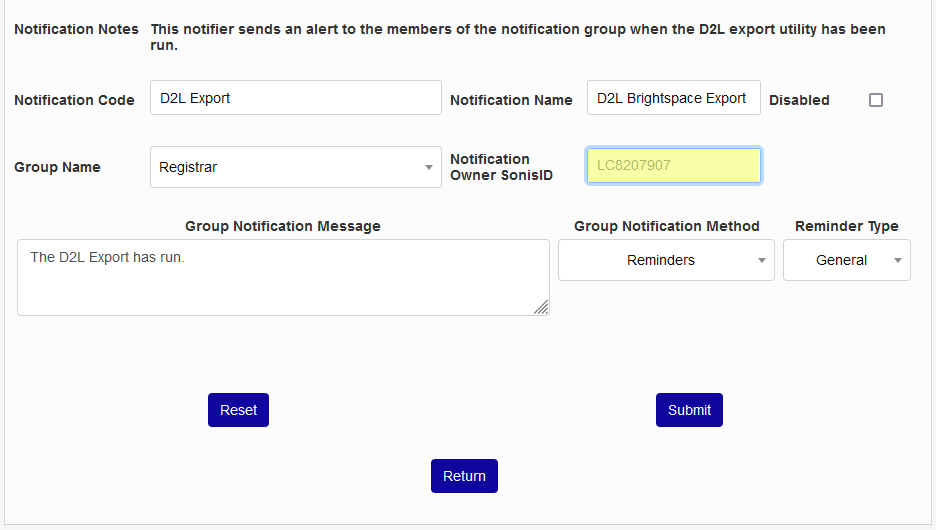
Create a Group Notification Message that will be sent to the group members when the task takes place.
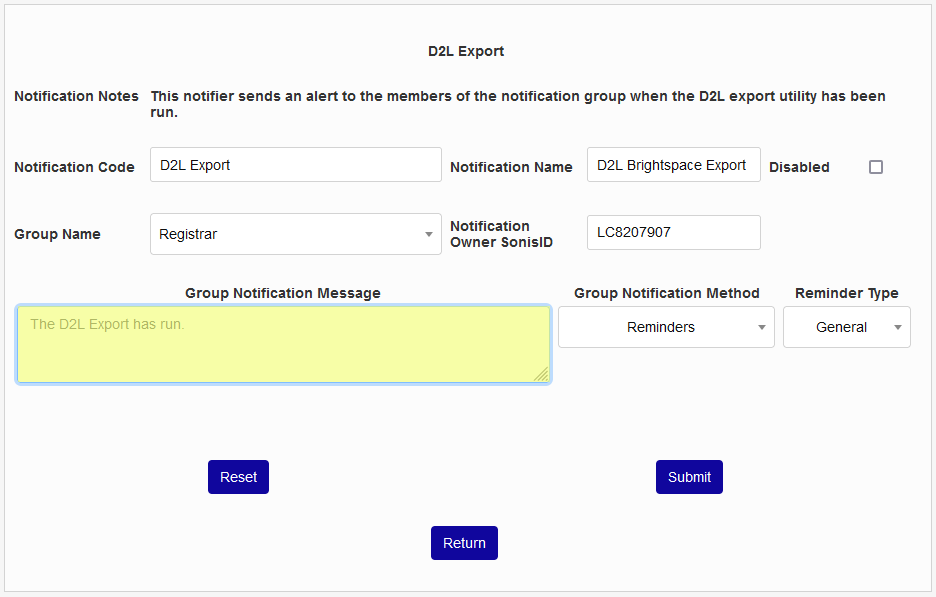
The Group Notification Method dropdown menu designates whether the group and individual users will receive an in-system reminder, an email, a text, or no notification when the process is triggered. The Reminder Type dropdown can change how the in-system reminder displays. This list can be created and edited via the Table Maintenance utility.
Click Submit to save the changes and create the notifier.
Timed Task
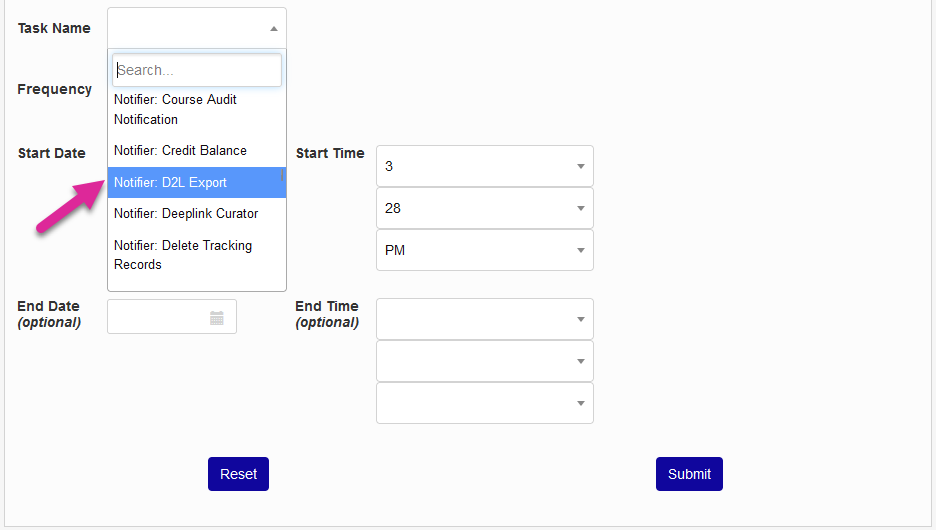
In order for the notifier to run, a timed task must be set up. Navigate to the Timed Task Scheduler under the Systems menu and click Add to create a new task.
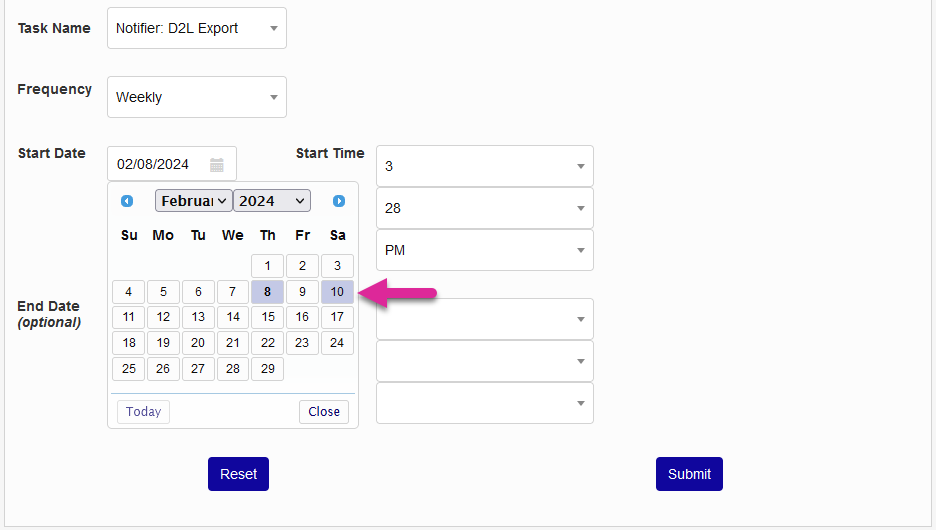
Select Notifier: D2L Export from the Task Name dropdown menu.
Select how often the task should occur with the Frequency dropdown. Some schools with frequent changes may wish to run the task daily while others may prefer to run it weekly or monthly.
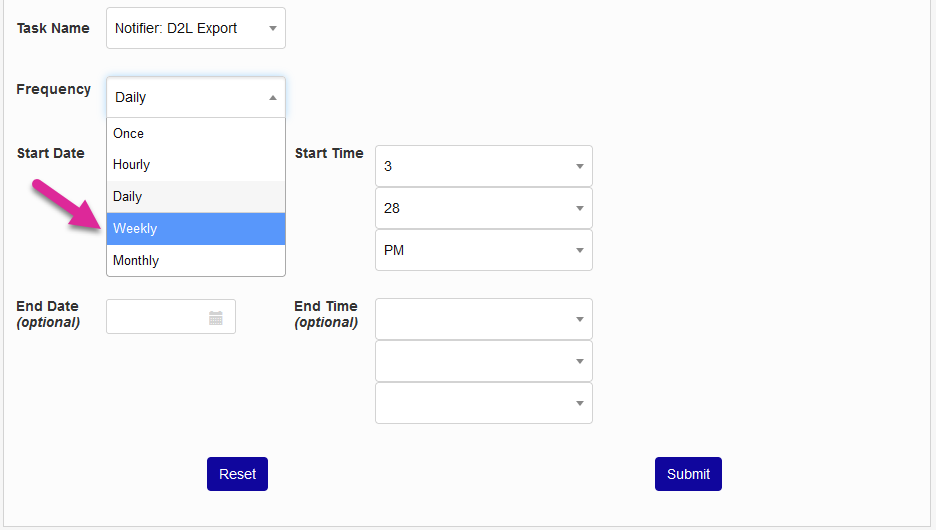
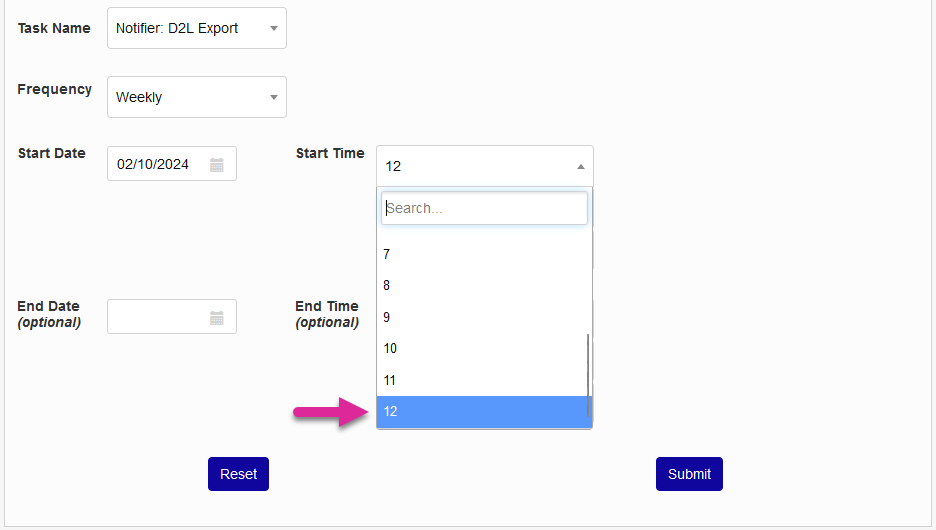
The Start Date and Start Time will automatically be set to the current date and time but can be changed to suit individual preferences. The End Date and End Time are optional.
Click Submit to save the changes and activate the timed task.