Holds
Overview
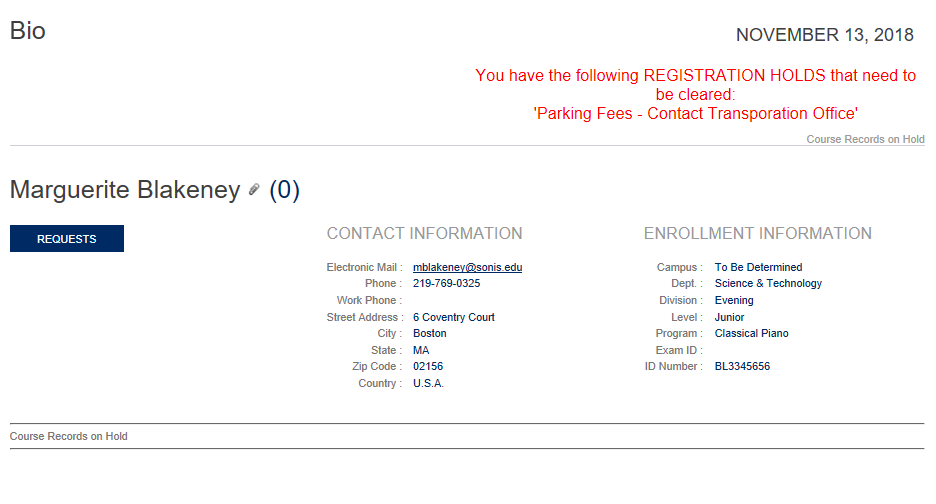
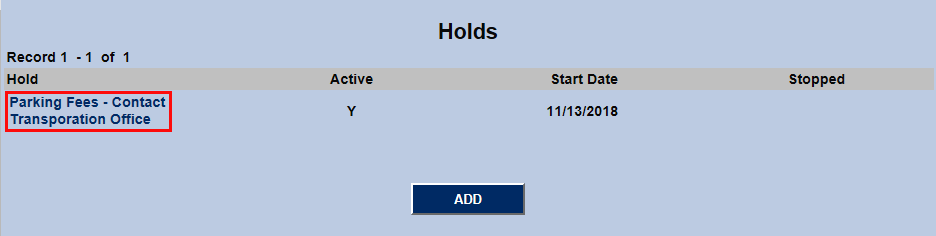
The Jenzabar SONIS Holds utility allows administrators to place restrictions on students which prevent them from participating in certain activities such as registering for classes. To access the Holds page, select a student using the Namesearch function and click Holds in the left-nav menu.

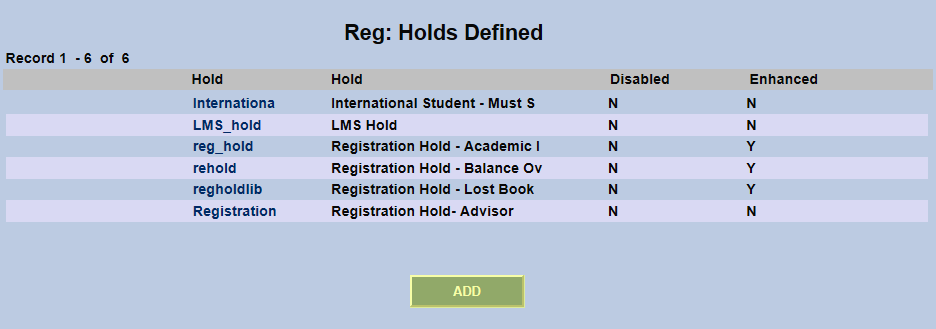
Holds Defined
Adding Hold Types
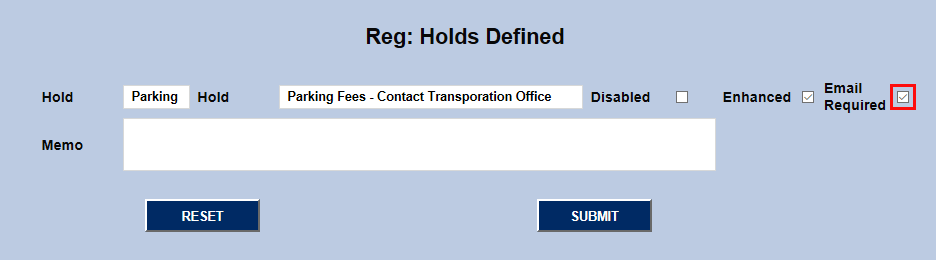
To set up new registration holds and edit existing registration holds, navigate to Holds Defined in the Systems hub. Any hold created here will have the same effect when assigned, preventing a student for registering for classes.

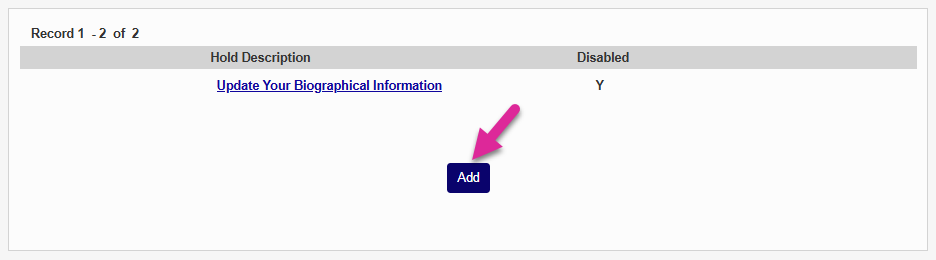
To create a new hold, click the Add button.
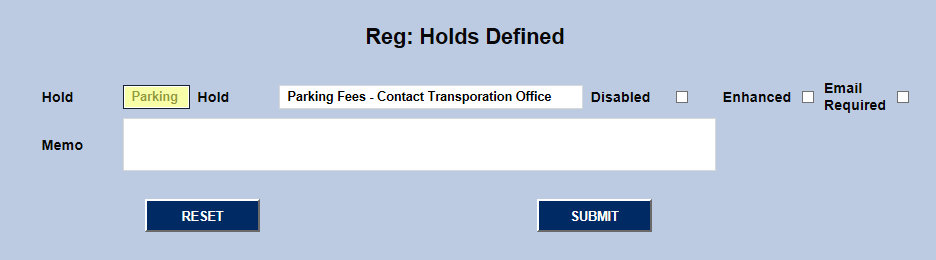
Create a name to describe the hold in the second Hold field (50 character limit) and an abbreviated version of that description in the first Hold field (12 character limit).
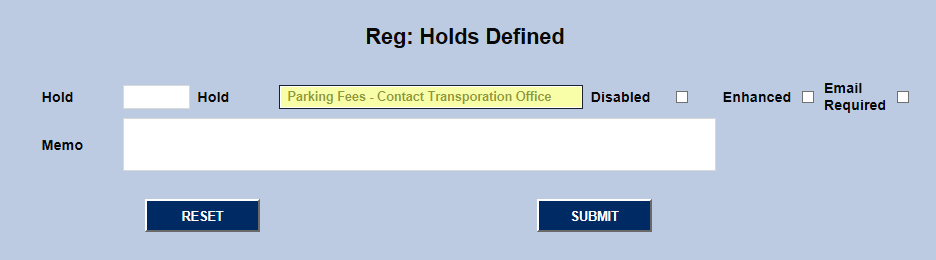
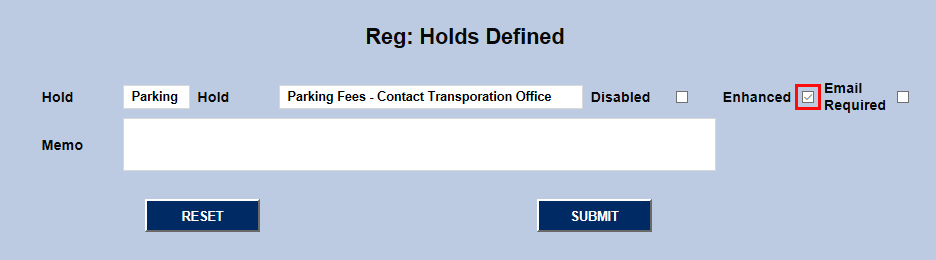
Holds can be given a greater level of severity by checking the Enhanced box. Enhanced holds will appear in the Student Portal and will prevent students from both viewing their schedule and running a degree audit.
Check the Email Required box if an email should be sent to the student alerting them that they've been placed on hold.
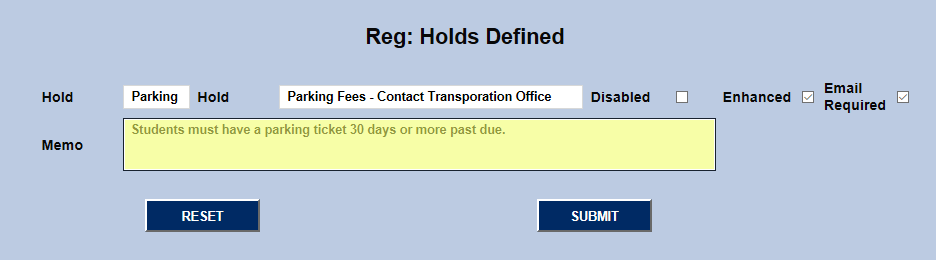
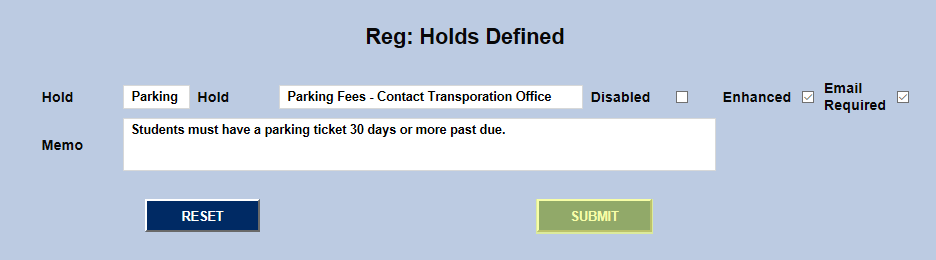
Add a Memo to further explain the hold type if needed and click Submit to save the changes.
Editing Hold Types
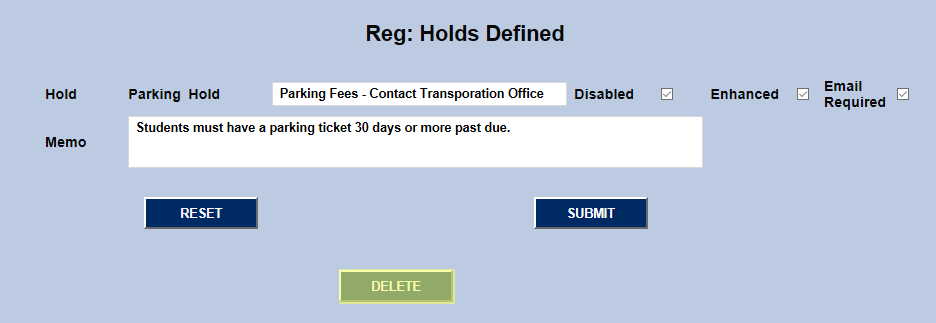
To edit a hold, click on the hold name. The hold name is locked in, but the other data can be changed from here, including adding or taking away enhancement. In addition, administrators can disable the hold to prevent it from being used or delete it altogether.
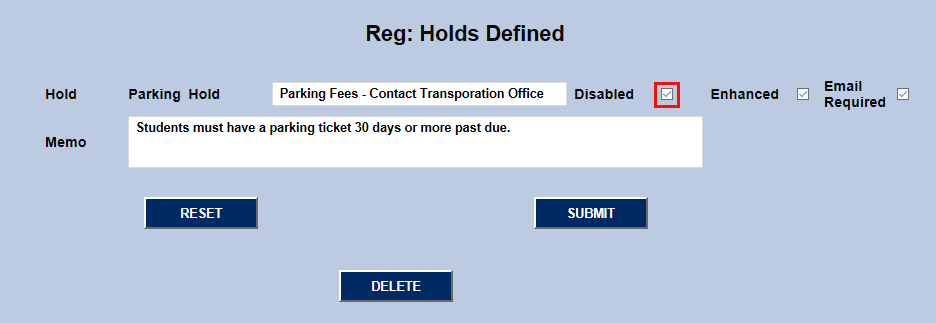
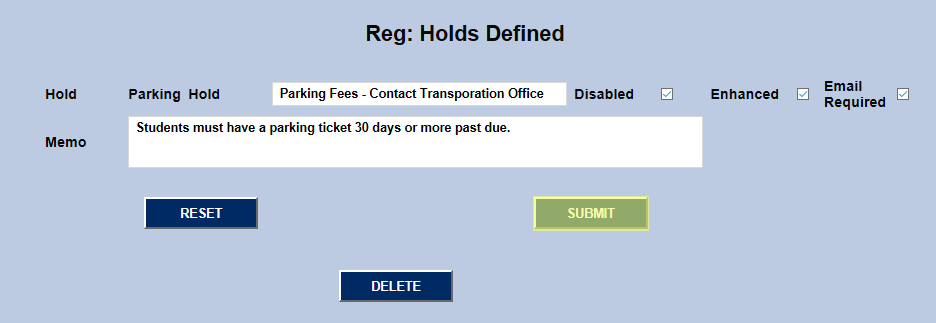
Click Submit to save the changes.
Predefined Holds
In addition to the registration-specific holds that can be created here, the SONIS system comes with four predefined holds:
Archive: Prevents a student status from being changed into alumni in Graduated Student Archiving.
Financial Aid: Prevents a student from receiving financial aid disbursement.
Roster: Notified faculty that a student needs to see an administrator before beginning class.
Transcript: Prevents a student from receiving transcripts and viewing their grades online.
Assigning Individual Holds
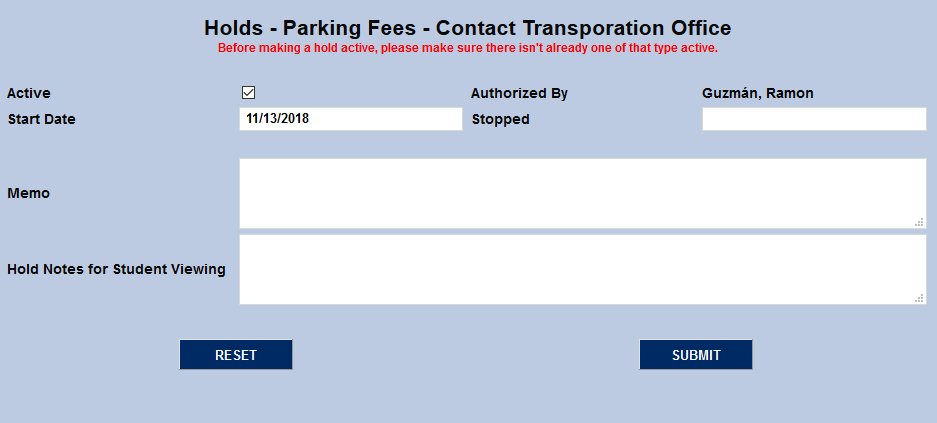
To add a hold or multiple holds to a student's SONIS profile, begin by clicking the Add button on the primary Holds page.

Select a hold type from the Hold menu. A student can have multiple holds on their account at one time, but duplicates of the same hold type are not allowed.
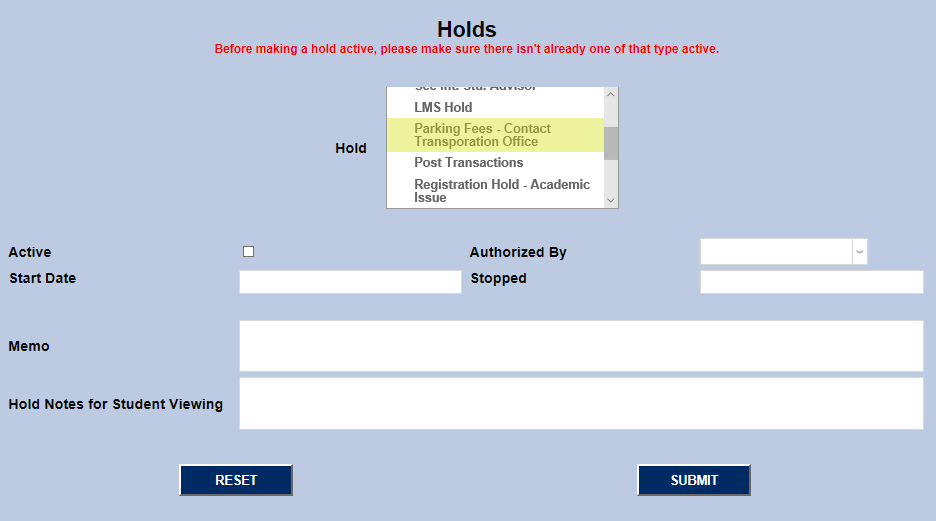
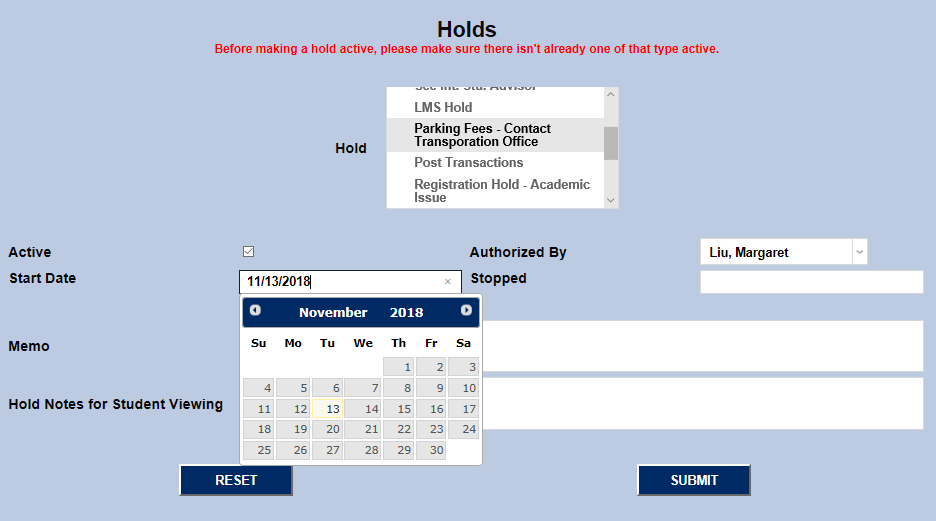
Check the Active box so the hold will immediately go into effect when the page is saved. Select a faculty or staff member from the dropdown menu to show who Authorized the hold.
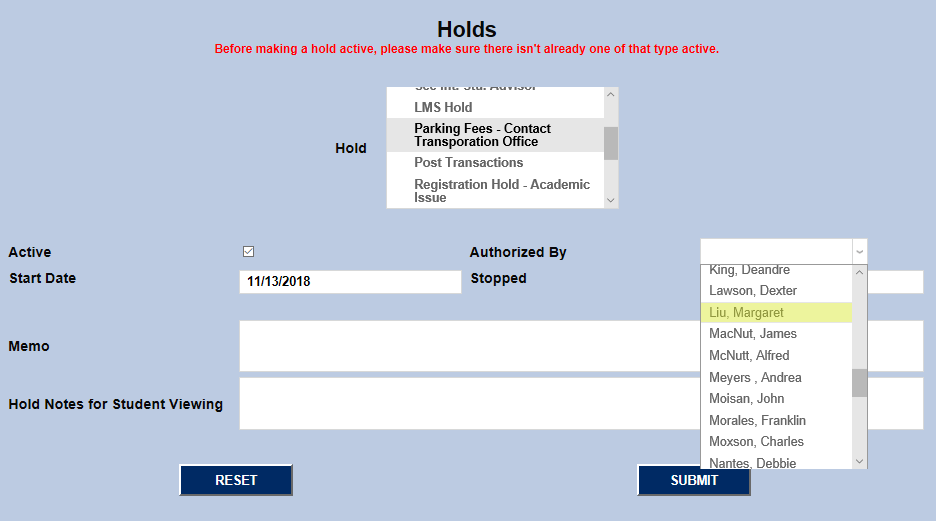
Select a Start Date for the hold. Choose the current date or a previous date to have the hold take effect immediately.
If needed, add a Memo for other administrators to read and/or Hold Notes for Student Viewing to provide additional context or instructions.

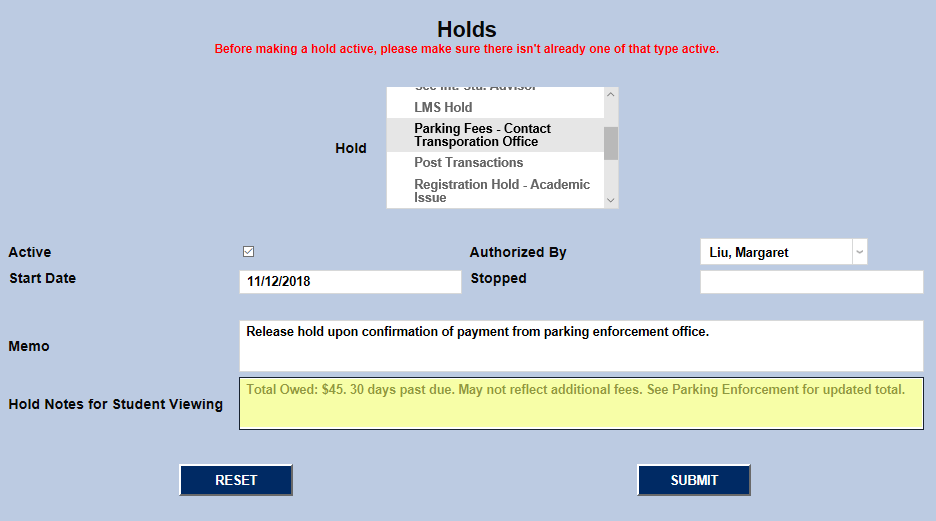
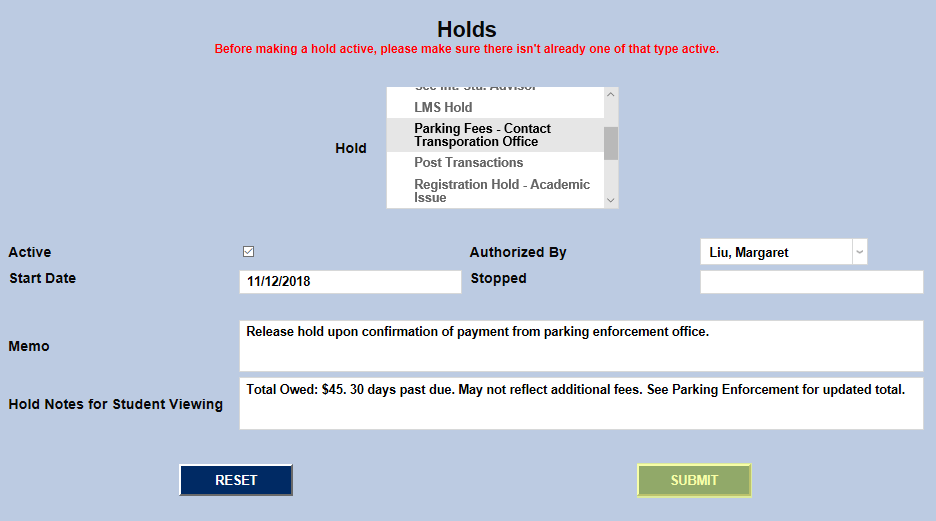
Click the Submit button to save all changes and activate the hold.
Editing Individual Holds
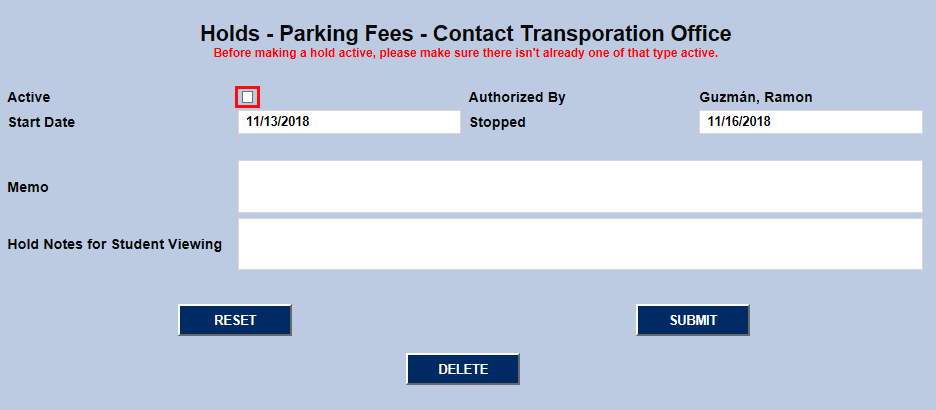
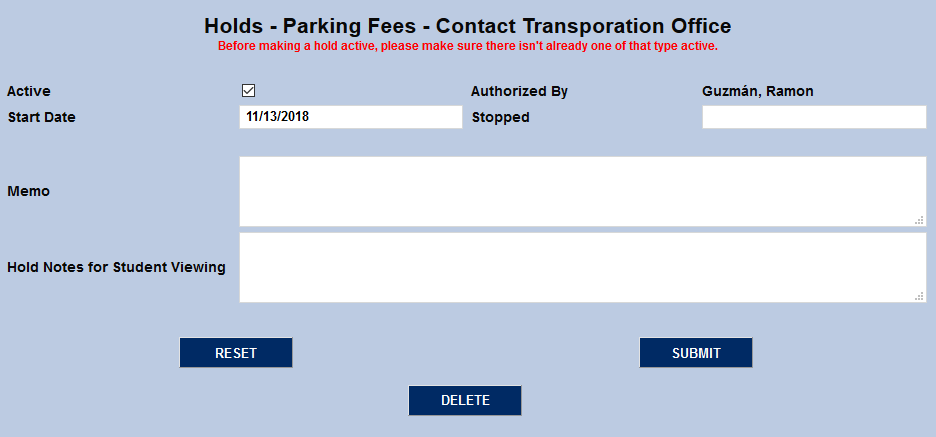
To edit a hold that's been assigned to a student previously, navigate to their Holds page and click on the listed hold.
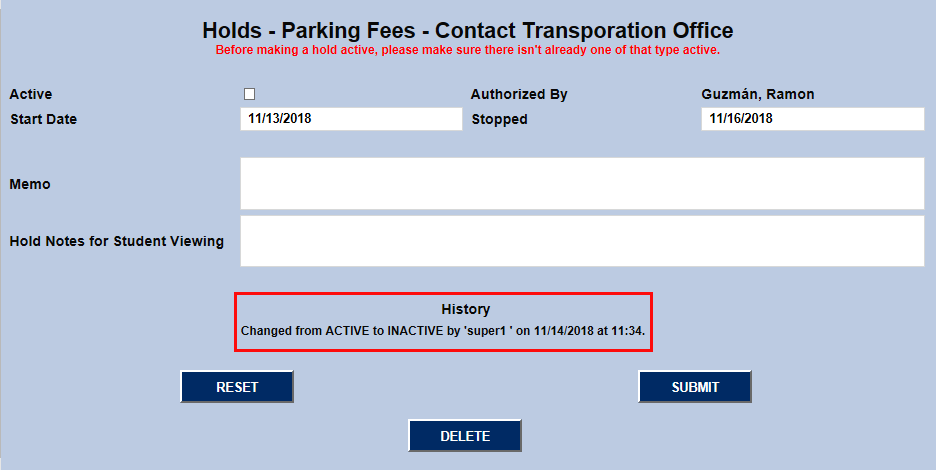
The Start Date, Memo, and Hold Notes can all be edited from this page. To make the hold inactive, uncheck the Active Box, add a Stop Date, and click Submit.
A note will be added to the hold showing when it was changed to inactive along with the username of the administrator who made the change.
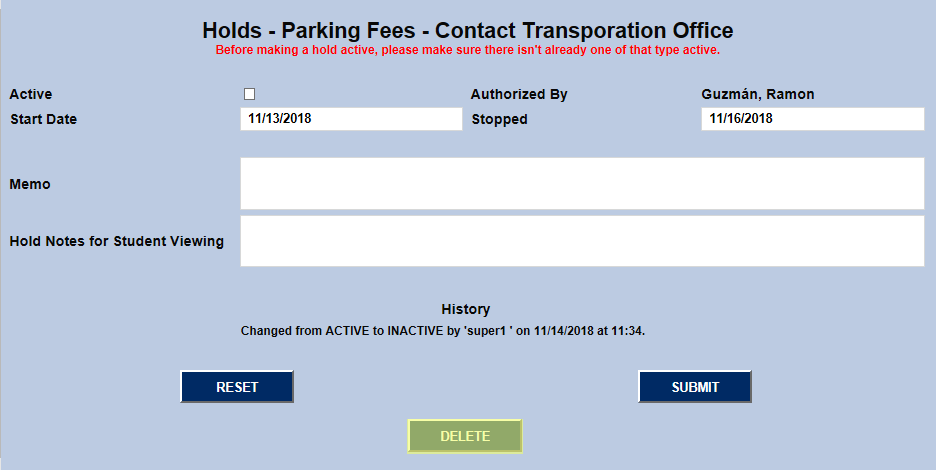
Holds that are were assigned in error can also be deleted entirely from this page using the Delete button.
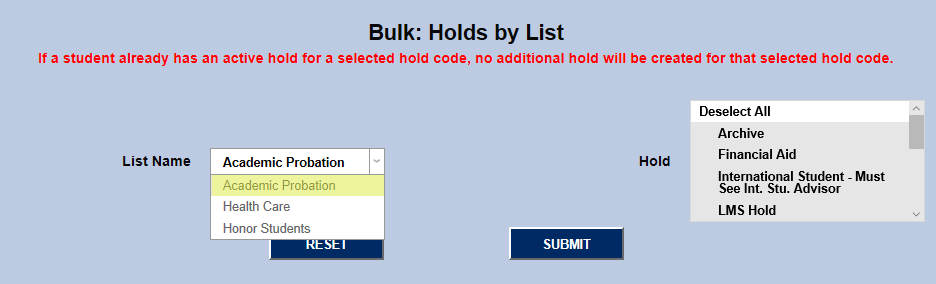
Bulk Holds by List
The Holds by List utility allows groups of students to be assigned a hold based on a list that they belong to.
To learn more about how to create and edit lists, visit the Lists Management Utility article.
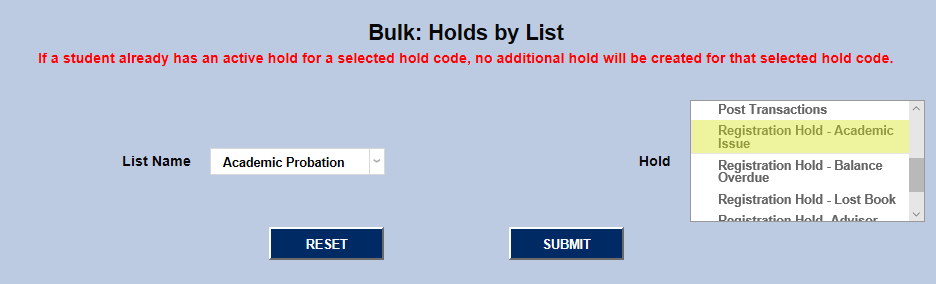
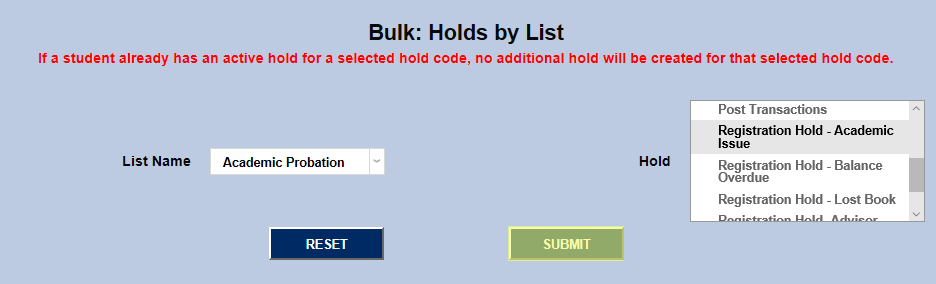
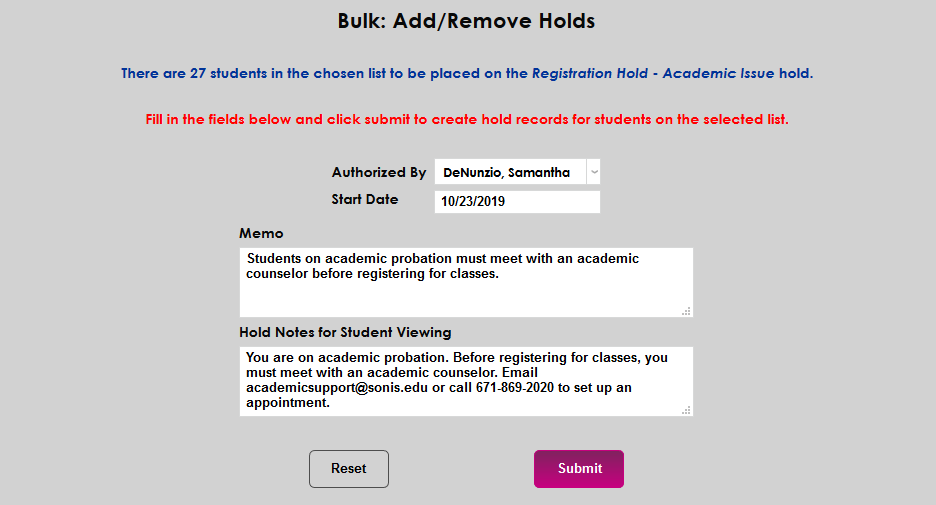
To assign holds, select a list from the List Name dropdown, select a hold from the Hold menu, and click Submit. If a student already has an active hold for a selected hold code, no additional hold will be created for that selected hold code.
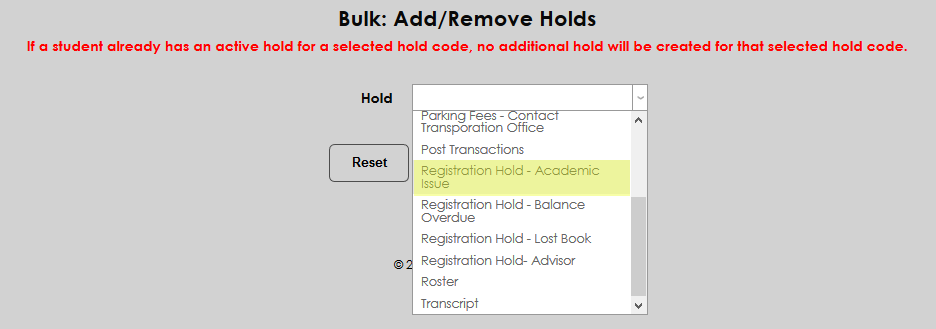
Bulk Add/Remove Holds
The Bulk Add/Remove Holds utility offers another place to add holds by list as well as the ability to remove them by list and add/remove them by Excel spreadsheet. To use the utility, navigate to Bulk: Add/Remove Holds in the Systems hub.
From Excel
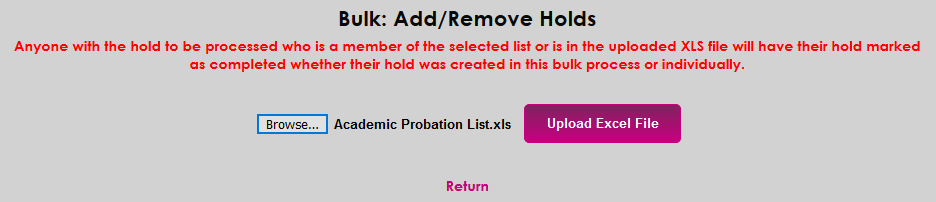
To add a hold from an Excel spreadsheet, first prepare an Excel spreadsheet with the students to be added. The source file must be a Microsoft Excel 97-2003 Workbook (*.xls) file. It must contain a header row where the header for the first column is SONIS ID. The values contained in the first column are to be the nine character SONIS ID of each student. Additional columns can be included to make it easier to identify whose ID it is in the first column (fist name, last name, etc.), but only the first column values are used in the process.
Once the list is formatted properly, at the top of the Bulk: Add/Remove Holds page, select From Excel and click Submit.

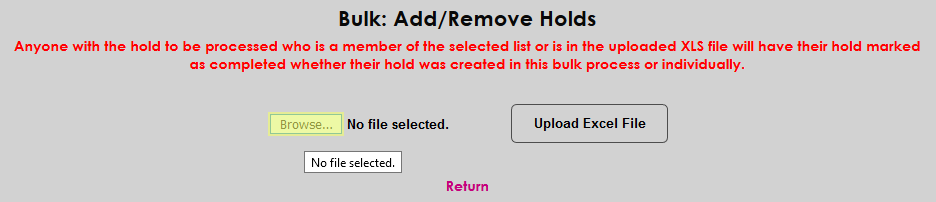
On the following page, click Browse, select the correct Excel file, and click Upload Excel File to continue.


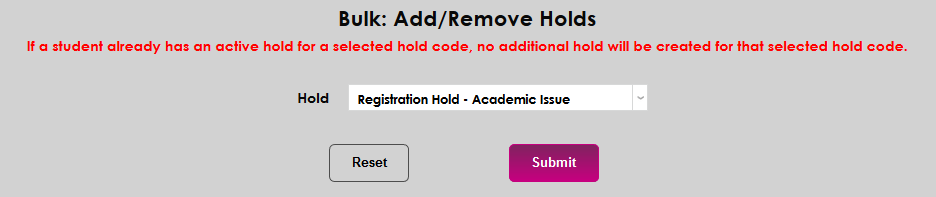
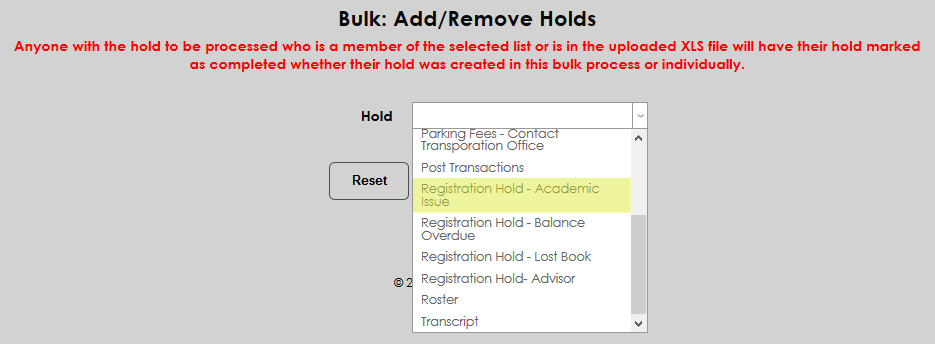
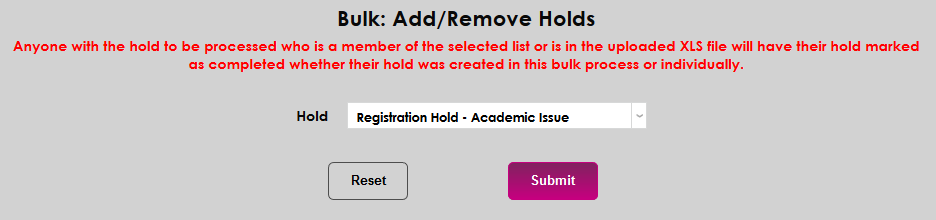
Once the file has been uploaded, select a Hold and click Submit.
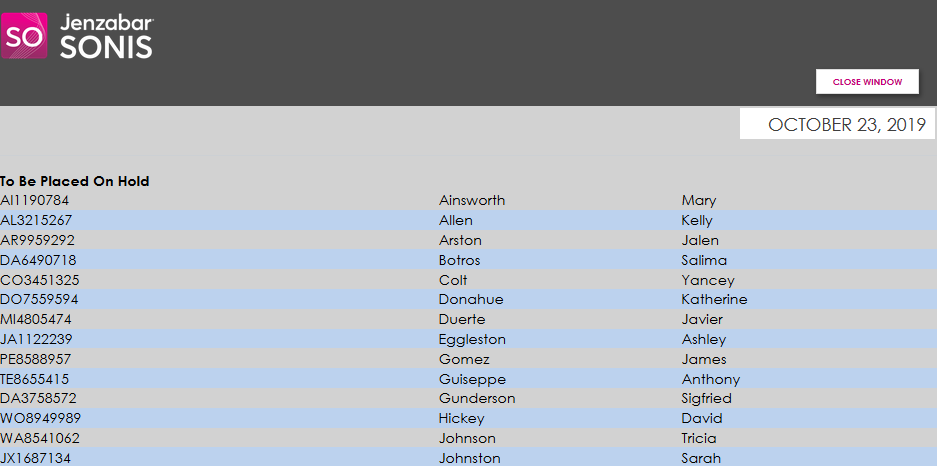
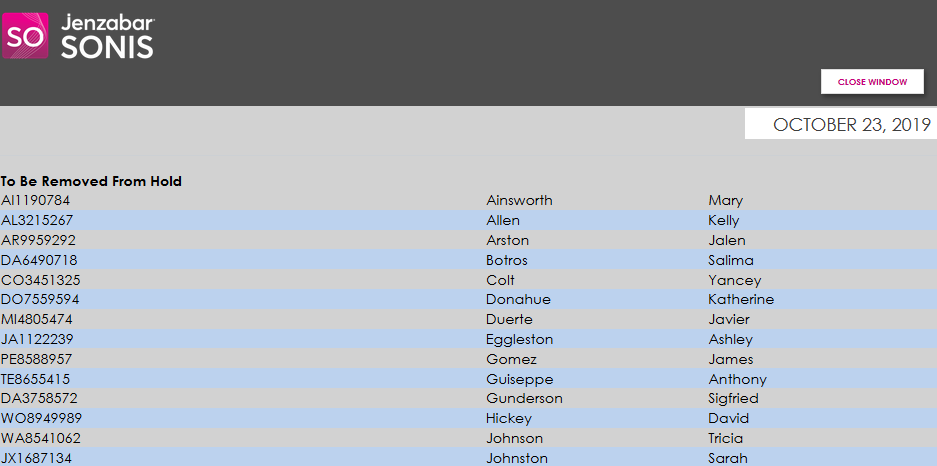
On the next page, the number of students in the list is displayed at the top of the page. This note is a clickable link that displays the students on the list in a pop-up window.
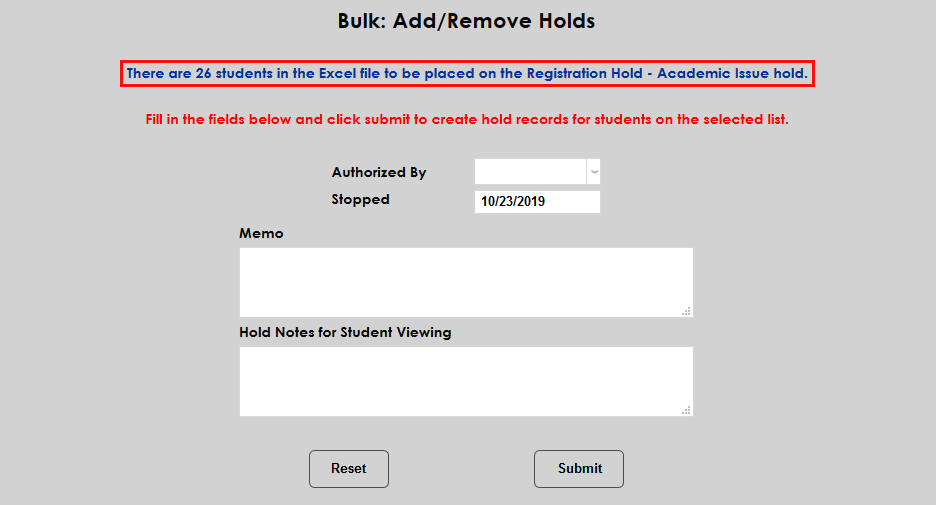
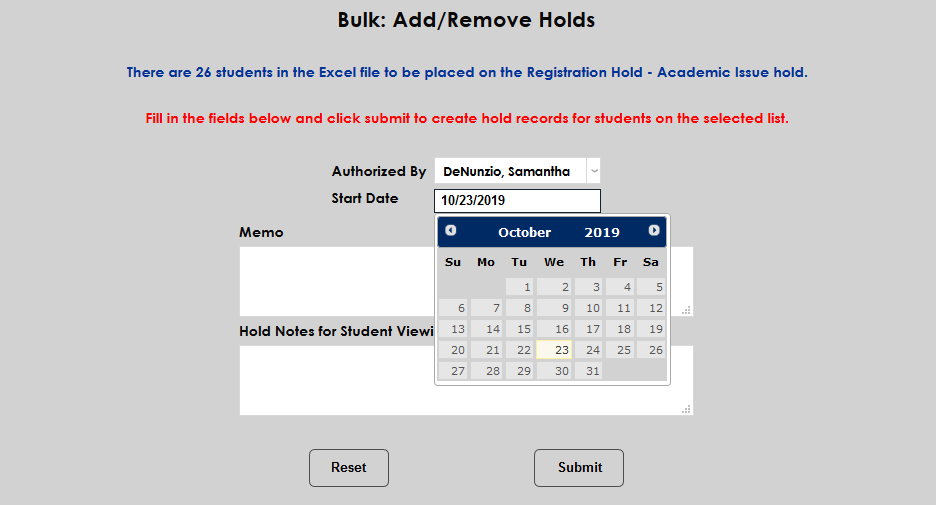
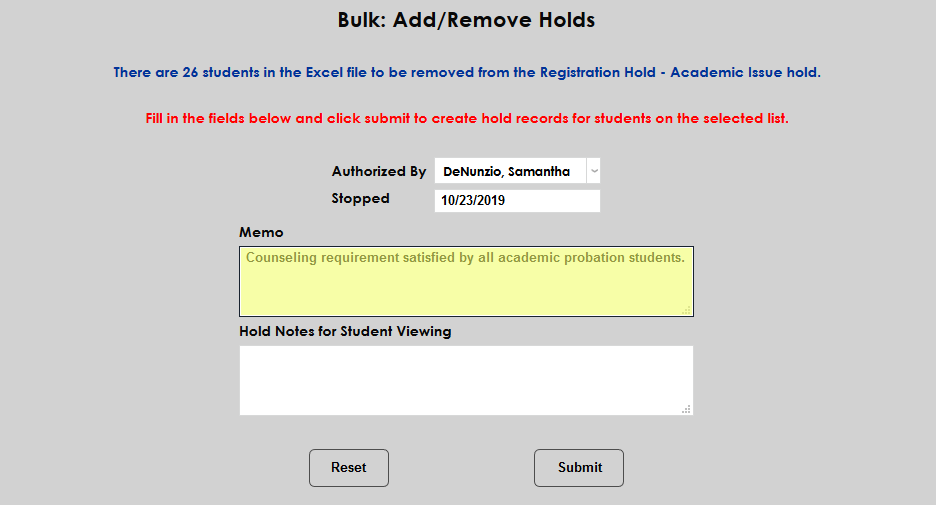
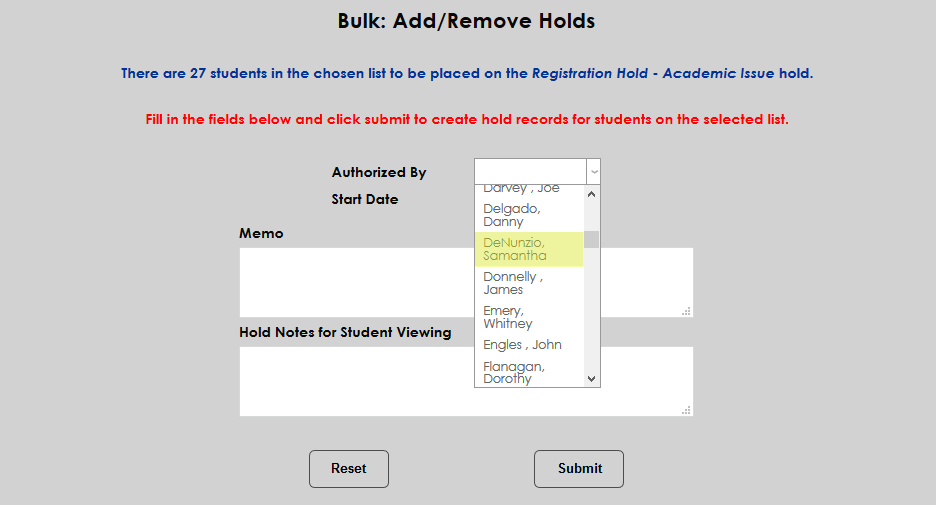
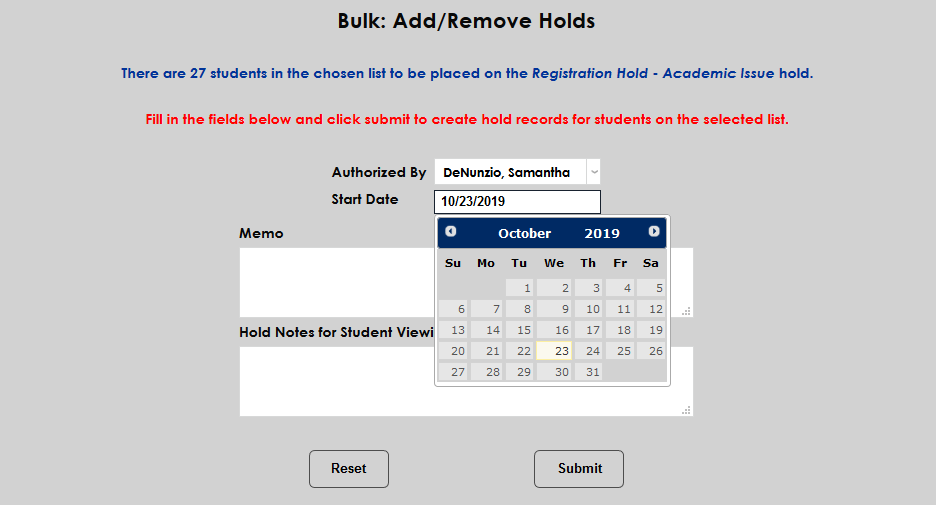
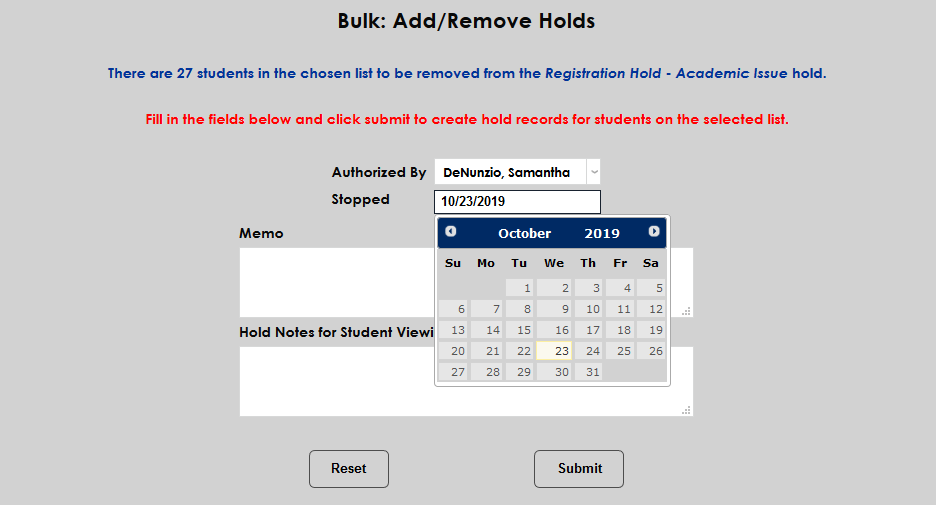
To continue, select a staff member to authorize the hold from the Authorized By dropdown and edit the Start Date if necessary.

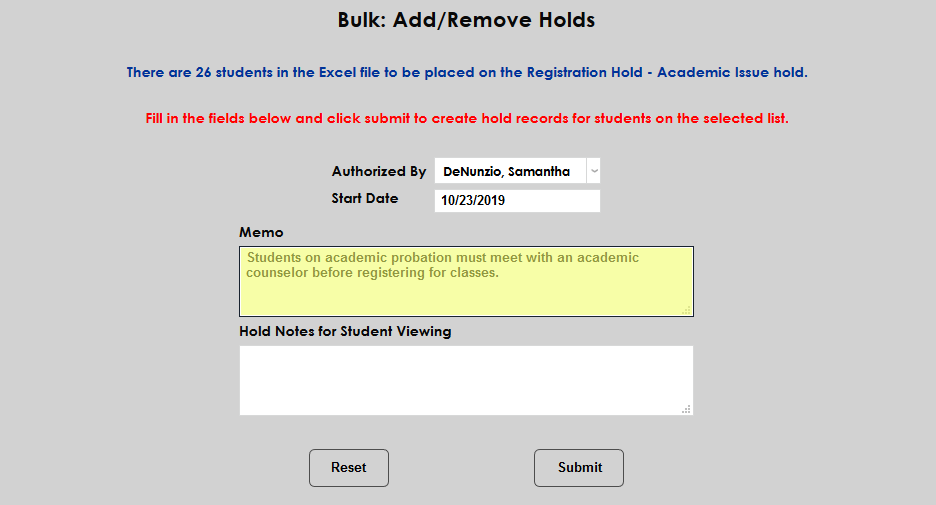
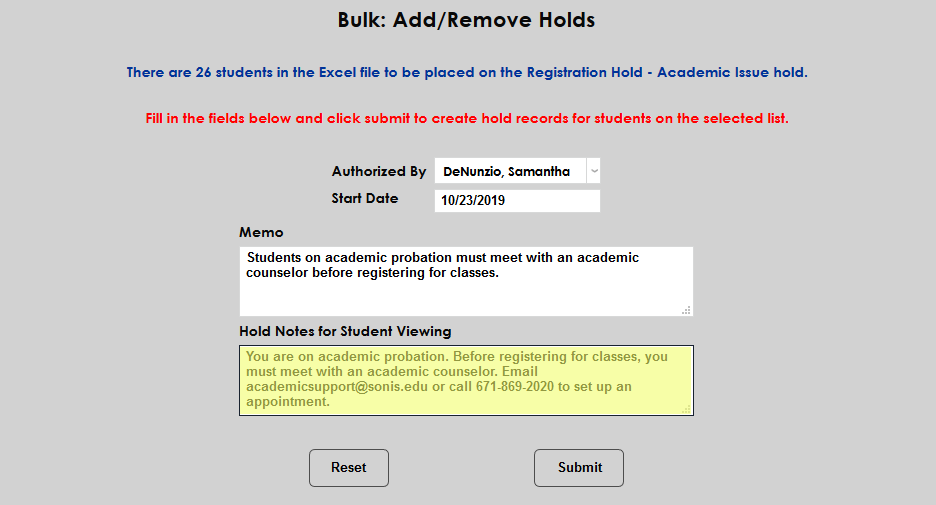
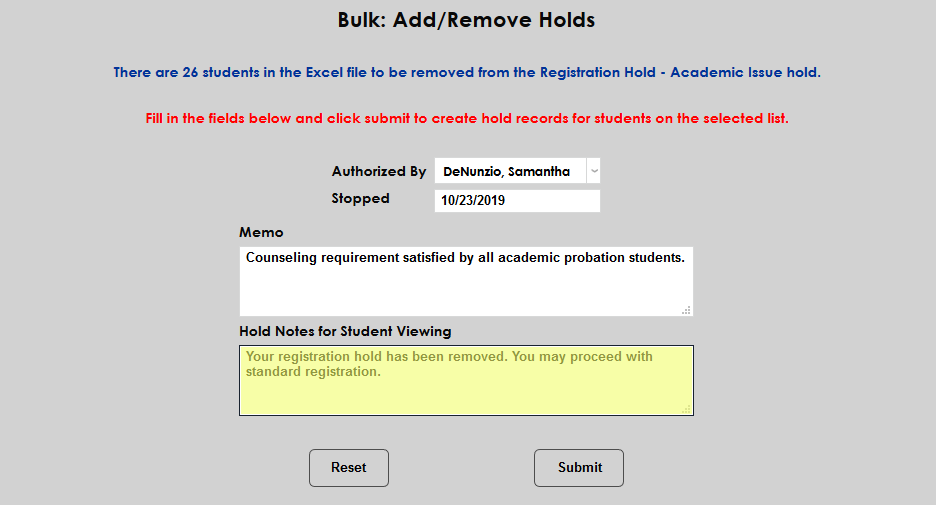
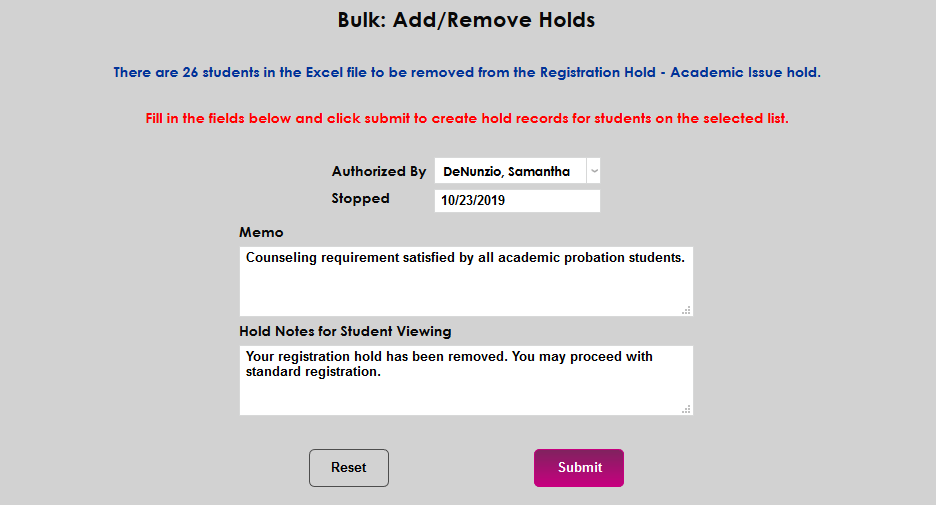
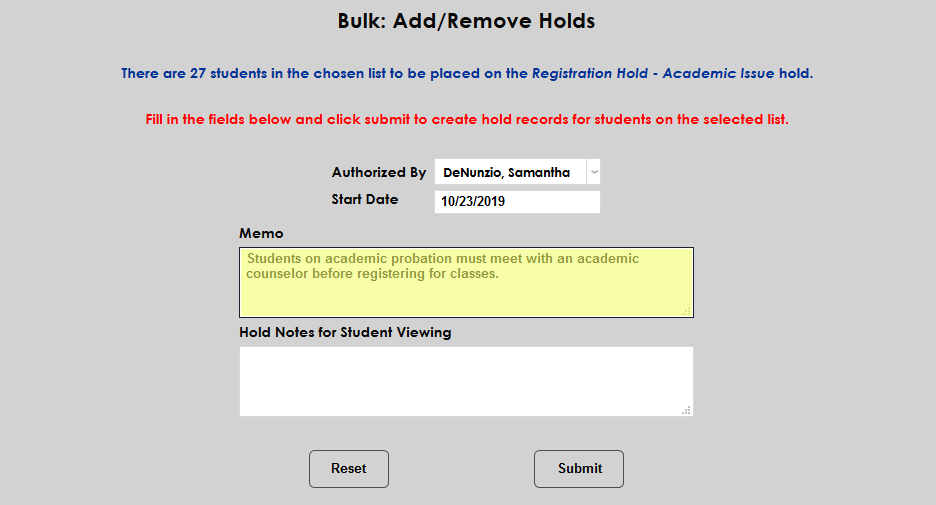
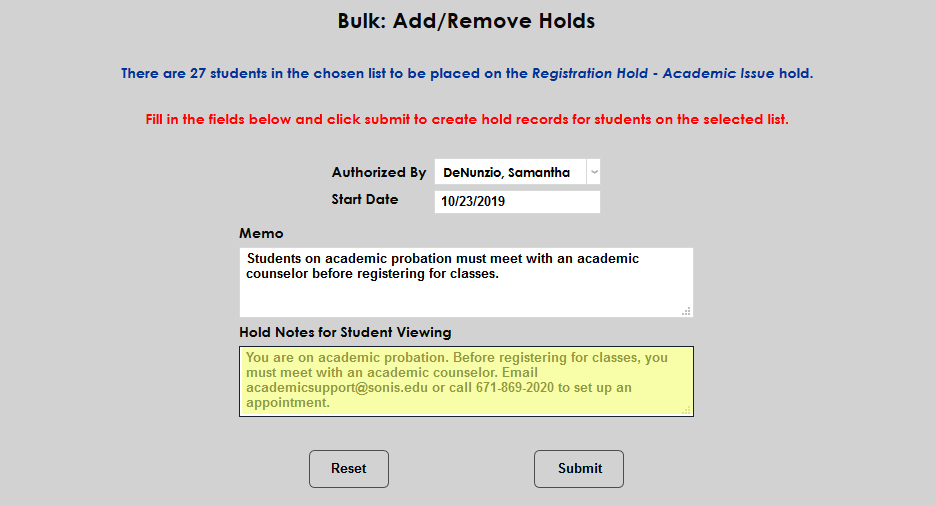
A Memo field for internal viewing and a Hold Notes for Student Viewing field are included. These fields are optional. Click Submit to add the hold.

To remove a hold from an Excel file, scroll down to the Remove Hold section, select From Excel, and click Submit

On the following page, click Browse, select the correct Excel file, and click Upload Excel File to continue. As noted at the top of the page, anyone with the hold to be processed who is in the uploaded XLS file will have their hold marked as completed whether their hold was created in this bulk process or individually.
Select the hold type from the Hold dropdown and click Submit.
The number of students to be removed is listed at the top of the next page and again, this is a clickable link that displays the individual students in the list in a pop-up window.
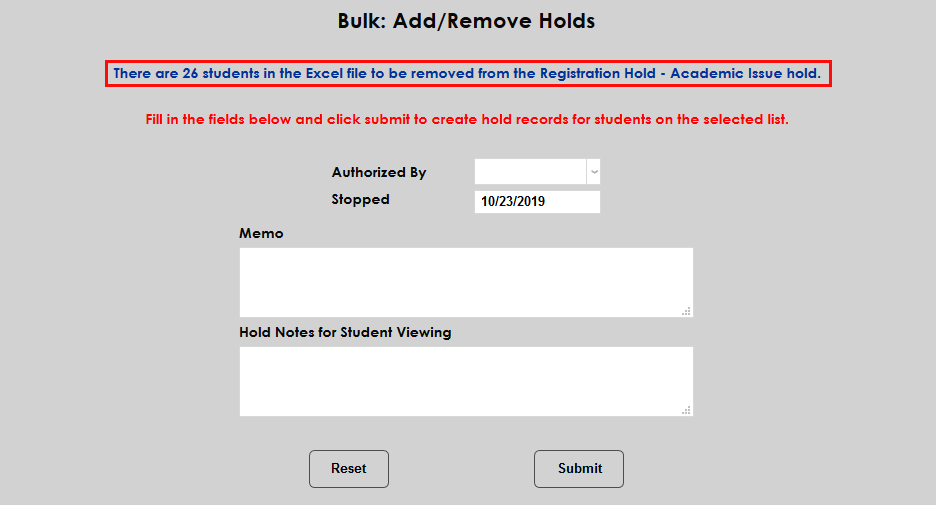
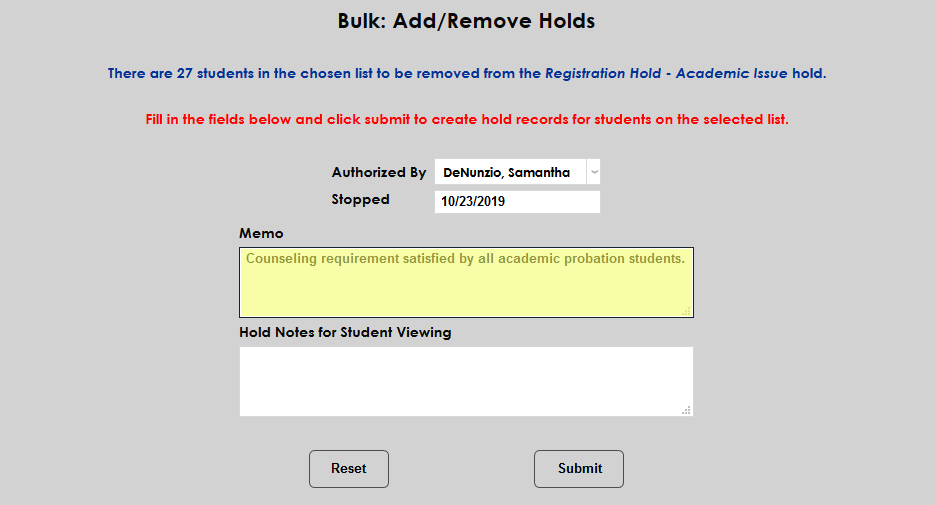
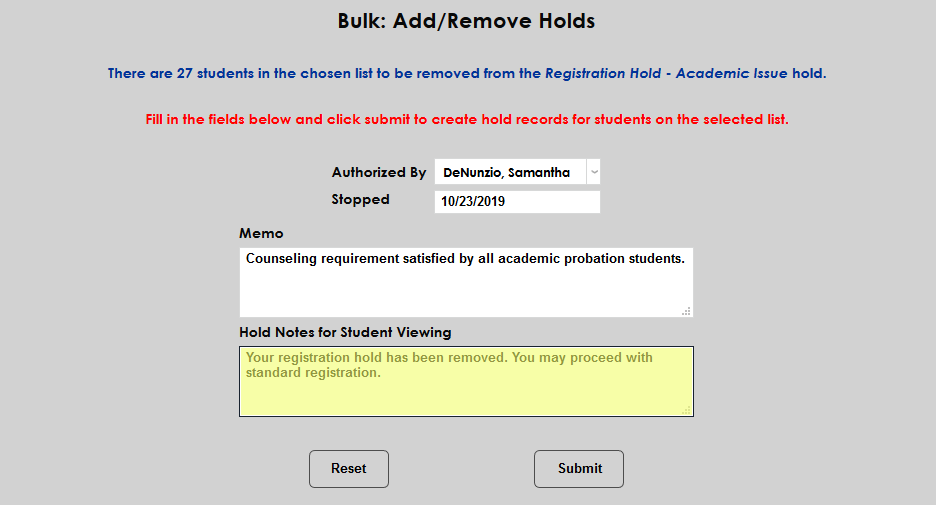
To continue, select a staff member to authorize the hold from the Authorized By dropdown and edit the Start Date if necessary.


A Memo field for internal viewing and a Hold Notes for Student Viewing field are included. These fields are optional. Click Submit to remove the hold.
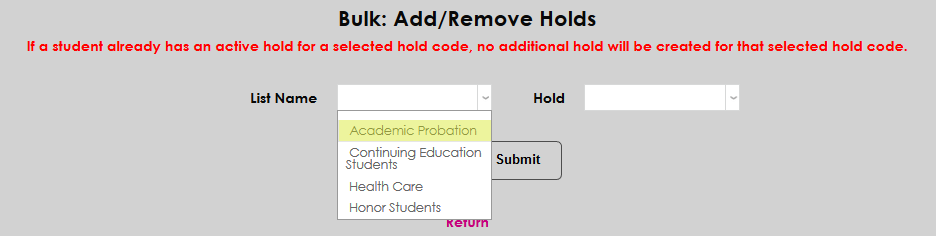
From List
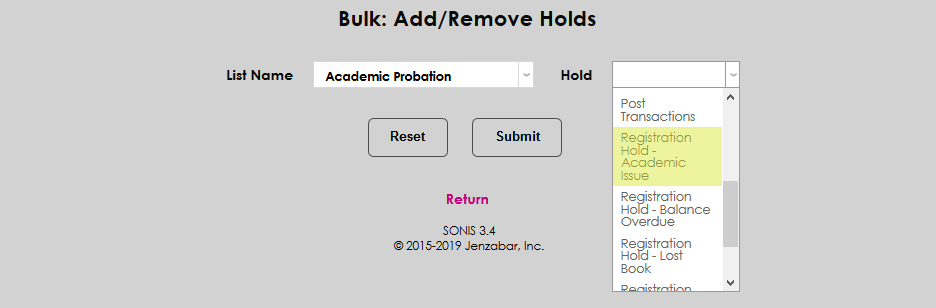
To add a hold by list, select From List at the top of the page and click Submit.

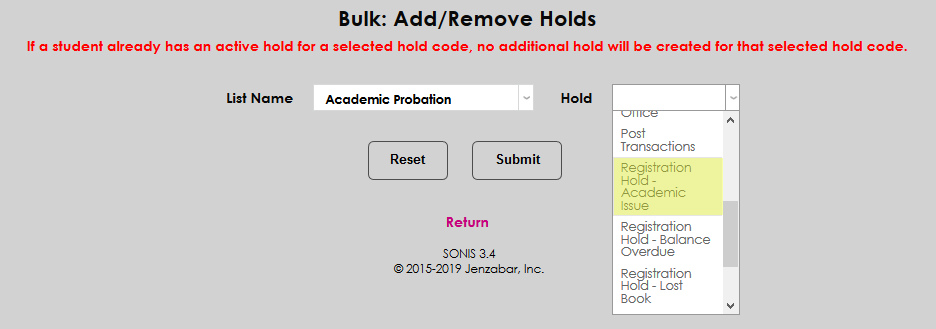
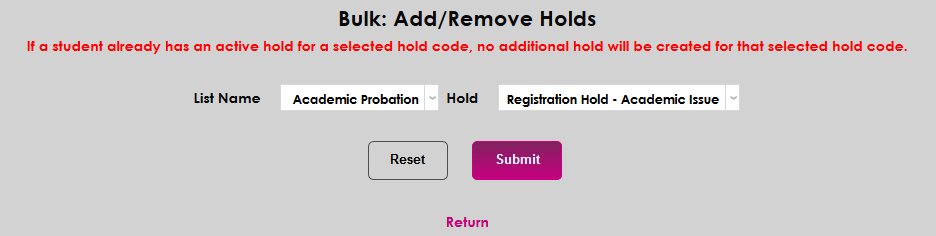
Select a List Name, a Hold and click Submit.
On the next page, the number of students in the list is displayed at the top of the page. This note is a clickable link that displays the students on the list in a pop-up window.
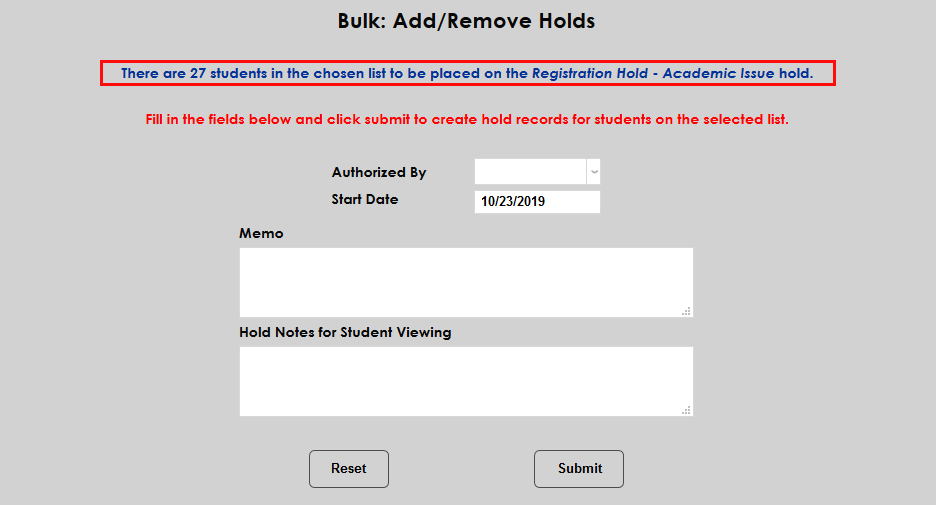
Select a staff member from the Authorized By list and, if needed, edit the Start Date.
A Memo field for internal viewing and a Hold Notes for Student Viewing field are included. These fields are optional.
Click Submit to add the hold. If a student already has an active hold for the selected hold code, no additional hold will be created for that selected hold code.
To remove a hold from the members of a list, scroll down to the Remove Holds section of the page, select From List and click Submit.

Select the appropriate List Name along with the Hold to be removed. Click Submit to proceed.


The number of students to be removed is listed at the top of the next page and again, this is a clickable link that displays the individual students in the list in a pop-up window.
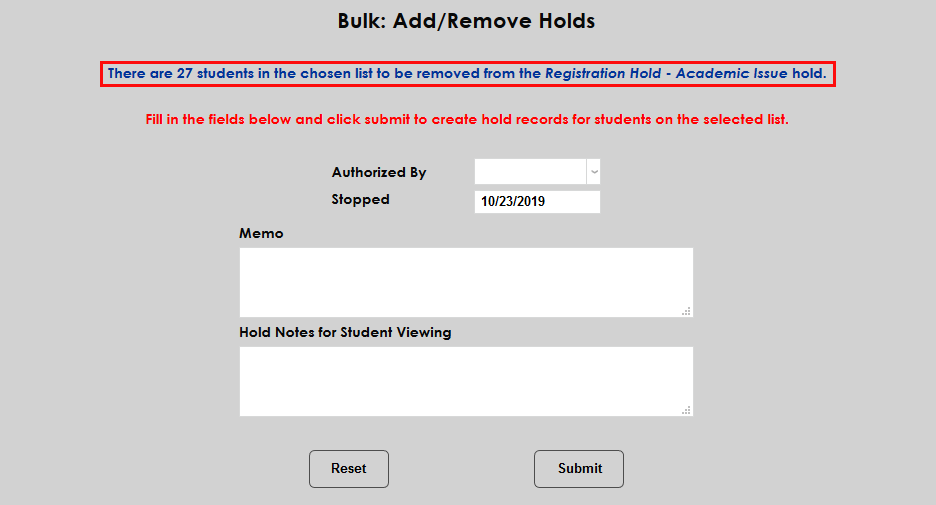
Select a staff member to authorize the hold removal from the Authorized By drop and, if necessary, edit the Stopped date.
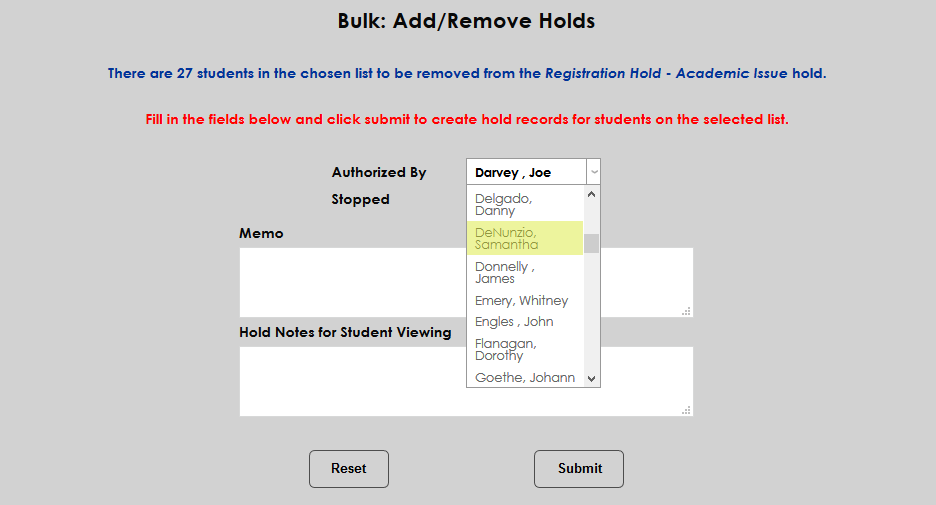
A Memo field for internal viewing and a Hold Notes for Student Viewing field are included. These fields are optional. Click Submit to remove the hold.

Registration Holds by Semester
SONIS administrators can also create unique registration holds that prevent all students from registering for classes until they have completed a certain requirement. To create and edit holds of this type, navigate to Holds by Semester in the Systems hub.
Adding Holds by Semester
To create a new hold of this type, click the Add button.
Describe the hold in the Hold Description field. This field has a 50 character limit.
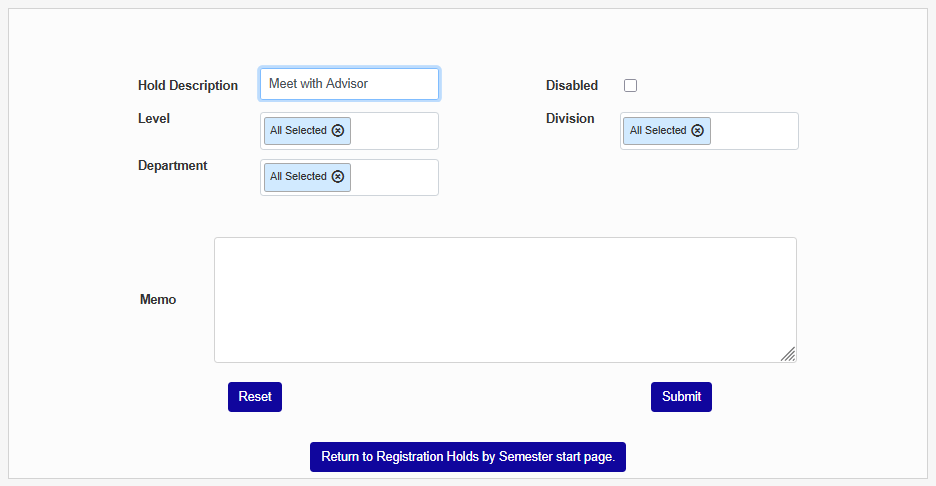
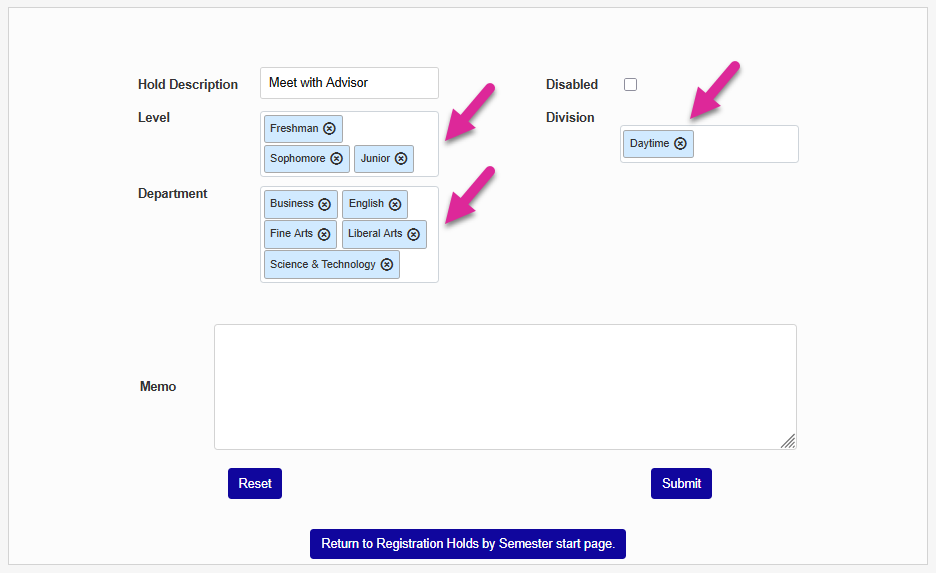
You can choose to narrow down the list of students to receive the hold by selecting one or options from the Level, Division, and/or Department menus. Leave the All Selected option if you don't wish to limit the hold.
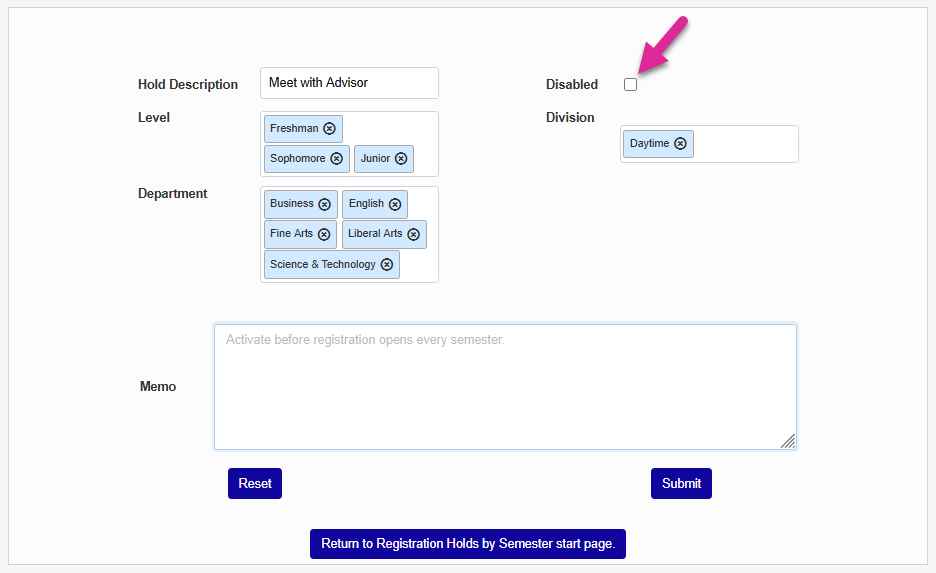
Check the Disabled box to simple create the hold for later or leave it unchecked if you want to activate it immediately.
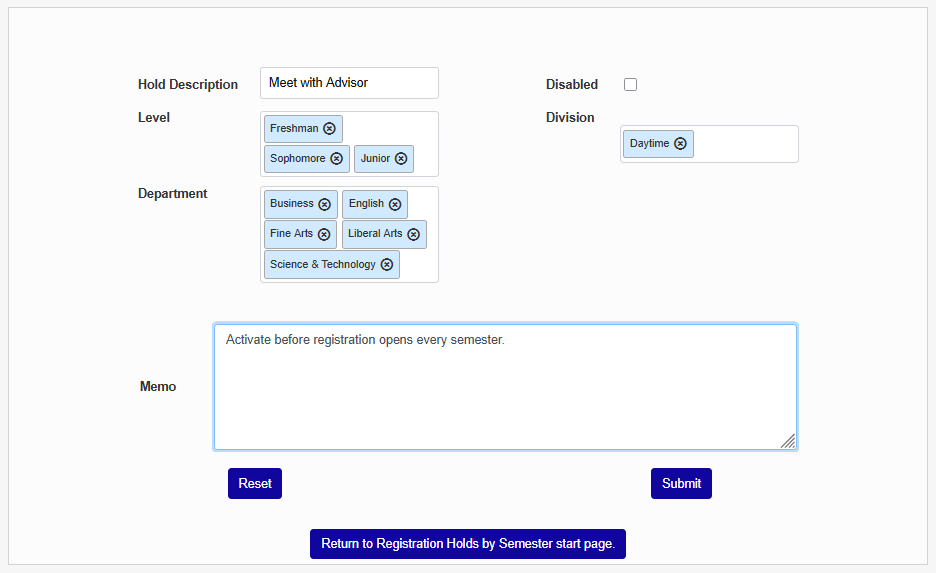
If a Memo to provide further details on the hold to administrators who view it from this utility if needed and click Submit.
Once you've added a Semester Hold, click on the hold name to make changes. You can edit the name or memo and pick different filters to change who the hold applies to. You can also check the Disabled box to remove the hold from all students.
Note
If the hold has never been active, you can delete it. If it has been active at any point in the past, you will be unable to delete the hold without removing all of the student records associated with it first.
Preventing Deletion
Some schools may wish to prevent users from deleting holds that have been placed on students. Deleting holds rather than removing them deletes all record that the student was ever given the hold, which can obviously be a problem for a variety of reasons. Beginning with SONIS version 3.4, the ability to delete holds will require an additional User Security Privilege . By default, users will be restricted from deleting holds. To give a user the ability to delete them, navigate to User Security under the Systems menu, select the user in question. When prompted to give Additional Privileges, select Delete Holds Access from the Tasks menu and click Submit.


Without the privilege enabled, any user attempting to edit a hold will be able to make it inactive, but will not have a Delete button available. The Delete button will appear once the privilege has been enabled.
Linking to Status Indications
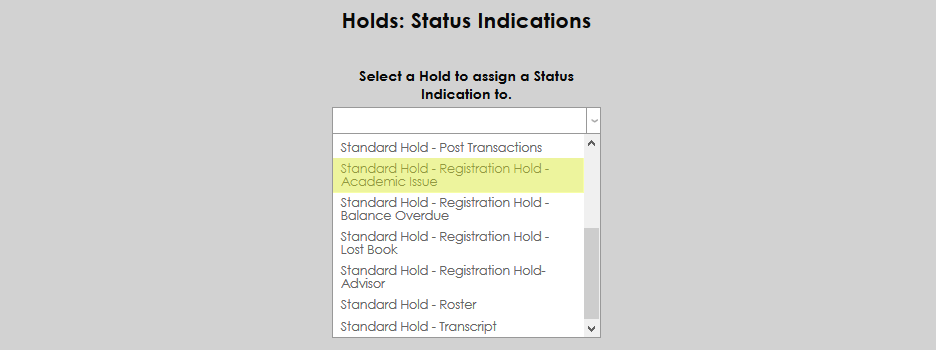
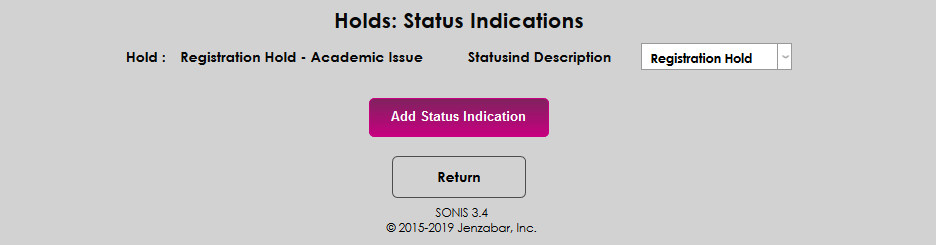
Status Indications are a SONIS feature that allows administrators to tag certain students with a status in the system that may affect their participation in certain school activities. Status indications can be linked to the SONIS holds function so that an indication will be added automatically when a hold is added. To set up these links, navigate to the utility created just for this function under the Systems menu called Holds: Status Indications. Select a hold from the dropdown menu to begin.
On the following page, select a Status Indication Description from the dropdown menu and click Add Status Indication.
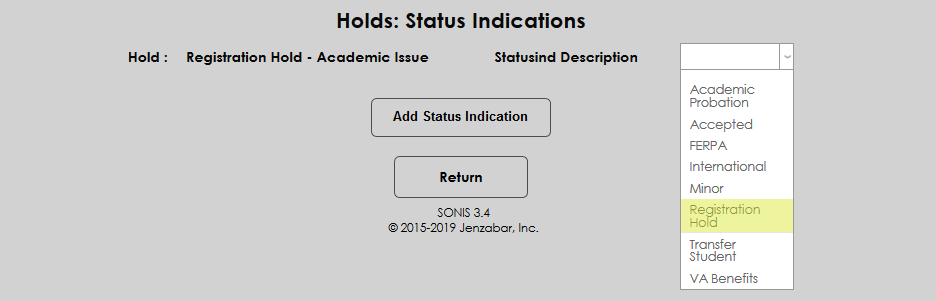
Once a hold type has been linked to a status indication, adding a hold of that type to a student's records will also add the linked status indication.