Bulk Advisor Assignment
Overview
The Bulk Advisor Assignment tool is a Jenzabar SONIS utility that allows users to assign groups of students to a particular advisor based on their campus, division, department, level, cohort, module status, program, or list name. Advisors in Jenzabar SONIS can be general guides for students or registration advisors that can personally register students for classes. Advisor functions are located in the Faculty portal.
Add Advisor
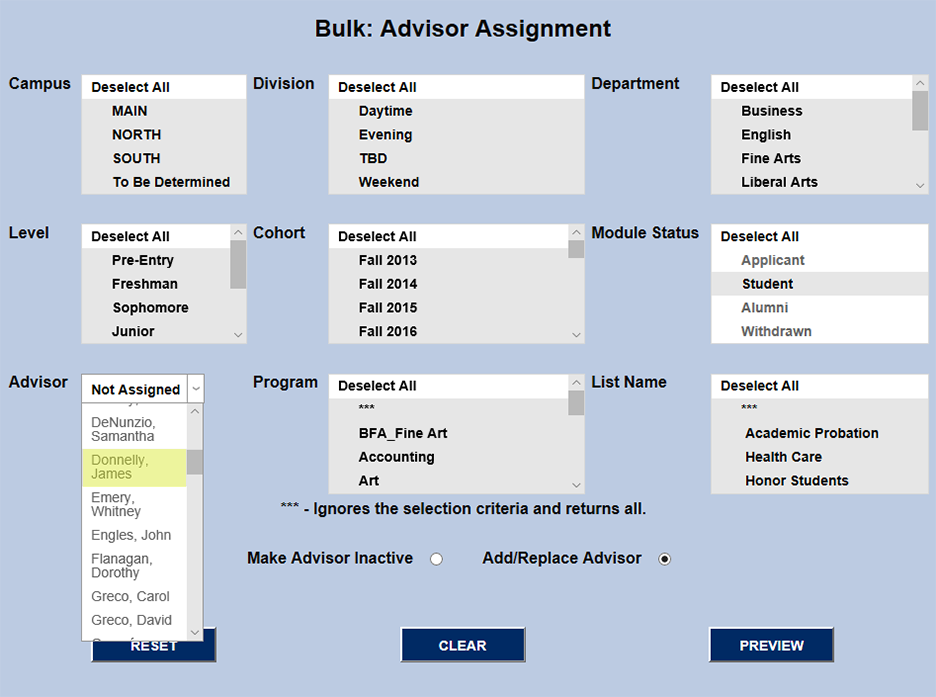
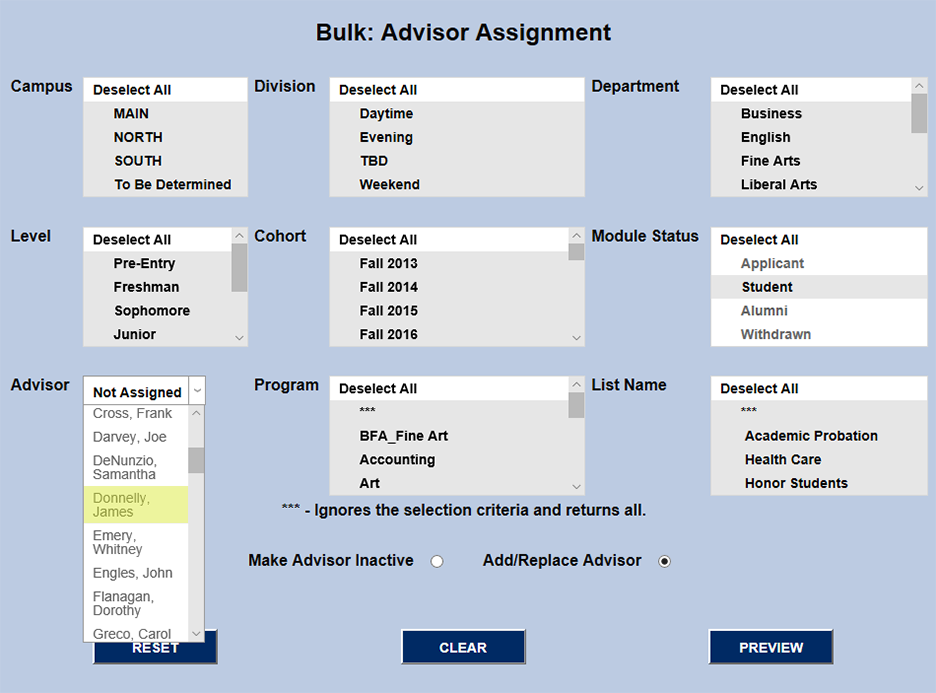
To assign advisors to a group of students, navigate to the Bulk Advisory Assignment utility in the Systems hub and narrow down the group of students using the Campus, Division, Department, Level, Cohort, Module Status, Program, and List Name menus. Users can create a group of students by using just one category or a combination of categories. "Student" will be selected in the Module Status menu by default, but advisor changes can be made to applicants, alumni, and withdrawn students as well.
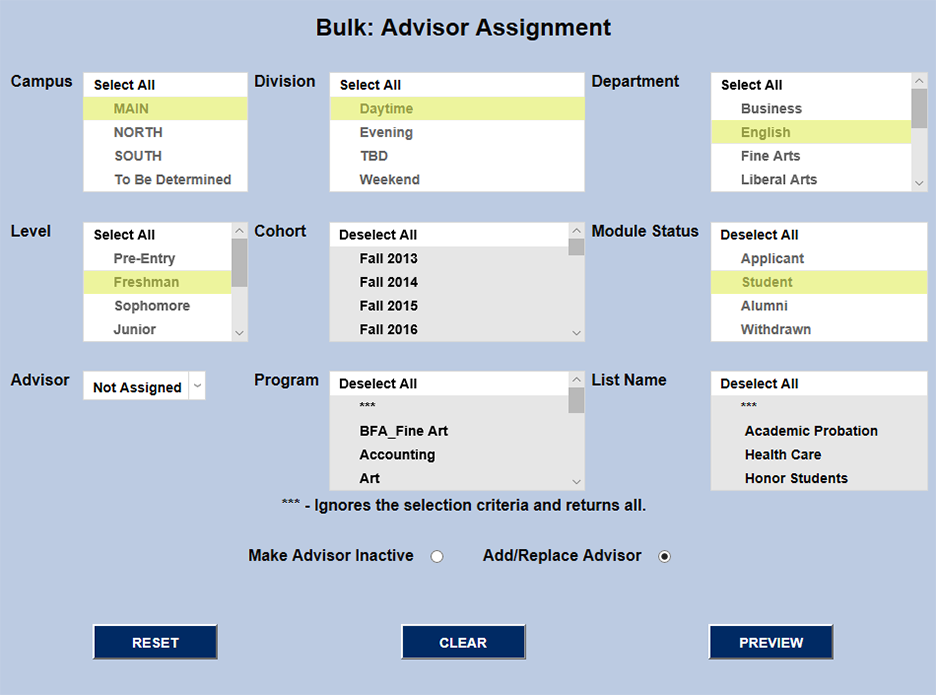
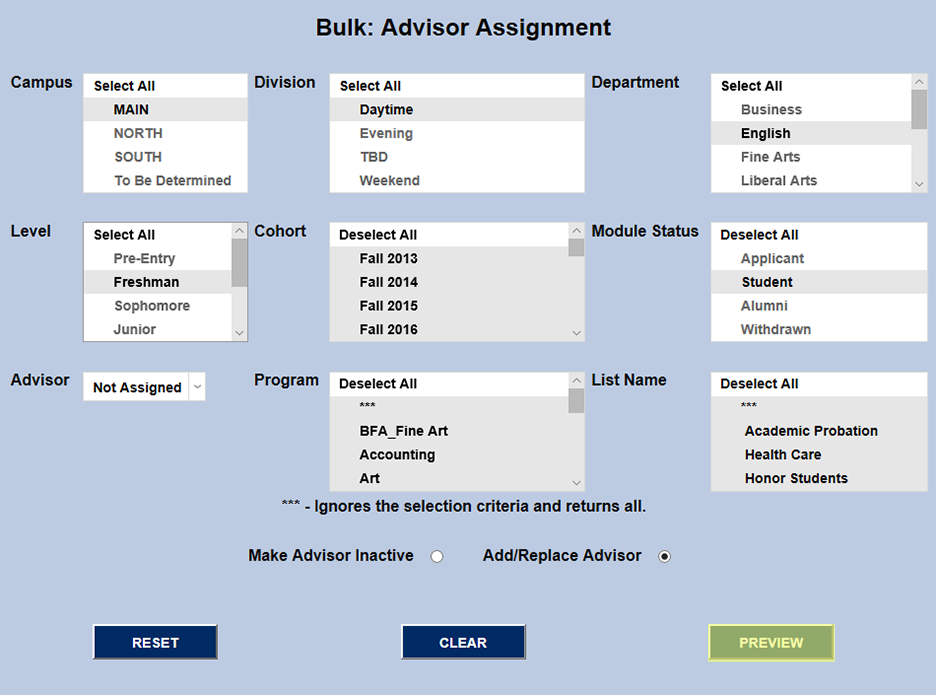
To assign students to an advisor for the first time, leave the advisory as Not Assigned. Click Preview to view the list of students.
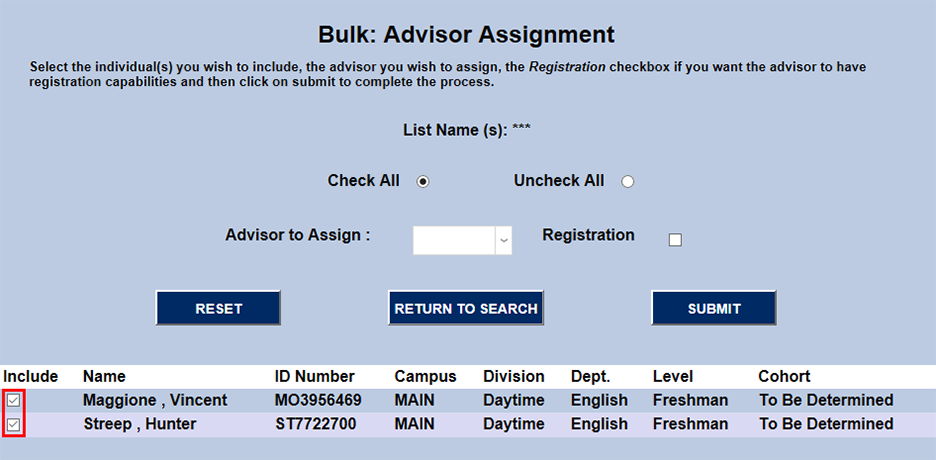
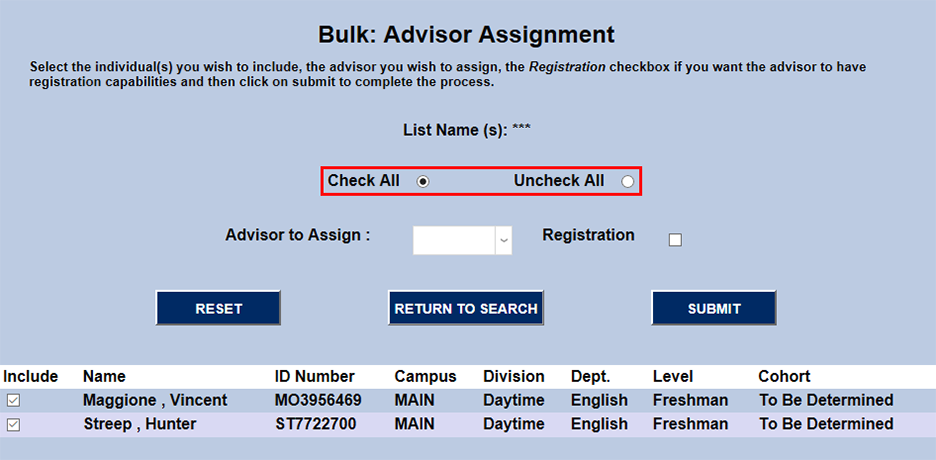
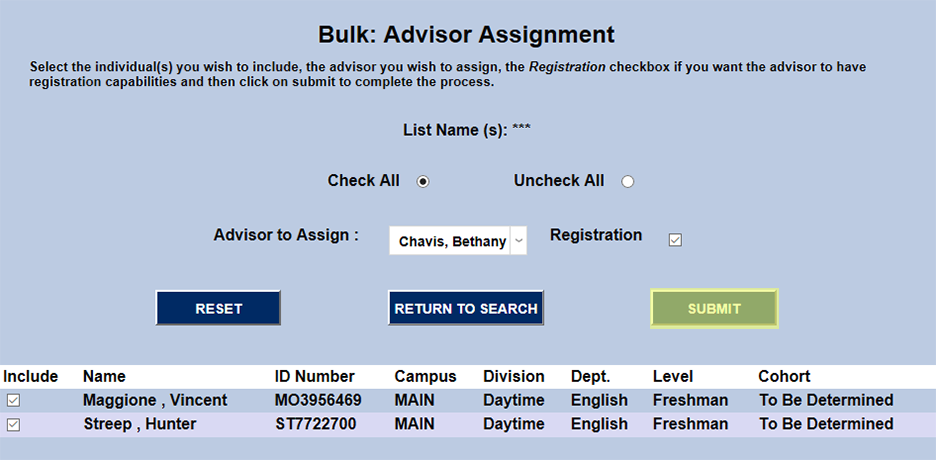
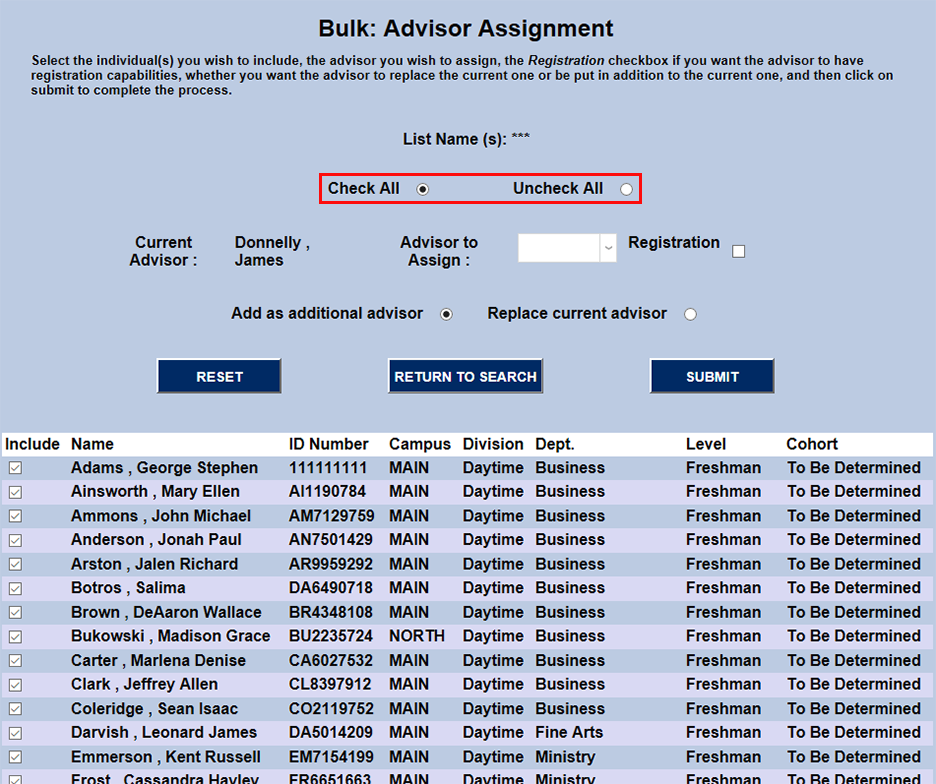
The following page lists every student who meets the previously selected criteria. Each student has a checkbox in the Include column which can be unchecked if they should not be updated or left checked if they should be updated. Check All and Uncheck All buttons at the top of the page are available at the top of the page to make this process faster.
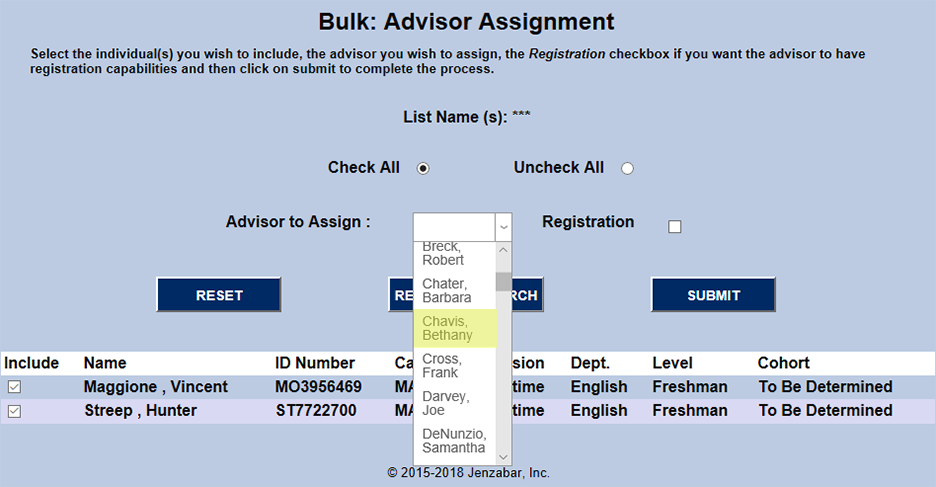
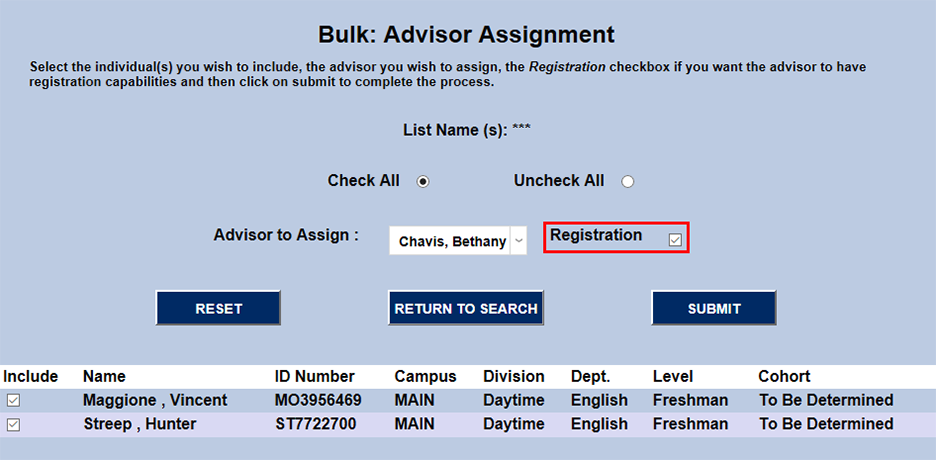
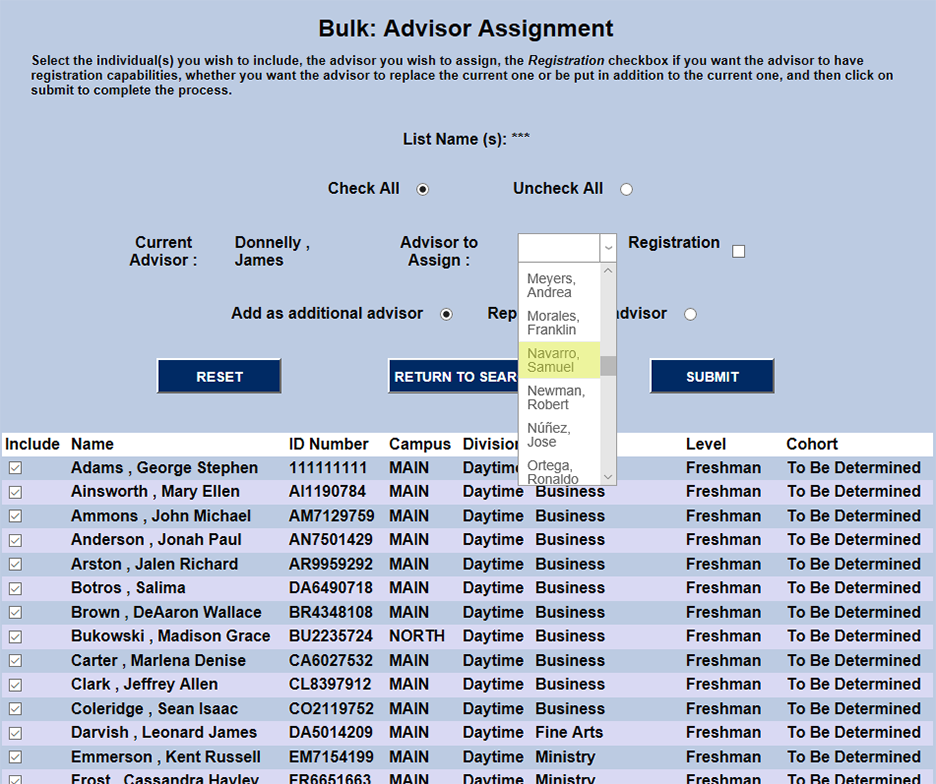
Select an advisor from the Advisor to Assign dropdown menu. The advisor can be given the ability to register the listed students by checking the Registration checkbox or it can be left unchecked. Click Submit to save changes.
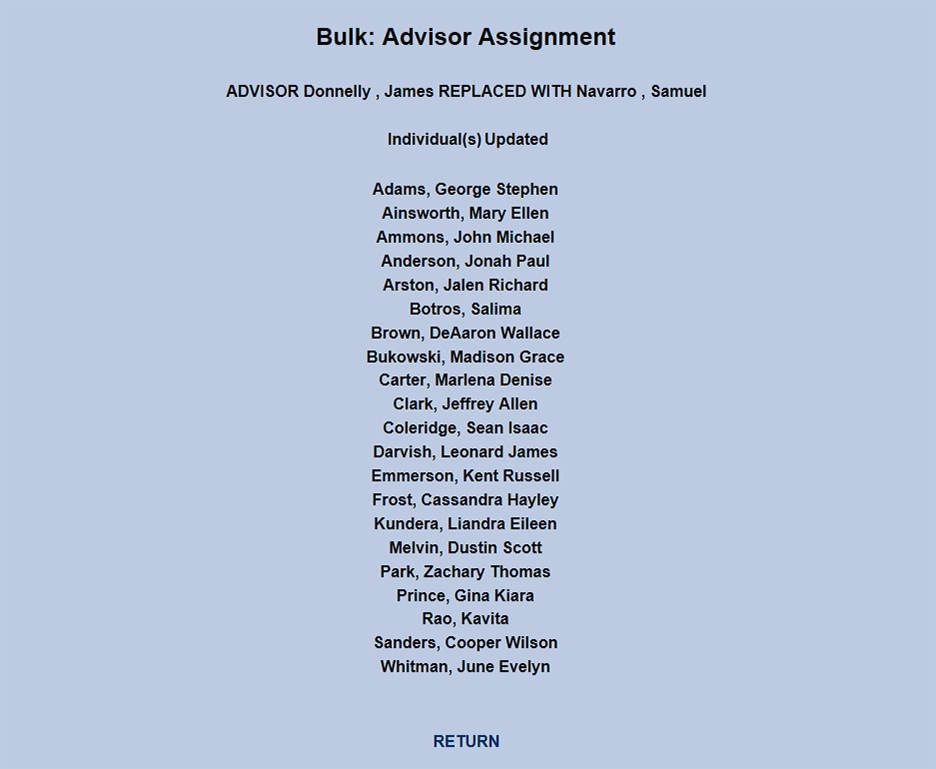
The following page shows the results of the changes that have been made.

Replace Advisor
To view or change assignments for students who are already assigned to an advisor, select that advisor's name from the Advisor dropdown menu. Use the Campus, Division, Department, Level, Cohort, Module Status, Program, and List Name menus to narrow down the list of students assigned to this advisor or leave them all selected to view all students assigned to this advisor.
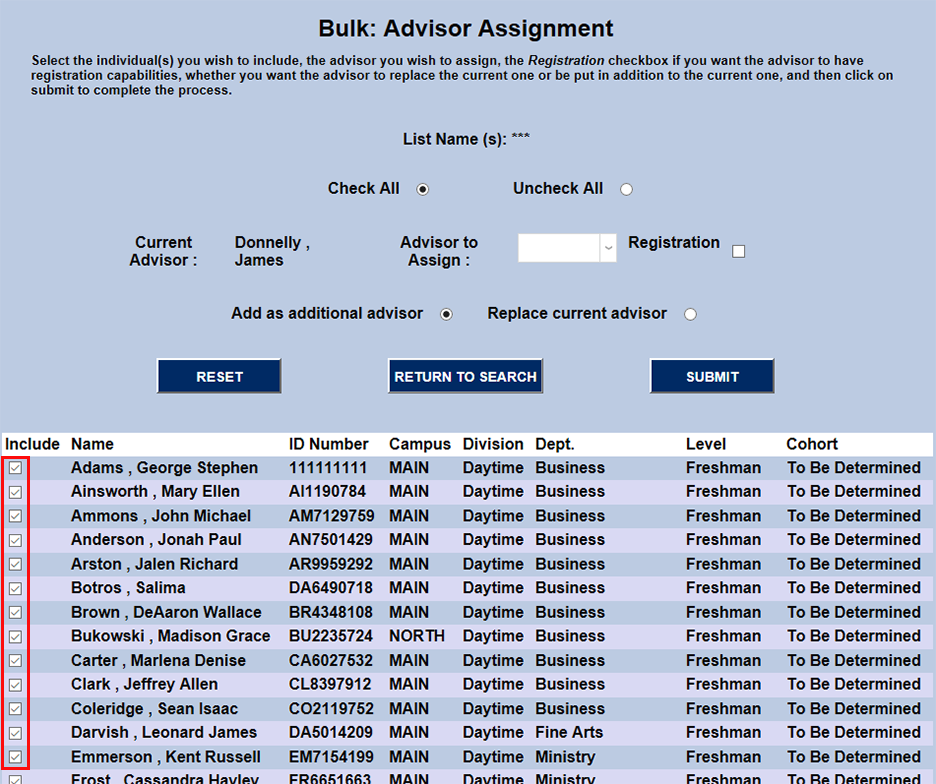
The following page lists all the students assigned to the selected advisor. Check or uncheck the boxes in the Include column to choose which students will be included in the change. The Check All and Uncheck All buttons at the top make mass include column changes faster.
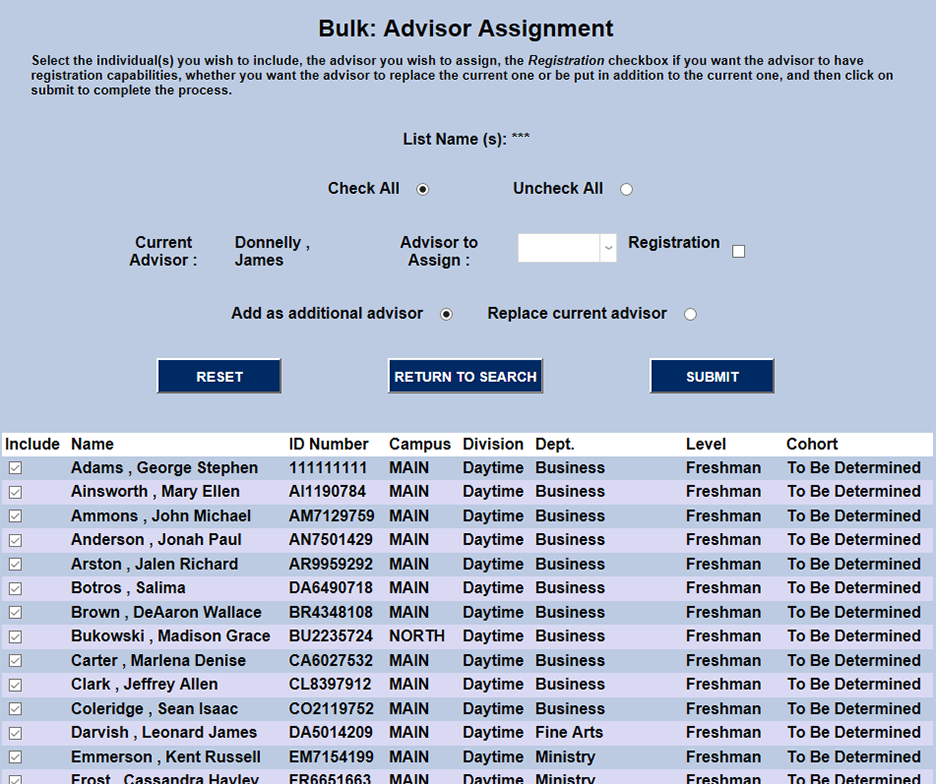
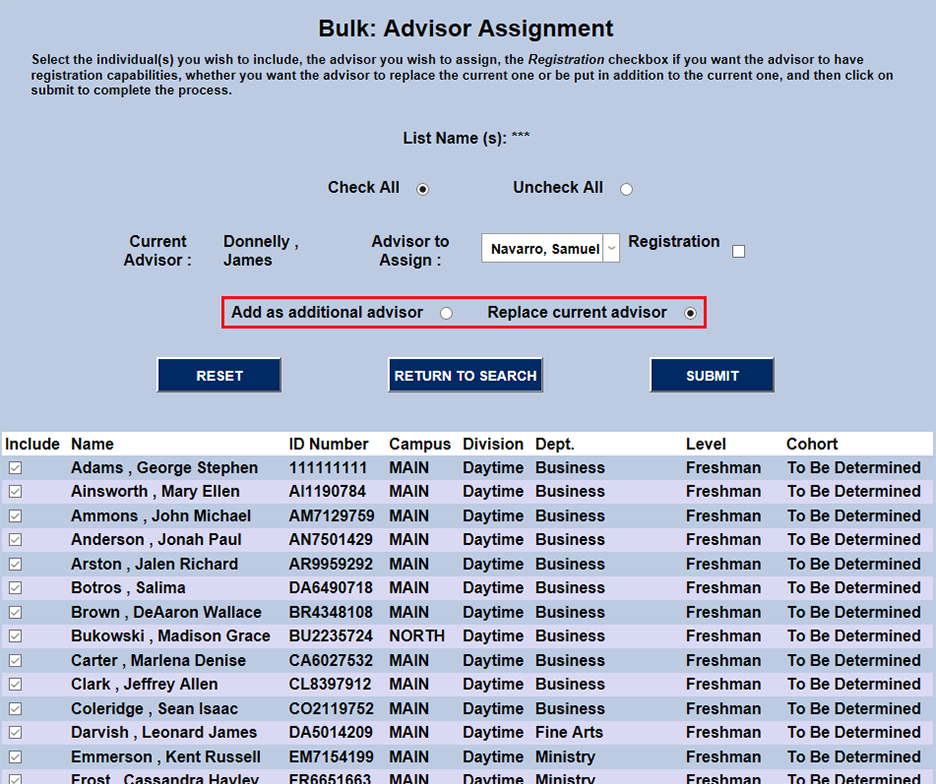
Select a new advisor from the Advisor to Assign dropdown menu. This new advisor can be added as a secondary advisor or replace the existing advisor.
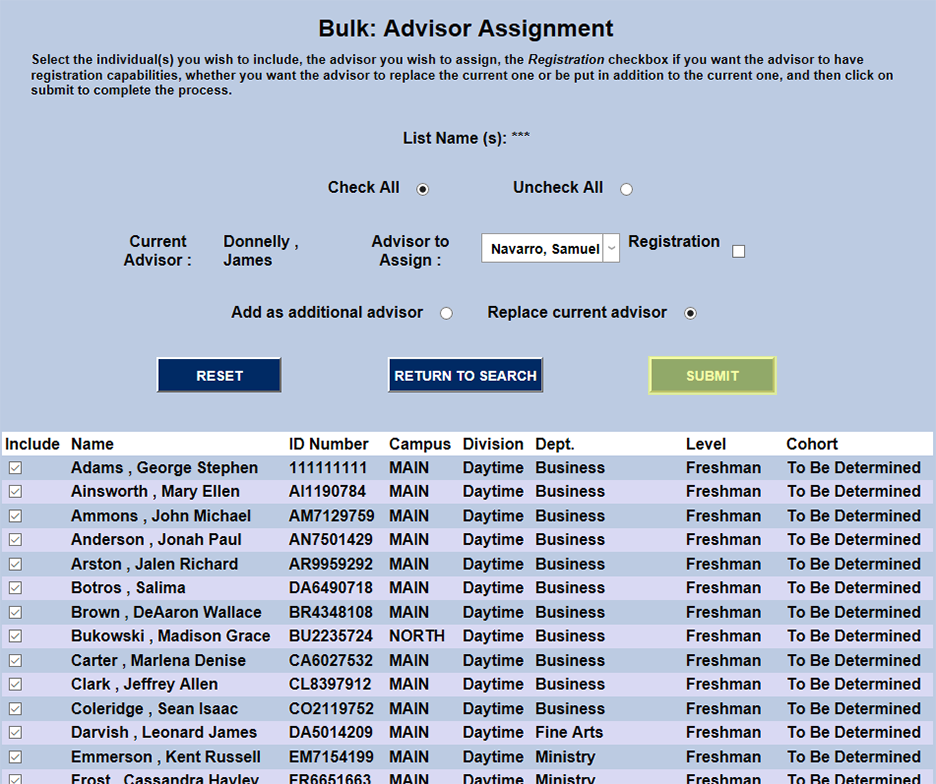
Check the Registration box to give the advisor access to complete their students' registration or leave it blank to forgo granting that privilege. Click Submit to save changes.

The following page shows the results of the changes that have been made.
Make Advisor Inactive
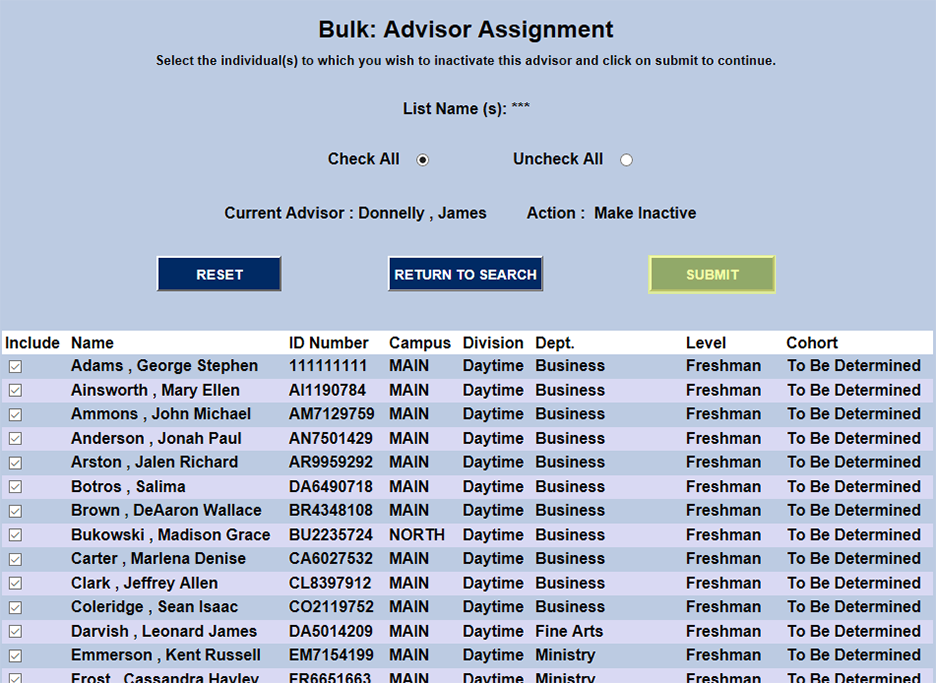
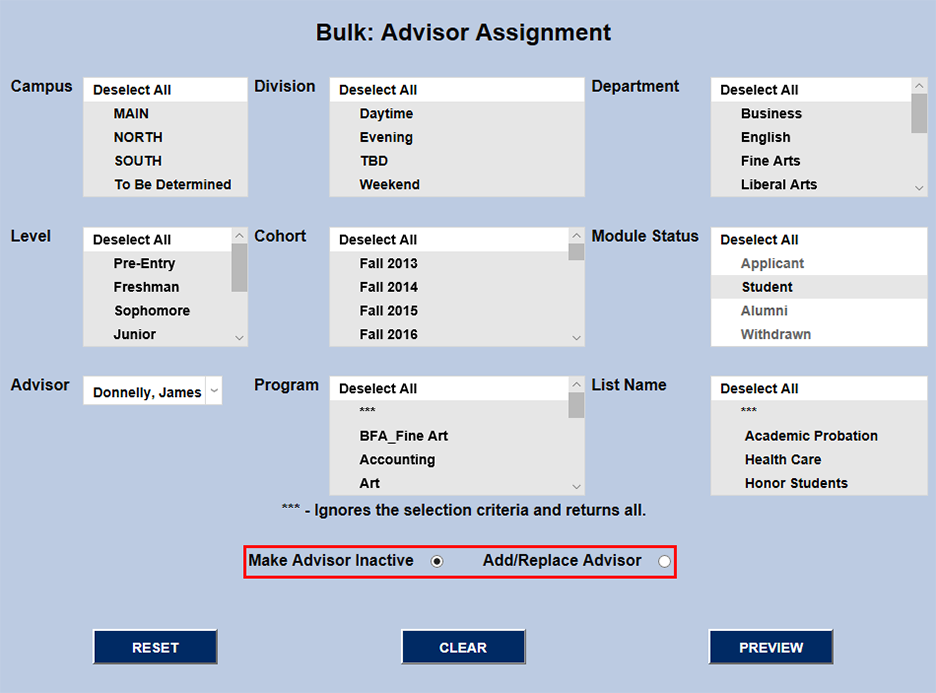
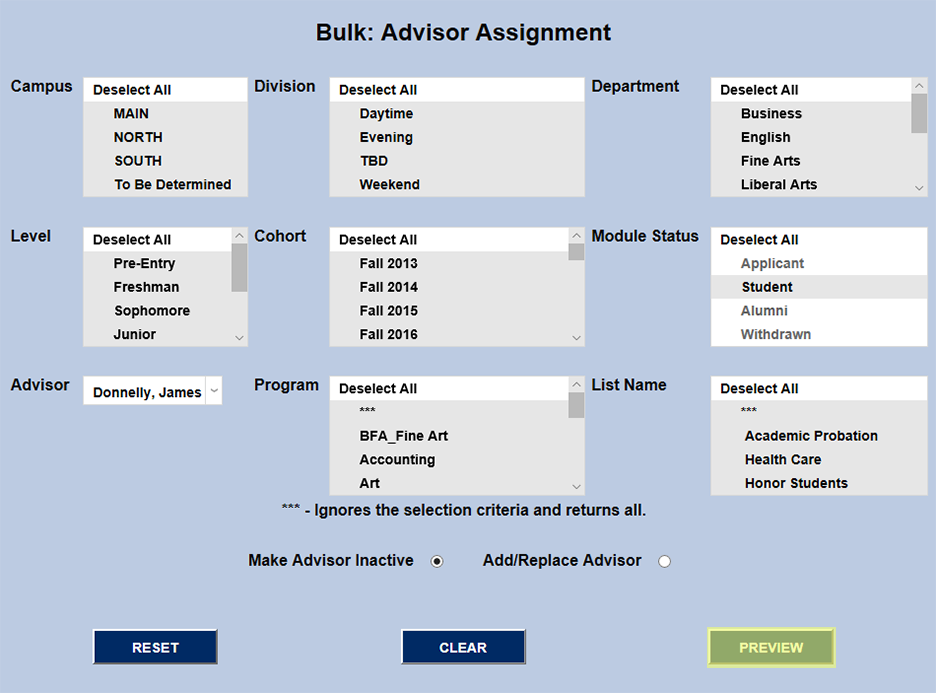
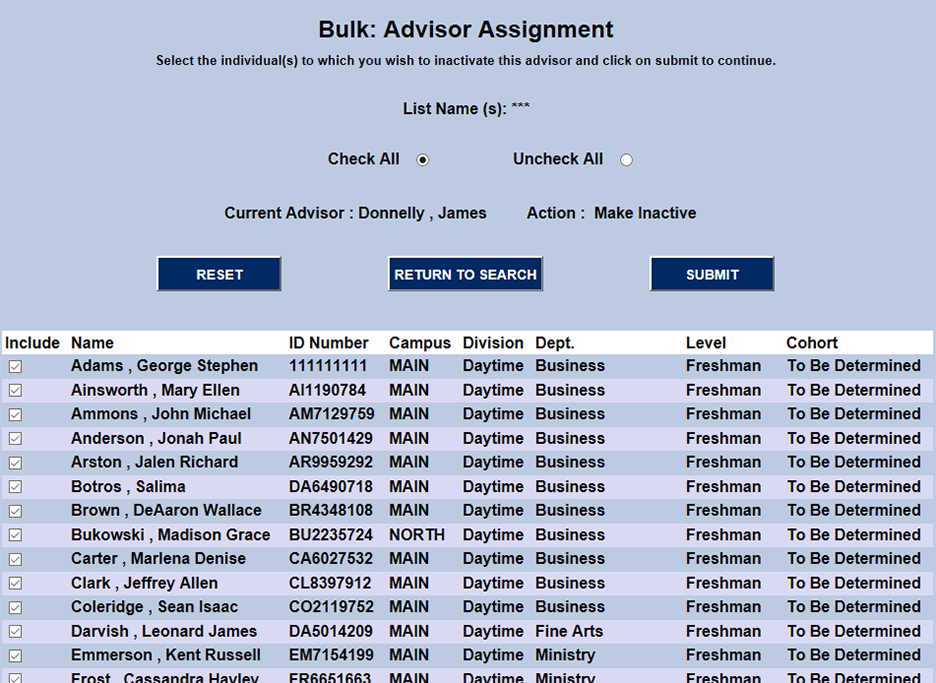
The Bulk Advisor Assignment tool can also be used to make advisors inactive. Select an advisor from the Advisor dropdown menu, click on the Make Advisor Inactive button, and and click Submit.
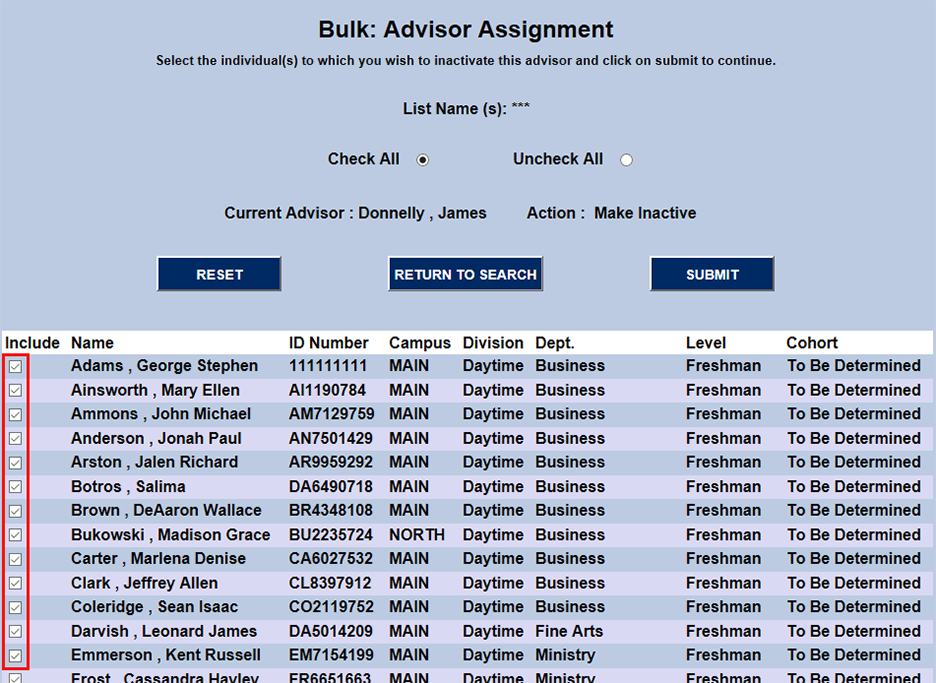
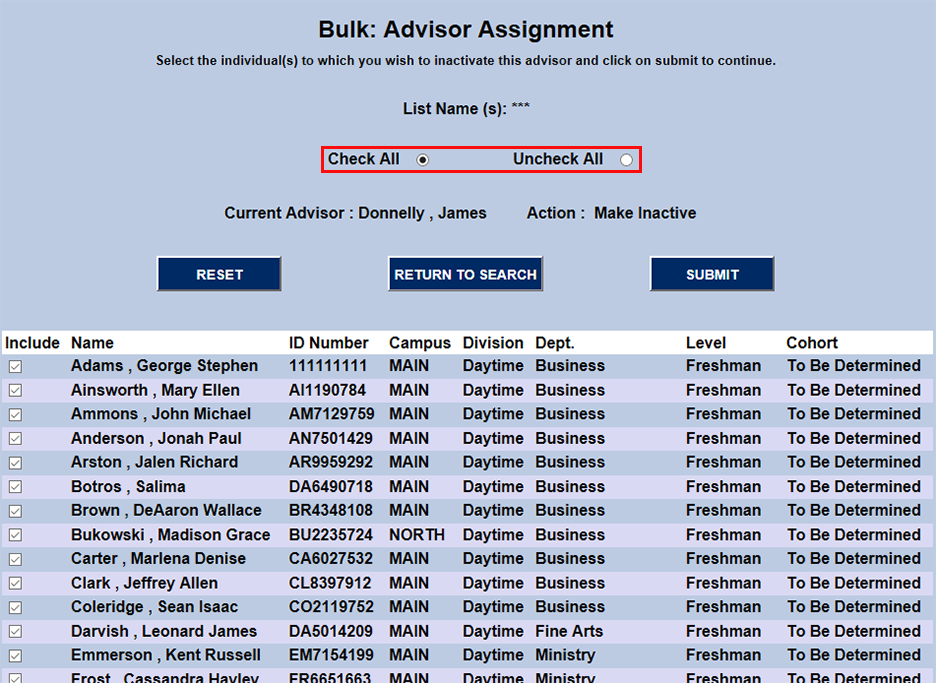
The following page lists the students currently being advised by this faculty member. The check boxes under the Included column allow students to be included or disincluded from this action. The Check All and Uncheck All boxes at the top of the page make mass changes easier.
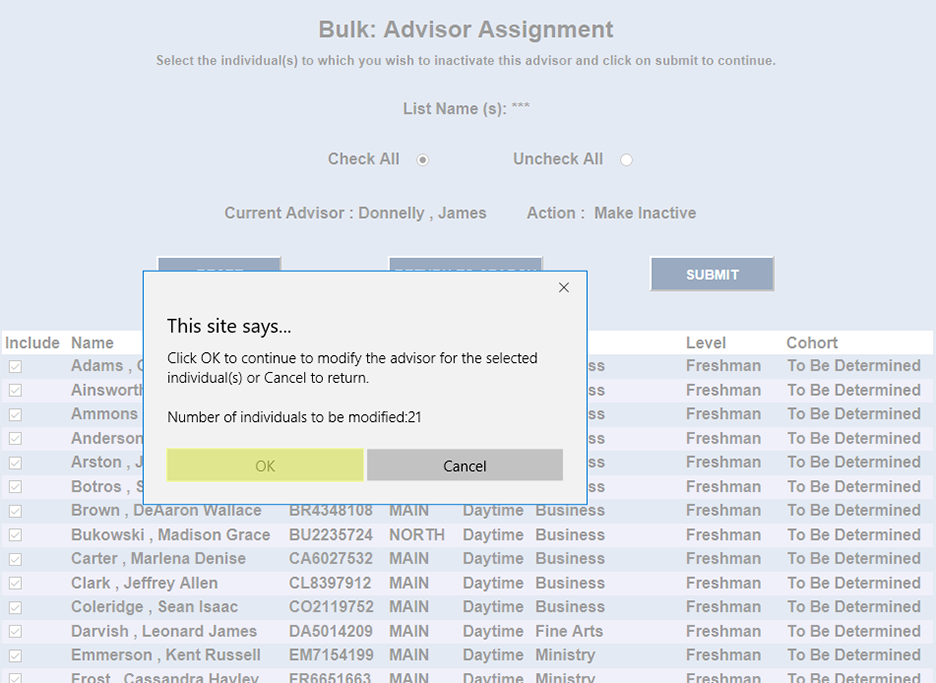
Once the students to be altered have been selected, click the Submit button. A pop-up will appear to ensure that this action is intentional. Click Okay to finish the process.