Email/Text Class
Overview
The Email/Text Class function allows faculty and advisors to send emails, texts, or both, to students enrolled in a course section they are associated with. Emails and texts are sent to each student individually; students will not see the email addresses or phone numbers of other recipients.
Emails and texts sent using this utility are saved within each student's record under their Email History or Text History, as appropriate.
Sending Emails/Texts
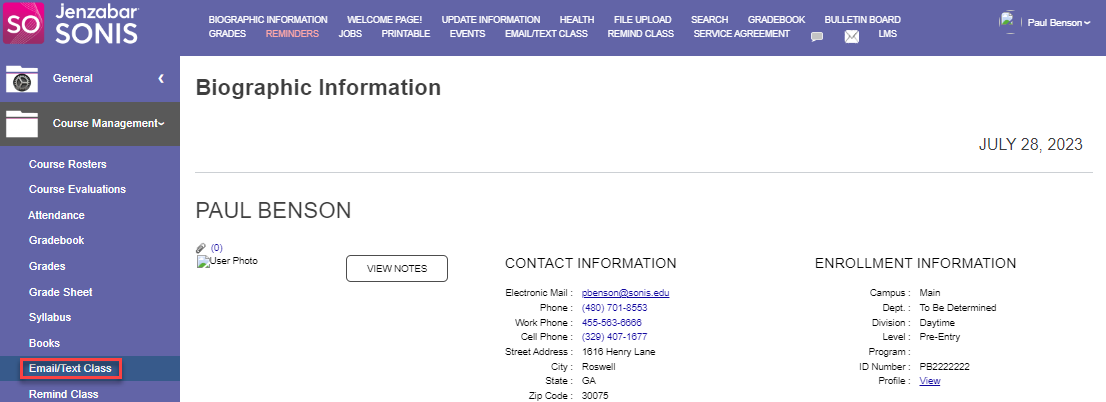
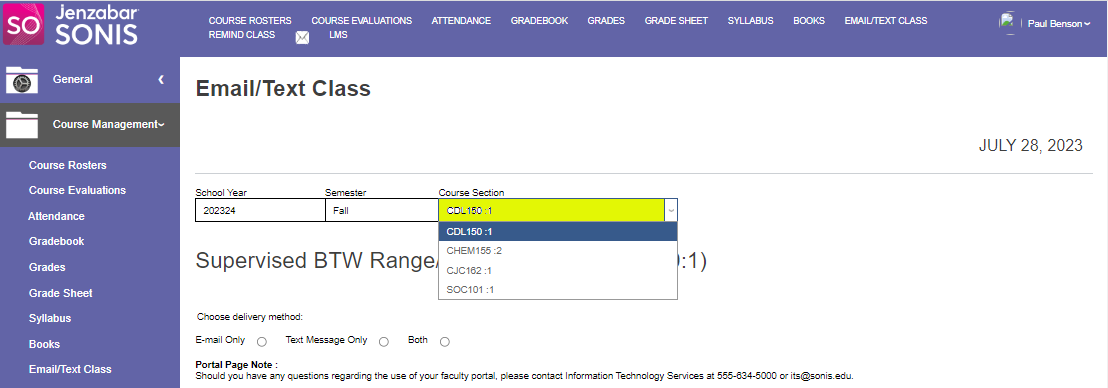
To send an email or text, open the Course Management menu and click Email/Text Class.
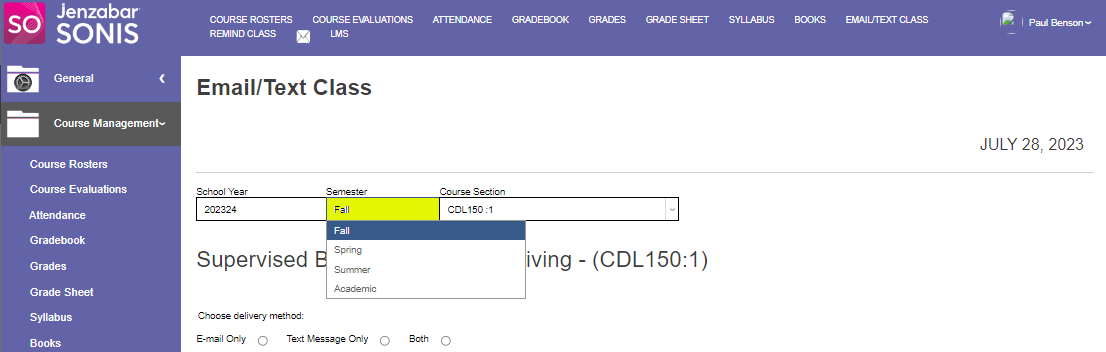
The active school year and semester populates by default, but clicking in the School Year and/or Semester field(s) opens a dropdown menu allowing the selection of other years or semesters.
Note
The active school year and semester are set in System Variables,
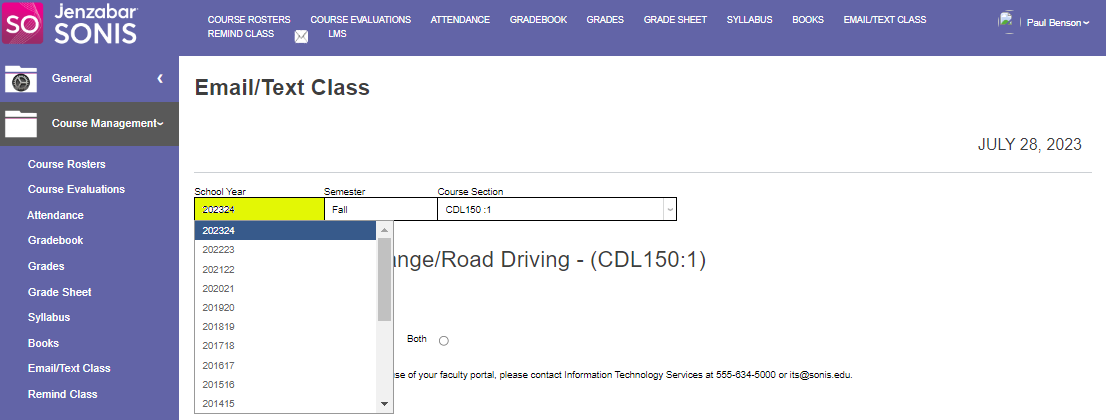
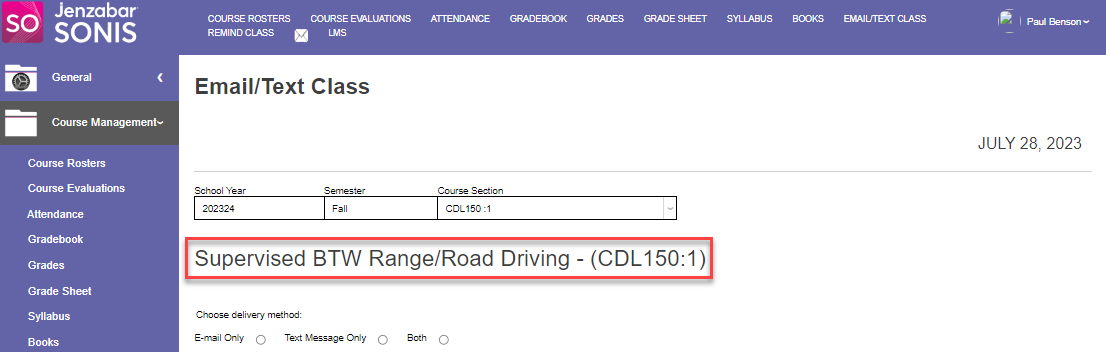
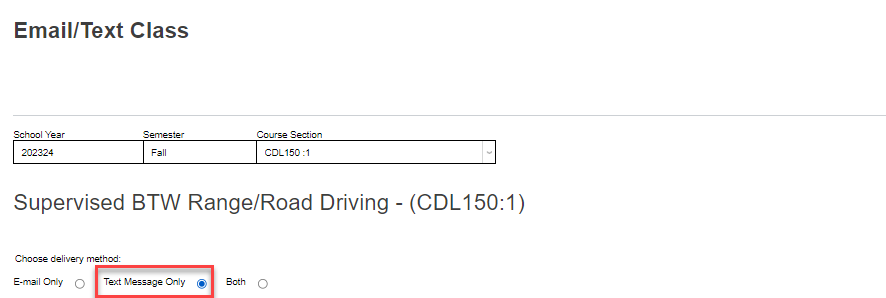
The year and semester chosen determine the teaching schedule that is populated in the Course Section dropdown. Whichever section is listed first alphabetically, or chosen from the dropdown, will display below the menus.
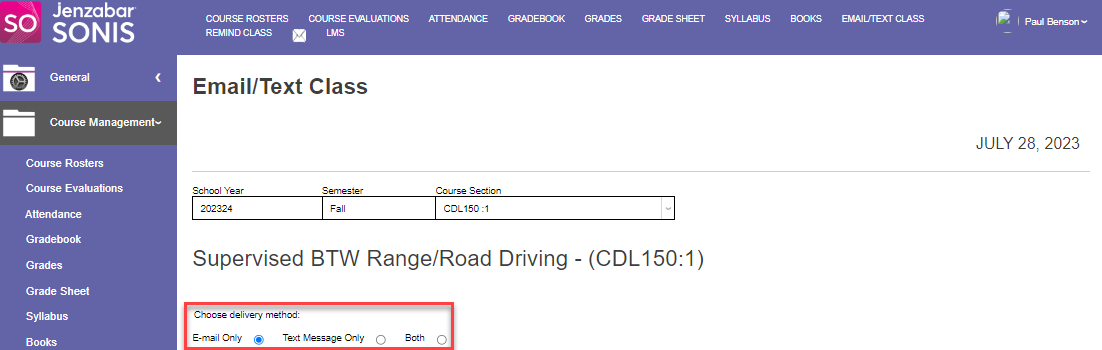
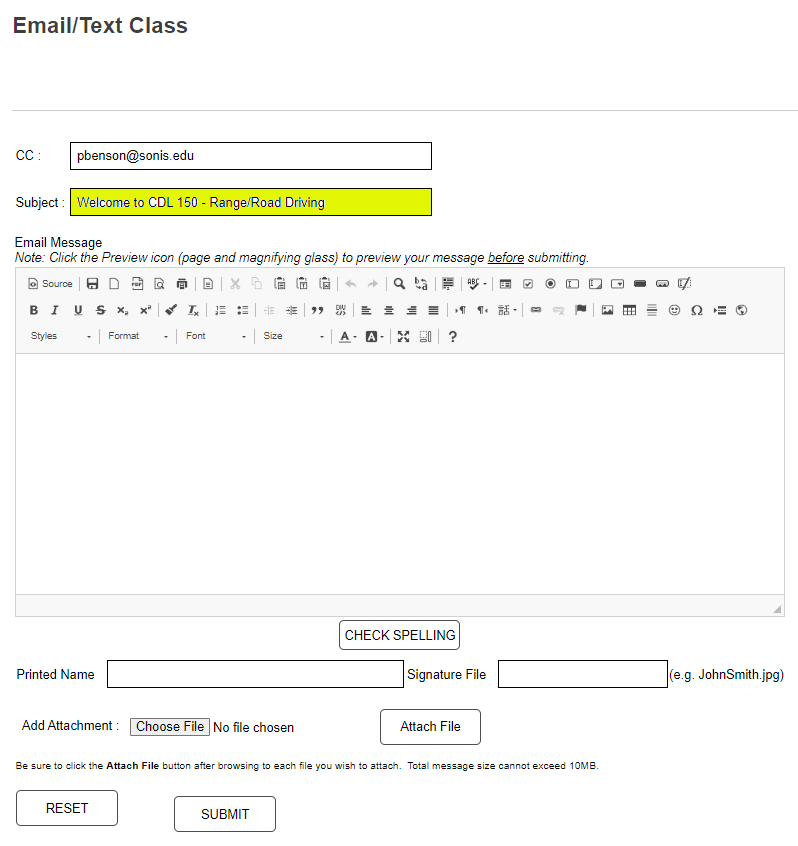
Choose the delivery method for the message by selecting one of the radio buttons. The composition template automatically opens, with the sender's email address populated in the CC field, when any radio button is clicked.
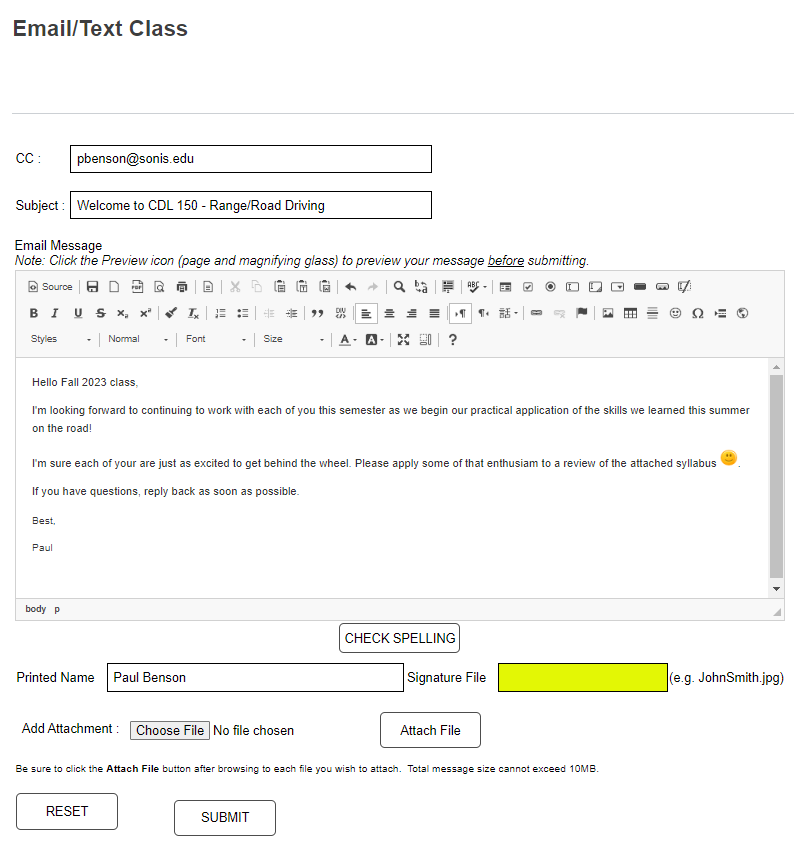
Email Template
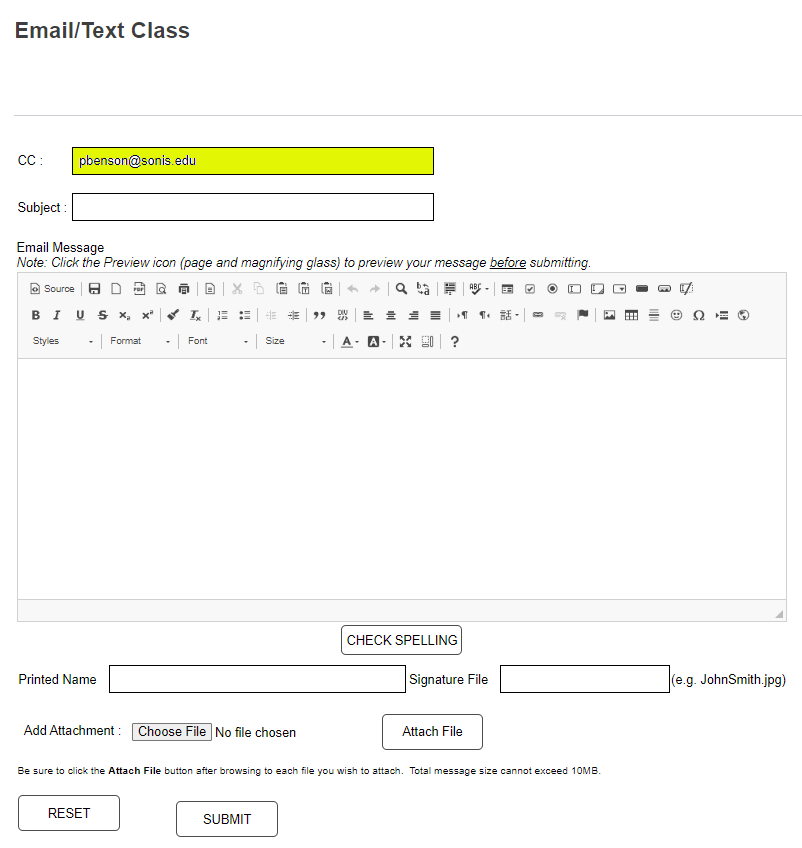
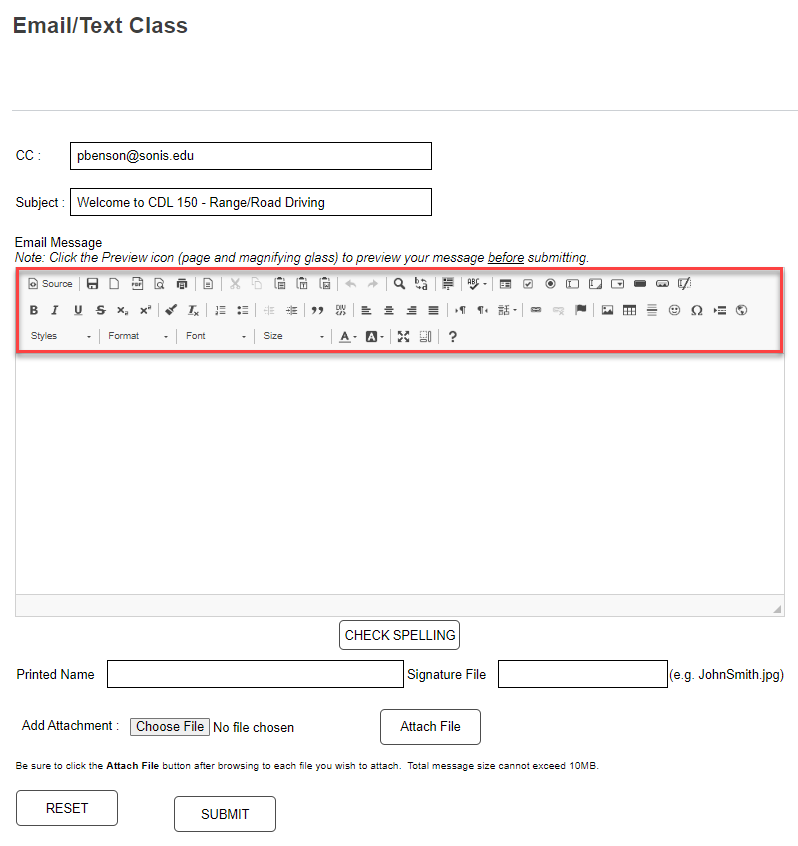
Enter the Subject of the email. The Email Message box has standard text editing options that allow for formatting the message as desired.
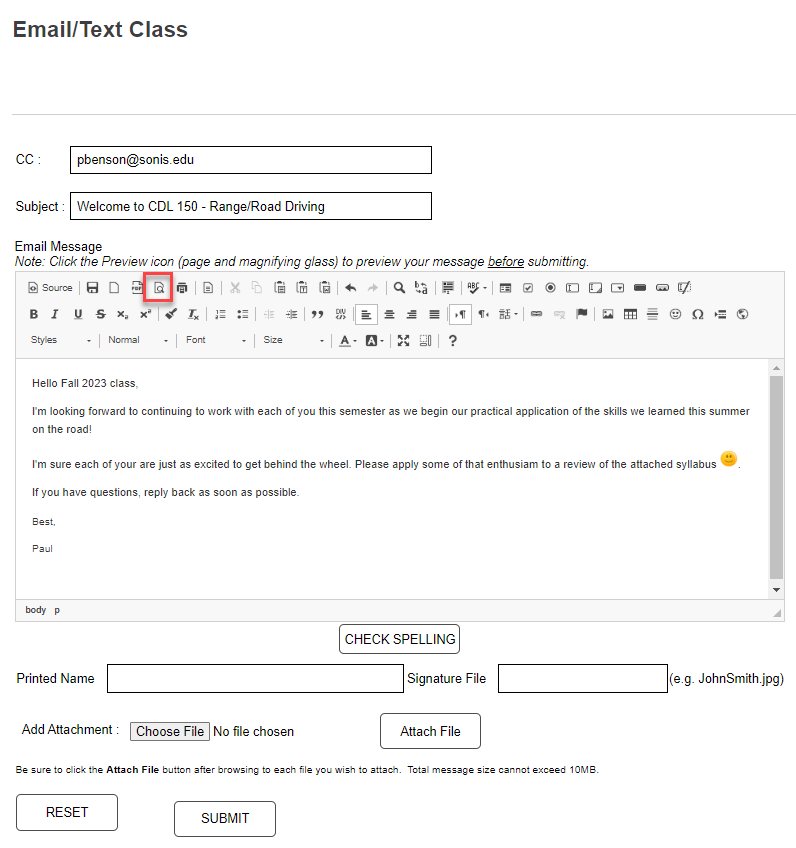
After entering the desired text, click the page with a magnifying glass icon to view a preview of the message. If desired, the spelling can be reviewed by clicking Check Spelling.

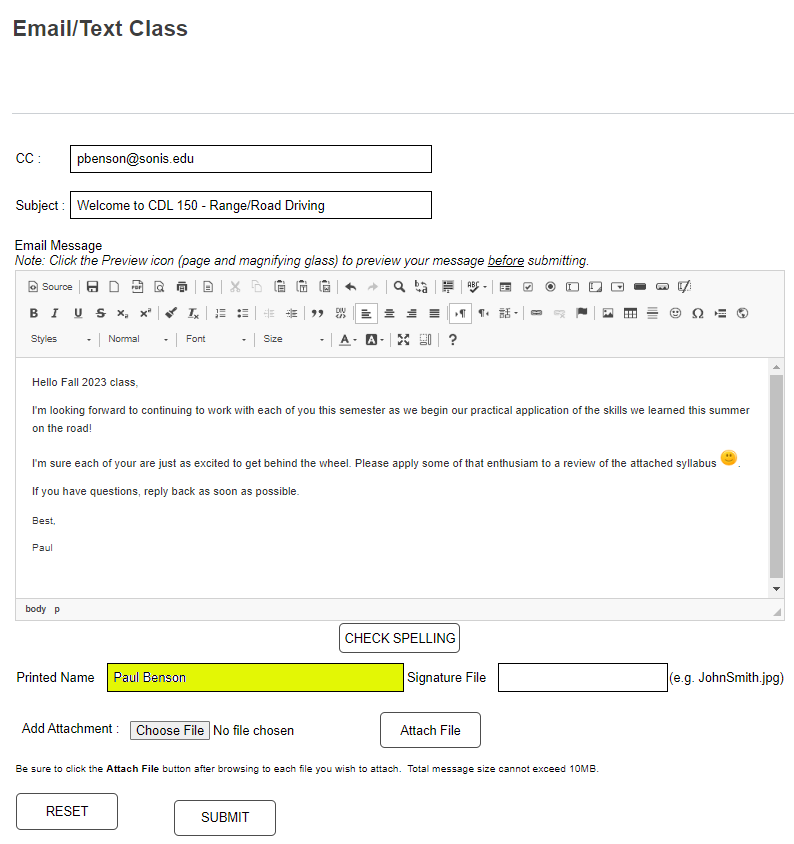
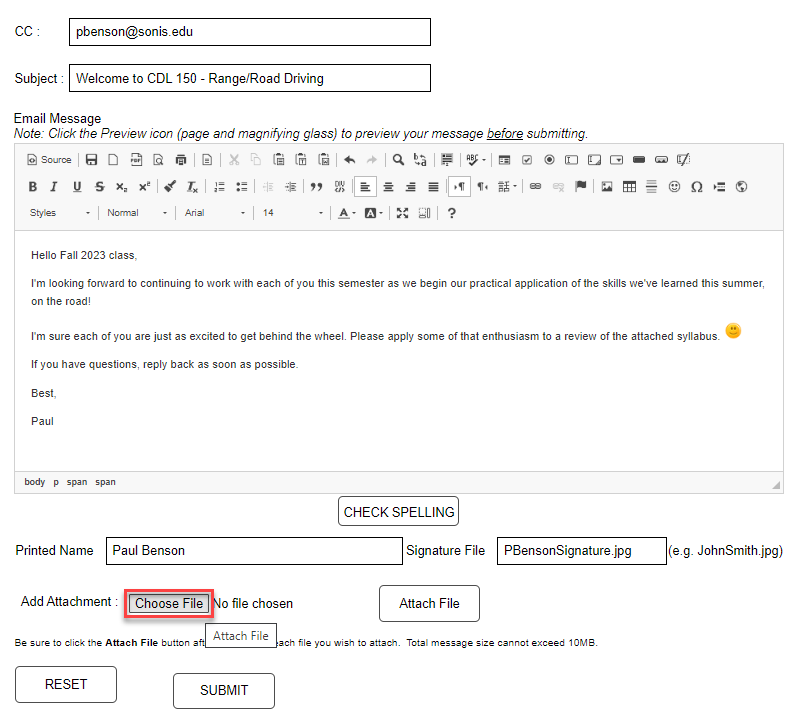
Signatures can be added using the Printed Name and Signature File fields. The signature file requires a .jpg file type.
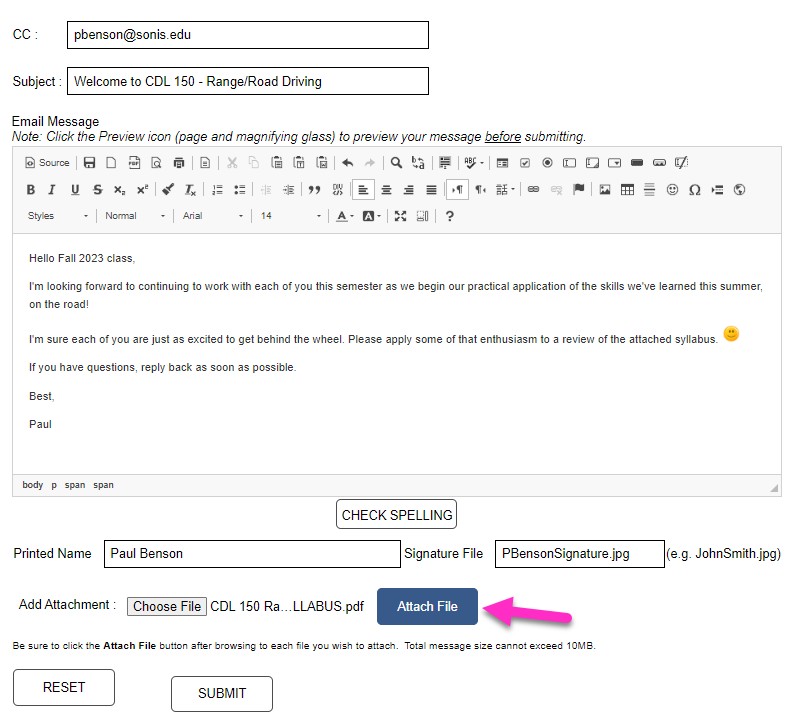
To add an attachment, click Choose File and follow the prompts. Click Attach File to complete attaching the file.
Click Submit to move to the next step. For each student registered in the course who should receive the message, ensure the checkbox to Include in Mailing is set.
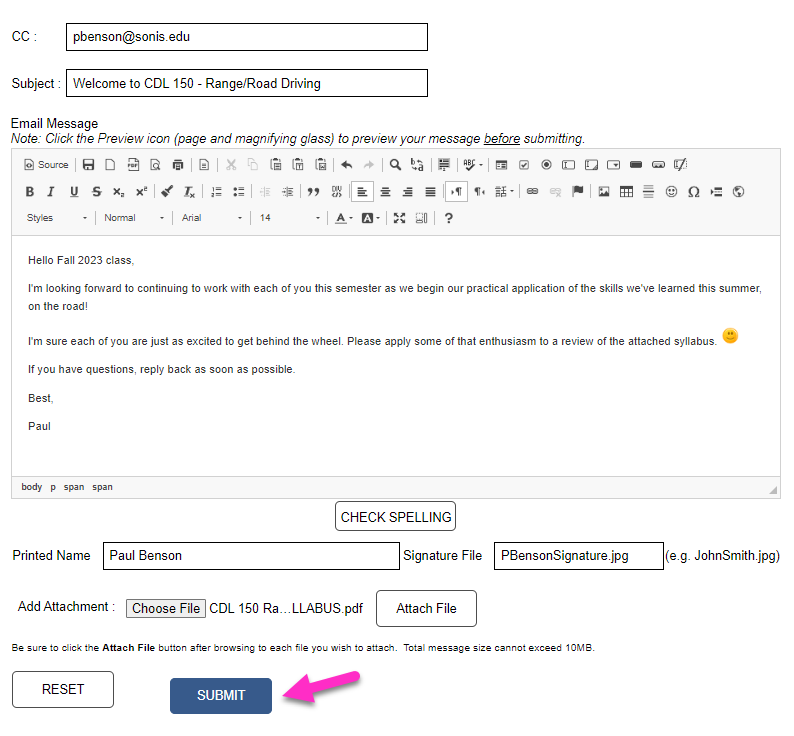
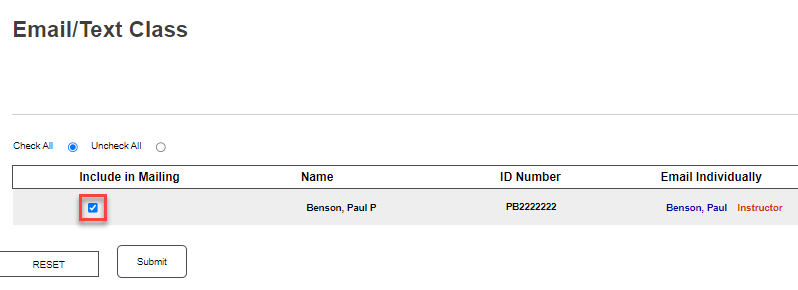
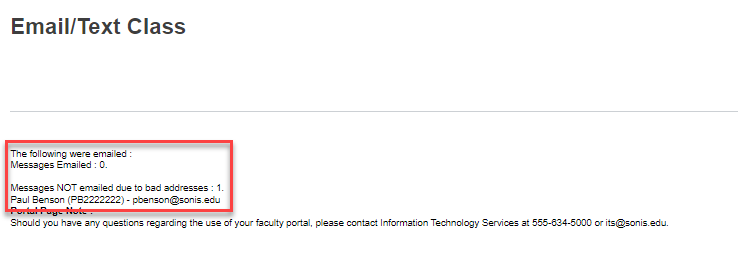
Click Submit to send the email. A confirmation and results page displays, listing the number of successful and unsuccessful emails.

Text Template
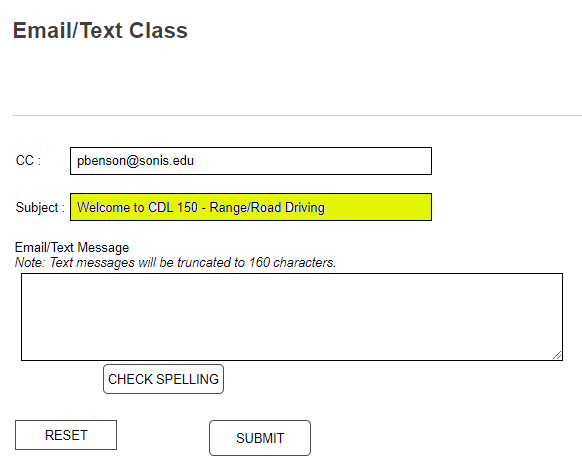
If Text Message Only was selected, the text template opens with the CC field prepopulated with the sender's email address.
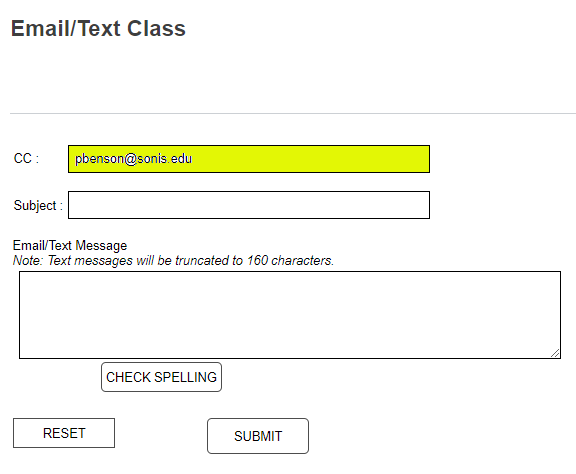
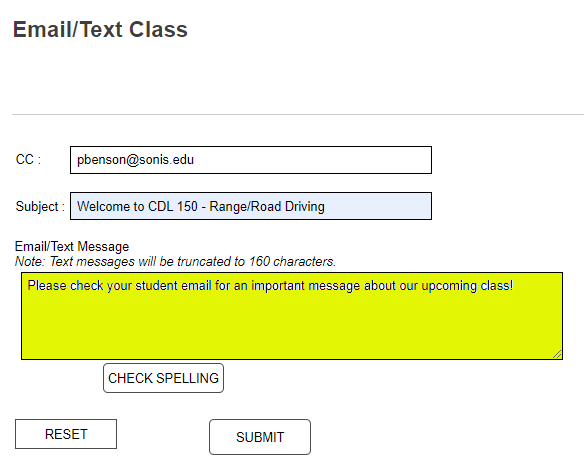
As with the email template, enter a summary of the message topic in the Subject field and the message in the Email/Text Message field. Text messages will be shortened to 160 characters, if necessary.
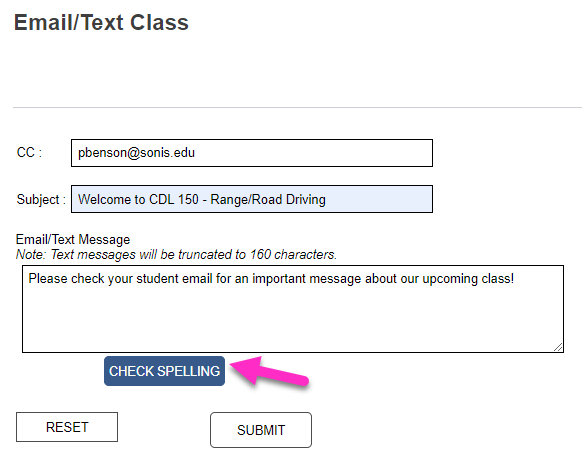
If desired, click Check Spelling to ensure the spelling is correct in the message. Click Submit to move to the next step.
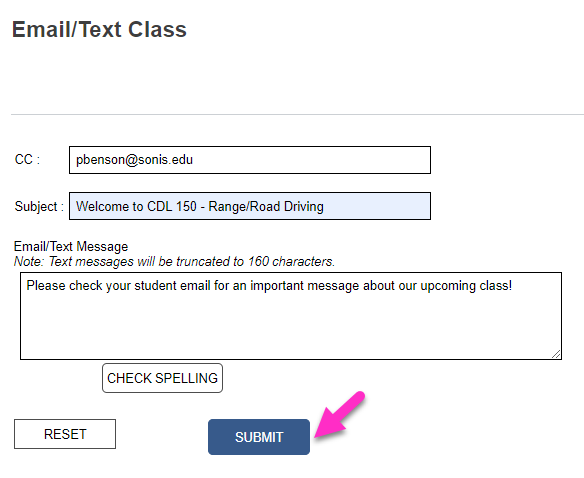
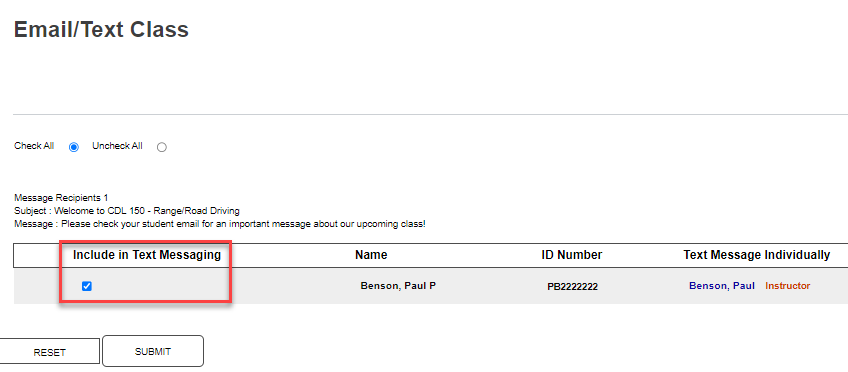
As with emailing, ensure that the individuals who should receive the message have the Include in Text Messaging box checked. Click Submit to send the messages.
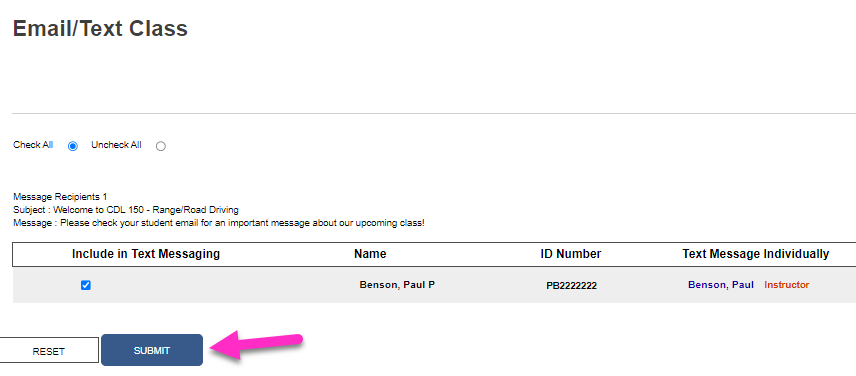
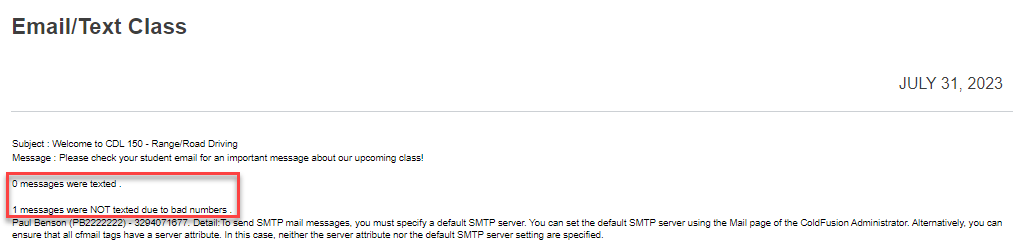
The confirmation page displays and allows the opportunity to confirm how many messages were texted successfully versus were not.