Bulk Void
Overview
The SONIS Bulk Void utility is designed to allow administrators to void transactions from more than one user at a time. The utility can also be used to delete a single student's transactions, but this is generally accomplished through the standard Void Transactions utility. The major difference between the two is that the Bulk Voids utility only displays transactions from one semester at a time.
When voiding awards transactions, the disbursement must be voided before the award can be voided. The Void Awards by Disposition utility can also be used to void awards that have not been disbursed.
T-Code Setup
In order for a transaction to be voided in bulk, the Transaction Code must be set up to allow bulk voids. Ensure that the Bulk Void box is checked before attempting to void transactions through this utility.
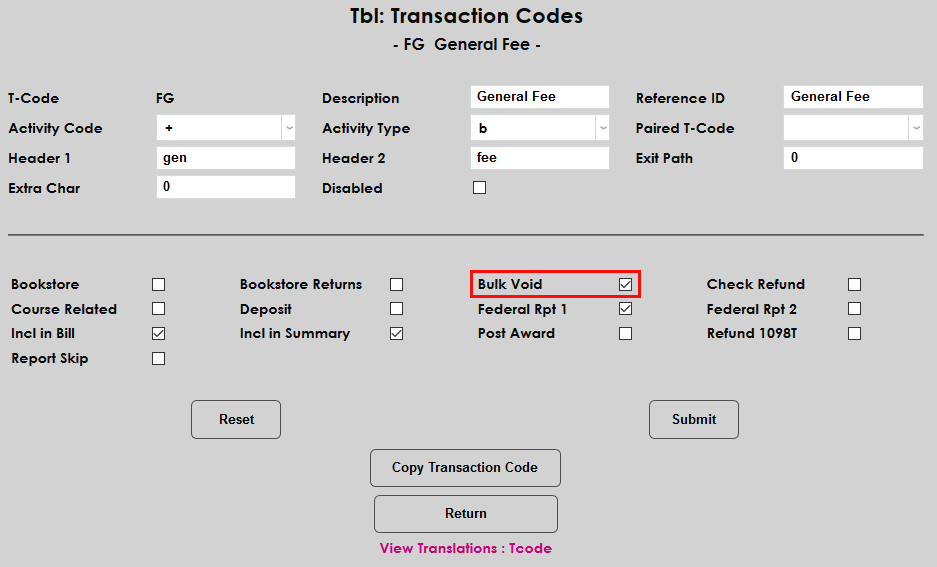
For most schools, it's best to keep this box unchecked on all T-codes and only check it when a need for bulk voids arises.
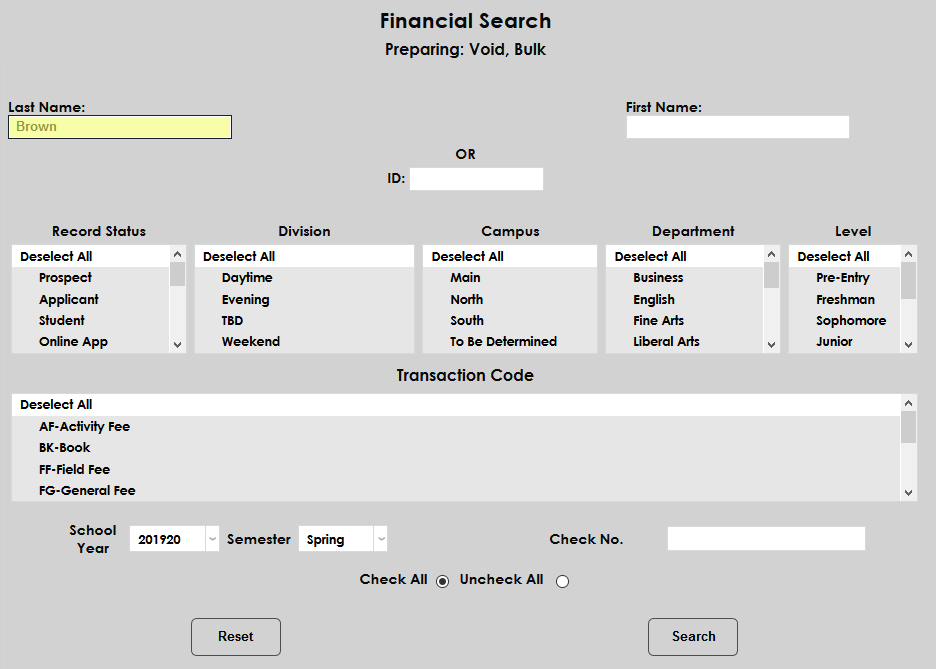
Searching
To begin voiding a transaction, navigate to the Bulk Void utility under the Financials menu.
Single User
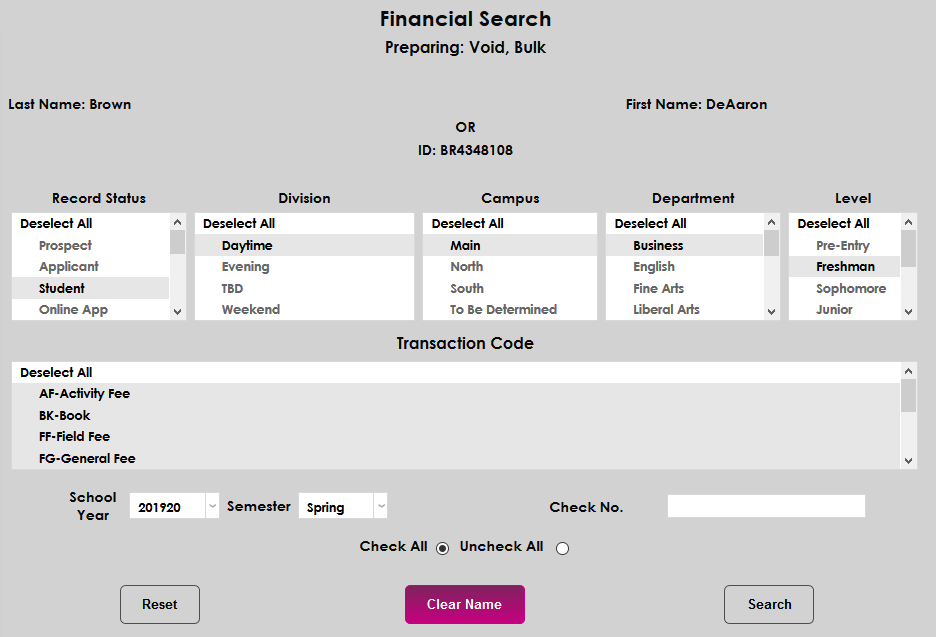
If a name has already been selected using the Name Search function, the user's information will appear at the top of the page. Click Search to continue or Clear Name to remove it and search for a different user.
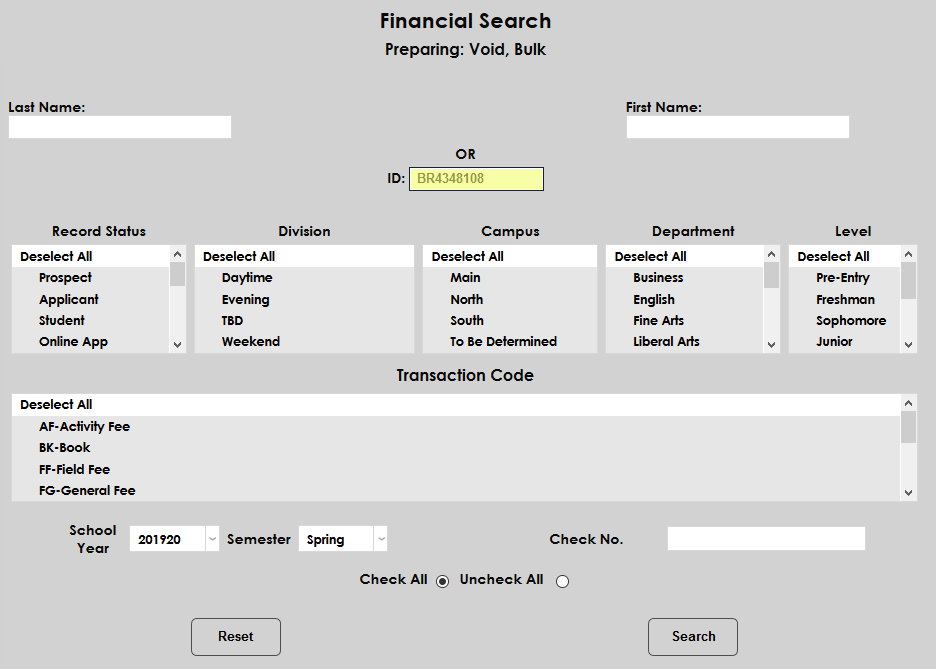
To search for a single user who has not been selected previously, enter the user's SONIS ID or a first and/or last name.
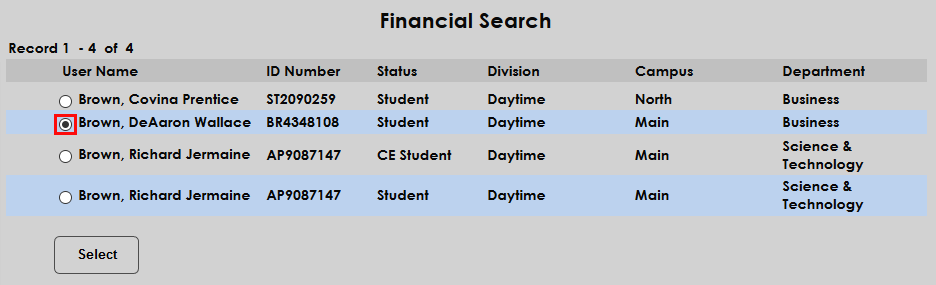
If a name was entered rather than a SONIS ID, the next page will display a list of potential matches. Choose a user by clicking the radio button next to the name and click Select.
Multiple Users
When searching for multiple users, use the Record Status, Division, Campus, Department, and Level menus to narrow down the results.
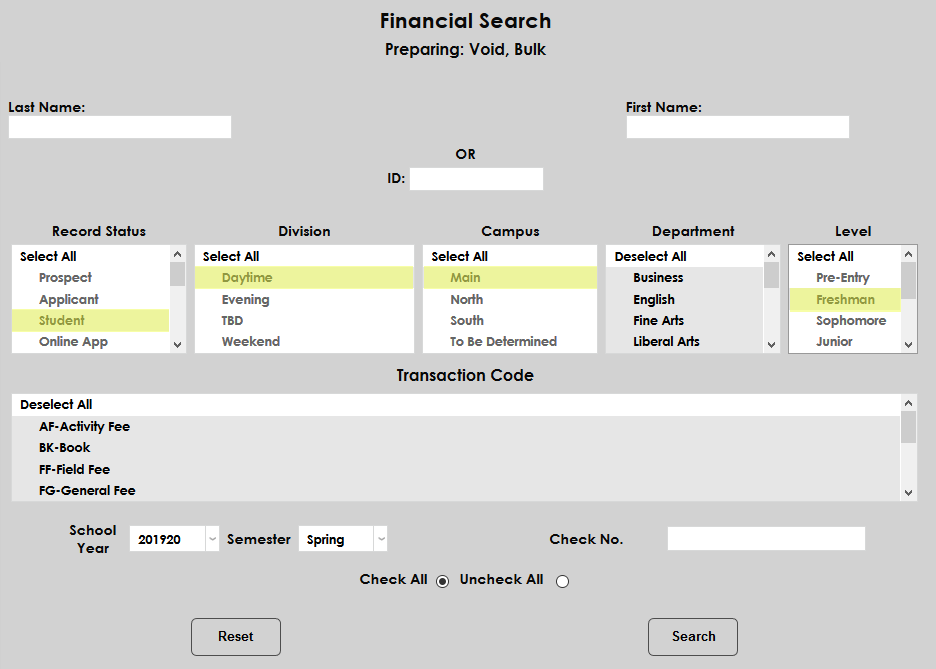
Select a Transaction Code to show only transactions using that code or leave them all selected to show all transactions that match the other demographics.
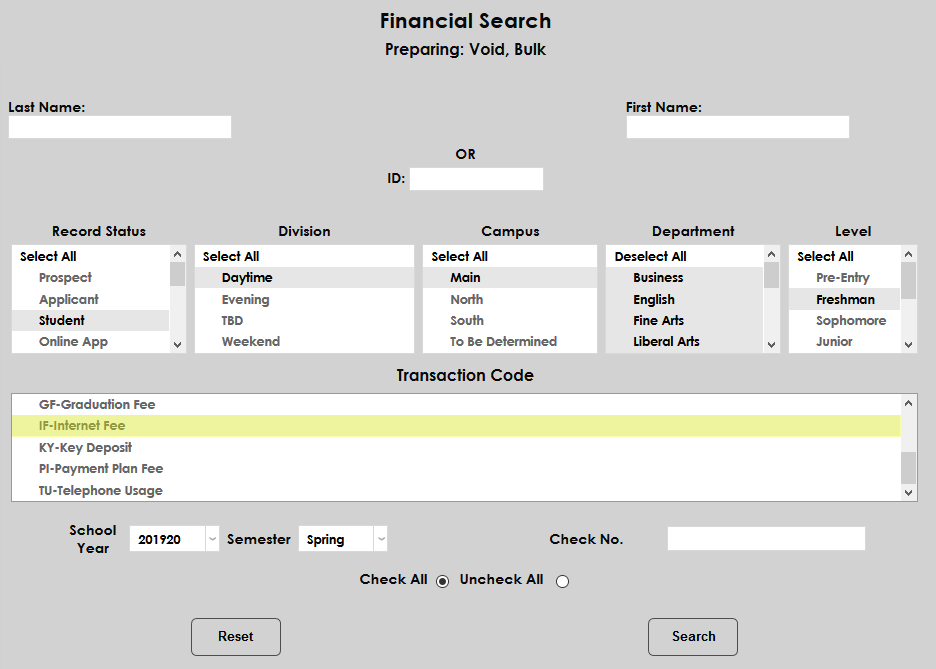
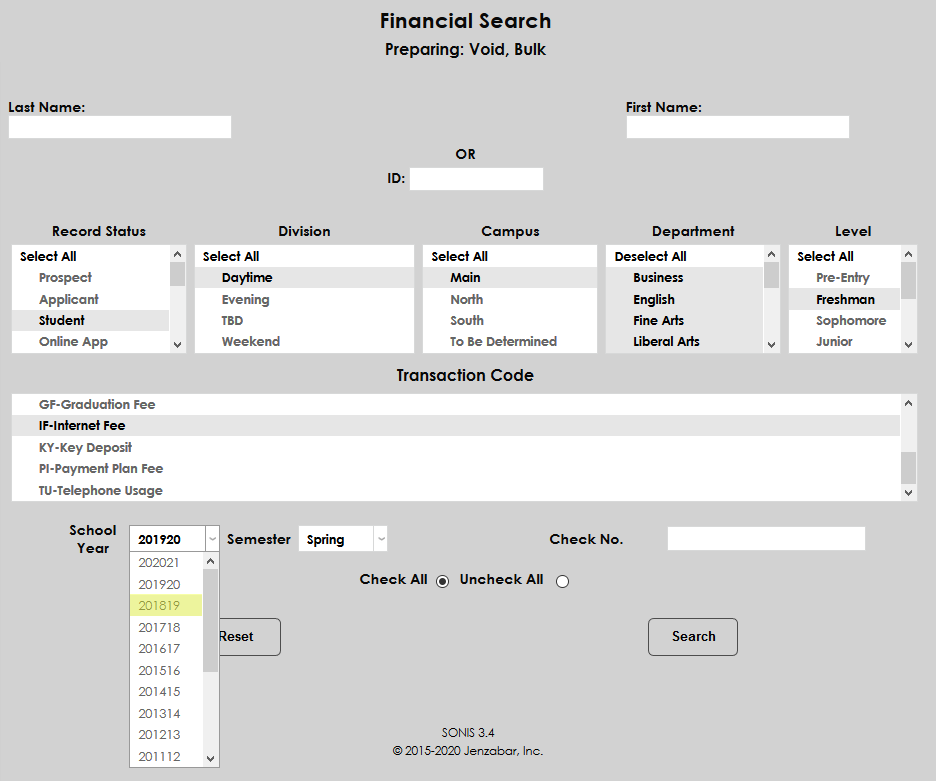
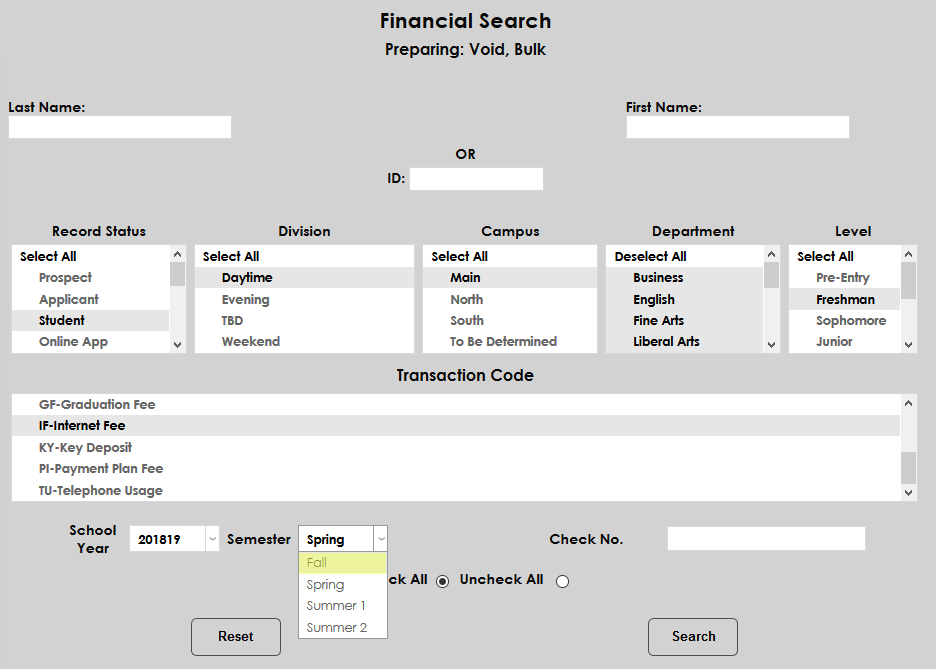
Next, select a School Year and a Semester.
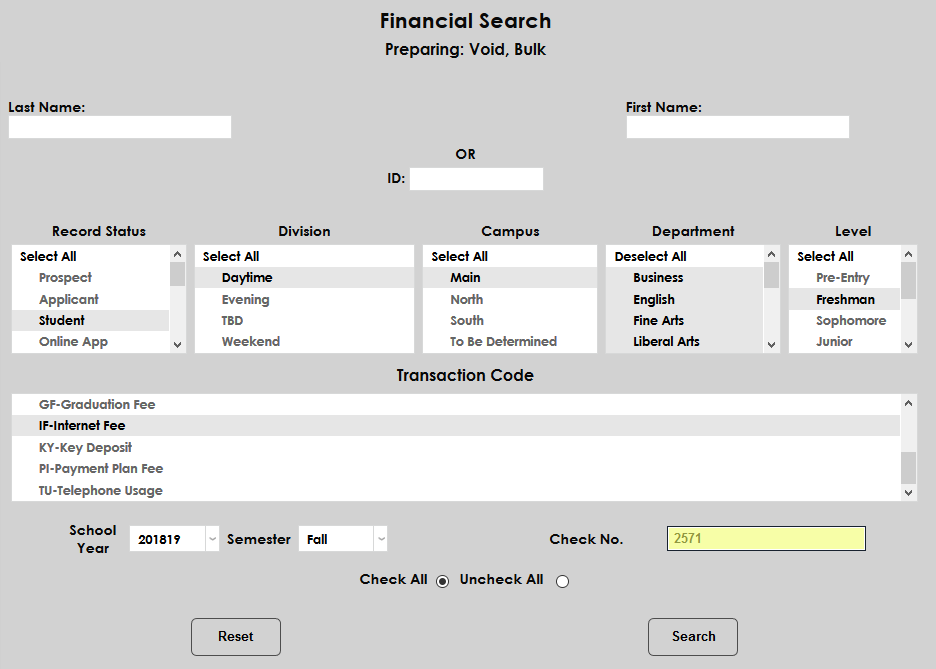
Use the Check Number field to display only transactions with the specified check number.
Use the Check All and Uncheck All buttons to control how the search results display. If the majority of the search results will be voided, leave the Check All button selected. If only a few transactions will likely be voided, select Uncheck All to avoid having to uncheck a large number of boxes.
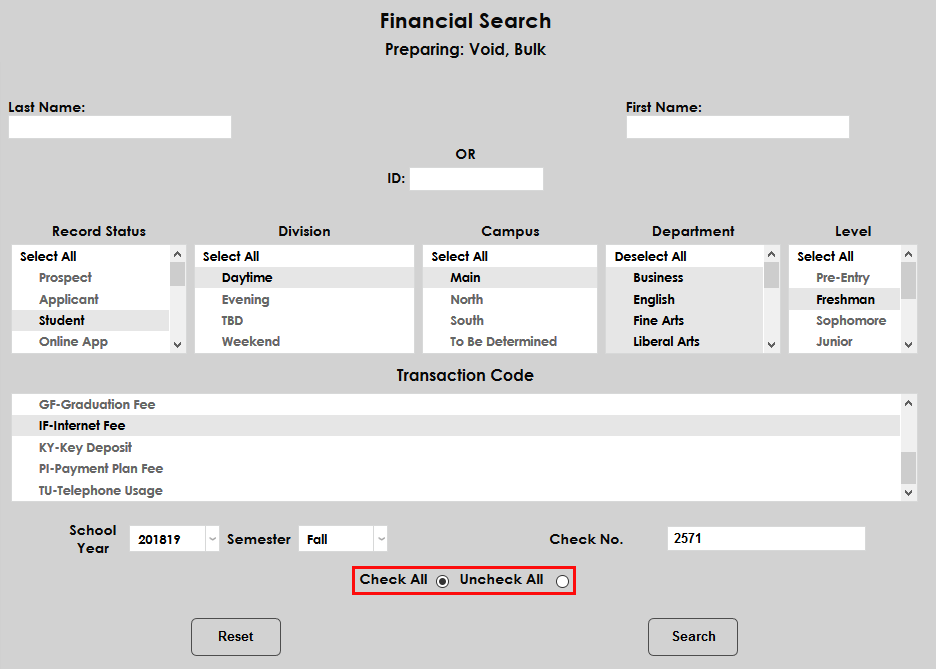
Once the appropriate selections have been made, click Search to continue.
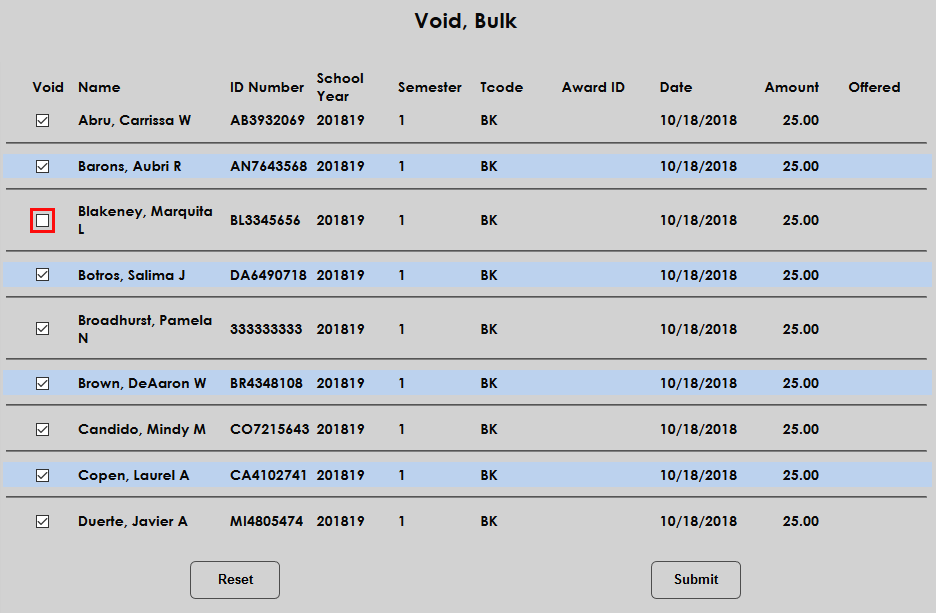
Voiding
On the following page, check or uncheck the boxes in the Void column to add or remove transactions to the void. Once only the boxes of the transactions to be voided are checked, click Submit to complete the void.