Create a Transfer
Important
Information and features vary according to the roles to which you belong and the permissions associated with those roles. For more information, contact your module manager or your campus support team.
The Create Transfer page allows you to create adjustments to a board-approved budget. You can process both expense and revenue transfers from this page. Transfers let you reallocate amounts across line items within a budget, and the transferred from accounts must have corresponding transferred to accounts to ensure the net impact is zero across the budget.
Transfers are allowed for income (I) and expense (E) accounts, and they can be made to current or future year board-approved budgets.
The Create Transfers page is divided into two tabs: Transfer From and Transfer To. Select your budget from the drop-down list to get started.
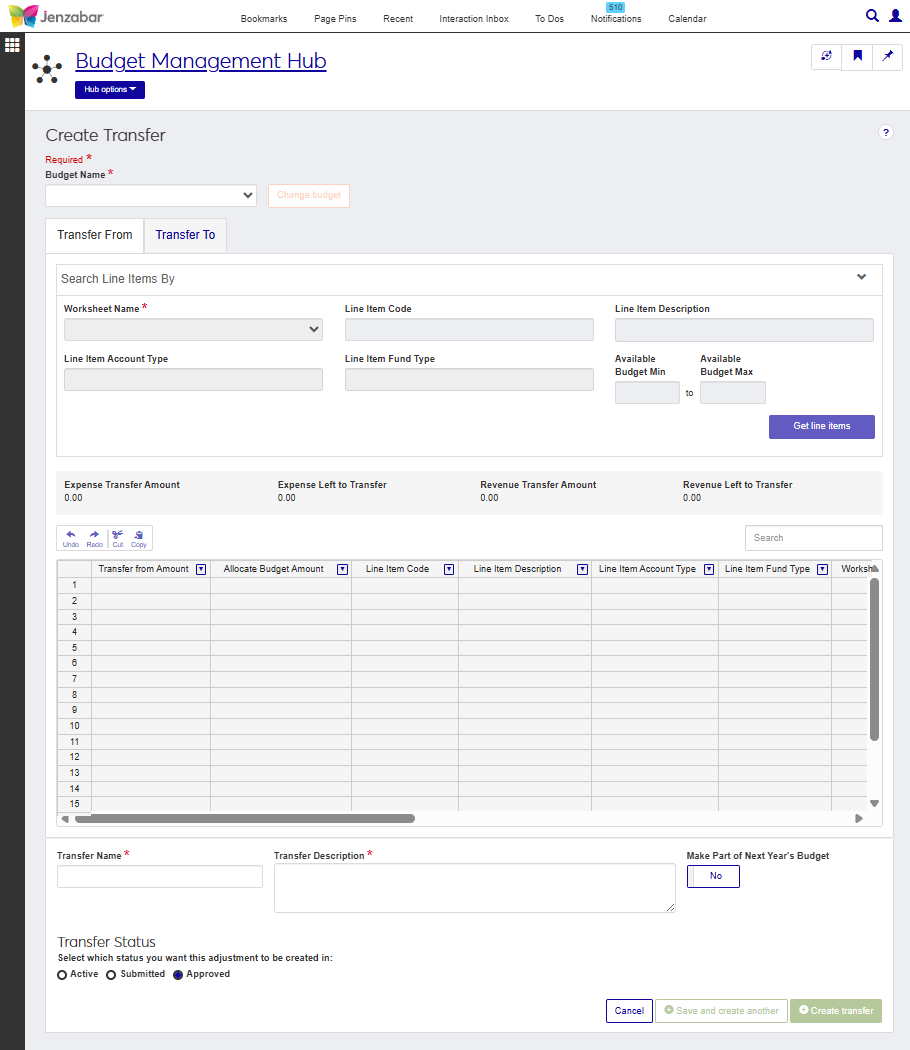
Transfer From
After you've selected a budget, you'll need to choose a worksheet, then you can search within that budget to help narrow down the number of line items. Enter any criteria that will help you, then click Get line items. You will be able to see all line items from the budget and worksheet you selected. Once you have your line items, you can decided which line item and amounts you want to transfer.
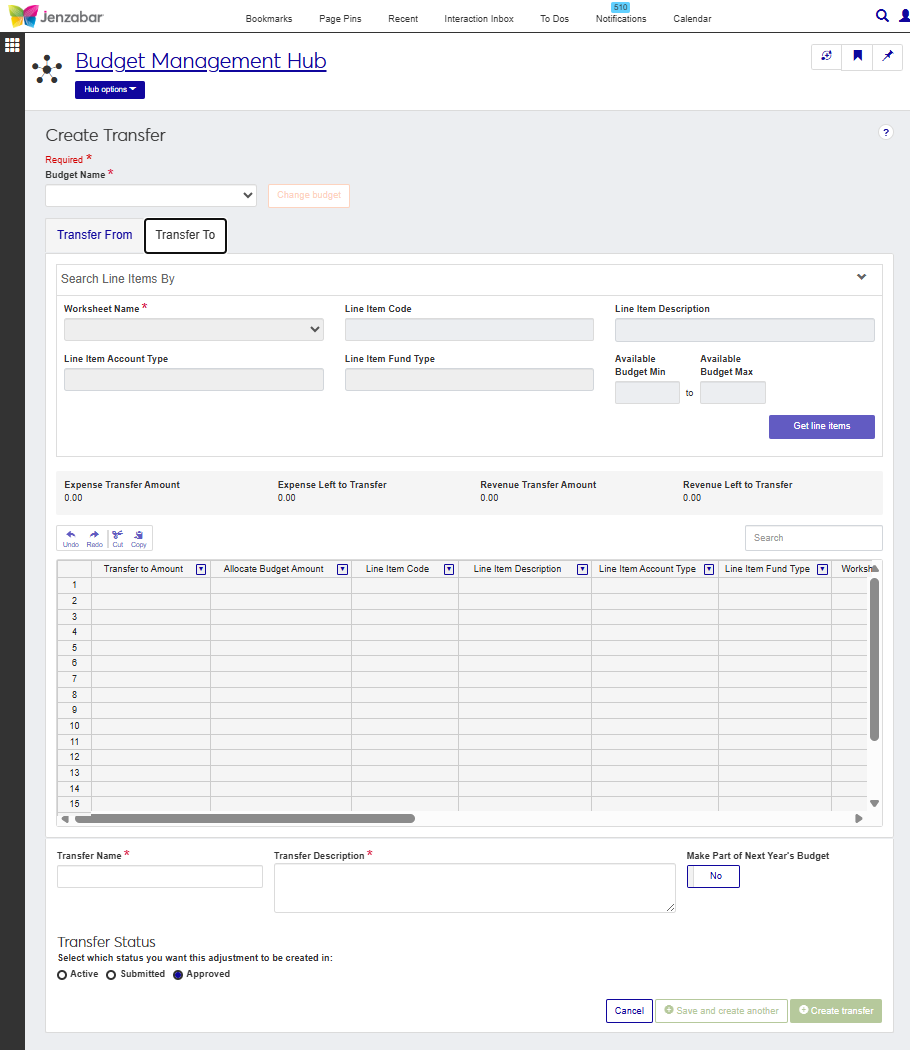
Transfer To
Similar to the Transfer From tab, you will select the worksheet you want to use and enter any criteria you want to help you narrow down the list of line items, then click Get line items. When the list appears, you will need to choose where you want the funds on the Transfer From tab to go. Choose one or more line items making sure the amount from the Transfer From and the total from the Transfer To tab add up to zero.
The default Budget Management Worksheet & Adjustment Access role includes permissions to create transfers. Users can make transfers for the worksheets that they have access to.
Note
Worksheets associated with project codes may prevent users with the appropriate worksheet and transfer permissions from working with certain transactions.
How To
Select a Budget Name.
Go to the Transfer From tab.
Select a Worksheet Name.
Enter values for one or more line item parameters.
Line Item Code - Enter a G/L account number and select an option from the drop-down.
Line Item Description - Enter a keyword and select an option from the drop-down.
Line Item Account Type - Select either Expense or Revenue.
Line Item Fund Type - Select either Restricted or Unrestricted.
Enter an Available Budget Min and Available Budget Max to search within a specific range.
Click Get line items.
Select the line item you want to transfer money from.
Note
There must be money in the line item's Current amounts in order to make a transfer.
Enter the amount of funds you want to transfer in the Transfer from Amount.
Go to the Transfer To tab.
Search for line items and click Get line items.
Choose which line item(s) you want to receive the funds.
Note
You can choose one or more line items and distribute the amount you entered on the Transfer From across them.
Enter the amount of funds you want to transfer in the Transfer to Amount column.
Tip
The amount you entered on the Transfer From tab must equal the amount entered on the Transfer To tab.
Enter a Transfer Name.
Enter a Transfer Description.
Click the Make Part of Next Year's Budget option to Yes if the transfer is a permanent one. For one-time transfers, click the option to No.
In the Transfer Status section, choose a status for your new transfer. Depending on your permissions, you may see the option to make the budget Active, Submitted, or Approved.
FAQ
To approve or deny a transfer, you will need to go to the Adjustments page, select your transfer, then open the More drop-down and click the Approve or Deny option.
If you want to review the transfers first, you can click the name of the transfer you want to review to open the Adjustment Details page. From there, you can open the Adjustment options drop-down and click Approve or Deny.
You can open multiple adjustments at the same time by selecting the checkboxes next to the adjustments you want to review and clicking the Open button. When the Adjustment Details page opens, you will see a quick navigator at the top of the page allowing you to move between the adjustment you selected.
To submit your transfer, you will need to go to the Adjustments page, select your transfer, then open the More drop-down and click Submit.
You can also click the name of the transfer to open the Adjustment Details page. From there you can open the the Adjustment options drop-down and click Submit.
Once created, you will need to go to the Adjustments page to view or edit your transfer.
Campus Portal allows you to process expense transfers. For additional information about that process, see the Campus Portal Staff help.
Transfers can only be done within a single budget. You can move funds across worksheets within the same budget, but you cannot move funds between budgets.