Working With Login Messages
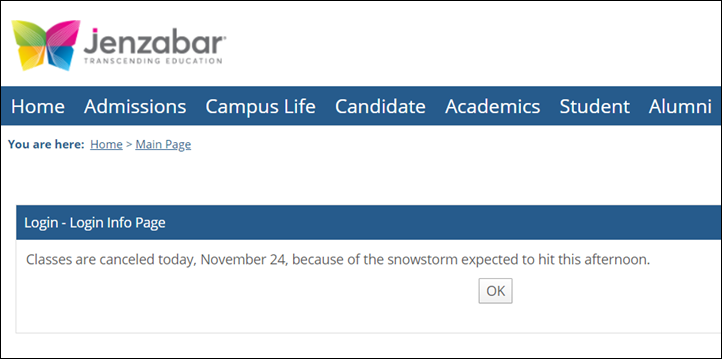
A login message is one that is displayed after a user logs in with a valid username and password. The login message is displayed on a separate page, and the user must acknowledge it by clicking OK before being allowed to use the portal.
 |
Note the following about login messages:
You can create a login message but specify that it not be active until some point in the future. The message will not be displayed except in the time frame that you specify.
A login message is displayed only once per user. Once the user sees and acknowledges it, the message is not shown again for that individual.
Multiple messages can be active at one time. In these cases the user acknowledges the first message, and then the next one is shown and must be acknowledged, and so on. The person managing the messages can order the messages in whatever sequence makes sense.
Messages can be coded in HTML in such a way that invites the user to enter a response. The user’s response will be saved in the database.
How To
If you have an important message that users must see immediately, create a login message by taking the following steps.
Log in to the portal as a member of the Administrators role.
Click the user icon and select Site Manager from the drop-down menu.
The Site Manager screen displays with the Site settings tab selected by default.
Select the Login messages tab.
The system displays the Login messages screen. If there are any messages currently defined in the system, they are listed here.
Click Add login message.
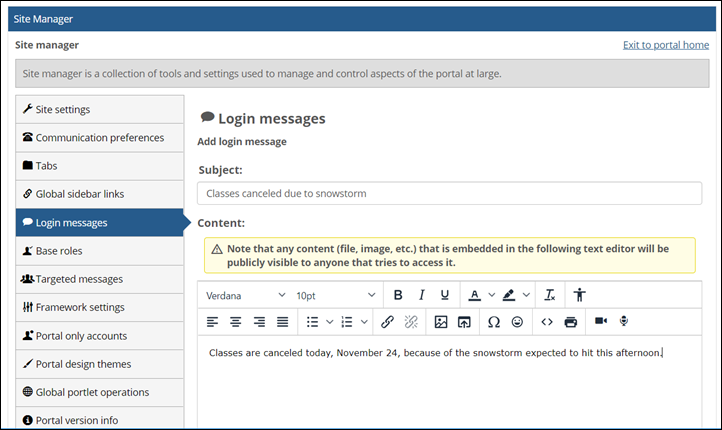
The system displays a form that lets you create a message.
In the Subject field, enter a subject for your message. The subject will not be displayed for the user, but it will be displayed in Site Manager on the Login messages screen, so you should choose a subject that is meaningful.
In the Content field, enter the text of the message that will be displayed to users. If you want to use Input tags, you can. The user’s response to the message will be stored. The <FORM> tag is not allowed.
To include an image in your message, use the Insert/edit image button
 in the text editor.
To include audio or video in your message use the Record audio button
 and the Record video button
  in the text editor.
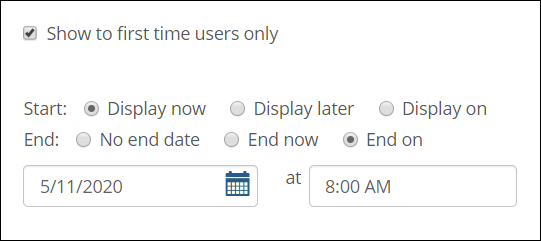
If you want the message to be displayed only to those users logging in for the first time, select the Show to first time users only checkbox. This option might be appropriate for a welcome message.
Use the Start and End fields to specify when and how long the message will be active. Remember that the message will be displayed only once for each user, but you may want to make it active for a long duration to ensure that all users see it, especially if it is to be relevant during a period in which people might not be logging in frequently. On the other hand, if the message deals with something that is happening in the next few days and will be obsolete afterward, you might want to make the message active for only a short time.
Click Save.
If you currently have multiple login messages defined, and if multiple messages will be active simultaneously, you might want to change the order in which they will be displayed for students.
Log in to the portal as a member of the Administrators role.
Click the user icon and select Site Manager from the drop-down menu.
The system displays the Site Manager screen, with the Site settings tab selected.
Select the Login messages tab.
The system displays the Login messages screen. If there are any messages currently defined in the system, they are listed here.
Using the arrows in the upper-right corner of each login message, reorder the messages as you see fit. Messages will display one by one in the order in which you arrange them.
Click Save.
Log in to the portal as a member of the Administrators role.
Click the user icon and select Site Manager from the drop-down menu.
The system displays the Site Manager screen, with the Site settings tab selected.
Select the Login messages tab.
The system displays the Login messages screen. If there are any messages currently defined in the system, they are listed here.
Locate the message that you want to edit and click the corresponding Edit button.
The system displays a screen that lets you modify the message.
Do any of the following as appropriate:
To change the subject of the message as displayed on the Login Messages screen, modify the Subject field.
To change the text of the message displayed for users, modify the Content field.
To change whether the message is displayed only to first-time users or to all users, modify the Show to first time users only checkbox.
To change the dates when this message will be active, modify the Start and End fields.
Click Save.
If a login message should no longer be displayed, but you might want to display it again in the future, you should modify the message and change the dates that it is active, as described in Modify a Login Message.
However, if you have no further need for a login message at all, you should delete it, as described below.
Log in to the portal as a member of the Administrators role.
Click the user icon and select Site Manager from the drop-down menu.
The system displays the Site Manager screen, with the Site settings tab selected.
Select the Login messages tab.
The system displays the Login messages screen. This screen lists all login messages currently defined in the system.
Locate the message that you want to delete and click the corresponding Delete button.
The system displays a dialog asking if you are sure you want to delete the item.
If you are sure you want to delete it, click OK.