Campus Groups Directory
The Campus Groups Directory feature allows people with a shared interest to collaborate on the Campus Life tab of your portal.
Key Concepts
The Campus Groups Directory feature allows users to collaborate on topics of shared interest.
Here is how the process works: Users submit applications to create groups. These applications are reviewed by an administrator and, when an application is approved, the group is created. The person who applied for the group is automatically made its “leader.” (Alternatively, an administrator can create a group, bypassing the application process.)
Each time a group is created, the system creates a context for the group in the Campus Groups Directory subsection of the Campus Life tab. The exact layout of each group’s context is determined by the templates for campus groups that are stored on your web server in the ClientConfig directory.
Depending on the settings for the group, users may be able to proactively join, or they might have to wait to be added or invited by a group leader.
This section explains these concepts in more detail.
Group Roles
Every group has at least two types of participants, as follows:
Leaders – Leaders have administrative privileges, including the ability to add content to the context and the ability to add or invite new members.
Members – Members have permission to visit and use the group’s context.
Note that “Leader” and “Member” are actually context-specific roles, but membership in these roles is not managed through Context Manager—rather, you assign users to roles on the Manage This Group screen (described in the Navigate to the Manage This Group Screen section).
It is also possible to create additional roles for the group. You create new roles through Context Manager—but as with the Leader and Member roles, you should assign members to context- specific roles through the Manage This Group screen.
The following features are key to Campus Groups functionality:
The Campus Groups Directory subsection
The Campus Groups Directory feature
The Campus Groups Directory subsection, on the Campus Life tab, is the location of all individual group contexts.
It also the home of the Manage Groups screen, which lets you approve the creation of new groups and perform other administrative tasks. For help finding the Manage Groups screen, see Navigate to the Manage Groups Screen.
Throughout your portal, there are probably several instances of the Campus Groups feature. This feature lets users join groups, apply to create new groups and more. Each instance of the feature can be set up with one particular view type to encourage a particular type of use, such as browsing groups or applying to create groups. For more details, see Setting Up the Campus Groups Directory Feature.
The context for each type of group is created using an XML template. You can use either the DefaultCampusGroupPublic.xml or the DefaultCampusGroupPrivate.xml template. These templates can be modified as necessary, and future upgrades will respect your changes.
Note that the only difference between the default setup of these two templates is that the private template does not include a page for guests to view—users must be members to see any part of the context.
The remainder of this section describes the default setup of the two templates.
These default location of the two group templates is the following directory:
Drive:\Program Files\Jenzabar\ICS.NET\Portal\ClientConfig\Templates
If desired, you can move the templates to a different location. For details on how to do this, see Moving template files.
By default, the two Campus Groups templates (public and private) are very similar—they include the same pages and feature instances. The pages are as follows:
Members Page – for all groups, viewable by members only.
Group Directory – for all groups, viewable by members only.
Discussion – for all groups, viewable by members only.
Public Page – intended mainly for use in public groups, where it is viewable by both members and guests; more details are below.
The Members page includes the following feature instances:
Announcements
Calendar
Free-Form Content (“About This Group”)
Resources
For group members, this is the group’s default page. Only group members can view this page.
The Members page includes a Group Directory feature instance, which lists all members of the group. Only group members can view this page.
The Members page includes a Forums feature instance. Only group members can view this page.
The Public page includes the following feature instances:
Announcements
Calendar
Free-Form Content (“About This Group”)
Join Group
Resources
This page is available for guests to view. It is similar to the Members page except for the inclusion of the Join feature instance, which lets new users join. For anyone who is not already a member of the group, this is the default page.
In the default setup of the private group template, this page exists but is essentially hidden from view (to all except leaders), because users are not allowed to proactively join and browse private groups. The page exists in private groups so that the group can easily be changed to a public group if necessary.
All campus groups are organized into categories. By default, the portal comes with several predefined categories, but you can also create new ones. This is described in the Working with Categories section.
Categories help users navigate the list of available public groups more easily. Categories also help administrators navigate the full list of both public and private groups in certain administrative views.
For most users, categories are displayed only in the Browse Groups view of the Campus Groups Directory feature. For this reason, groups should be given names that make sense without anyone knowing which category they will belong to.
To oversee your portal community’s Campus Groups, in many cases you use the Manage Groups screen. This screen includes a feature which is labeled “Manage” but is actually an instance of the Campus Group Admin feature.
Generally, you use this feature to do any of the following:
Approve an application for a new group.
Create a new category of campus group.
Modify various settings for the group, such as whether it is public or private.
Delete a group.
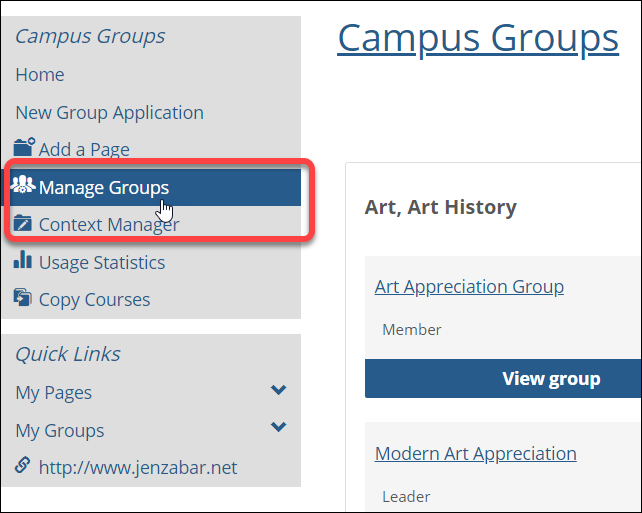
To navigate to the Manage Groups screen:
Log in to the portal.
Click the Campus Life tab.
In the sidebar, click the Campus Groups subsection link.
The system displays the default page of the Campus Groups subsection.
In the sidebar, click the Manage Groups link.
The system displays a feature instance labeled Manage. You use this feature instance to complete the tasks described in the Working with Categories section and other sections.