Managing Authentication Methods
If you have just installed JICS for the first time, the system by default is set up to use internal authentication, and no other features are enabled. Use this procedure to change that basic setup, for example by doing the following:
Activating an external-authentication option.
Electing to let users log in with their email addresses.
You manage authentication using the Site Manager > Authentication Settings > Manage Authentication Methods section. However, if you prefer, it is also possible for you to set these values by making direct updates to the FWK_ConfigSettings table in the main JICS database. The key for each field in the table is listed on the Framework Settings screen, and they are included below as well for your reference.
Note
In order to use any type of external authentication, usernames for all ERP users must be the same in the ERP system as they are in the external server. Similarly, usernames for all portal-only users must be the same in JICS as in the external server.
With the internal authentication method, you have relatively little configuration to do, as this is how the system authenticates by default. The following message appears above the Save button as a reminder: "In addition to the above settings, passwords can never contain the current user's username, or the word 'password,' regardless of capitalization." The only tasks you may need to complete are related to optional features you may want to implement, such as giving users permission to change their own passwords, setting up the system so users can log in with their email addresses, or enabling two-factor authentication. These options are described in the Additional Authentication Features section.
The Default SAML login option setting on the Authentication Settings page allows you to specify the behavior of the login control for SAML authentication.
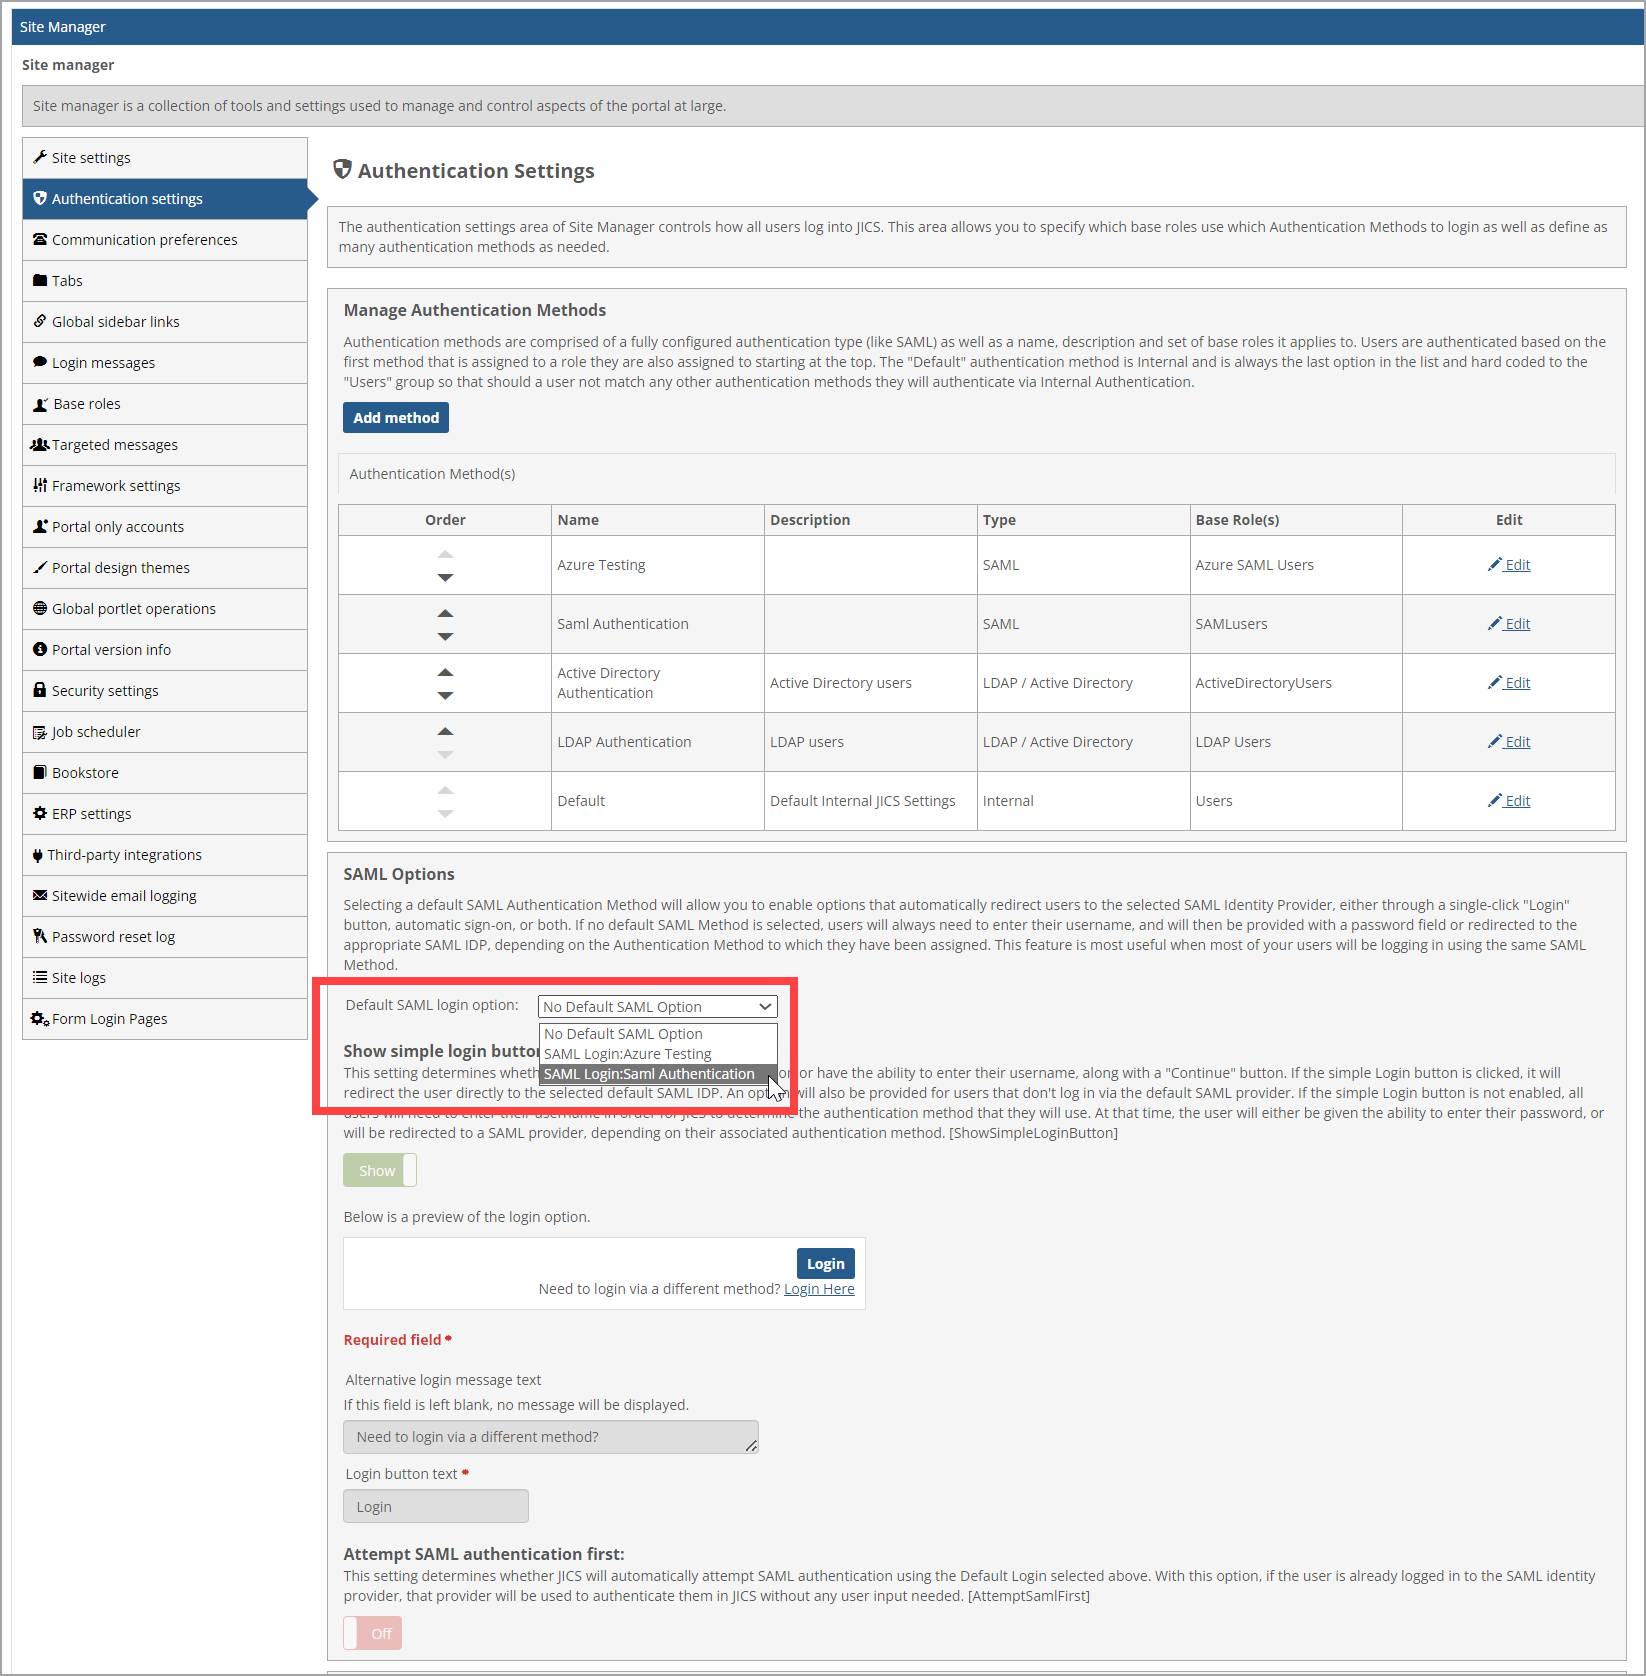 |
The options are as follows:
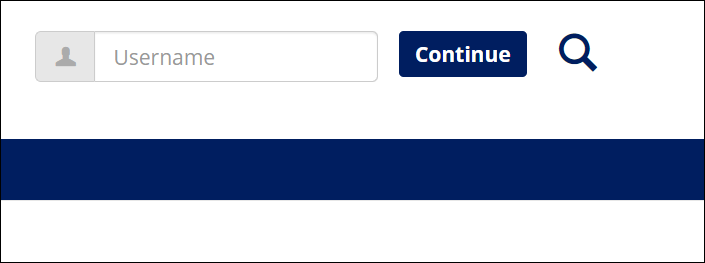
No Default SAML Option - If this option is selected, users will always need to enter their username and will then be provided with a password field or redirected to the appropriate SAML IDP, depending on the Authentication Method to which they have been assigned.
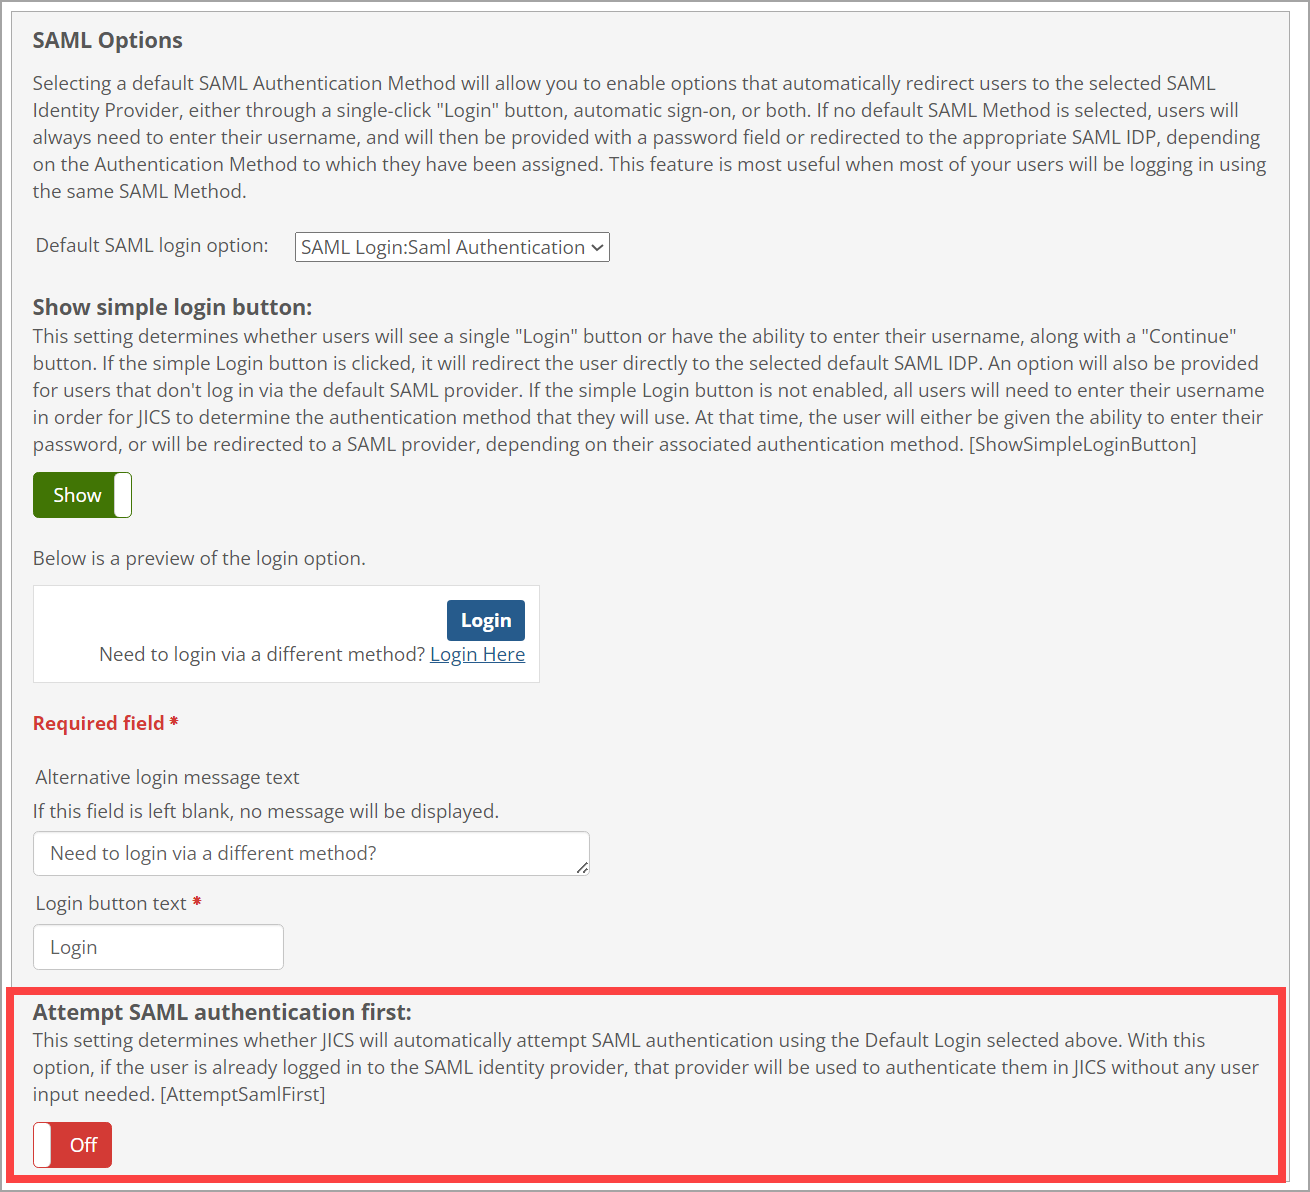
SAML Login: your authentication method name - With this option selected, the portal will show a Login button that redirects the user to the identity provider defined by the authentication method. This option is useful when all or nearly all users in your system are logging in through a single SAML identity provider.
The user will also see a link labeled Need to login via a different method?, which will allow them to log in by entering their username (this is the same functionality as the Require Username option).
A separate SAML Login option will appear for every SAML authentication method you have configured.

The Attempt SAML authentication first setting is available only when a SAML authentication method is selected from the Default SAML login option drop-down menu. When this button is set to Yes:
When the user accesses the portal, JICS will check to see if they are already logged in to the SAML identity provider specified in the SAML authentication method selected in the Default SAML login option drop-down menu. If that is the case, JICS will automatically log the user in to the portal without any further action from the user.
If the user is not logged in to the SAML identity provider, the user will need to click the Login button to authenticate with the identity provider manually. This is the same behavior that occurs when the button is set to No.
 |
How To
Log in to JICS as someone with administrative privileges.
Click the user icon and select Site Manager from the drop-down menu.
The system displays the Site Manager screen, with the Site settings tab selected.
Click the Authentication settings tab.
The Authentication Settings screen displays.
Click Add method.
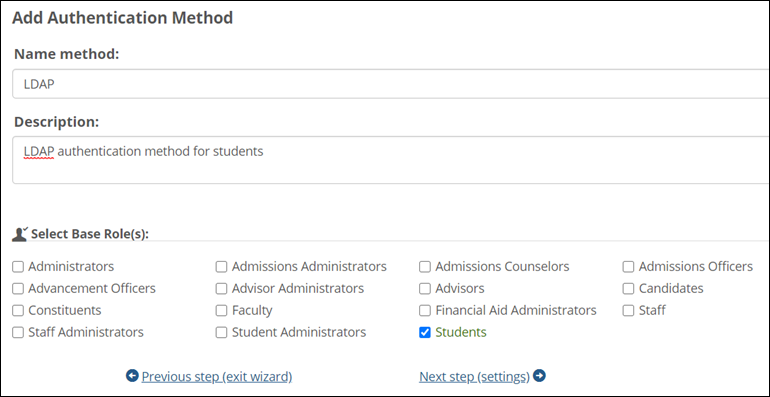
The Add Authentication Method screen displays.
Enter a name and description for the authentication method.
Select the base roles to which the authentication method will apply.
Note
A base role can be associated with only one authentication method.
Click Next step (settings).
The Select Authentication Type screen displays.
Select the LDAP / Active Directory authentication type.
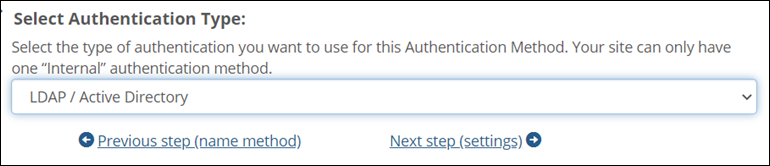
Click Next step (settings).
The LDAP Server(s) screen displays.
Click Add Server.
The Add LDAP Server screen displays.
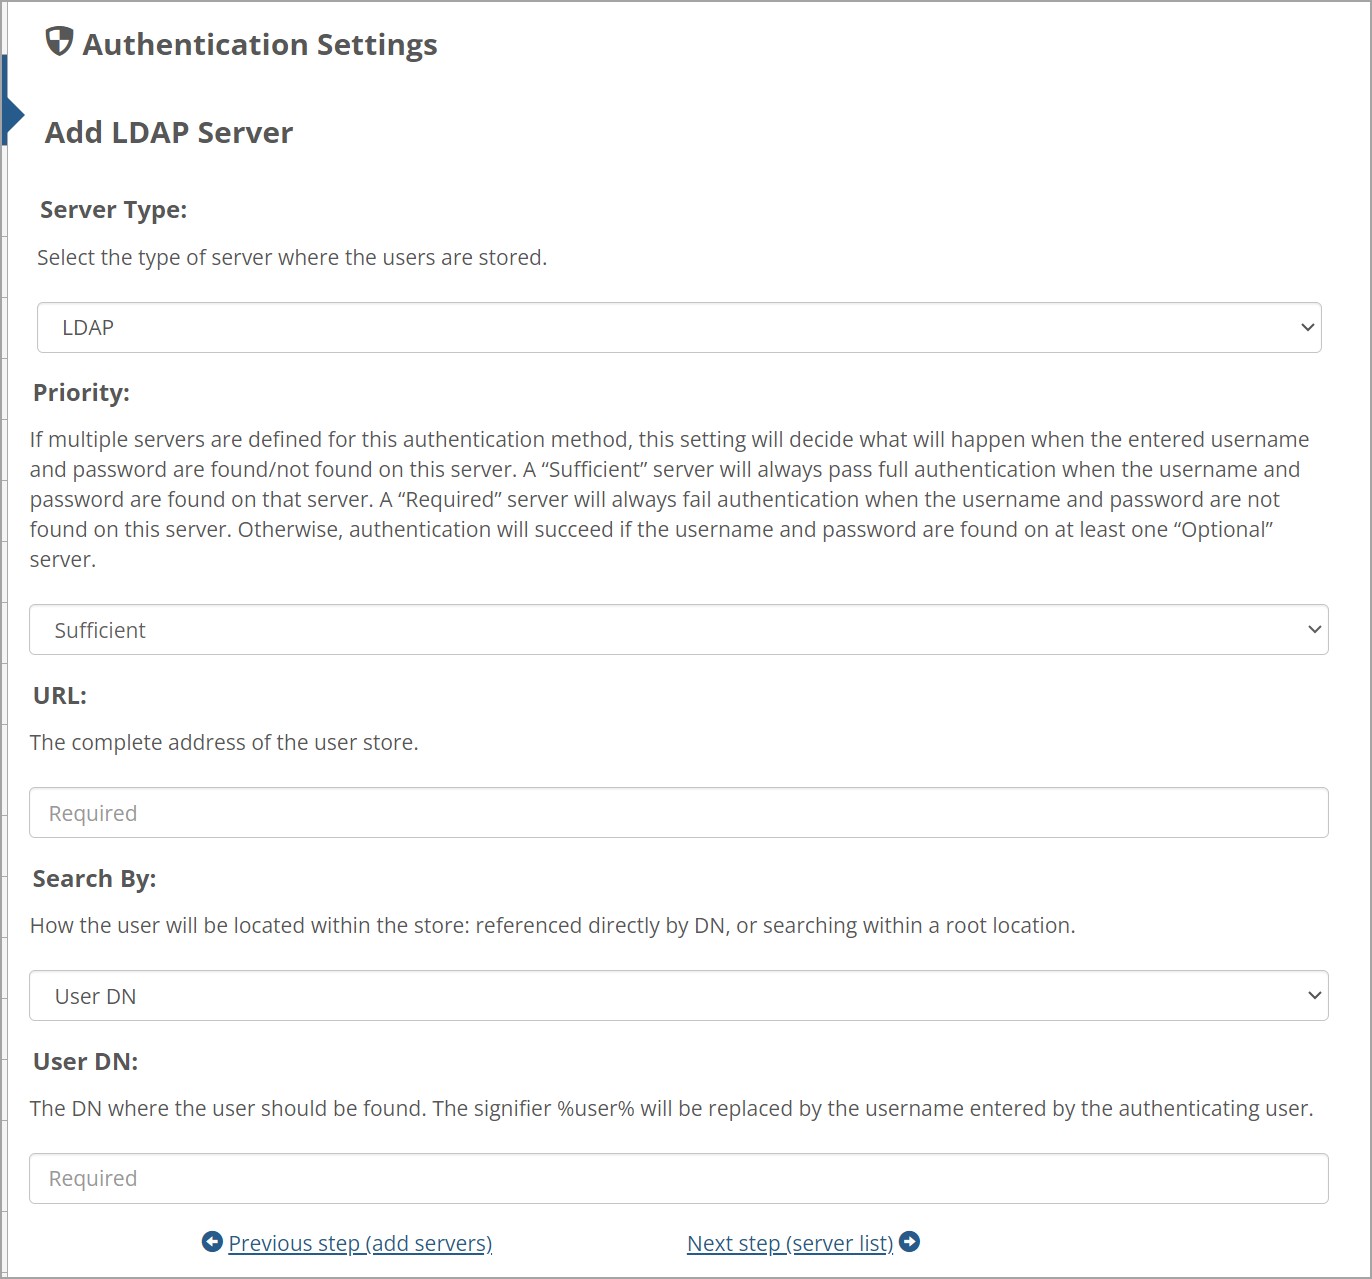
Select a server type (either LDAP or Active Directory).
The screen displays the fields appropriate to the selected server type.
Fill out the fields as appropriate. For help understanding a specific field, see the Attributes of an LDAP Server section or the Attributes of an Active Directory Server section.
Click Next step (server list).
The LDAP Server(s) screen redisplays.
To add additional servers, repeat steps 10 – 13.
To reorder the servers, use the up and down arrows in the Order column. When attempting to authenticate a user, JICS will start at the top of the list and try to log the user in to each server in order until one is successful. If JICS is unable to log the user in to any of the servers, authentication fails.
Click Next step (finish).
The Authentication Settings screen redisplays with the new authentication method appearing in the list.
To reorder the authentication methods, use the up and down arrows in the Order column. When attempting to authenticate a user, JICS will start at the top of the list and try to log the user in to each server in order until one is successful. If JICS is unable to log the user in to any of the servers, authentication fails.
Note
You cannot reorder the default internal authentication method. It will remain at the bottom of the list.
Click Save.
Log in to JICS as someone with administrative privileges.
Click the user icon and select Site Manager from the drop-down menu.
The system displays the Site Manager screen, with the Site settings tab selected.
Click the Authentication settings tab.
The Authentication Settings screen displays.
Click Add method.
The Add Authentication Method screen displays.
Enter a name and description for the authentication method.
Select the base roles to which the authentication method will apply.
Note
A base role can be associated with only one authentication method.
Click Next step (settings).
The Select Authentication Type screen displays.
Select the SAML authentication type.
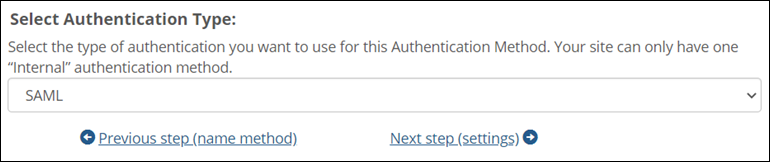
Click Next step (settings).
The SAML Configuration screen displays.
Fill out the fields as appropriate. For help understanding a specific field, see the Attributes of the SAML Authentication Type section.
Click Next step (finish).
The Authentication Settings screen redisplays with the new authentication method listed.
To reorder the authentication methods, use the up and down arrows in the Order column. When attempting to authenticate a user, JICS will start at the top of the list and try to log the user in to each server in order until one is successful. If JICS is unable to log the user in to any of the servers, authentication fails.
Note
You cannot reorder the default internal authentication method. It will remain at the bottom of the list.
Click Save.
To specify the default login option for the SAML authentication type, select the desired value from the Default SAML login option field. For more details, refer to the Default SAML Login Option for SAML Authentication section in Managing Authentication Methods.