Tabs in the My Profile and Settings Feature
The tabs displayed in the My profile and settings feature vary depending on what your permissions are. The available tabs are explained in the following sections of this chapter.
About Me Tab
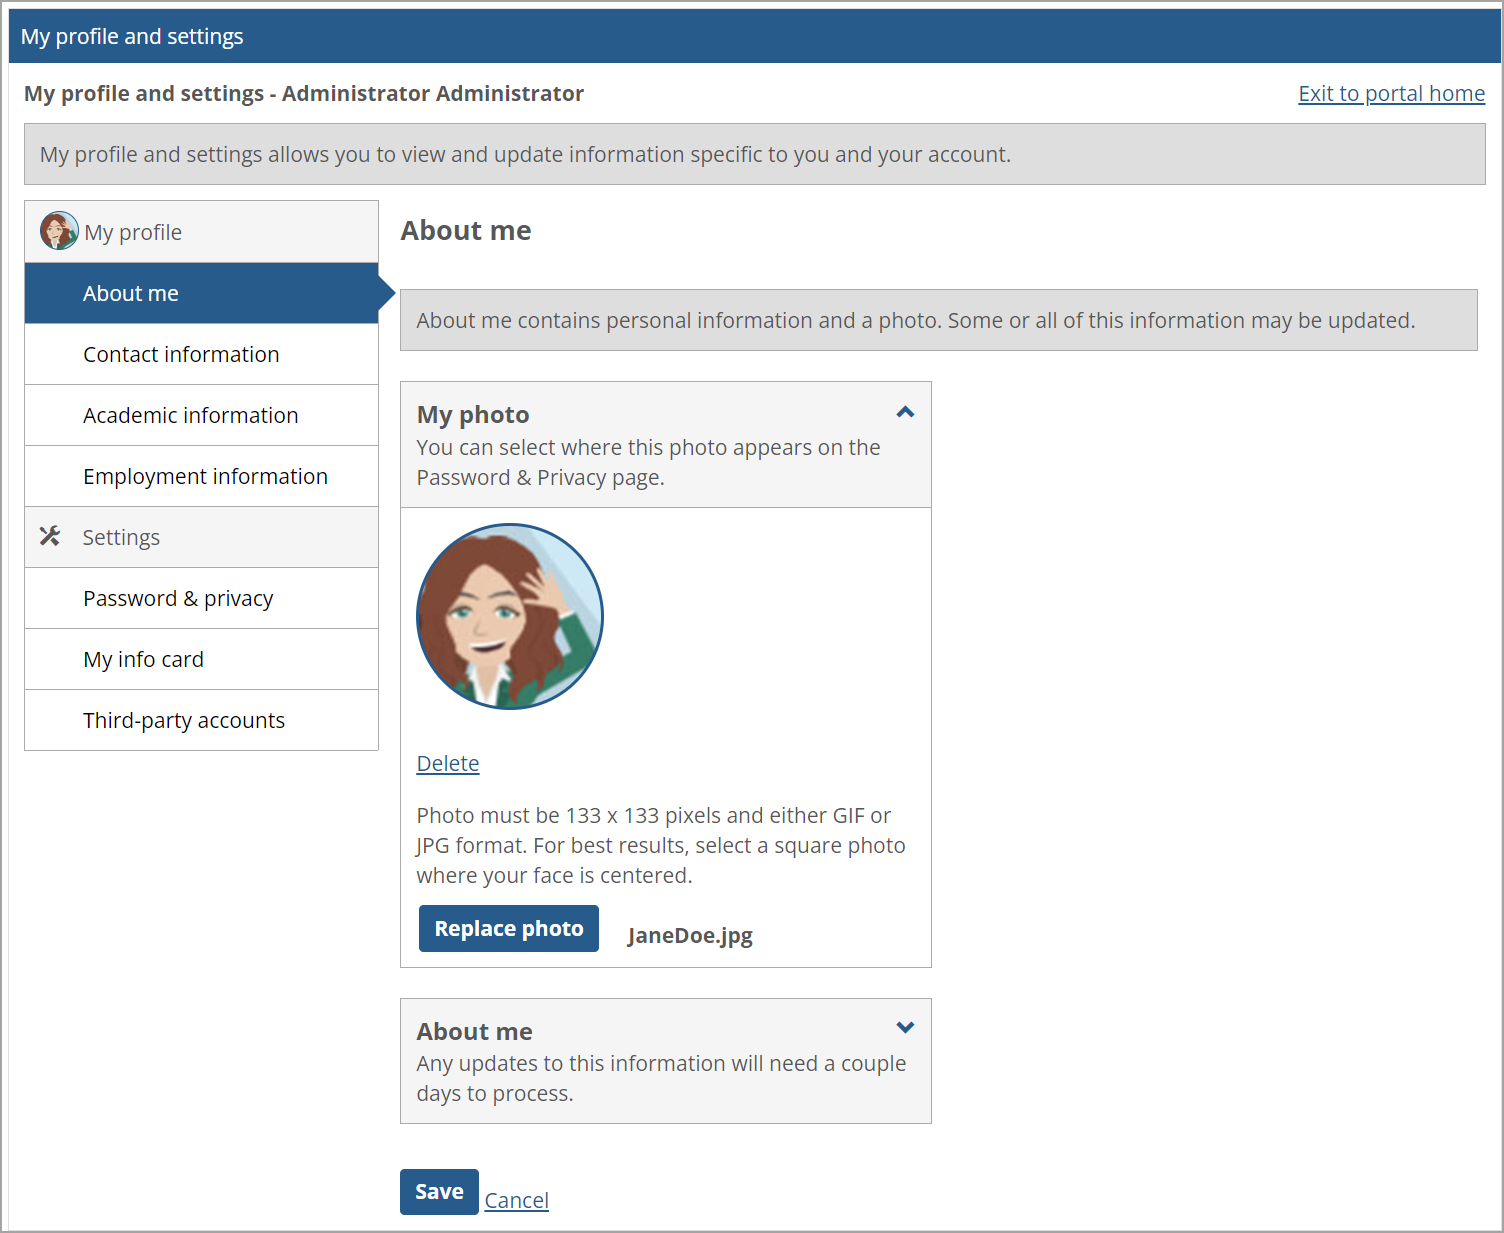
On the About me tab, you can manage your user photo and personal information such as your name prefix and suffix, preferred name, date of birth, gender, ethnicity, and marital status.
The My photo area of the About me tab lets the user upload a profile photo. Depending on the user’s privacy settings, the photo will display in the My Info card that other portal users can navigate to, as well as certain other parts of the portal, such as Group Directory feature instances and, optionally, in Forums posts. Note that there may be a lag between the time that the preference is changed and when it takes effect.
To upload a user photo:
Click the user icon and select My profile & settings from the drop-down menu.
The system displays the My profile and settings screen with the About me tab selected by default.
If necessary, click the down arrow in the upper-right corner of the My photo box to expand it.
Click Add photo (if you do not already have a profile uploaded) or Replace photo (if you already have a profile photo uploaded).
A file-upload pop-up window appears.
Navigate to the image you wish to use and select it.
The system uploads the image and displays it on the About me screen.
Click Save.
The About me section of the About me screen displays your username, preferred name, and legal name. Your preferred name is maintained only within JICS, while your legal name is imported from your ERP system. Users with the Can Update Campus/Preferred Name global portlet operation can edit their preferred name. Users with the Can Update Legal Name global portlet operation can edit their legal name in JICS, and the changes will be passed back to the ERP.
Changes to your preferred and legal name will be reflected in the My Info card that other portal users can navigate to, in Group Directory feature instances, in Forums, and in other places where usernames are displayed. (However, note that such a change will not be reflected in the Campus Directory.) Generally, any requested updates to your legal name must be reviewed and approved from within the ERP system before they will be displayed.
Note
Portal-only users will see only their preferred names. ERP users will see both preferred names and legal names. ERP users will also see date of birth, gender, ethnicity, and marital status, which are also imported from the ERP system but are read-only.
To edit your name information:
Click the user icon and select My profile & settings from the drop-down menu.
The system displays the My profile and settings screen with the About me tab selected by default.
Click the down arrow in the upper-right corner of the About me box to expand it.
To make changes to your preferred name, click the down arrow in the upper-right corner of the Preferred name box to expand it, and then edit the information as you see fit.
To make changes to your legal name, click the down arrow in the upper-right corner of the Legal name box to expand it, and then edit the information as you see fit.
Edit the Prefix, First name and Suffix fields as you see fit.
Click Save.
Contact Information Tab
The Contact information tab allows you to manage ways we may contact you, including via phone call, SMS, or email.
View notifications on your phone's home screen. You can turn these on and off from within the app.
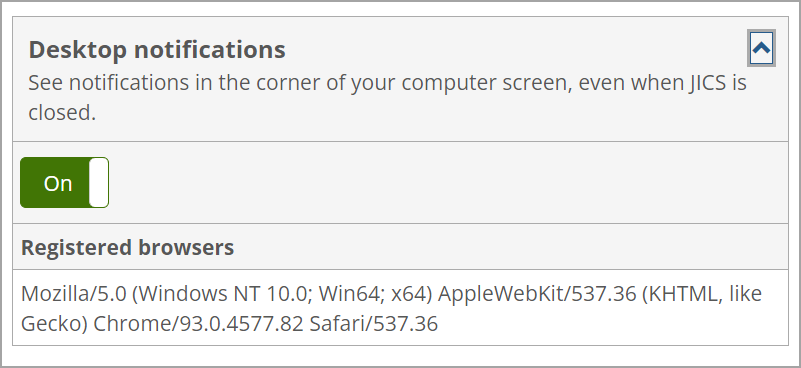
Desktop notifications allow you to view notifications in the corner of your computer screen, even when JICS is closed.
JICS provides the ability to enable desktop notifications for users who are using up-to-date versions of the following browsers:
Chrome and Firefox for Windows, macOS, and Android
Microsoft Edge
Safari
Notifications are delivered via the browser. Some browsers run in the background, allowing you to get notifications even when the browser is closed. You will always get notifications when your browser is open, even if you are not currently logged in and browsing JICS or eLearning.
Notifications will appear in the lower-right corner of your screen. Each notification will include a title, a description of the event and a link to the relative screen in JICS or eLearning.
After the JICS administrator enables desktop notifications, you will be prompted to allow notifications the first time you log into JICS. Each browser that you register will appear in the Registered browsers field in the Desktop notifications section (Contact information screen in My profile and settings).
 |
You have the option of disabling notifications for your account from the Contact information screen in My profile and settings.
The Phone numbers section of the Contact information screen displays a user’s phone numbers.
Users with the Can Customize Phone permission can add and edit phone numbers.
For more information, see Managing Permissions in My Profile and Settings.
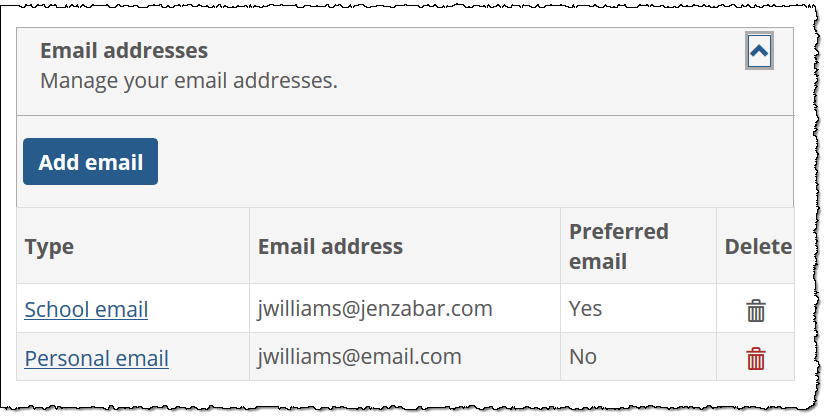
The Email addresses section of the Contact information screen displays a user’s email address. If the user has an email address in the ERP system, JICS will import it and display it here.
Users with the Can Customize Additional Email permission can add additional email addresses.
Users with the Can Customize Email permission can edit their email addresses.
For more information, see Managing Permissions in My Profile and Settings.
The Addresses section of the My profile and settings feature displays a user’s physical address. If a user has an address in the ERP system, JICS imports that information and populates these fields with it.
If a user does not have an address in the ERP system, the address fields on the Contact information screen will be blank to allow for editing if the user has the Can Edit Address permission.
For more information, refer to Managing Permissions in My Profile and Settings.
Click the user icon and select My profile & settings from the drop-down menu.
The system displays the My profile and settings screen with the About me tab selected by default.
Click the Password & privacy tab.
The Password & privacy screen displays.
If necessary, click the down arrow in the upper-right corner of the Addresses box to expand it.
Click the link in the Address type column.
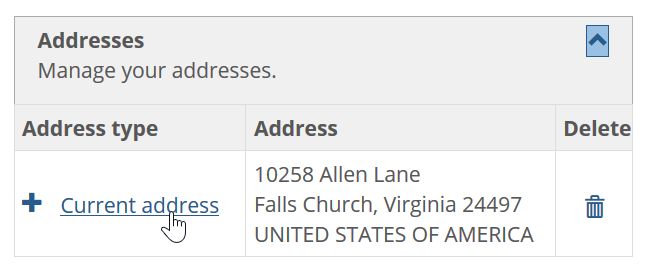
The Edit address screen displays.
Make changes to the information as you see fit.
Click Save.
How To
When the JICS administrator turns on system-wide desktop notifications in Site Manager, each user will be able to opt out of receiving them by turning off the Desktop notifications setting on the Contact information screen in My profile and settings. This screen also lists all browsers the user has registered to receive notifications.
Click the user icon and select My profile & settings from the drop-down menu.
The system displays the My profile and settings screen with the About me tab selected by default.
Click the Contact information tab.
The Contact information screen displays.
If necessary, click the down arrow in the upper-right corner of the Desktop notifications section to expand it.
Click the Desktop notifications button to set it to On or Off as appropriate.
Click Save.
Even though desktop notifications are enabled in JICS, users may need to enable these notifications in their specific browser. If this is the case, a message displays in the Desktop notifications section stating, "Notifications are enabled but you didn't allow this browser to display them."
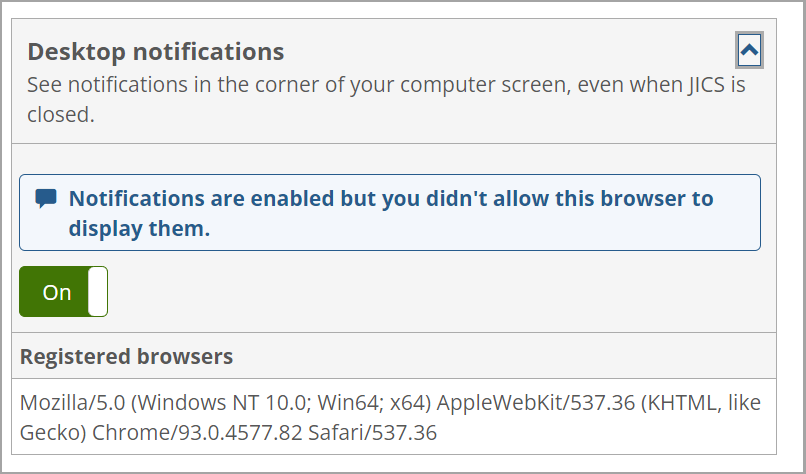 |
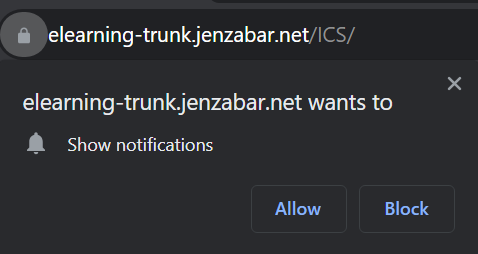
Users need to allow their browser to display the notifications (but they may first need to log out and log back in after system-wide desktop notifications were enabled). For example, in Chrome a "Show notifications" message displays near the URL at the top of the browser with options to Allow or Block.
 |
When users click Allow, then the notifications message changes to "Allowed" and displays on the left of the URL.
 |
Then a "Browser Notification Enabled" message displays in the lower-right corner of the browser.
Click the user icon and select My profile & settings from the drop-down menu.
The system displays the My profile and settings screen with the About me tab selected.
Click the Contact information tab.
The Contact information screen displays.
If necessary, click the down arrow in the upper-right corner of the Phone numbers box to expand it.
Click Add phone number.
The Add phone number screen displays.
Select a type and enter the number.
If necessary, enter an extension.
If desired, make the phone number a preferred one by clicking the button to display Yes.
If desired, allow text messages to the phone number by clicking the button to display Yes.
If desired, allow automated voice calls to the phone number by clicking the button to display Yes.
Click Save.
The Contact information screen redisplays with the new phone number added to the list.
Click the user icon and select My profile & settings from the drop-down menu.
The system displays the My profile and settings screen with the About me tab selected.
Click the Contact information tab.
The Contact information screen displays.
If necessary, click the down arrow in the upper-right corner of the Phone numbers box to expand it.
Locate the phone number that you wish to delete and click the corresponding trash icon.
The system displays a pop-up window asking you to confirm the deletion.
Click OK.
Click the user icon and select My profile & settings from the drop-down menu.
The system displays the My profile and settings screen with the About me tab selected by default.
Click the Contact information tab.
The Contact information screen displays
If necessary, click the down arrow in the upper-right corner of the Email addresses box to expand it.
Click Add email.
The Add email screen displays.
Select a type and enter the email address.
If desired, make the email address a preferred one by clicking the button to display Yes.
Click Save.
The Contact information screen redisplays with the new email added to the list.
Click the user icon and select My profile & settings from the drop-down menu.
The system displays the My profile and settings screen with the About me tab selected by default.
Click the Contact information tab.
The Contact information screen displays.
If necessary, click the down arrow in the upper-right corner of the Email addresses box to expand it.
Locate the email address that you wish to delete and click the corresponding trash icon.
The system displays a dialog asking you to confirm the deletion.
Click OK.
Academic Information
The Academic information tab displays academic details on record in the ERP system, such as the user’s SAT scores and declared major. For portal-only users, no information is displayed on this tab. User access to this screen is determined by the Can View Academic Information global portlet operation.
Employment Information
The Employment information tab displays employment details on record in the ERP system. For portal-only users, no information is displayed on this tab. User access to this screen is determined by the Can View Employment Information global portlet operation.