Administering MoxieManager
This chapter explains certain administrative functions related to MoxieManager.
About MoxieManager
MoxieManager (www.moxiemanager.com) is a third-party application that allows users to manage images, documents, and other files for use within the JICS portal.
MoxieManager provides the following features:
Centralized file management—Organize your files in MoxieManager and access them from within JICS and eLearning.
Image editing—Crop, resize, and make other image changes within the MoxieManager window.
Cloud files—Download files to your system from file storage solutions, such as Dropbox.
Zip/Unzip—Zip and unzip files for use within the portal.
The MoxieManager window will appear when you choose to insert an image or upload a file from within a text editor. For example, if you choose to add a resource file in the Resources feature, the MoxieManager window will appear when you click Choose File, allowing you to select a file from your MoxieManager library to upload to the portal.
MoxieManager also supports the drag-and-drop function for files. Users can drag a file from their desktop to MoxieManager, and it automatically uploads to their Moxie folder.
Users who are context and page administrators will see a link to MoxieManager in the admin bar.
 |
The following subsections explain some administrative options related to MoxieManager. For details on how to use MoxieManager, refer to the eLearning Faculty Guide. To find this guide, log in to MyJenzabar and choose Support > Jenzabar eLearning > Documentation & Resources.
Reviewing MoxieManager Usage
You can review MoxieManager usage for each user and by context as well on the MoxieManager usage page at http://<jicsinstance>/ICS/staticpages/filemanager.aspx.
Note
Usage statistics for MoxieManager are maintained separately from the other usage statistics explained in Usage Statistics. The logging of MoxieManager usage statistics cannot be turned on and off as can the logging of other usage statistics.
How To
Shared folders are available by default in LMS contexts such as course sections. You can choose to publish a shared folder in non-LMS contexts as well so that context and page administrators can share content.
When a shared folder is published for a context, the system will create a MoxieManager folder that has the same name as the context. Users who are administrators of the context or page will be able to see and use this folder for managing shared content.
Log in to the portal either as a member of the Administrators role or as someone with Can Admin privileges in the context. Navigate to the context in which you want to create a shared folder.
Click Context Manager.
The system displays the Context Manager screen, with the Properties tab selected.

Select the Publish MoxieManager shared folder for this context checkbox.
If you would like the shared folder to appear in all child contexts, select the Publish this context’s MoxieManager shared folder in all child contexts checkbox.
Click Save changes.
You can disable all MoxieManager functionality in JICS by taking the following steps.
Log in to the portal either as a member of the Administrators role or as someone with Can Admin privileges in the context. Navigate to the context in which you want to create a shared folder.
Click the user icon and select Site Manager from the drop-down menu.
The system displays the Site Manager screen with the Site settings tab selected by default.
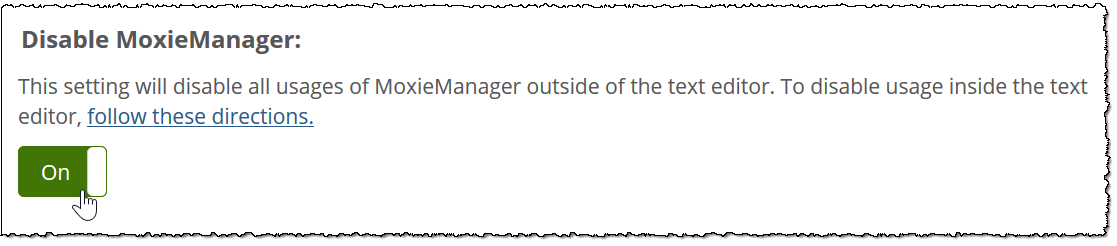
Click the Disable MoxieManager button to change its value to On.
Click Save.