Working with Categories
Every learning tool added to your feature must belong to a category. Categories exist solely for administrative use. That is, the category that a learning tool belongs to is hidden from the end user. The purpose of categories is that you can use them to see filtered lists of tools on certain screens.
JICS includes several default categories (listed below under Default Categories). You also can create categories. When you create a category, note that it becomes available in every instance of the Learning Tools feature. That is, categories are not private or specific to one instance of the feature.
The ability to create, edit and delete categories is tied to the Can Manage All Tools global feature operation. If a user does not belong to a role that has that permission, he or she will not be able to manipulate categories.
Default Categories
The default categories are as follows:
Administrative
Assignment
Collaboration
ePortfolio
Learning Tool
Online Course
Practice
Presentation
Quiz/Test
Reference Material
Simulation
Textbook
Tutorial
How To
When you create a category, the category becomes available throughout the portal to all users with permission to add tools.
Navigate to any instance of the Learning Tools feature.
Click Manage all tools.
Scroll to the bottom of the screen and click Manage categories.
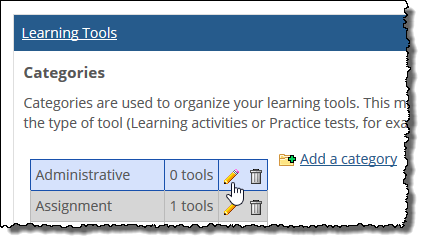
Click Add a category.
The system displays a pop-up window labeled Add a category.
Enter a name for the category.
Click Add Category.
The system creates your category and makes it available to all users who have permission to add tools. That is, on the screen where a tool is created or its basic settings edited, the new category will appear in the Category drop-down list.
Note
If you also have permission to add tools, note that an additional way of creating a category is to click the Add a category link that appears on the screen where you enter or modify a tool’s basic settings.
Navigate to any instance of the Learning Tools feature.
Click Manage all tools.
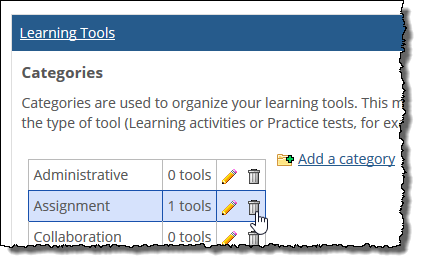
Scroll to the bottom of the screen and click Manage categories.
Locate the appropriate category and click the corresponding pencil icon.
The system displays a pop-up window labeled Edit a Category.
Make the appropriate changes to the category name.
Click Edit category.
Use this procedure to delete a category. Note that if you try to delete a category that is currently associated with a tool that is active in a feature instance or in the Coursework assignment, you will not be able to proceed unless you follow the prompts to move the tool to another category.
Navigate to any instance of the Learning Tools feature.
Click Manage all tools.
Click Manage categories.
Locate the appropriate category and click the corresponding trash icon.
The system does one of the following:
If the category includes a tool that is active anywhere in the portal (either in a Learning Tools feature instance or in a Coursework assignment), the system displays a pop-up window prompting you to move the tool(s) to another category. You must make a selection in order to proceed with deleting the category.
If the category does not include active tools, the system displays a pop-up window asking if you’re sure you want to delete the category.
Do one of the following:
If there currently are active tools, make a selection in the drop-down list and click Delete Category.
If you are simply shown a pop-up window asking if you are sure, click OK.