Naming Your Portal and Managing Sitewide Content
This chapter explains how to name your portal and manage settings related to a variety of sitewide content.
How To
You portal has a “name” that is displayed in some automated messages and dialogs. By default, this name is “JICS,” but you can change it to one that is meaningful to your campus community. While entering the portal name, you should also enter the name of your institution, a value that is used in various places throughout the portal.
Log in to the portal as a member of the Administrators role.
Click the user icon and select Site Manager from the drop-down menu.
The system displays the Site Manager screen, with the Site settings tab selected by default.
In the Portal name field, enter the name you want to use for your portal.
In the Institution name field, enter the name of your institution.
Scroll to the bottom of the screen and click Save.
In the future, the name you chose will be the name the system uses (instead of JICS) in automated messages.
Note
Below the Portal name field is field called Portal address. Note that the Portal address field does not affect the address to which your site is published. It exists solely as a way of telling the portal-only account creator the correct URL of your portal. For details, see the Working with Portal-Only User Accounts section.
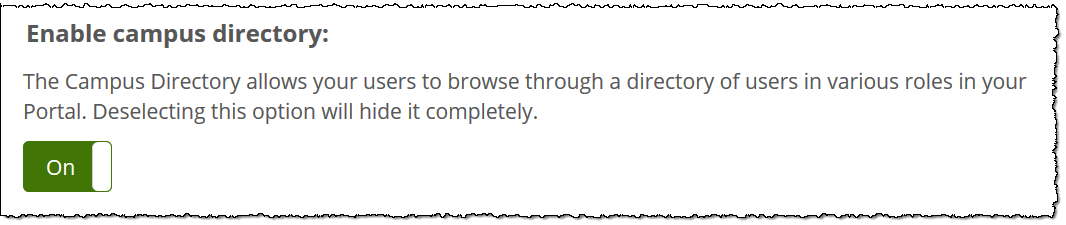
The Campus Directory is a listing of all people who are users in the system (except those who have chosen to hide their profiles). By default, the system displays a link to the Campus Directory in the footer.
 |
You can hide the Campus directory link and later redisplay it as appropriate. Note that hiding the link essentially hides the directory, as users have no other way to display it.
Log in to the portal as a member of the Administrators role.
Click the user icon and select Site Manager from the drop-down menu.
The system displays the Site Manager screen, with the Site settings tab selected by default.
Locate the Enable campus directory option. Click the button to change its value to On or Off as appropriate.
Click Save.
The text editor has drag-and-drop functionality for image files for messages and other content. You can drag an image file from your computer and drop it into the text editor and save it. The image will then be saved on the ICS File Server. This functionality will only work for image files, not non-image files. File types supported are jpeg, jpg, jpe, jfi, jif, jfif, png, gif, bmp, and webp.
Note
When you drag an image into the text editor, you need to wait a few seconds for the upload process to complete prior to clicking the Save button. If you don't wait for the upload process to complete, the image will NOT be uploaded because it hasn't been fully processed. This is expected behavior and not a bug.
An "Image uploading ..." message displays in the text editor when an image file has been dragged into it, and you need to wait until the message disappears before clicking Save.
 |