Working with Categories
All instances of the Forums feature must have at least one category defined (as well as one topic) before discussion can commence.
By default, the Forums feature instance in your course context contains a category called “General.” You can delete or rename this category as appropriate, as well as create new categories.
After you add an instance of the Forums feature to a page, by default it contains a category called “General.” You can delete or rename this category as appropriate, as well as create new categories.
Note that if the intended purpose of your forum is just to cover a few topics that do not have many hierarchal layers, you might want to stick with one category and within it just create a few topics.
To complete the steps described in this section, the user should have the Can Administer Portlet permission.
Attributes of a Category
When you create a category, you can make choices about any of the following:
Category name
Category description
Topic ordering method
Pruning
Access
The name of the category is essentially its label in the feature instance, so you should pick a name that is meaningful. For example, if the feature instance is part of a course, the name might reference a unit of coursework.
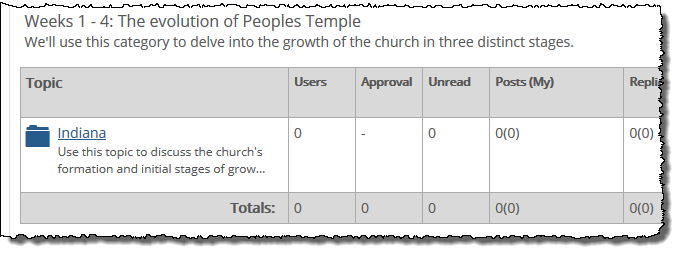 |
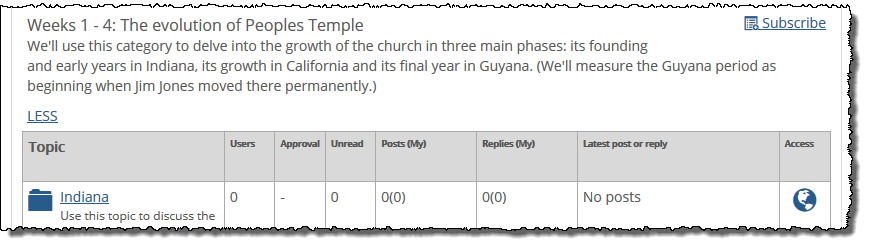
The category description is an optional field. If you enter a description, it will be displayed under the category name in the Forum Home. If the description is more than a sentence or so, each user will be able to expand or minimize it by clicking links labeled MORE and LESS.
 |
Within each category, you can select a method for ordering topics. You have the following options:
Alphabetically
Manually (this is the default choice)
Newest to Oldest
Oldest to Newest
With the manual choice, the feature instance lets you drag and drop topics into different arrangements, as described in Manually Arrange Topics.
Within each category, you can set a preference for how long posts (and their replies) are displayed before being automatically removed. You make this choice once for the category, and this setting applies to all topics in the category. The choices are to remove posts after any of the following time periods:
1 week
30 days
60 days
90 days
DO NOT REMOVE (This is the default choice)
With DO NOT REMOVE, posts are never automatically removed, though they can be manually deleted or hidden by an administrator.
The Access setting for a category determines whether or not users can display the topics within a category, and the posts within those topics. However, even if this setting allows access, each topic has its own Access setting, which may be more restrictive than whatever you choose at the category level.
The default setting is that access is open to all users and all guests (but note that the user first must permission to display your Collaboration page). To restrict access, you click the Restricted access radio button, then specify who should be allowed access (if anyone).
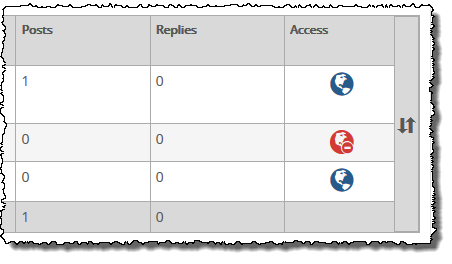
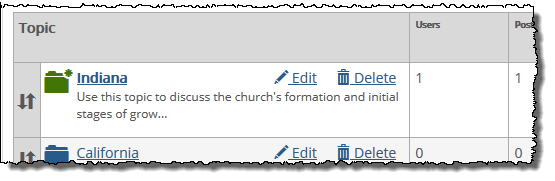
The administrative view of the feature includes icons that indicate what type of access the category has. That is, if all users and guests have access to the category, and if that access is not superseded by restrictions at the topic level, in the administrative view all topics in the category are marked with a globe icon. Topics that are available to all users and guests are indicated by a blue globe, while a red globe appears for topics that are restricted to a subset of users.
 |
Note that when you allow a role to Access a category, they do not necessarily have permission to submit posts. Permission to submit posts is managed separately on the Access screen.
Further, note that regardless of how access is restricted, the category and its contents are always viewable by any role that has permission to administer the feature instance. (For details on selecting who can administer the feature, see the Working with the Permissions Tab section).
How To
Use this procedure to create a category. If you need help with any particular setting, see the Attributes of a Category section.
Log in to the portal as a member of the Administrators role or someone with Can Administer Portlet privileges in the appropriate feature instance. Navigate to that feature instance.
Maximize the feature and click Edit forum.
Click Add category.
The system displays the Adding a category screen.
In the Category name field, enter a name for the category.
If appropriate, enter a description in the Category description field.
As appropriate, adjust the settings for any of the following:
Topic ordering method
Pruning
Access
Click Save Category.
Use this procedure to change any of the following:
Category name
Category description
Topic ordering method
Pruning
Access
To modify a category:
Log in to the portal as a member of the Administrators role or someone with Can Administer Portlet privileges in the appropriate feature instance. Navigate to that feature instance.
Maximize the feature and click Edit forum.
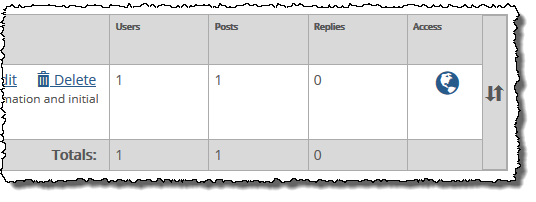
Locate the category you want to modify and click the corresponding Edit category button.
The system displays the Edit category screen.
Adjust any of the fields as appropriate. If you need help understanding any of these fields, see the Attributes of a Category section.
Click Save category.
Within any instance of the Forums feature, you can manually arrange categories.
Log in to the portal as a member of the Administrators role or someone with Can Administer Portlet privileges in the appropriate feature instance. Navigate to the appropriate feature instance.
Maximize the feature and click Edit forum.
Locate the category you want to move. Note that, on its right border, the category has an icon made up of an upward and a downward arrow.
Click this icon. Drag the category to the desired location and release the mouse.
The system automatically saves your change.
If the category has been set up so that you arrange topics manually (this is described in the Topic Ordering Method section), then you can manually drag and arrange topics within categories.
Log in to the portal as a member of the Administrators role or someone with Can Administer Portlet privileges in the appropriate feature instance. Navigate to the appropriate feature instance.
Maximize the feature and click Edit forum.
Locate the category whose topics you want to rearrange. Note that each topic, on its left-hand borders, has an icon made up of an upward and a downward arrow.
Locate the topic you want to move and click this corresponding icon. Drag the topic to the desired location and release the mouse.
The system automatically saves the change.
Note
If you try to move a topic, but the topic won’t stay in its desired location—it just snaps back to its original location—this is probably because the category is not set up for manual ordering. Double-check that the category is configured for manual ordering and try again.
Note that when you delete a category, you also delete all of its topics, posts, and replies.
If you want to take a less drastic action, you simply restrict access to the category (as described in the Modify a Category section). You can also choose to delete a single topic or post, or to hide a post.
Log in to the portal as a member of the Administrators role or someone with Can Administer Portlet privileges in the appropriate feature instance. Navigate to the appropriate feature instance.
Maximize the feature and click Edit forum.
Locate the category that you want to delete and click the corresponding Delete category button.
The system displays a dialog asking if you’re sure you want to delete the category.
Click OK.