Password and Privacy
On the Password & privacy screen, you can manage your password, hide your name from the Campus directory and site search and configure your details as they might show up in the Constituent Search features (which is part of CRM Constituent).
The Password tab lets you change your password.
Note that this tab displays only if you are internally authenticated, and only if the system is set up to allow password changes. For details, see the Managing Authentication section.
Click the user icon and select My profile & settings from the drop-down menu.
The system displays the My profile and settings screen with the About me tab selected by default.
Click the Password & privacy tab.
The Password & privacy screen displays.
In the Password section, click the Change password drop-down arrow to expand it. The new password you choose must be between 8 and 100 characters long.
Enter your old and new passwords in the appropriate fields.
Tip
To view a password as you enter it, click the eye icon to the right of the field. Clicking this icon again will obscure the password.
Click Save.
The Campus Directory is a listing of all people who are users in the system (except those who have chosen to hide their profiles). You can choose to hide your profile from the Campus Directory and the global search function.
To show or hide your profile from the Campus Directory and site search:
Click the user icon and select My profile & settings from the drop-down menu.
The system displays the My profile and settings screen with the About me tab selected by default.
Click the Password & privacy tab.
The Password & privacy screen displays.
Set the Campus directory and site search button to Show or Hide as desired.
Click Save.
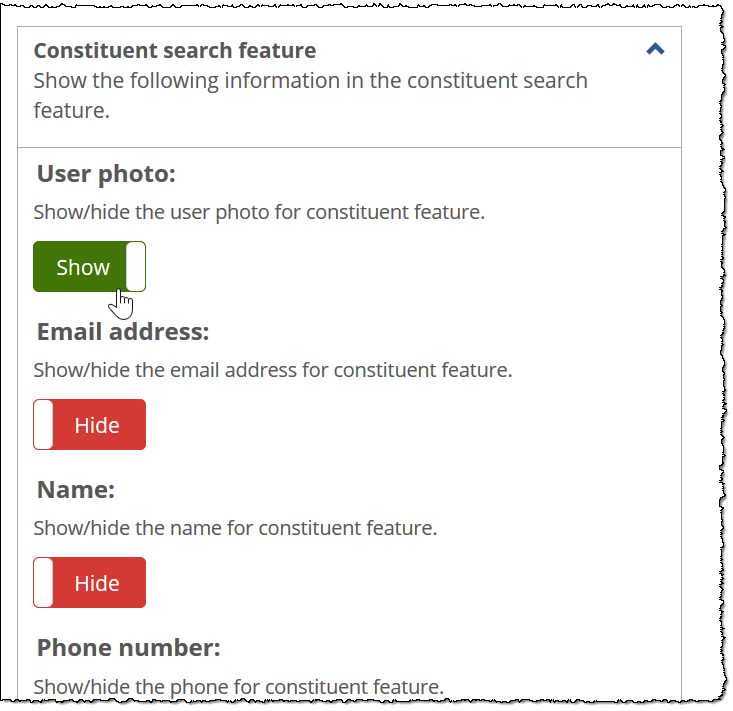
The Constituent search feature settings allow you to hide or show the following information in the constituent search feature:
User photo
Email address
Name
Phone number
Home address
Current city
Current state
Current zip code
Current country
Major
 |
To choose which information appears in the constituent search feature:
Click the user icon and select My profile & settings from the drop-down menu.
The system displays the My profile and settings screen with the About me tab selected.
Click the Password & privacy tab.
The Password & privacy screen displays.
If necessary, click the down arrow in the upper-right corner of the Constituent search feature box to expand it.
In the Constituent search feature area, click the button to Hide or Show as desired.
Click Save.