All-Day Calendar Items
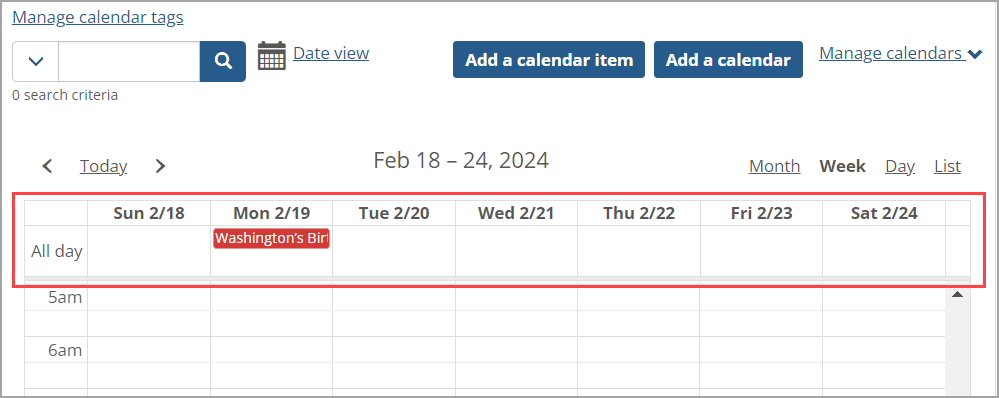
All-day calendar items display in the All day box found at the top of the calendar in week or day view. You can quick-add an all-day calendar item by clicking in this box. You can also add an all-day calendar item using the advanced options found on the Add a calendar item pop-up window.
 |
How To
Navigate to the feature instance containing the calendar to which you want to add a calendar item.
Open the week or day view.
Click the All day box for the day to which you wish to add the item.
The Add a calendar item pop-up window appears.
In the What field, enter a name for the item. This is a required field.
Click Add calendar item.
The Add a calendar item pop-up window closes, and the calendar redisplays with the new all-day item added.
Take the following steps to add an all-day calendar item using the advanced options found on the Add a calendar item screen.
Navigate to the feature instance containing the calendar to which you want to add a calendar item.
Take one of the following actions:
In month, week, or day view, click once on a day on the calendar, and then click Advanced options.
In any calendar view, click the Add a calendar item button.
The Add a calendar item screen displays.
Fill out the fields in the What? and Where? areas of the screen as appropriate. For general descriptions of these fields, see Working with Calendars.
In the When? area of the screen, select the All day checkbox.
The fields containing the start and end times of the calendar item disappear because they are no longer relevant.
Edit the other fields in the When? area of the screen as you see fit.
Click Add calendar item.
The Add a calendar item screen closes, and the calendar redisplays with the new item added.