Actions for Sets
The following sections explain how a user with the appropriate permissions can add, edit, copy, reorder, and delete sets in Card and List Views.
On the Resources main screen, if the user has the "Can Manage Sets" permission, the Add set button displays at the top of the screen. Clicking this button displays the Add set screen.
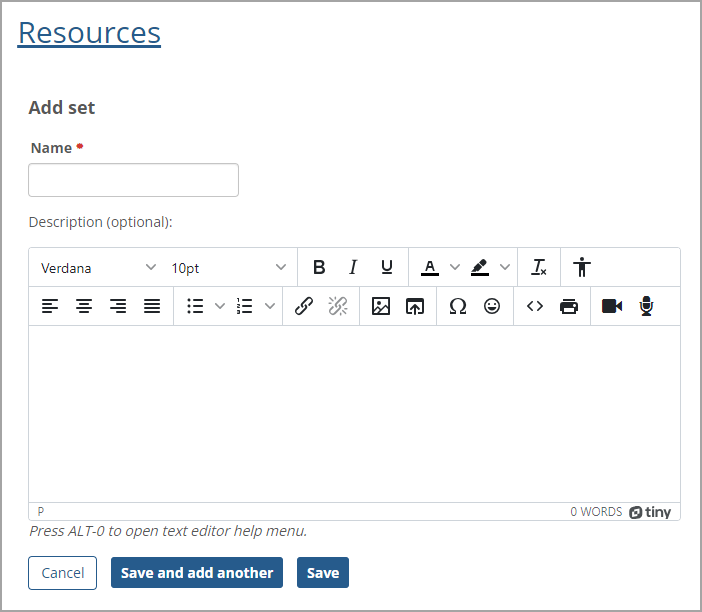 |
The Name field is required, and the maximum length is 255 characters. The optional Description field has a text editor with various options, such as inserting a link or images. The maximum length for this field is 2000 characters.
Note
The name of the added set must be unique. Otherwise, a warning message displays at the top of the Add set screen stating that the name already exists, and another name must be entered.
After you enter the set's name and description, click the Save button to save the data and return to the previous screen. Clicking the Save and add another button saves the set data and clears the data in the fields to add another new set. Clicking the Cancel button goes back to the previous screen without saving the data.
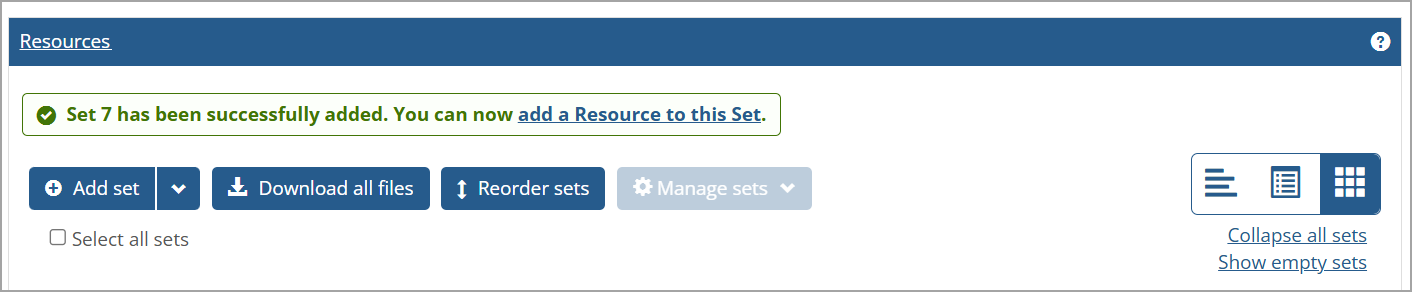
After you save the set successfully, a green message appears at the top of the screen stating: "[Set name] has been successfully added." If the user also has the "Can Manage Resources" permission, then a second sentence appears with a blue link in the success message: "You can now add a Resource to this Set." Click the add a Resource to this Set link to open the Add resource screen with the newly added set selected by default in the Set field.
When a user with the "Can Manage Sets" permission but not the "Can Manage Resources" permission adds a new set correctly, the green success message will only state: "[Set name] has been successfully added." No link is shown inside the message.
When an added set is empty, a message displays inside the set stating that there are no resources.
You can import sets or resources from your File Cabinet into the Resources main screen. Click the Add set drop-down arrow and select the Import from file cabinet option on the drop-down list.
Note
A Faculty user must have the "Can Manage Resources" permissions AND access to a File Cabinet to view the Import from file cabinet option on the Add set drop-down list.
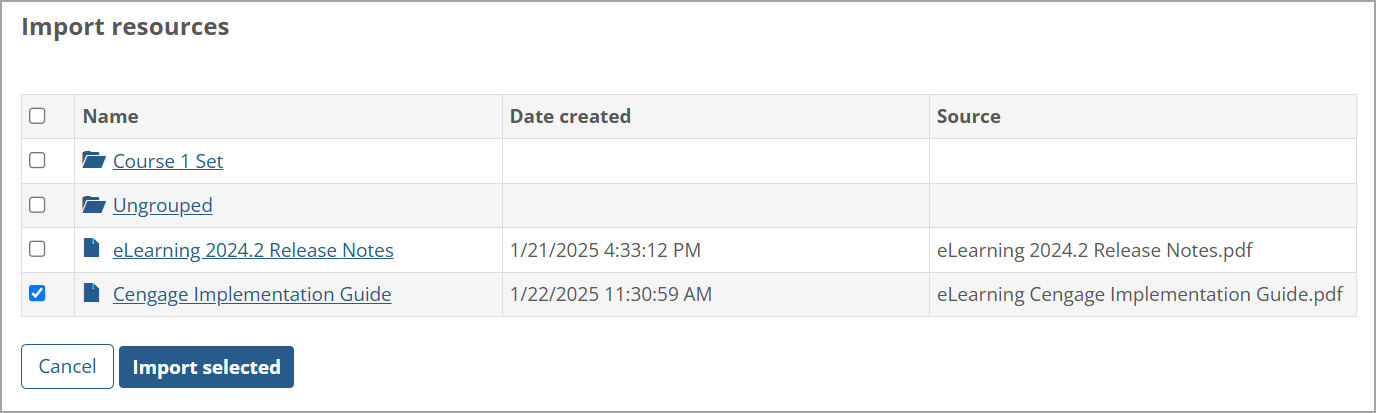
An Import resources screen displays any resources or sets you have previously saved in the File Cabinet. Select the adjacent checkbox for each resource or set you want to import. At least one selection must be made to enable the Import selected button. To select all resources and sets in the File Cabinet, select the blank checkbox at the top and on the left of the Name column (the checkbox has no label, but it's the "Select all" checkbox). The following screenshot shows one resource selected.
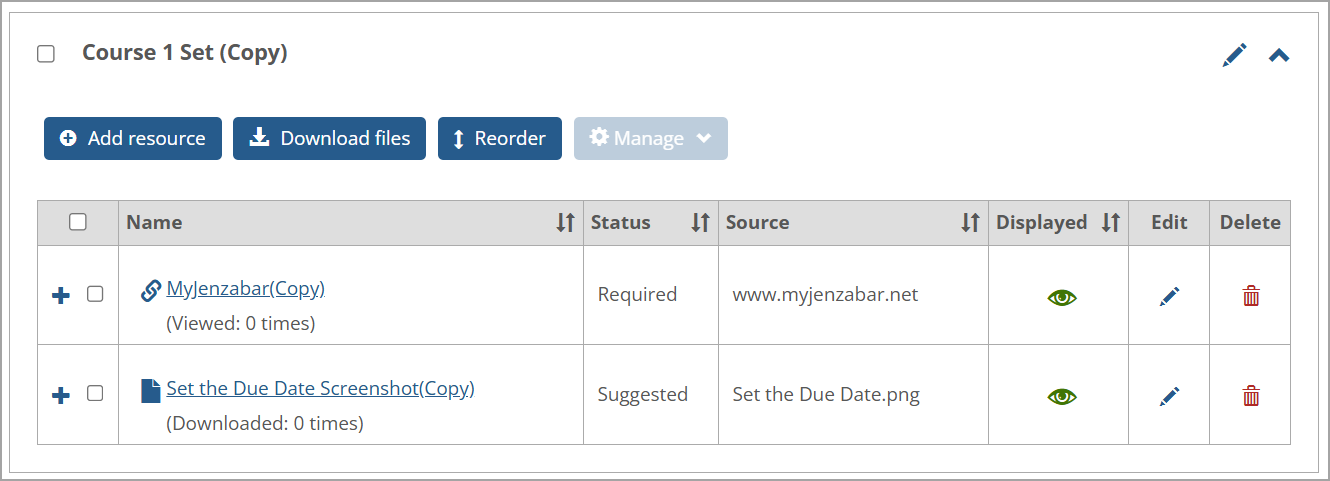
An imported resource displays in the Ungrouped set with "(Copy)" appended to the resource name. It can be moved to another set on the Resources screen. An imported set displays below the original set with "(Copy)" appended to the set's name. Resources in the original set display in the set's copy with "(Copy)" appended to each resource's name. An example of an imported set on the Resources main screen is shown in the following screenshot.
No confirmation message displays when a resource or set is imported from the File Cabinet. The imported item simply displays on the Resources main screen.
If the user has the "Can Manage Sets" permissions, then on the right of each set on the Resources screen, an Edit button (pencil icon  ) is shown. Clicking this button displays the Edit set screen. The user can edit the set's required Name and optional Description fields.
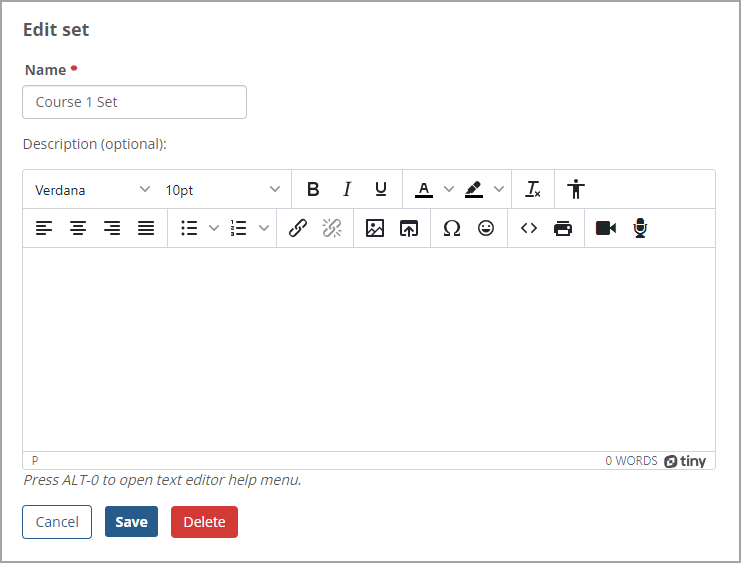 |
Click the Save button to save the changes, and the Resources main screen is displayed. If you click the Cancel button, no changes are saved, and the Resources main screen is displayed.
The Delete button is not shown when you are editing the Ungrouped set because it cannot be deleted. For information about deleting a set, refer to Delete Sets.
When there are multiple sets of resources, users with the appropriate permissions can reorder the sets by clicking the Reorder sets button at the top of the Resources main screen in Card View and List View.
The sets display collapsed in a list for reordering in the same way for List View and Card View as shown in the following screen. The Reorder arrows icon  displays on the left of the sets.
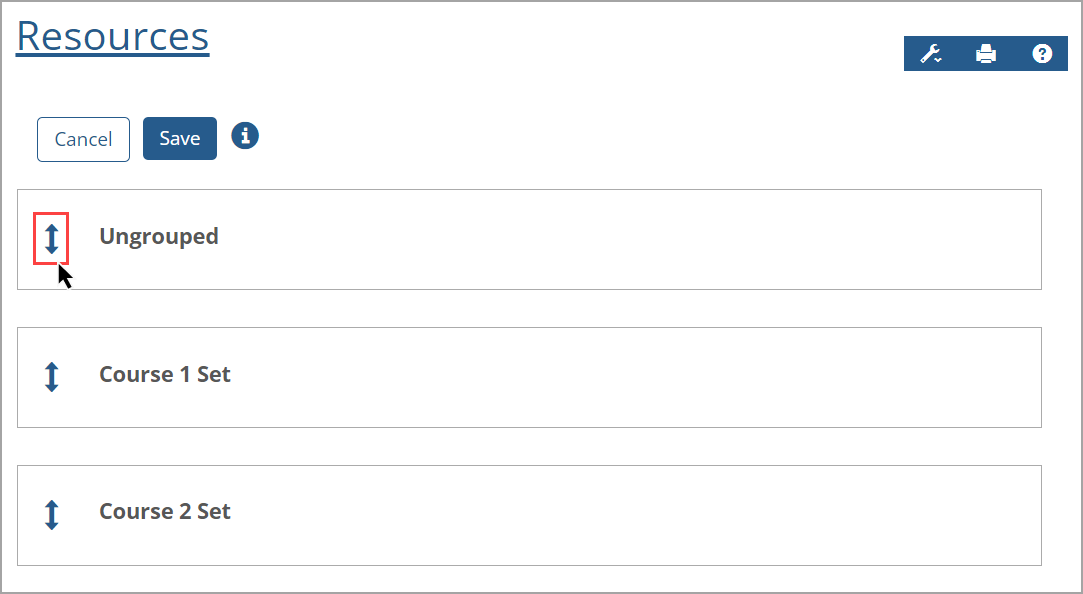 |
You can reorder the sets (including the Ungrouped set) in the following ways:
Click a set and drag it up or down to the desired location. Then click the Save button.
Click the Reorder arrows icon
on the left of a set and move the set up or down to the desired location. Then click the Save button.Use the reorder keyboard controls as described in the following paragraphs.
After you click the Reorder sets button, a blue information i icon  is displayed at the top of the Resources screen. Click this icon to display the Reorder keyboard controls pop-up window with instructions. When finished, click the Done button or Close x icon to close the window.
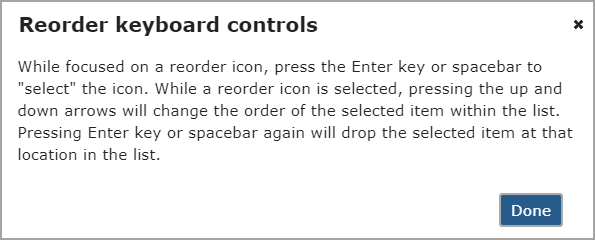 |
The steps to use the keyboard controls to reorder sets are:
Click or tab to the Reorder arrows icon on the left of a specific set you want to reorder.
Press the Enter key or spacebar on your keyboard to select the set. The set's row appears in a gray shade to indicate it's selected.
Press the up or down arrows on your keyboard to move the set to your desired location.
Press the Enter key or spacebar again to drop the set. The set's row displays in its normal color to indicate it's dropped.
Click the Save button.
After saving using any reorder method, the Resources screen shows the reordered sets. A green message is displayed at the top of the Resources screen stating, "The new order has been saved."
Note
The Edit and Delete buttons or icons don't display when you are reordering sets because those actions cannot be taken during the reordering process.
On the Resources main screen, if the user has the "Can Manage Sets" permission, a blank checkbox is displayed on the left of each set's name. A blank Select all sets checkbox also displays at the top of the Resources screen above all sets. If this checkbox or a set's checkbox is selected, a checkmark appears in the checkbox and the Manage sets button is enabled at the top of the screen. Clicking the Manage sets button displays the Copy, Save selected to File Cabinet, and Delete options on the drop-down list.
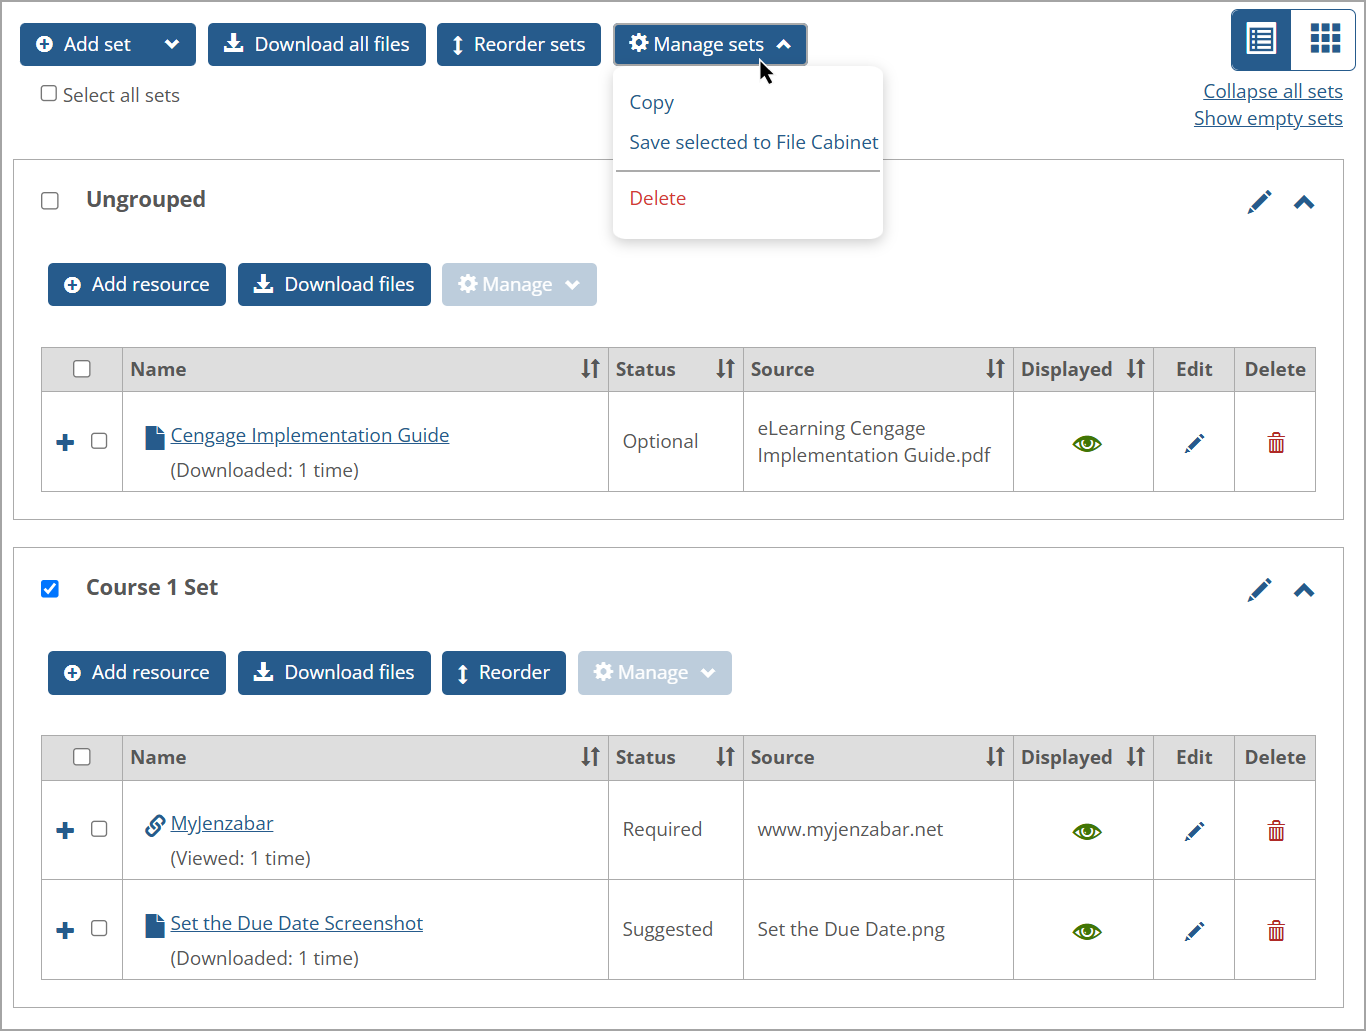
For the set or sets you want to copy, select the set(s) checkbox or the Select all sets checkbox at the top of Resources screen. Then click the Manage sets button and click the Copy option on the drop-down list.
Clicking this option copies the set(s) and the resources it contains. A confirmation message is displayed at the top of the screen stating that the selected sets have been copied (even if only one set was copied). The copied set has "(Copy)" added at the end of the set name, e.g., "Set Name (Copy)". The resource names in the copied set also have "(Copy)" added at the end of their names.
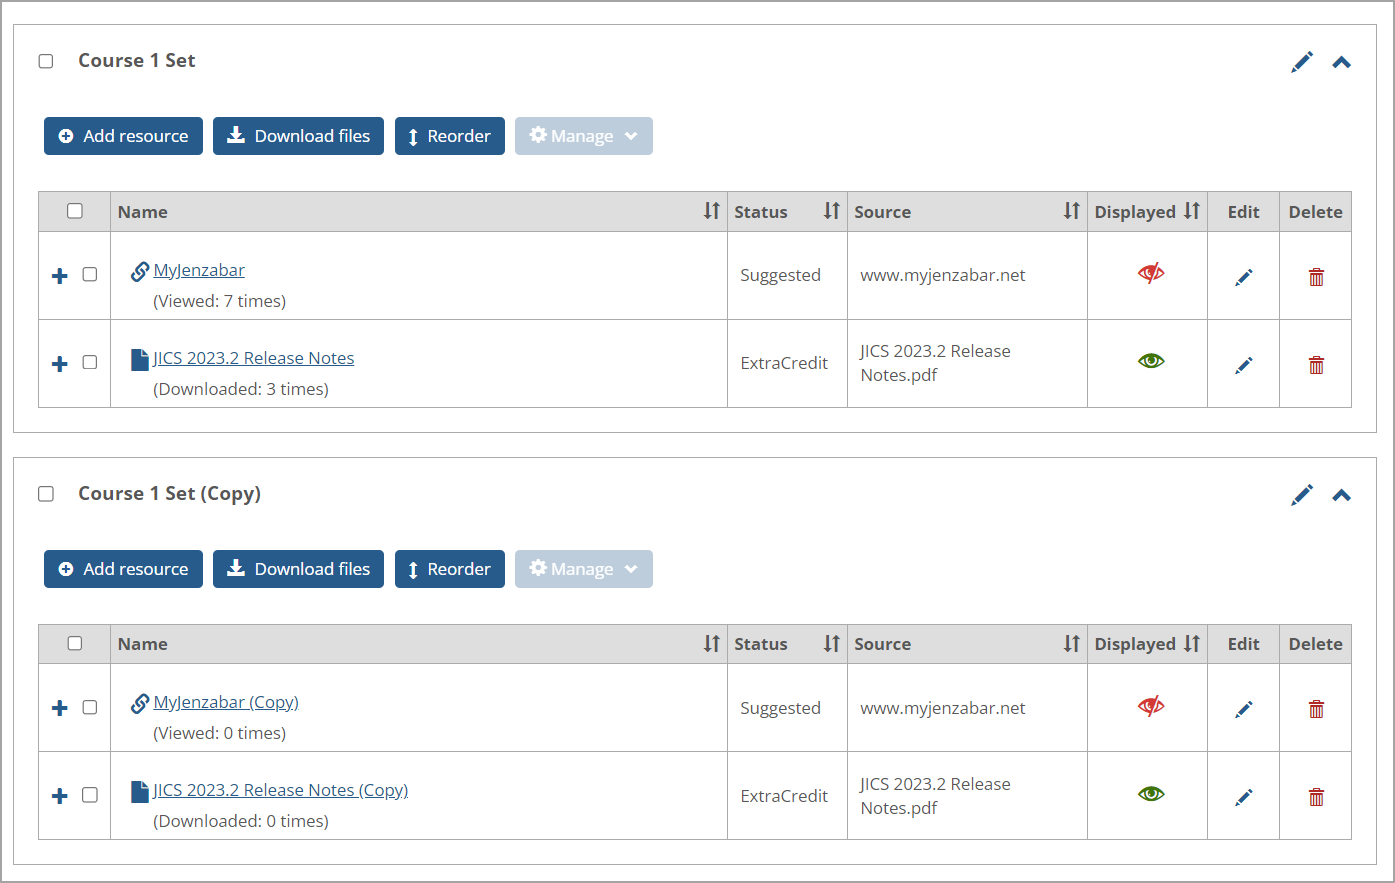 |
The copied set is displayed below the original set. The copied resources inherit the same status, source, and displayed information as the original resources. However, the reporting data (number of times viewed or downloaded) for the copied resources is not inherited and is set to "0 times" initially.
You can save one, multiple, or all sets to a File Cabinet. After making your set selection, click the Manage sets button and then click the Save selected to File Cabinet option on the Manage sets drop-down list. A green confirmation message appears above the sets stating: "The selected resources have been successfully saved to your File Cabinet."
Note
A user must have the "Can Manage Resources" permissions AND access to a File Cabinet to view the Save selected to File Cabinet option on the Manage sets drop-down list.
For the set or sets you want to delete, select the set(s) checkbox. To delete all sets except for the Ungrouped set, select the Select all sets checkbox at the top of Resources screen. Then click the Manage sets button and click the Delete option on the drop-down list. Clicking this option deletes the set(s) and the resources the set(s) contains.
Note
The Ungrouped set cannot be deleted. If you try to delete it, a red warning message is shown at the top of the Resources screen: "The Ungrouped set cannot be deleted. Please deselect it and try again." If this set has been renamed, it still cannot be deleted, and the changed name of the set is displayed in the red warning message.
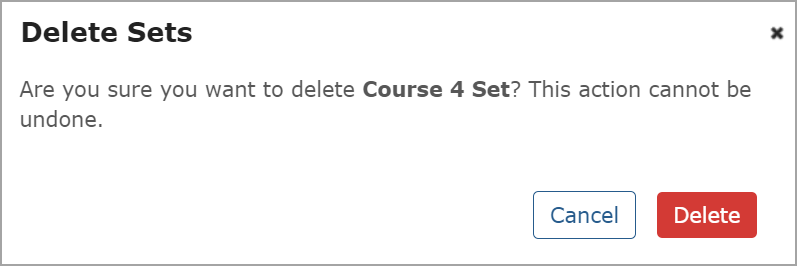
If the set has no resources, clicking Delete displays the Delete Sets pop-up window. The pop-up window asks if you are sure you want to delete the set because the action cannot be undone. To continue with the deletion, click Delete; otherwise, click Cancel to return to the Resources screen. A deleted sets confirmation message displays at the top of the screen if Delete was clicked.
 |
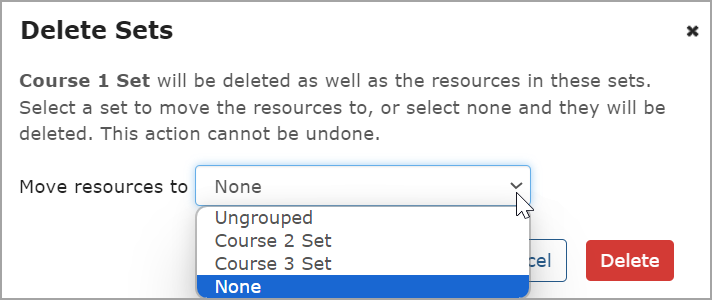
If the set has resources, clicking Delete displays the Delete Sets pop-up window with a different message and a Move resources to field. The message indicates that the set will be deleted as well as all resources in it unless a set is selected in the Move resources to drop-down list. The options to move the resources will include None (default), Ungrouped, and other set names (if the sets have been created).
 |
If the selected option on the Move resources to drop-down list is None, then clicking the Delete button in the window deletes the set and all its resources. If Ungrouped or another set name is selected on the drop-down list, then clicking the Delete button in the window moves the resources to the selected set and deletes the set that they were previously in. A confirmation message states at the top of the Resources screen, "The selected sets have been deleted" (even if only one set was deleted).
Clicking the Cancel button closes the window, no set is deleted, and the Resources main screen displays.
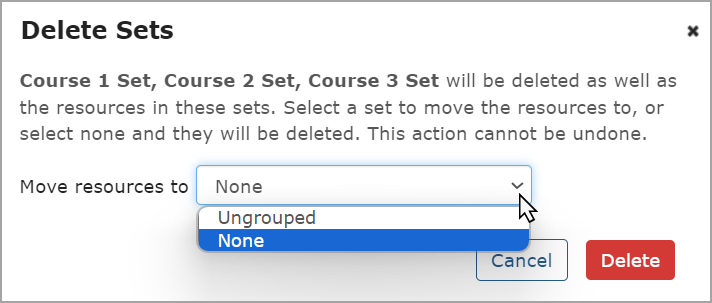
Multiple sets can be selected and deleted at the same time, and you can choose one specific set to move the resources to (if the sets have any resources). If multiple sets are selected, clicking the Delete option on the Manage sets drop-down list displays the Delete Sets pop-up window with the selected set names at the top. None, Ungrouped, and unselected set names (if any) display as options on the Move resources to drop-down list. Only the None and Ungrouped options display if all sets (except Ungrouped) are selected as shown in the following screen.
 |
Warning
Deleting a set and its resources cannot be undone.