Working with Images and Other Files
You can insert images and other files into the text editor via drag-and-drop functionality or eLearning’s integration with MoxieManager.
MoxieManager (www.moxiemanager.com) is a third-party application that allows users to manage images, documents and other files for use within the JICS portal and eLearning.
Centralized file management—Organize your files in MoxieManager and access them from within JICS and eLearning.
Image editing—Crop, resize, and make other changes to images from within the MoxieManager window.
Cloud files—Download files to your system from file storage solutions, such as Dropbox.
Zip/Unzip—Zip and unzip files for use within the portal.
The MoxieManager window will appear when you choose to insert an image or upload a file from within a text editor. For example, if you choose to add a resource in the Resources feature, the MoxieManager window will appear when you click Choose File, allowing you to select a file from your MoxieManager library to upload to the portal.
Within each course in eLearning, MoxieManager provides a shared folder for faculty who are associated with the course. The name of the shared folder is the same as the name of the course as it appears in the sidebar under My Courses.
All active faculty for the course will be able to upload files to this folder for sharing with each other.
 |
How To
You can insert an image into the text editor in two ways. The first way is to drag an image file and drop it directly into the text editor. The second way is to click the Insert/edit image button in the text editor.
You can easily insert an image file into the text editor by dragging and dropping it as shown in the steps below. However, you are not able to perform certain tasks using this method, such as showing a caption.
Locate the image file you want.
With the rich-text editor open, drag and drop the image file directly into the text editor's blank space.
The image displays inside the text editor.
If you want to resize the image, click it.
A blue box displays around the image.
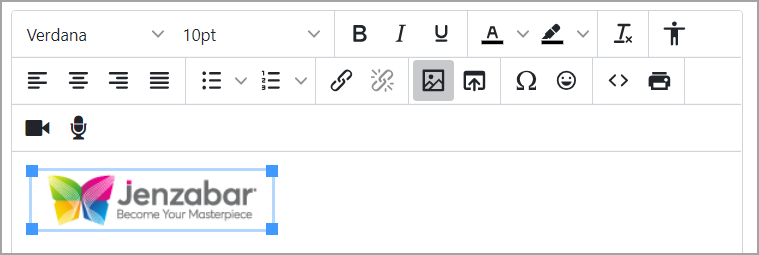
Click a corner of the box and drag it to resize the image according to your desired dimensions.
Click Save in the text editor.
The image is saved.
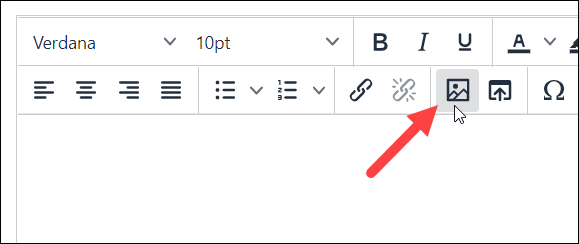
You can click the Insert/edit image button in the text editor to insert or edit an image. Inserting an image this way enables you to perform certain tasks, such as entering an alternative description or showing a caption.
From the rich-text editor, click the Insert/edit image button.
The Insert/Edit Image pop-up window displays in General mode.
Do one of the following:
To use the Source icon to insert an image, go to step 3.
To use the Upload link to insert an image, go to step 10.
Click the Source icon
 on the right of the Source field.
The MoxieManager window displays.
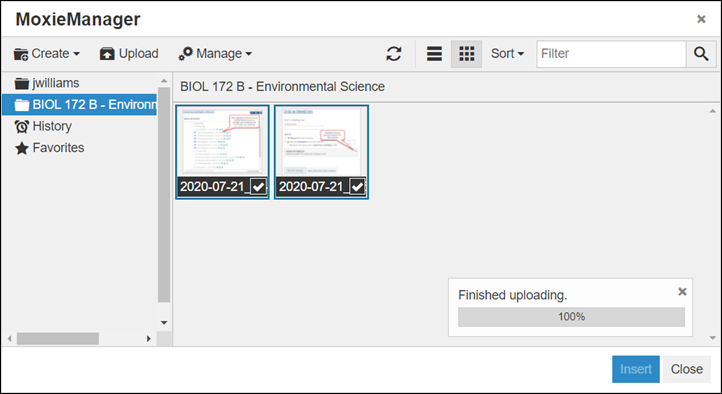
Using the left sidebar, navigate to the folder that contains the image you would like to insert.
Select the image you wish to insert.
The MoxieManager window closes, and the Insert/edit image pop-up window redisplays with the Source field showing the source location and dimensions of the selected image.
In the Alternative description field, enter a description if desired.
If necessary, change the dimensions of the image by editing the values in the Width and Height fields.
Click Save.
The image is inserted into the text editor.
Click Save in the text editor.
The image is saved.
On the Insert/Edit Image pop-up window, click the Upload link on the left.
Two options to either drop an image or browse for an image display on the window.

Do one of the following:
To drop an image, click and drag the image file into the dotted-line box.
The Insert/edit image pop-up window redisplays with the Source field showing the source location and dimensions of the selected image.
To browse for an image, click the Browse for an image button.
Find the image file you want.
Double-click the image file.
The Insert/edit image pop-up window redisplays with the Source field showing the source location and dimensions of the selected image.
Note
When you drag an image into the text editor, you need to wait a few seconds for the upload process to complete prior to clicking the Save button. If you don't wait for the upload process to complete, the image will NOT be uploaded because it hasn't been fully processed. This is expected behavior and not a bug.
An "Image uploading ..." message displays in the text editor when an image file has been dragged into it, and you need to wait until the message disappears before clicking Save.
Click Save.
The image is inserted into the text editor.
Click Save in the text editor.
The image is saved.
From the rich-text editor, click the Insert file button.
The MoxieManager window displays.
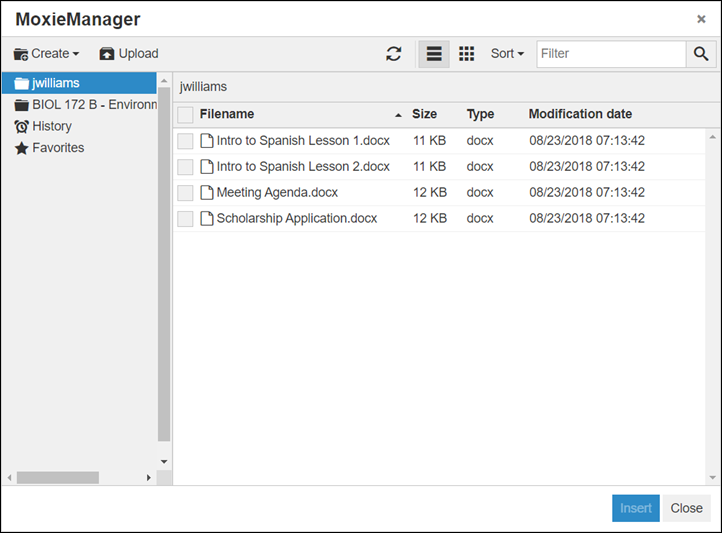
Using the left sidebar, navigate to the folder that contains the file you would like to insert.
Select the file you wish to insert.
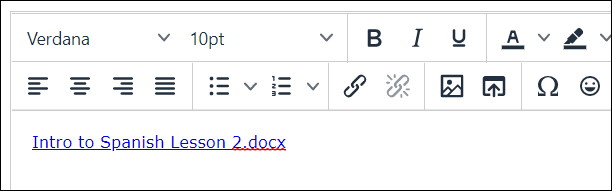
The MoxieManager window closes, and a link to the selected file now appears in the text editor.
When you have completed your edits in the text editor, click Save.
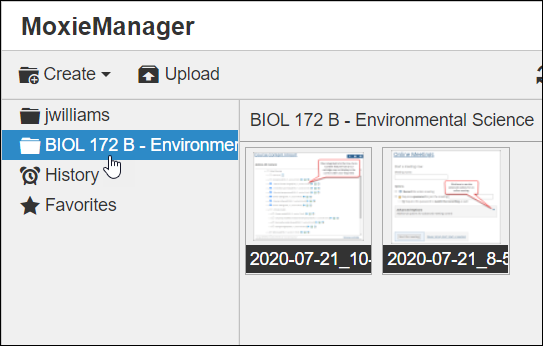
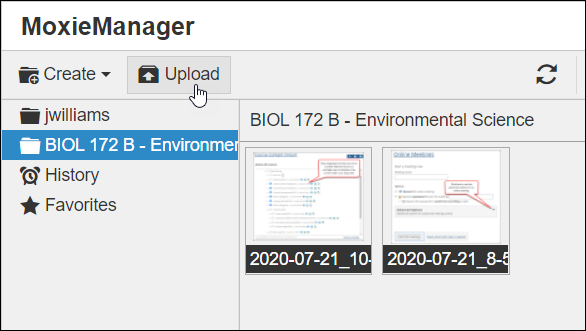
From the MoxieManager window, select the folder to which you wish to upload an image.
Click Upload.
The system displays a dialog that allows you to select images to upload from your local machine.
Select one or more images and click Open.
The system uploads the images to MoxieManager, and the window refreshes to display the new images.