
|
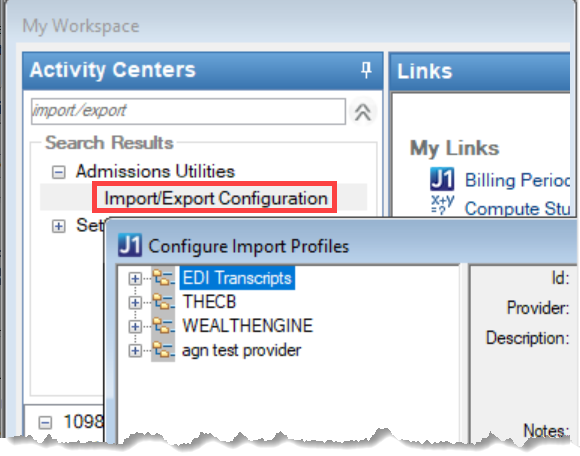
Workspace navigation wording for this window is "Import/Export Configuration" and the window name is "Configure Import Profiles." When navigating to this window from the Workspace, search for "Import/Export Configuration." Example |
IT staff use this window to configure profiles for import files such as transcripts and admissions applications. The profiles tell J1 Desktop how to read the imported files.
For an overview of the import process, see Importing Transcripts and Other Data into J1 Desktop.
Jenzabar provides a number of import profiles. The main task here is to provide file paths for the files. It's also possible to customize profiles and to create new ones, but these activities are not yet fully supported.
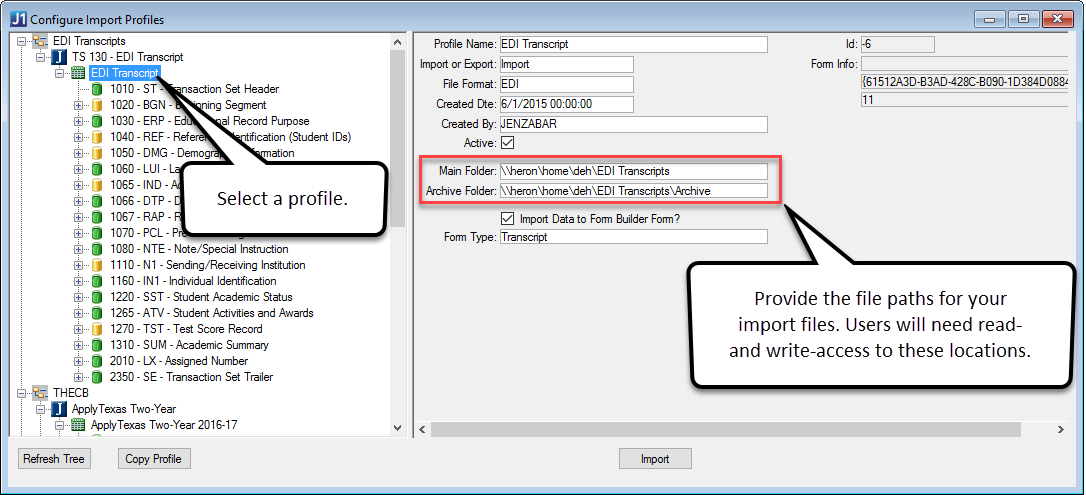
You select a profile in the tree in the left panel. The right panel then populates with profile information. Enter a file path for both the Main Folder and Archive Folder. Make sure your users have read- and write- access to the locations you choose. Example
Select or enter other parameters only as necessary.
A profile has many parameters that may be customizable, but we recommend proceeding with caution. Make a copy of the original profile and rename it; then work in consultation with the services team.
Import Transcripts and Other Data
Add Test Report Type and Test Location Type Columns to Database Profile After Import
Add Test Report Type and Test Location Type Columns to Database Profile Before Import
Importing Transcripts and Other Data into J1
 to expand the tree.