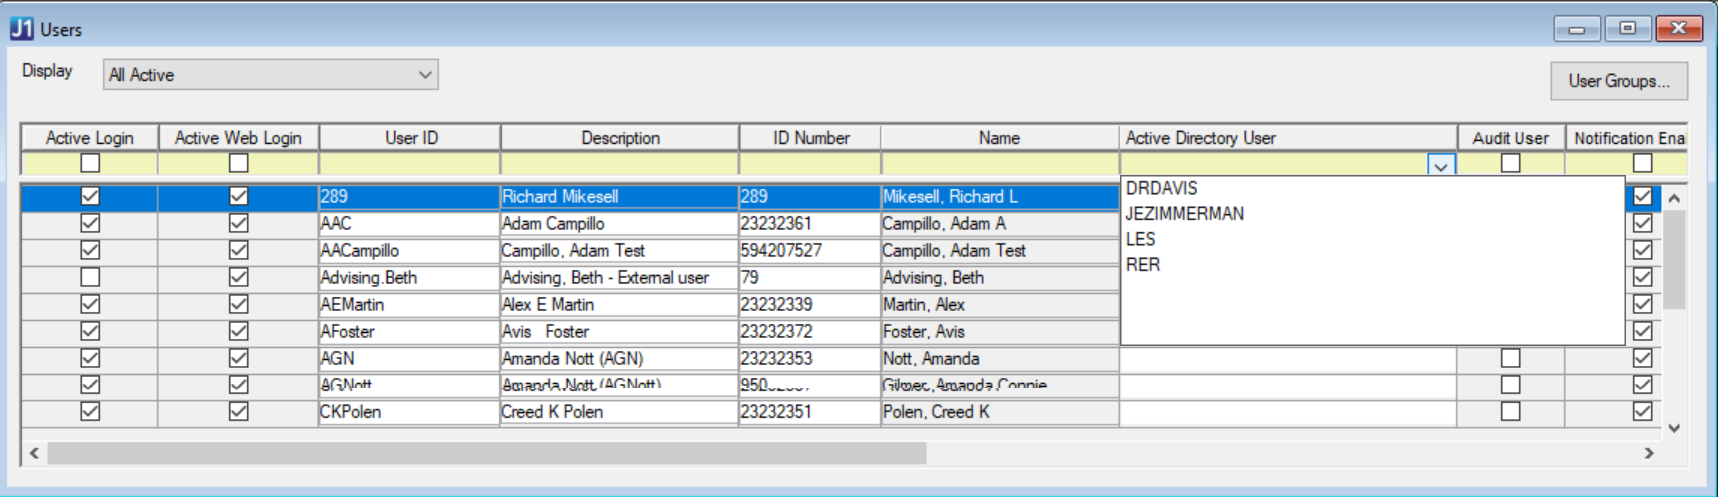
1. Access your database server as a user with administrative permissions.
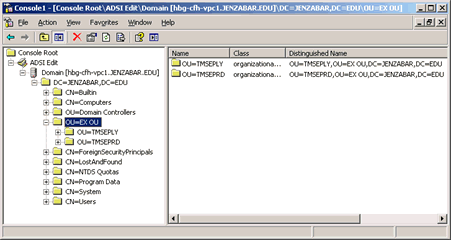
2. Access Active Directory Users and Computers.
3. In the console tree, right-click on your school's domain name.
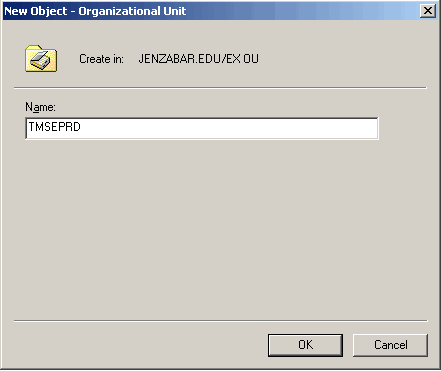
4. Point to New and select Organizational Unit. The New Object - Organizational Unit window appears.
5. Enter the name of the J1 OU you are adding. This name should not have a database name associated with it.
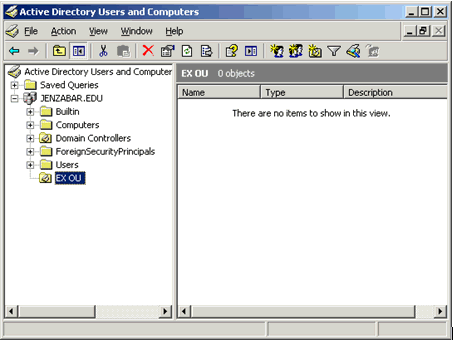
6. Click OK. The New Object - Organizational Unit window closes the Active Directory Users and Computers window reappears showing the newly created J1 OU.
 |
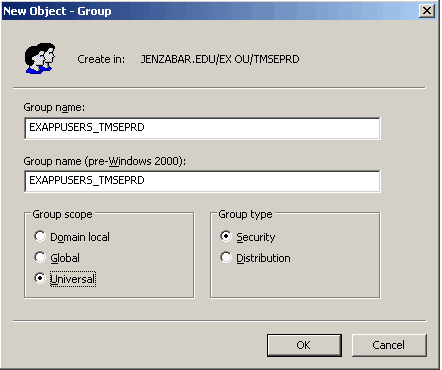
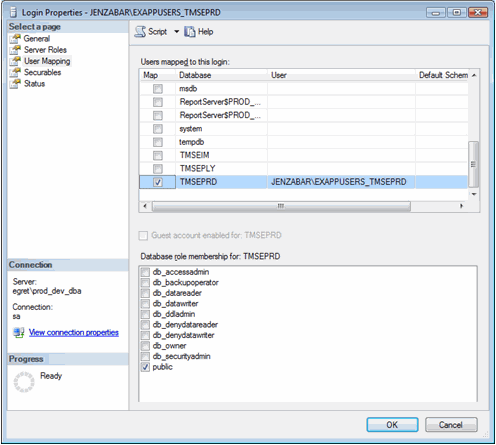
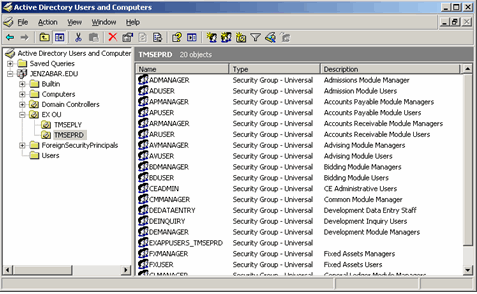
Jenzabar
recommends granting the AD group responsible for managing
J1 application security FULL CONTROL permissions: a. Right-click on the new OU and select Delegate control. b. In the Welcome pane, click Next. c. In the Users and Groups pane, click Add. d. In the Enter the object names to select box, enter the AD group or user name managing application security, and then click OK. e. Click Next. f. In the Tasks to Delegate pane, select the Create, delete, and manage user accounts checkbox and the Read all user information checkbox, and then click Next. g. Click Finish. |