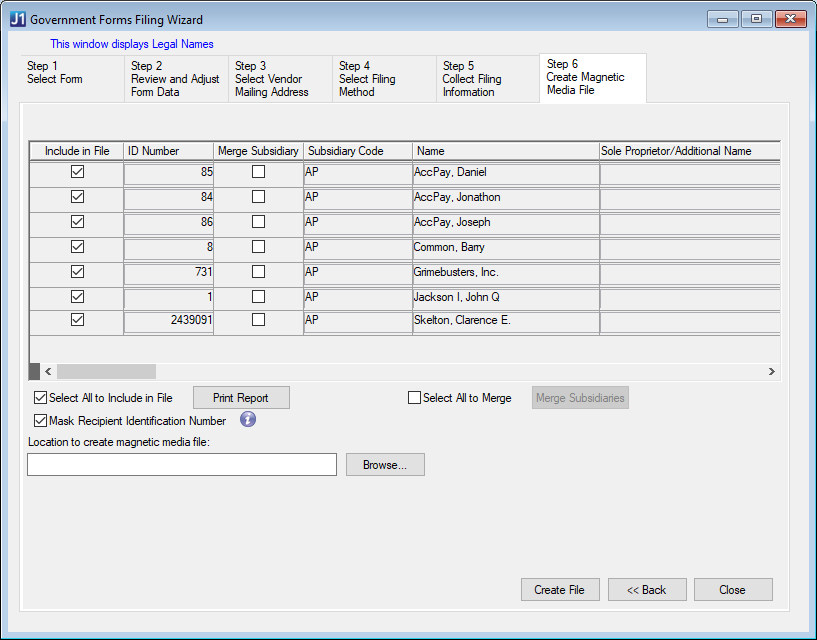
Select Vendors/Individuals
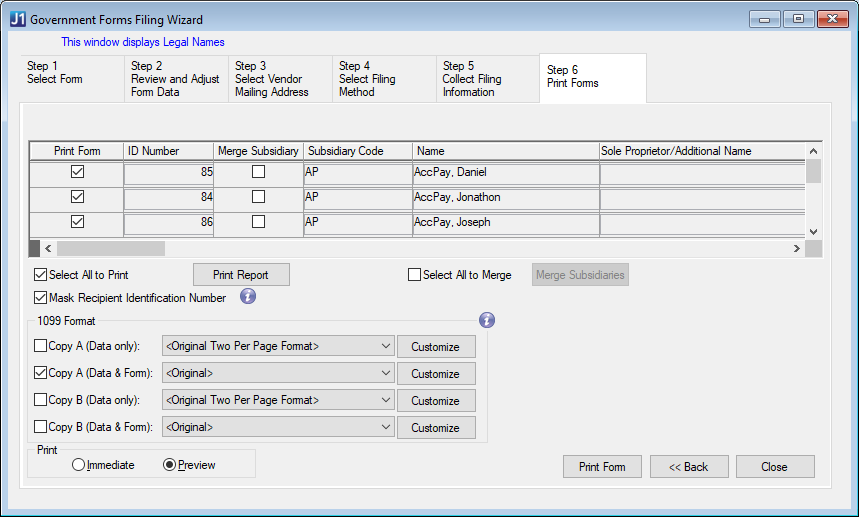
Select the Print Form checkbox for each vendor that will receive a 1099 form. To include all vendors, select the Select All to Print checkbox.
Use the Print Report button to review the 1099 data for the selected vendors. The Summary Report displays the combined box totals for all vendors, and the Review Data report shows a preview of each vendor's data for the selected 1099 form.
To hide the FEIN/SSN, select the Mask Recipient Identification Number checkbox. When selected, the FEIN/SSN will only display the last 4 digits on the printed forms sent to recipients (e.g., XXX-XX-1234).
 |
You can only mask identification numbers on forms sent to recipients. Forms and files sent to the government cannot be masked. |
Merge Subsidiaries
Merging subsidiaries consolidates the vendor totals for each box into one amount per box on the window on the printable form. This can be useful if you pay the same vendor out of multiple subsidiaries but only want to issue one 1099.
To merge subsidiaries into one 1099 form, select the Merge Subsidiary checkbox for each subsidiary that is to be merged and then click the Merge Subsidiaries button. Only those subsidiaries with the same ID Number, FEIN/SSN, and address codes can be merged.
To select all subsidiaries for merging, select the Select All to Merge checkbox and then click the Merge Subsidiaries button.
Print Forms
In the 1099 Format section, select the appropriate checkbox for the 1099 version you want to print. Use the Customize buttons to update the reports in InfoMaker. (Use the File, Save As option in InfoMaker to save customized reports and ensure the original report format remains the same.)
Copy A (Data only) displays the 1099 data to be printed on preprinted 1099 forms. This version is for the government.
Copy A (Data & Form) displays both the data and form images to be printed on blank paper. This version is for the government.
Copy B (Data only) displays the 1099 data to be printed on preprinted 1099 forms. This version is for the recipient.
Copy B (Data & Form) displays both the data and form images to be printed on blank paper. This version is for the recipient.
Select the Preview option to review forms before printing. If you are ready to print the forms, select the Immediate option.
To print and complete the wizard, click the Print Form button. Only one copy of each vendor's 1099 prints at a time, so you must print the forms more than once to get separate copies for the IRS, recipient, and payer.
To go back to Step 5: Collect Filing Information, click Back.